Table of contents
Approvals
Friday March 8, 2024-5 min readIntroduction
Approvals in Appward serve as a way to propose an idea that requires approval to the decision-makers within your company. In the Approvals tab, you can initiate approval requests, complete with a message and an anticipated deadline. The designated parties will receive notifications, informing them they have an opportunity to either reject or approve the request.
How to add an Approval
To add an Approval, navigate to the Approvals tab within the frontline of a record. As an example, let’s take a look at how to create an approval within a Budgets record.
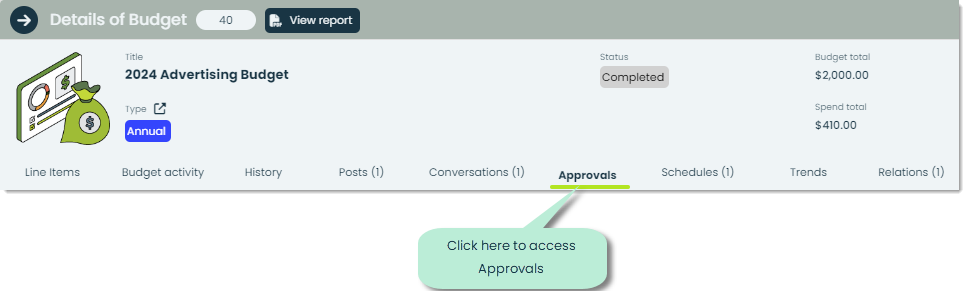
After opening the tab, click on the + icon to begin the process of adding an approval.
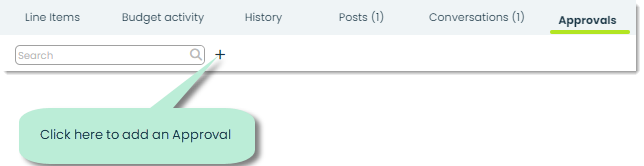
This will bring up the Add Approval popup, where you can add all the necessary details of your approval request.

Name – In Name, you can provide a short name or title giving the reader a clear understanding of what is being approved.

Select Approvers – Select Approvers is where you can decide who will be the individual(s) responsible for approving or rejecting the request.
+Me: You can quickly assign yourself as the approver by clicking on the +Me button.
Send Notification: Enable the Send Notification checkbox to send approval process notifications directly to the workspace of the approvers.

Approval date required – You can specify when the approval decision needs to be made by in the Approval date required field. Simply type in the date in MM/DD/YYYY format, or use the built-in calendar picker by clicking on the small calendar icon on the right side of the text box. This allows you to easily select the required approval date from the calendar view.

Requester Comment – The Requester Comment field is where the person responsible for requesting the approval can leave a comment about why they are requesting the approval.

Note: If you are the selected approver, you’ll be shown a few additional fields during the creation of an Approval record.
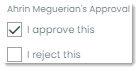
Approve or reject – As the selected approver, you can decide to approve or reject the approval. To make your decision, simply click on the checkbox of your choice.
Approver Comment – Similar to the Requester Comment, approvers can also leave comments in the Approver Comment field.

Submit/Cancel – When you have entered in all the necessary details of the approval, you can press the Submit button to create the record. If you change your mind, you can press Cancel at any time to stop the creation process of an approval.

Your approval will now be visible within the Approvals tab.
