Table of contents
Getting Started with Markups
Thursday February 8, 2024-14 min readIntroduction
Simplify your project document reviews with Appward’s Markups app. Eliminate the risks of oversights and lack of control inherent in manual processes, especially in complex projects. Markups effortlessly converts project documentation into searchable records, streamlining collaboration. With features like section commenting and checklist association, efficiently manage and monitor reviewed paragraphs for increased transparency and productivity.
Let’s get started
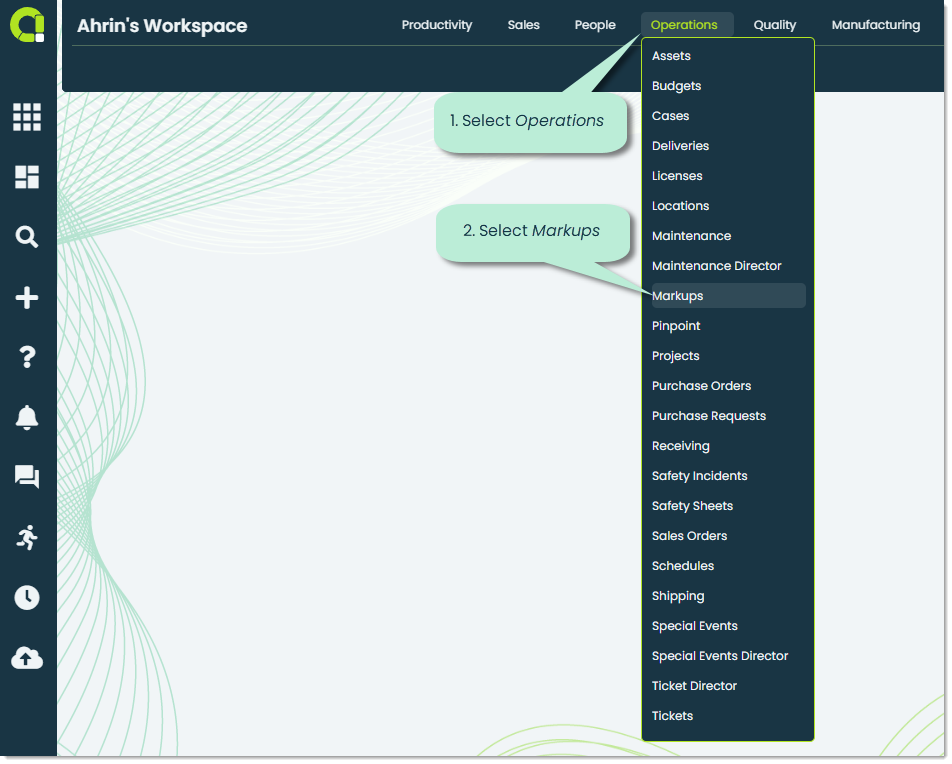
To access the Markups app, navigate to the Operations section in the main navigation bar and select Markups.
When you open the app, you’ll see a list of your organization’s markups. If this is your first time using Markups, this list will be empty.
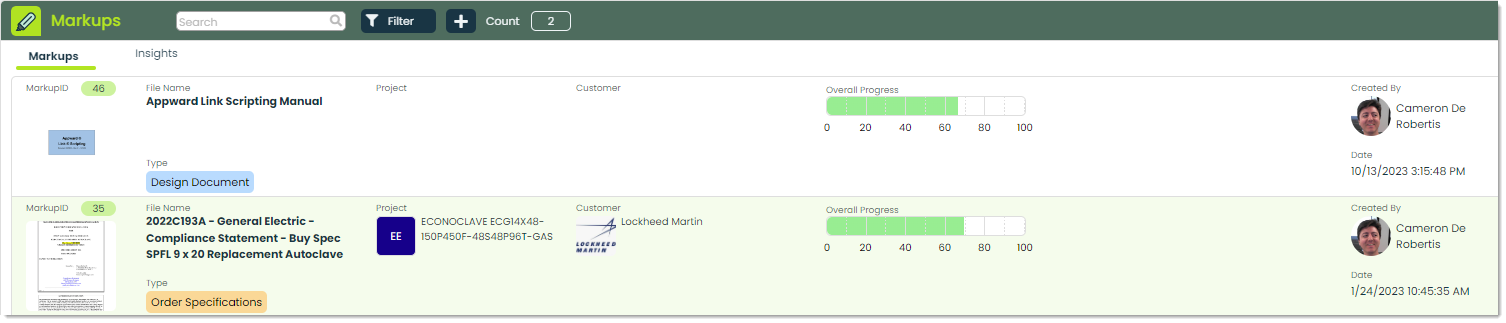
At the top of the app, you’ll notice two main tabs.
Markups – This is the default tab you’ll be shown when you open the app. In this tab, you can view a complete list of your organization’s existing Markups records.

Insights –You can check out this tab to examine your organization’s markups data. This feature helps you uncover useful details about information such as types, statuses, and edits. For more details on Insights, take a look at our Getting Started with Insights guide.

How to add a Markups record
To add a new Markups record, click the + icon at the top of the app screen.
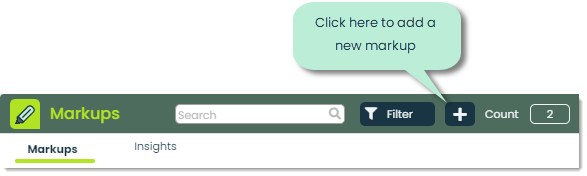
This will bring up the Add markup popup, where you can start entering the necessary details for your new Markups record.
Types – Types are a way of classifying your companies’ markups into their own categories for better organization and searchability. You have the flexibility to establish and designate types that align with the specific needs of your business. For example, you can create a type called “Project Planning” to classify a markup focused on the planning of a project. For more on Types, please check out Using Types.
Project – In the Project field, you can click the external link icon and select a record from the Projects app to link to your Markups record. This association is important because it helps maintain clarity and context, ensuring that all the comments, edits, or annotations made within the markup are directly related to the specific project being worked on. For more on projects, you can explore our Getting Started with Projects guide.

File – Adding a file is a necessary inclusion to take full advantage of the features of the Markups app. To add a file, click on the external link icon, which will prompt you with different methods of uploading a file. For additional information on how to navigate Appward’s file explorer, please check out Using File Explorer.

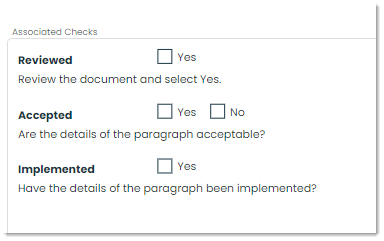
Checks –Within Markups, you can integrate checks corresponding to the type linked with your Markups record. These checks may be displayed as traditional checkboxes, standard text input fields, or combo boxes. This feature is especially useful when working on documents that are more technical in nature and require additional steps to be completed during the markup process.
How to add a paragraph
Defining editable paragraphs within a document stands out as one of the key functionalities offered by the Markups app. Let’s go through the process of defining paragraphs.
To define a new paragraph, start by clicking on the Add Mode checkbox.
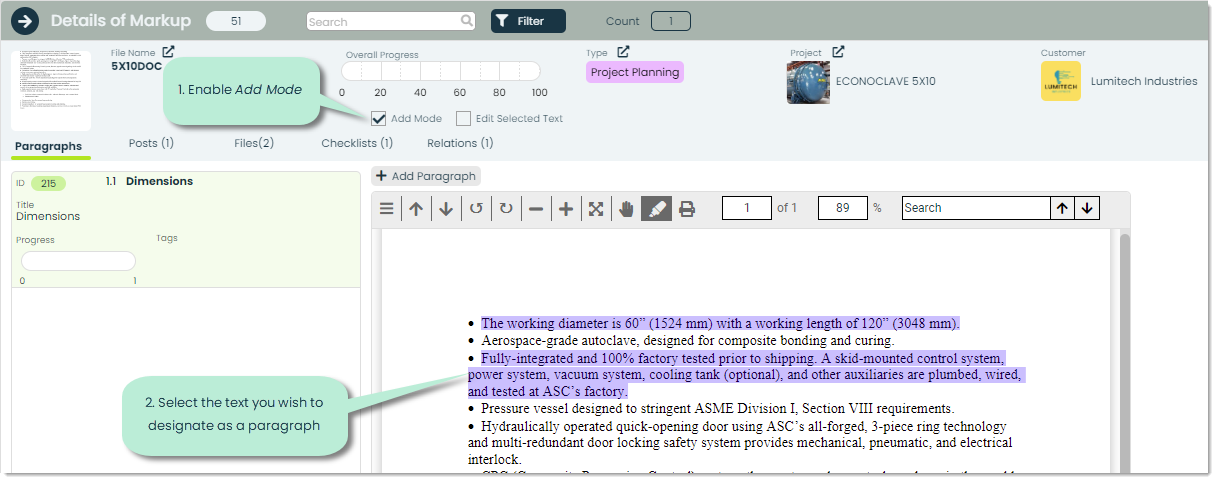
You’ll then see your newly defined paragraph on the left side of the document.

To view more details about a paragraph, you can click on it to bring up its details. Let’s explore the fields that are available for editing in this section.
Designation Number – The Designation Number field refers to a unique reference number assigned to the paragraph. This helps users quickly identify and reference specific paragraphs within a document.
Section – The Section field indicates the division to which the paragraph belongs. This helps you when organizing content within a document, especially in a longer document with multiple sections.

Title – In Title, you can define a name or heading for the paragraph. This gives the reader a brief detail of the content they can expect to find within the paragraph.

Comment – The Comment section is where you can add additional notes, explanations, or annotations related to the paragraph.
Viewing and managing a Markups record
To access a Markups record, you can click on it directly while in the Markups tab.

You’ll then be shown the details of that record. Let’s go over the fields you can view or edit.
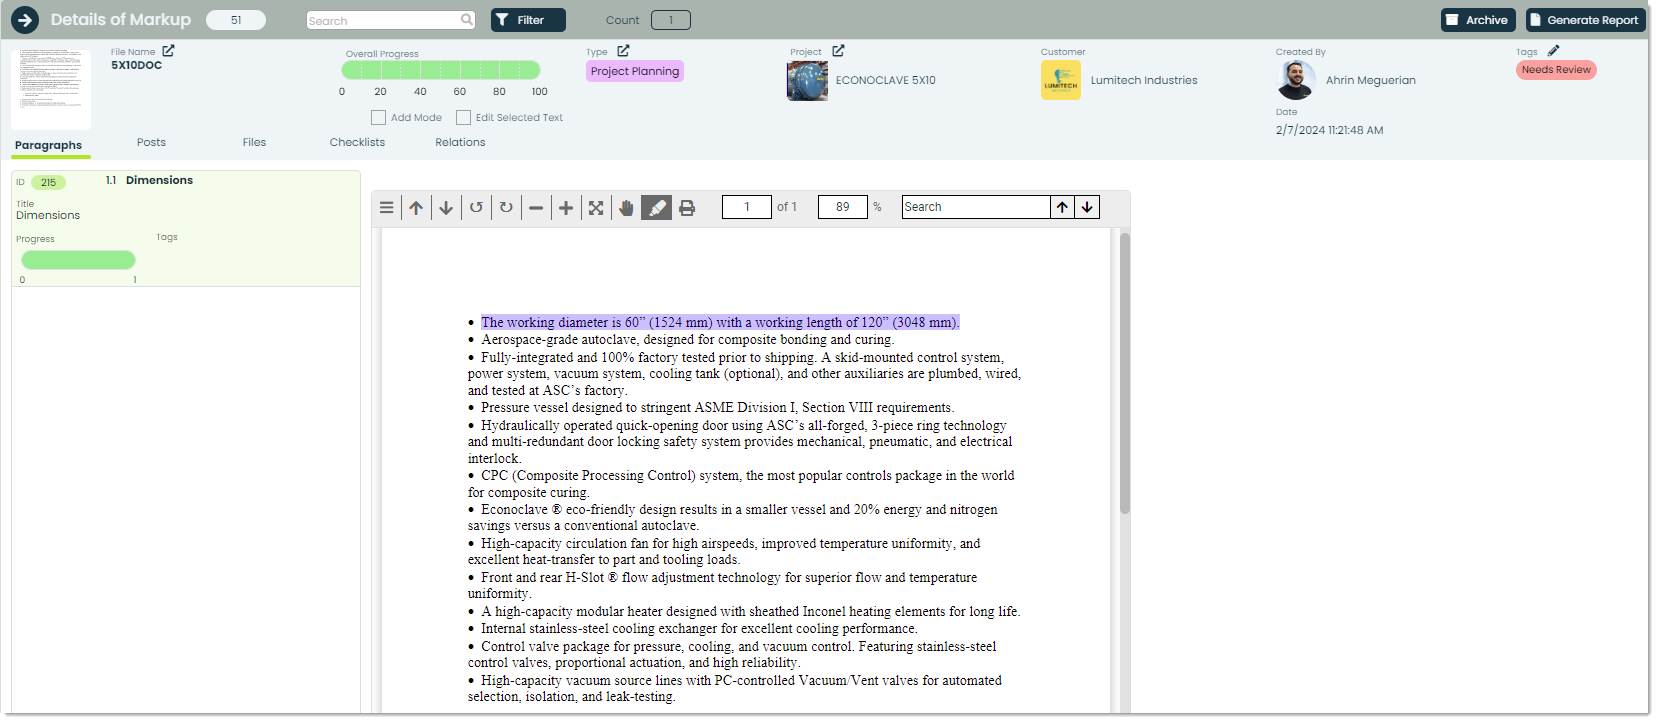
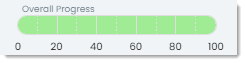
Overall Progress – Keeping track of tasks accurately is an important part of every business. You can visually see what the progress of a markup is using the progress bar found in Overall Progress. The numbers below the bar represent the percentage completion of the task.
Customer – Within the Customer field, you can easily identify the customer company associated with the project being worked on.

Created By – In Created By, you can see the name and image of the contact from your organization who was responsible for creating the Markups record.

Tags – Visually, tags are labels with customized font and background colors. They are used throughout Appward to provide better organization and searchability of your organization’s markups. Furthermore, tags offer additional context to individuals within your organization, enabling them to gain insights into the content of a record before they even access it. For more on Tags, please check out Using Tags.

Frontline features of Markups
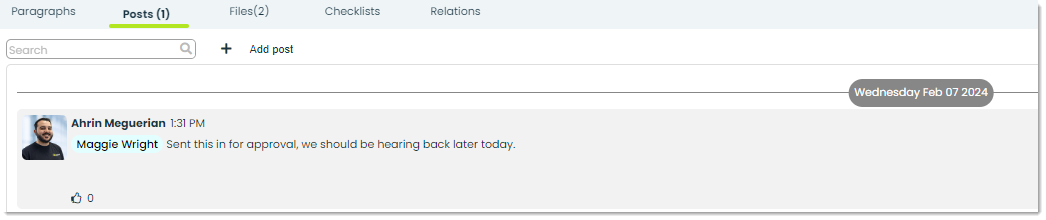
Posts – In Appward, posts function as comments that facilitate quick and easy communication, reactions, and replies among users within an organization. They server as a convenient platform for discussions or communicating with colleagues about the current status of a markup.
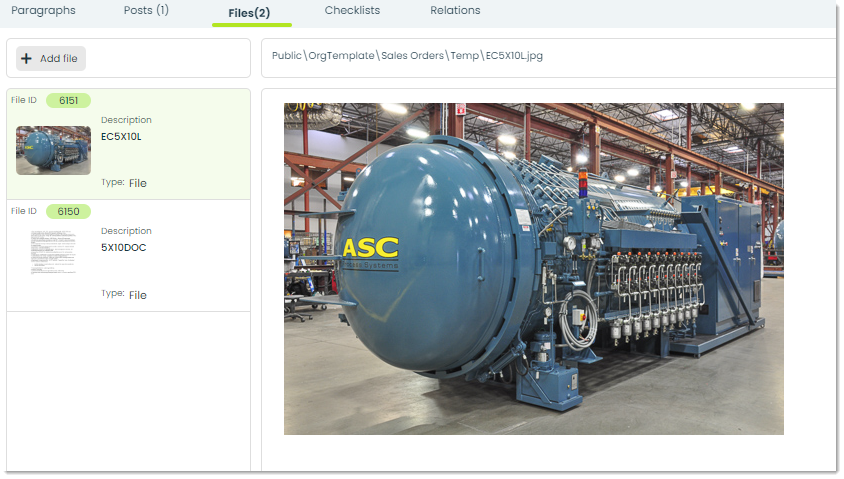
Files – In the Files tab, you have two options for attaching essential documents to a markup: directly from your computer or from the Appward Cloud. Once a file is added, you can conveniently preview it within the Files tab through an integrated document viewer. An instance where Files are frequently utilized in Markups is to offer viewers access to documents referenced within a record.
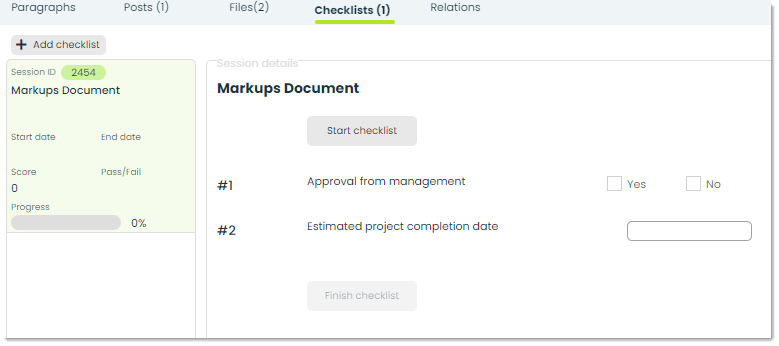
Checklists – In Checklists, users can access and interact with checklists associated with the record. These lists help track tasks, items, or criteria related to the record, enhancing workflow management and accountability. You also have the option to add a checklist directly imported from the Checklist Creator app by clicking the +Add Checklist button.
Relations – Relations enable linking records from different apps together. For example, you can link a project record from the Projects app directly to a Markups record. This makes it so you can access both records in one place, keeping all the relevant information centralized in one easy to find place.

Additional features of Markups
Help – At the top right position of most of the apps within Appward, you can find a help button. Clicking Help will bring up a menu where you can access related content such as Tours, Articles, and FAQs providing you with additional information about the Markups app. Tours are particularly effective in improving and simplifying the onboarding experience for new users.

Archive – Most apps in Appward incorporate a feature known as archiving. Archiving proves to be a useful tool for temporarily hiding survey records from view without permanently deleting them. Archived records are concealed from the main screen but can still be accessed through specific search filters.

Reminders – You can set reminders for yourself within Markups, to make sure you never miss an update on the progress of a delivery.

Copy – You can easily duplicate a Markups record by clicking the Copy button at the top right of the app screen. When pressed, this will create an identical copy of the record you currently have selected. This is a great way to save time when inputting multiple paragraphs that share minuscule differences.

Delete – To delete a Markups record or paragraph, you can do so using the Delete button. These records will be sent to the Deletions app, where you can recover them for five days.

Generate Report – During the course of or at the completion of marking up a document, you may want to have a printable and downloadable version of the changes made. This is where Generate Report comes in handy.

Upon pressing Generate Report, a PDF will be created highlighting the details of the paragraphs within your Markups record.

Searching & Filtering – Built into every app within Appward is the ability to use advanced searching and filters to precisely locate and access the information you need. You can use the search bars found at the top of the app screen to conduct a general search of record, or click on the Filter button to perform an advanced search, helping you fine tune your search.
