Table of contents
Getting Started with Pinpoint
Tuesday February 20, 2024-17 min readWhether you’re in charge of a warehouse, factory, shop, or office, understanding the location and condition of your assets is essential for efficient resource allocation. This guide is designed to help you navigate Pinpoint’s features, offering insights into managing personnel, assets, projects, and work orders through a comprehensive, bird’s-eye view of your entire business.
Let’s get started
To access the Pinpoint app, navigate to the Operations category and select Pinpoint.

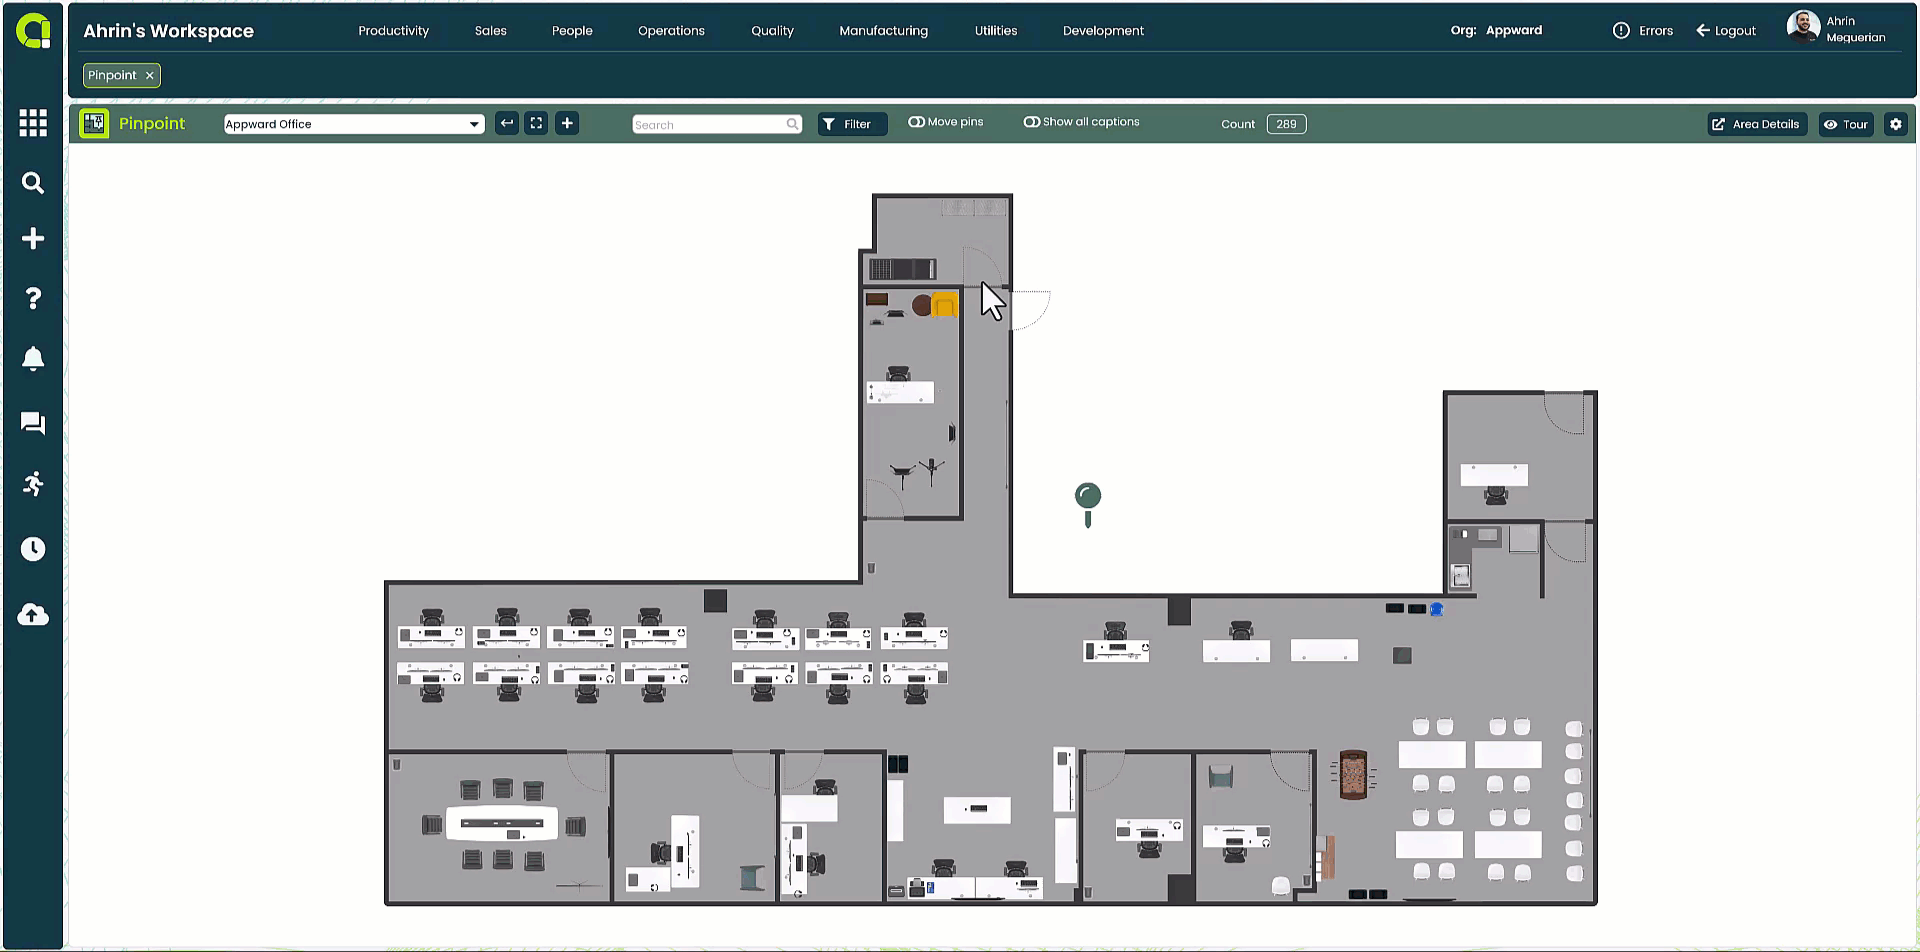
Upon entering the Pinpoint app, you’ll be shown your organization’s set default area and its associated pins.
Note: If this is your organization’s first time using Pinpoint, this screen will be empty.
How to add a new area
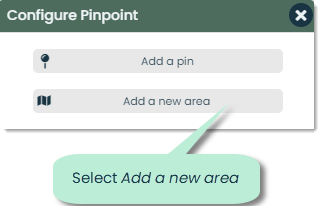
To add a new area, navigate to the top right corner of the app screen and select the Configure button. This will bring up a menu, where you can select to add a new area.
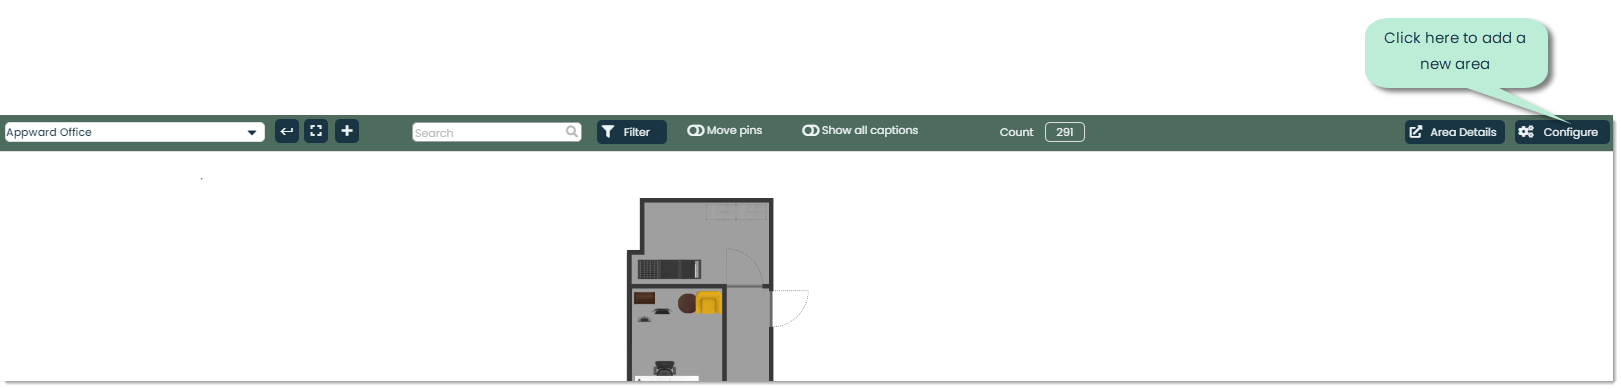
This will bring up a menu where you can either select to create a new pin or a new area. Let’s select the option to create a new area.
You’ll then be prompted with the Add a pinpoint area popup, where you can define the details of the area you are adding. Let’s go over the available fields.
Step 1
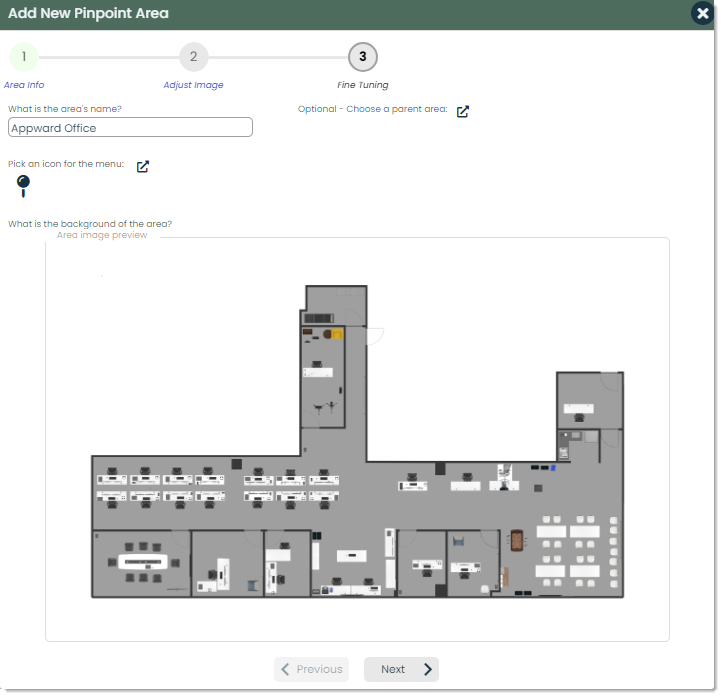
Current step – In the process of creating your Pinpoint record, there are three essential steps you’ll move through. Let’s go over these steps.
Area Info: The initial phase involves detailing specific information about the area. Here, you can define various aspects such as menu icons, parent area, area name/title, and even the image itself.
Adjust Image: In the Adjust Image step, you can customize the image as necessary to align with your organization’s requirements.
Fine-Tuning: The final phase, Fine-Tuning, is where you can fine tune the details of your image. Here, you can carefully set points to resize your image accurately. By moving these points around, you can fine-tune the background of your area to match the size and look you want.

Area name – This is where you can define the name or title of the area.

Parent area – In Parent area, you can click on the external link icon to select from a list of existing areas. This is especially useful when you are focusing on an area that is found within a larger area.
Menu icon – You can set an icon for the Pinpoint record menu, simply click on the external link icon and choose from a list of available icons.

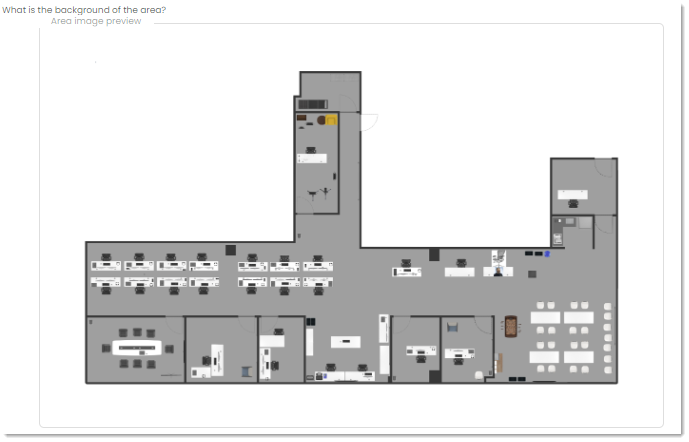
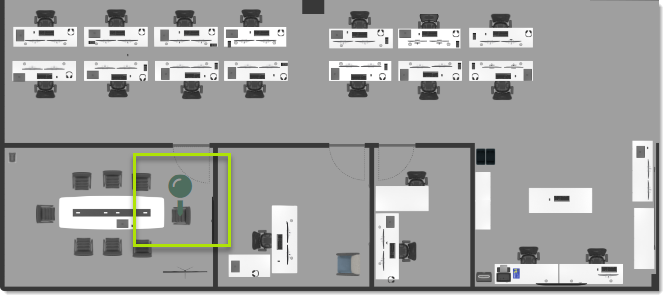
Area background – The Area background is where you add the main part of the record: a map of the area. It serves as the foundation upon which all other information can be organized. Having this level of detailed visual representation gives individuals in your organization the ability to gain a comprehensive understanding of the area.
Step 2
The second step of the add process focuses on the required adjustments being made to the pinpoint background.
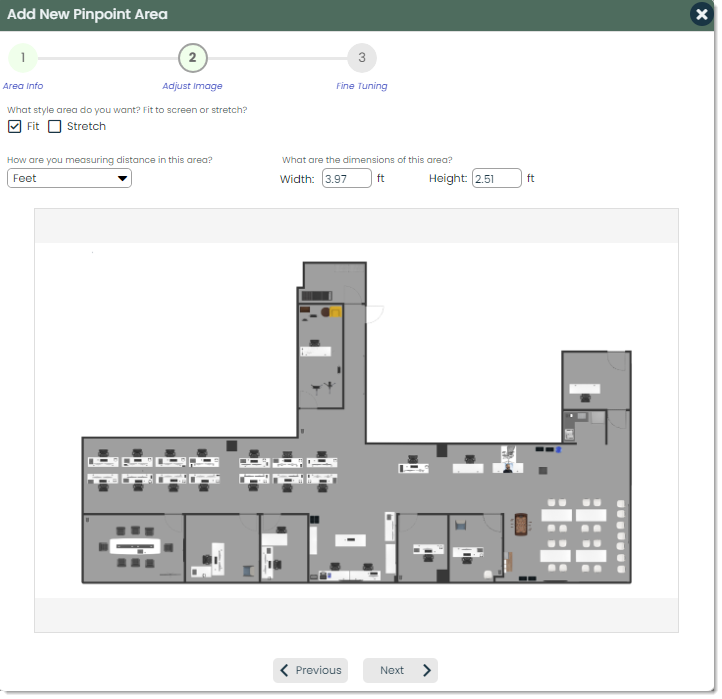
Area style – In Area style, you can select the way your organization requires the image to be displayed.
Fit: When the image is set to Fit it means that the entire image will be displayed within the designated area while maintaining its original aspect ratio. This ensures that the image fits entirely within the defined area without any distortion.
Stretch: Setting the image to Stretch means that the image will be resized to fill the designated area, regardless of its previous dimensions.

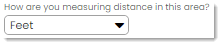
Distance unit – A Distance unit is a standard measure your organization uses to define the space between two points. You can select the required units to fit your organization’s needs by clicking on the drop-down menu and selecting the units your organization needs to use within the Pinpoint app.
Dimensions – Within this field, you have the ability to specify the dimensions of the area. More precisely, you can determine both the width and height using the units established in the Distance unit field.

Step 3
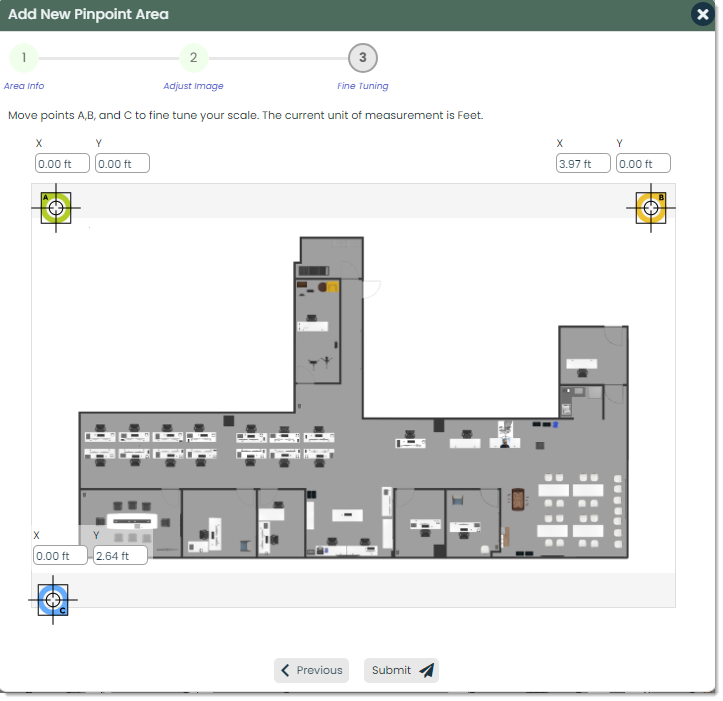
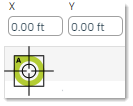
Points – You have the flexibility to adjust points to create a customized scale for your area. There are three points (A, B, C) available for manipulation, which can be moved and adjusted based on your organization’s requirements. You can either drag these icons or utilize manual input to define values within the X and Y fields.
How to add a pin to an area
To add a pin to an area, you should first make sure you are viewing the correct area, then press the + icon at the top of the app screen.

This will bring up the Add a pin popup, where you can input the details of the pin you are adding. Let’s go over the fields within this popup.
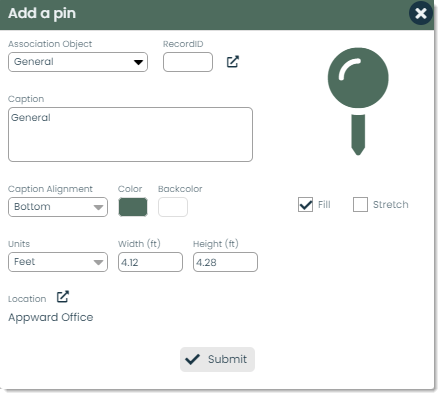
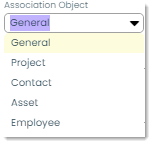
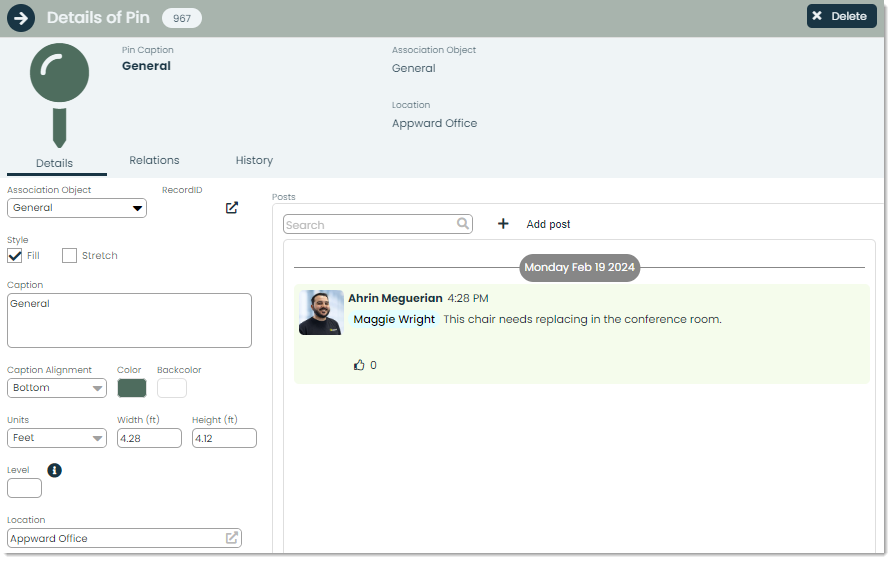
Association Object – In the Association Object field, you have the option to choose from a list of objects to which you want to connect your pin. When you link an object to a pin, you are essentially associating the pin with an application. For instance, if you link a pin to a contact, it indicates that the pin represents a contact within your organization’s Contacts app. This helps establish clear connections between pins and their corresponding entities within your organization’s ecosystem.
Pin Image – This is the image that will be linked to your pin. You can choose from a variety of options: select built-in Font Awesome icons as your image, or upload images directly from your computer.
Caption – The name or title of the pin.

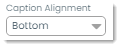
Caption Alignment – Aligning your defined caption is important to ensure readability and clarity. In this field, you can select the alignment for the caption using the provided drop-down menu to ensure that the asset’s caption is displayed appropriately.
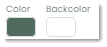
Color/Backcolor – When selecting the image to be a Font Awesome icon, you
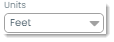
Units – The units your area will be using.
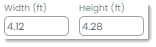
Width/Height – You have the ability to specify the width and height of the pin using units of your choice.
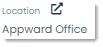
Location – This is the location of where the pin will be placed. You can select the location by clicking on the external link icon and selecting from a list of locations defined within your organization. These locations can be defined within the Locations and imported directly into many of the apps in the Appward ecosystem.
Submit – When you have input all the necessary information for your pin, you can press submit to place it within your area.

After pressing submit, your newly created pin can be seen within the area and moved around as needed by clicking and dragging.
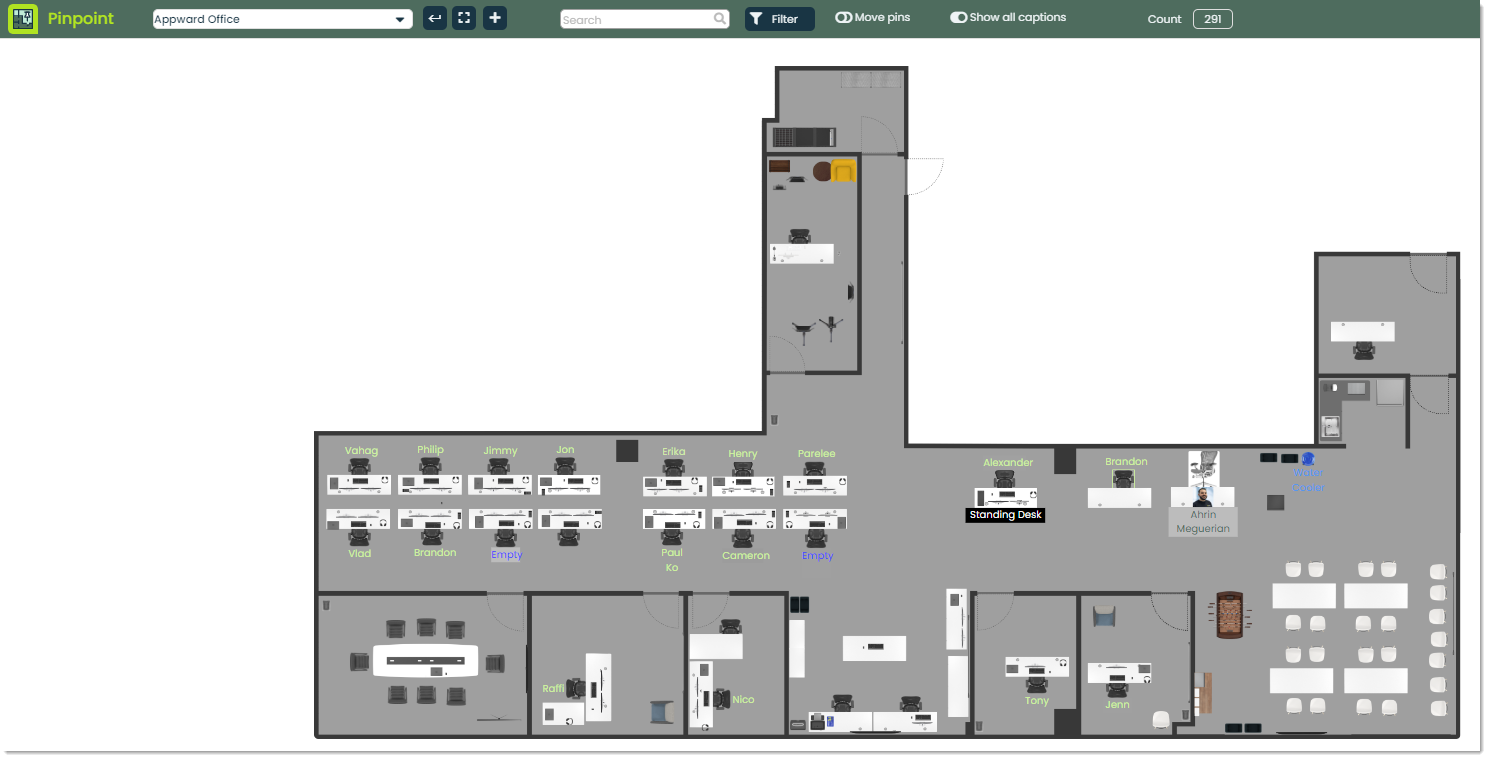
To view the details of a pin, simply click on it. This will reveal a details flyout, highlighting its characteristics.
Searching and filtering records
The ability to search for what you need when you need it is important. Appward’s advanced search and filtering is built into every app. Let’s go over how you can use it to improve your workflow.
At the top of the app, you’ll notice a search bar.

Within the search bar, you can use advanced searches to find the information you are looking for.
Here are some examples of the fields you can search for:
PinID(pinid=1)
AreaID(areaID=1)
Name(name=office)
Asset(asset=chair)
Contact(contact=ahrin)
Employee(employee=ahrin)
Project(project=studio)
Caption(caption=shop)
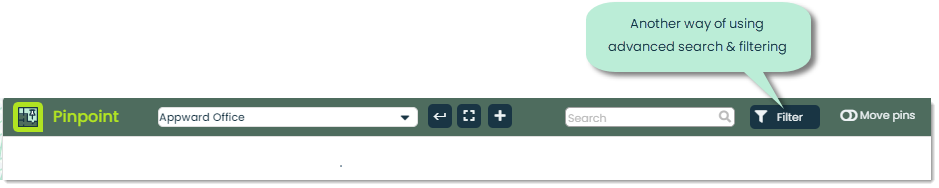
Another way to conduct an advanced search is to use the filter button at the top of the app screen.
This will bring up the Filters popup, where you can fine tune your search using multiple parameters.
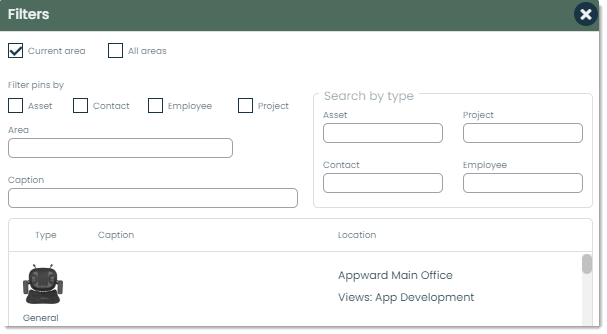
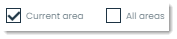
Area filtered by – In this field, you can select the group of areas you will be filtering from. You can filter from the area you are currently looking at by selecting the Current area checkbox, or select from all of your organization’s areas by selecting the checkbox for All areas.
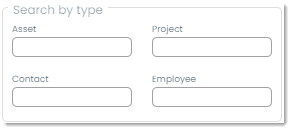
Filter pins by – One of the important features of Pinpoint is creating and managing pins within your organization’s areas. You can search and filter for these pins by selecting pins based on their type. You can select from the types Asset, Contact, Employee, and Project.

Area – In Area, you can define search for and define a specific area by typing in provided text box.

Caption – This is where you can search by the name or caption of a pin or asset.

Type – You can categorize the assets, projects, contacts, and employees within your Pinpoint by the type you select. Visually, types are labels with custom names, colors, and images that can be assigned to records throughout Appward. However, types provide you with a way to organize your data in a fully flexible, customized way to suit your business. As an example, a contact who is employed by your company could be labeled with the type “Employee”. For more information on Types, please check out
Using Types.
Frontline features of Pinpoint
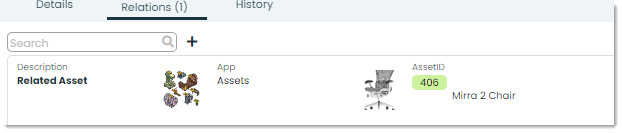
Relations – Relations help connect records from different apps. For example, in Pinpoint, you can link various assets across your company to a single record, keeping everything organized in one place and maintaining context.
History – In the History tab, you can access an activity log associated with the Pinpoint record you’re currently viewing. This log shows you a chronological list of changes, including the date, description of activity, author of the change, and the name of the application where the change was made.

Posts – In Appward, a post is a comment that’s open for likes and direct replies from other members of your organization. Let’s go over some of the features you can use when writing a post.
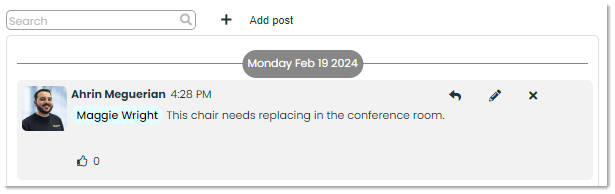
Reply: With the reply button, you can respond directly to a post with your comments or thoughts, creating a threaded conversation.

Edit: This button gives you the opportunity to edit your own post after it has been published. Editing is limited to the creator of the post.

Delete: This button allows you to remove your own posts from the platform. Once the post is deleted, it will no longer be visible to other members of the organization.

Additional features of Pinpoint
Help – The Help button is conveniently located in the top right corner across most apps in Appward. This invaluable resource provides insightful tours and information tailored to guide you through navigating the app effectively. These tours are interactive, step-by-step visual guides created to equip you with the knowledge needed to utilize all the features of Pinpoint.

Delete – You can delete a Pinpoint record by clicking the Delete button. This will send the record to the Deletions app, where it will be available to recover for five days.
