Table of contents
Getting Started with Special Events
Tuesday July 18, 2023-11 min readIntroduction
Special Events is an used manage your invitations to organized events, such as conferences, summits and parties. This guide will cover the different parts of the app and how to manage your event invites.
Let’s get started
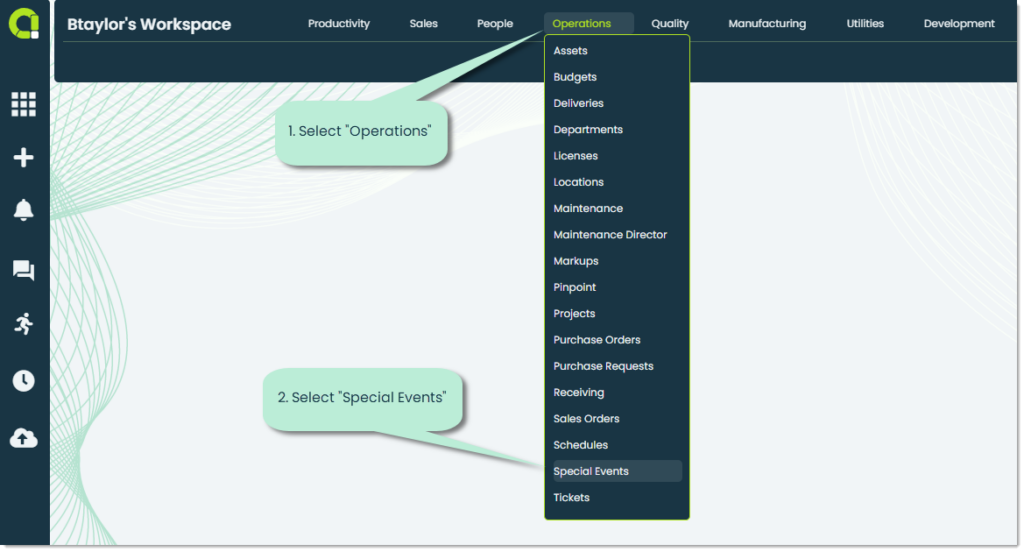
To open Special Events, go to the Operations section of the main navigation bar and select Special Events from the dropdown.
When you first open the app, you will see an empty screen that looks like this:
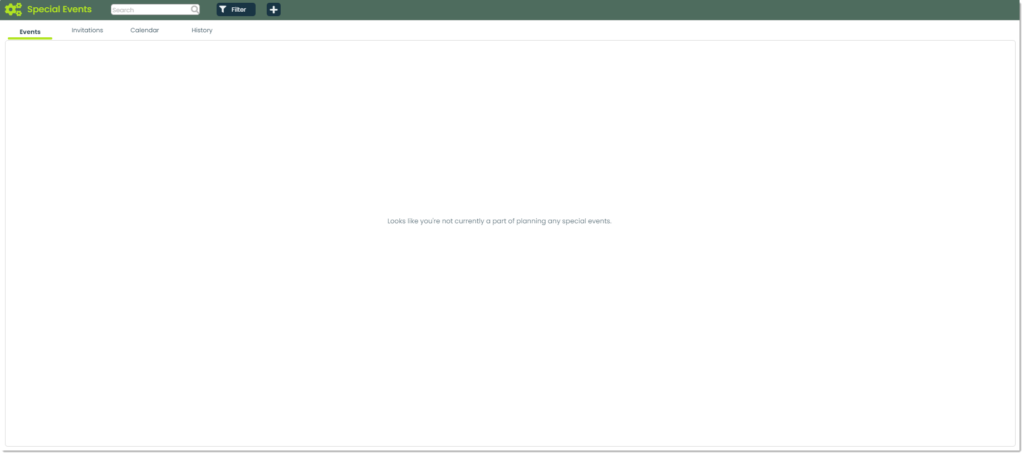
Let’s go over each tab.
- Events – This tab contains all events for which you are a planning member. You can control the different aspects of the event from this tab.
- Invitations – This tab is for the events that you have been invited to. This is the section where you would RSVP to an event.
- Calendar – This tab provides a calendar view of any special events.
- History – This tab provides a detailed log of any changes made to any special events. This is useful for tracking who made edits to specific events.
How to add an event
To add a new event, click the “+” button at the top of the main screen.

A popup will appear for you to add the details of the event. Let’s go over the different fields that you can enter.
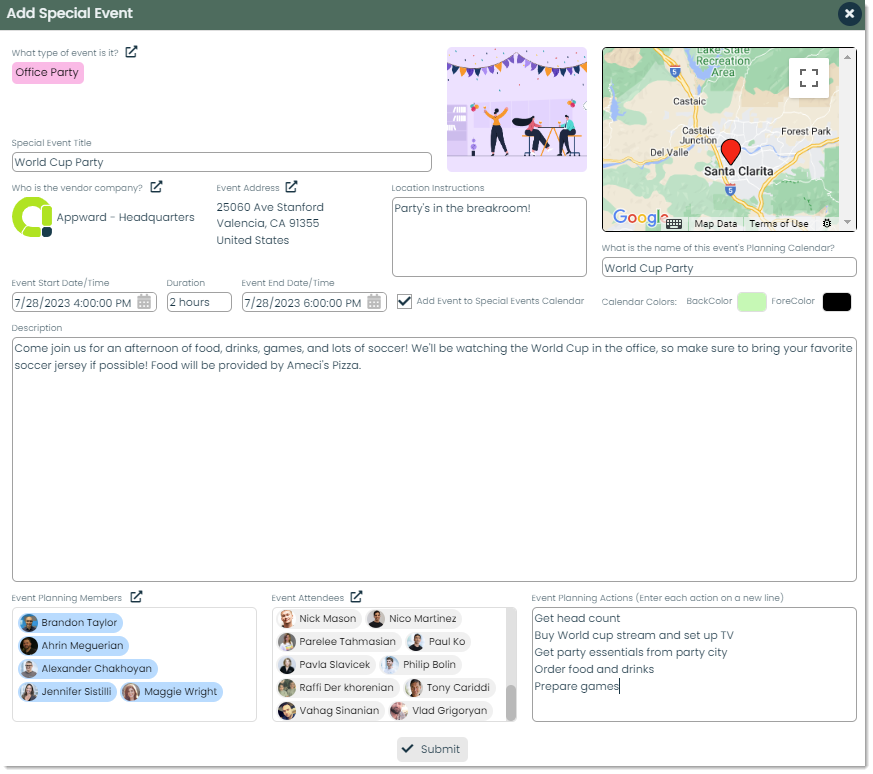
Event type – You can categorize your event by indicating an event type. You can create your own types depending on the type of event. For example, a type could be “Social Outing” or “Conference”.

Title – This is the name of the event.

Vendor company – If the event is being run by or for a specific company, you can indicate that company here. Companies are imported from the Companies app. There is an option to create a company at the time of selection if it has not yet been created.

Event address – This is the address of the event.
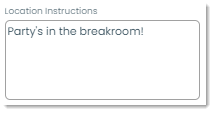
Location instructions – If there are any additional instructions for getting to the event, you can add those in this field.
Name of event’s planning calendar – You can name the calendar of the special event. This is for the purpose of importing the calendar into the Calendars app.

Date/time and duration – You can indicate the start date and time of the event and how long the event will be. Based on the duration that you enter, an end date and time will automatically populate.

Add event to Special Events calendar – This option will send the event to the Special Events calendar. You can view the event in calendar view.

Calendar colors – You can customize the colors that the event will show up as in calendar view.

Description – This is a description of the event. It should be an informative text that indicates what the event is, its purpose, and some helpful directions.

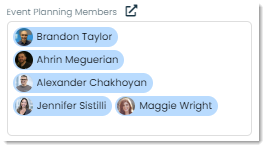
Planning members – Planning members are those that have access to the decision-making of the event. They can view the event in the “Events” tab before any invitations are sent out, and they have the ability to control the different aforementioned fields.
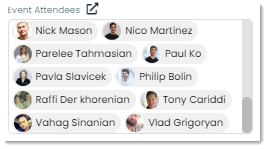
Attendees – This is the list of all people that you want to send an invite for the event, regardless of if they are attending or not.
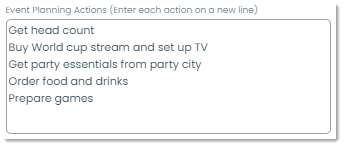
Planning actions – This is a list of steps to be carried out in preparation for the event. Each new line indicates a new action. Once you have submitted the event, you can go back into these actions and add in more details for each.
Once you have filled out the event form to your liking, click “Submit” and the event will be created.
How to view, edit, archive or delete an event
Once you have created an event, you can view its details by clicking on it from the “Events” tab. A flyout will appear where you’ll be able to modify the different fields of the event.

To make any edits, simply make the change and Appward will handle the rest with its smooth auto-saving feature.
To archive or delete an event, click the button in the top-right of the event’s details page. Archiving is for removing an event from the event list with the ability to restore it. Deleting is for fully removing an event from the event list.

How to manage event invites
Once an event has been created, you can send out invites. To do this, go to the details of the event by clicking on it and selecting the “Invitees” tab.
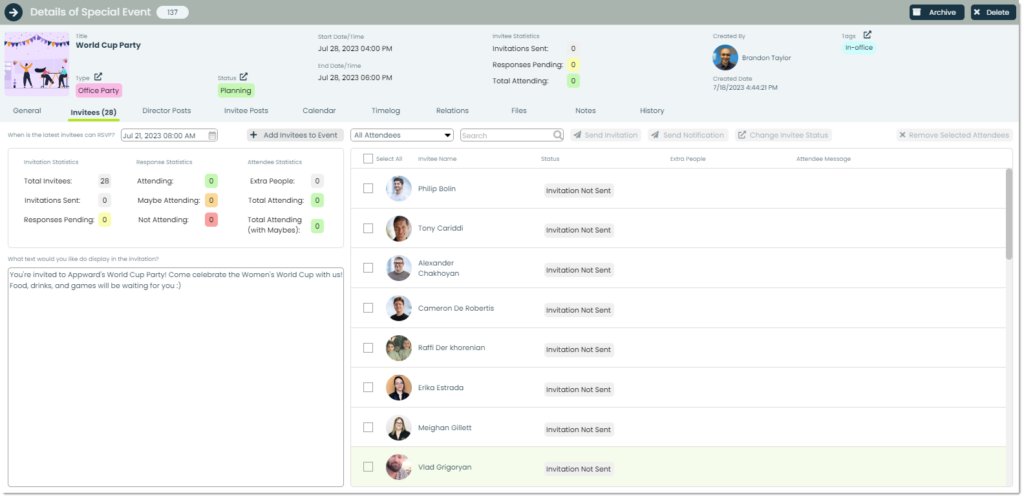
This is where you can control the invites sent out and view the statistics of people attending the event. Let’s go over the various fields on this page:
Latest RSVP date – You can use the date picker to select the latest that an invitee can RSVP by.

Add invitees – You can click this button to modify the group of people you’d like to invite to the event. The selector will default to contacts from your company, but you can change this by removing your company name from the top filter.

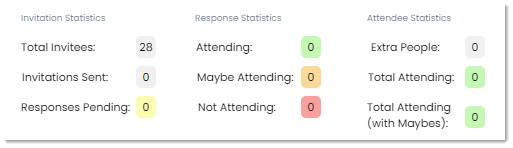
Invitation, response, and attendee statistics – This is a helpful section for viewing the statistics of your event. It’s an easy way to get a head count and plan out the necessary resources.
Invitation display text – This is the text that will get sent out with the invitation.

Attendees viewer – The right side of this screen is where you’ll see the various attendees of the event. Attendees include everyone that may or may not be attending the event. You can filter the viewer by “All Attendees”, “Attending”, “Maybe Attending” , “Not Attending”, “Response Pending” or “Invitation Not Sent”. To send out invites, select the attendees from this viewer that you’d like to invite and click the “Send Invitation” button. Each invitee will receive a notification of the event and will now be able to see the event under the “Invitations” tab.
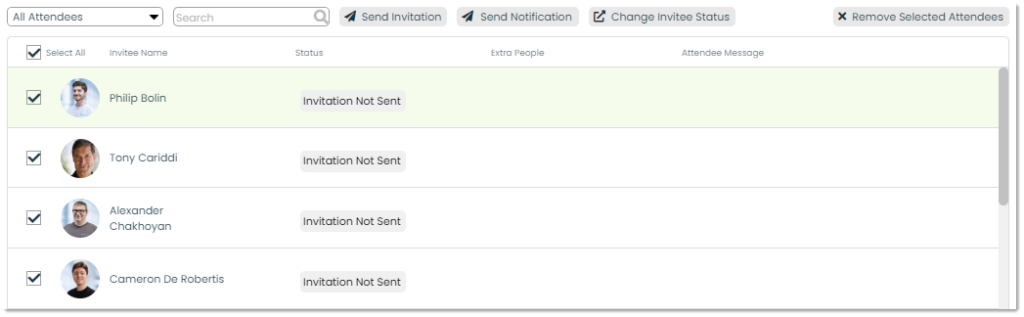
In addition to sending invites, you can send out notifications to your attendees. This could be for any event updates, reminders, or cancellation notices. Also, if any invitee happens to change their invite status (someone gets sick and can no longer attend, etc.), you can modify their status with the “Change Invitee Status” button. Finally, you can remove any invitees by selecting them and clicking the “Remove Selected Attendees” button.
How to RSVP to events
The previous sections covered events created by you. This section will cover the events that you have been invited to. These are found in the “Invitations” tab of the main page.
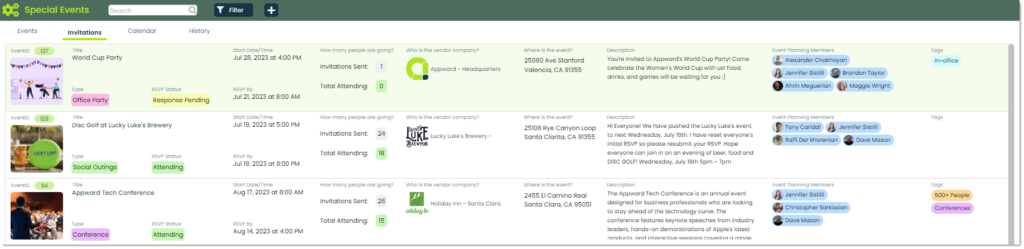
The main screen of the Invitations tab provides a lot of information regarding an event. You can see the type of event, your RSVP status, the number of people going, and more. To manage your RSVP status for any event, click on it to bring up the invitation details. At the bottom of the flyout, you’ll see a section which says “Will you be attending this event?” You can select from the following three options:
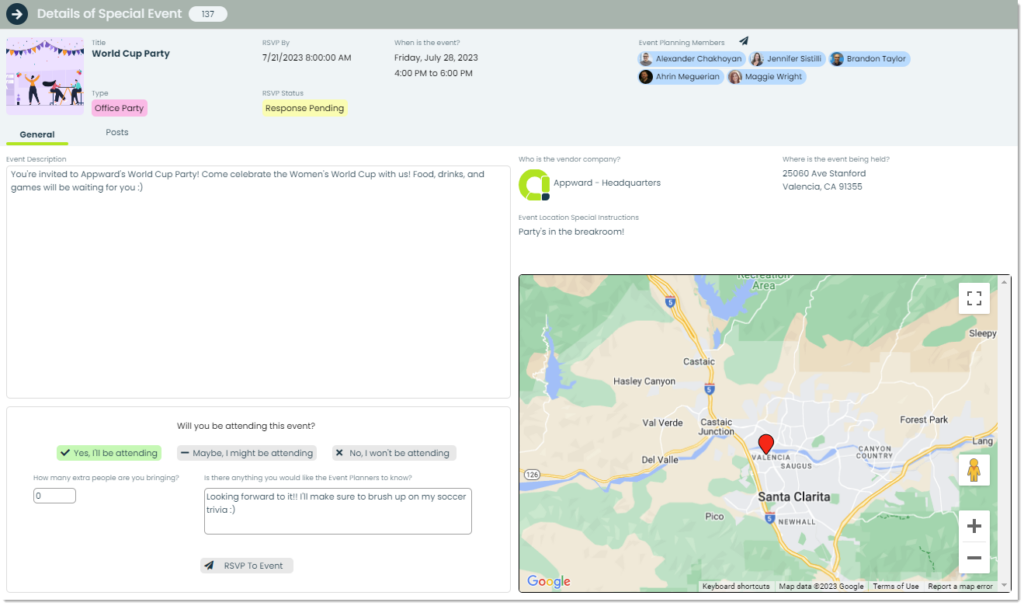
You can also indicate any plus one’s or additional information for the event planners to know. To submit your RSVP information, click the button at the bottom of the screen.