Table of contents
Getting Started with Trips
Wednesday September 13, 2023-13 min readTrips is a dedicated application for efficiently handling travel logistics, bookings, and coordination. It simplifies the management of travel data, expenses, itineraries and traveler profiles across your organization. This guide will cover how to add, view, and manage trips within your organization.
Let’s get started
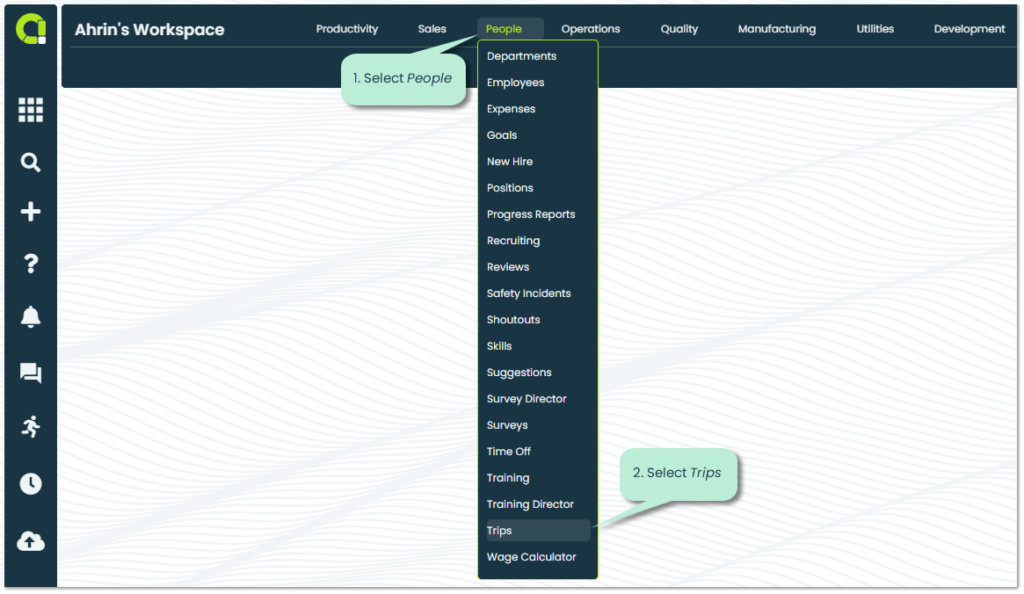
To open the Trips app, go to the People category of the main navigation bar and select Trips.
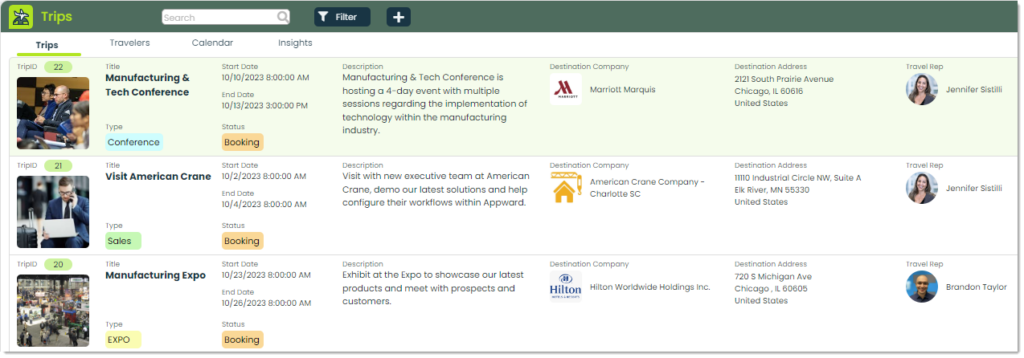
When you open the app, you will see a screen of previously created Trips within your organization. Let’s cover what each of the tabs has to offer.
Note: If your organization has never created any records, then this screen will be blank.
Trips – This is the default tab when you open the Trips app. It displays a list view of all Trips within your organization ordered by most recently created.
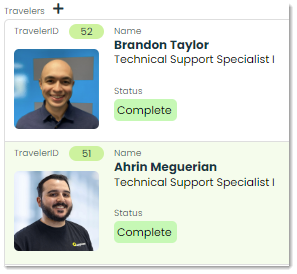
Travelers – Travelers refers to the team members designated to undertake the journey on behalf of your organization, with the responsibility of executing the specific tasks assigned for the trip. You can include necessary team members by clicking Select Travelers and selecting the relevant individuals from your organization’s company list.

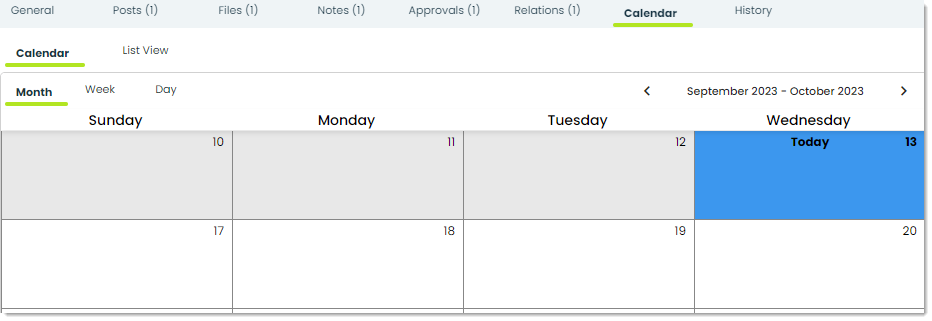
Calendar – This tab presents a view of upcoming events on your calendar, which can be organized by month, week, or day. It offers a valuable tool for staying organized and efficiently coordinating your schedule, especially during the busiest of times. You can leverage these calendars to ensure both yourself and your colleagues stay well-organized throughout the entire travel process.

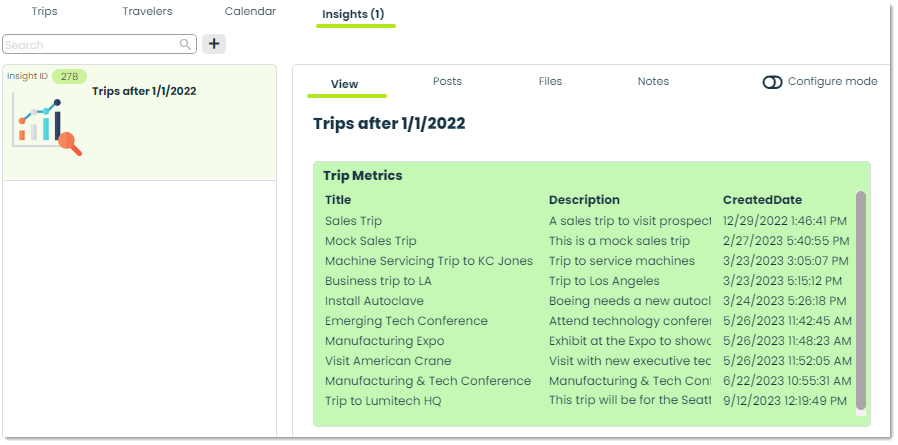
Insights – This tab servers as a data analysis tool for your trips. You have the flexibility to set up customized SQL queries to gain valuable insights from your trip data, including details about trip duration or approval date.
How to add a new trip
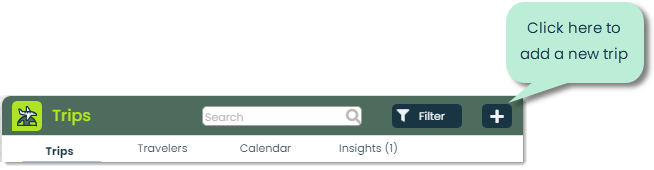
You can add a new trip by clicking the + button at the top of the app screen.
After doing so, you’ll reach a screen where you can input details for a new trip. Let’s review the various fields together.
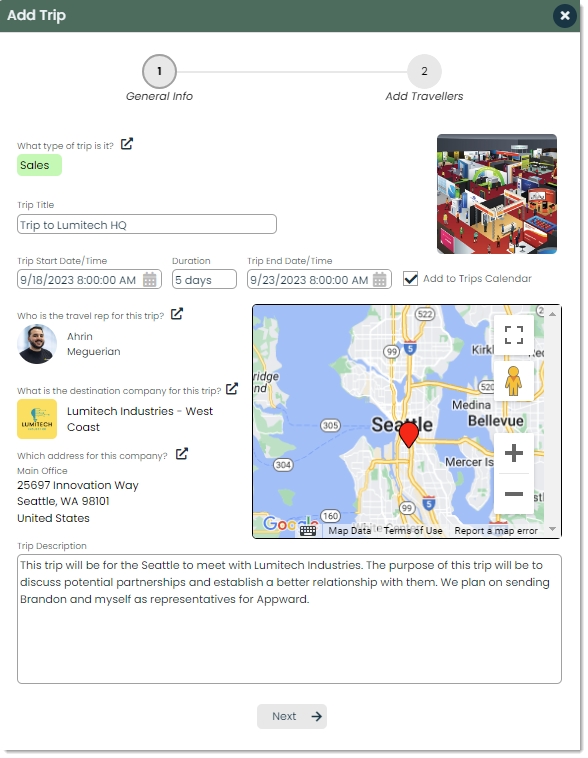
Progress – The primary purpose of this field is to provide you with real-time visual feedback on the progress of the creation of the trip. You can utilize the progress bar to monitor the current status of a trip by clicking on the fields directly to switch between General Info and Add Travelers.
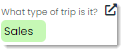
Trip type – You have the option of classifying you trips by specifying a trip type. You can create your own types depending on the type of the trip. For example, you might establish a type named Sales for trips with a sales-oriented focus.
Trip title – This is the title of the trip. Titles should be clear, concise, and inform the viewer on the contents of the trip.

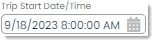
Trip Start/End – This is where you can define the dates of when the trip begins and when it concludes. These dates play a big role in the planning, scheduling, and tracking the duration of the trip.

Duration – In this field you can define the length of time that the travelers will be away from their regular place of work. You can specify the duration in minutes, hours, and days.

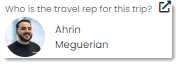
Travel rep – Travel representatives serve as the liaison between travelers within your organization and travel service providers. You can assign a travel rep to handle essential tasks such as booking and reservations, itinerary planning, travel documentation, and even managing the overall budget of the business trip.
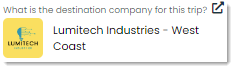
Destination company – In this field you can specify the company you are making the business trip to. For example, if you are making a trip to Lumitech Industries, you can select the company by clicking on the picker icon and selecting them from the list of company contacts.
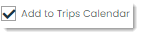
Add to Calendar – You can add a trip to your calendar by simply ticking the Add to Trips Calendar checkbox. This will automatically input the trip details into the calendar of all individuals involved, helping you stay organized and on schedule.
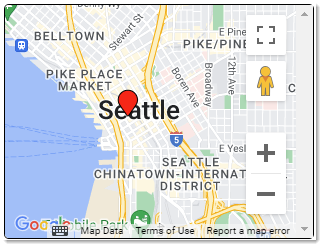
Map – This map showcases the location of the Destination company using Google’s map API, providing you with valuable location information
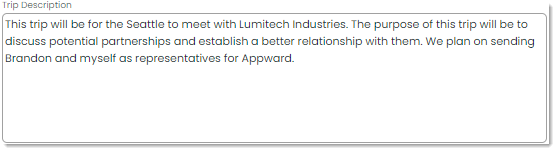
Trip Description – This is a short description of your upcoming trip. It should provide your readers a general idea of what the purpose of the trip is.
How to view trip details
After creating a trip, access its details by simply clicking on it within the Trips tab. A flyout will appear, where you can view the different fields of the trip.

Let’s review the additional fields within the trip details.
Tags – Tags are labels assigned to trip records to categorize, organize, and identify them based on specific characteristics. As an example, a short business trip lasting a few days can be tagged as Short Trip.

Trip Status – This field refers to the current stage of the trip being viewed. The trip’s status can be classified into five distinct state: Draft, Booking, Ready, Trip in Progress, and Complete. You can select each of these states to update the tag in the travel record accordingly. The following is a quick rundown of how you can use Trip Status to effectively update tags and stay up-to-date on the progress of a trip.
1. Draft: This represents the early stages of a trip, often referring to the early version of a travel plan. You can select this status if you are still in the process of planning your trip and have not yet finalized or booked it.
2. Booking: Booking refers to the stage of a trip when travelers or travel representatives make reservations and confirm arrangements for the trip.
3. Ready: This means that all necessary preparations and arrangements have been made, travelers are ready to go, and the trip is ready to happen as planned. You can change your trip status to Ready once you have gone through the entire booking process.
4. Trip in Progress: You can select this status when the trip is currently underway, with travelers actively on route or already present at their destination.
5. Complete: Lastly, Complete refers to the status of the trip where all planned activities and travel tasks have been completed. You can select this status when travelers have arrived from their trip, concluding the entire travel process.

Travelers – In Appward, travelers refer to the individuals who are actively participating in a trip with the objective of fulfilling tasks outlined by their organization. In this section, you have the ability to access the contact information of these travelers and easily include additional travelers using the same interface.
How to use the Frontline Features of Trips
At Appward, many apps have a set of components known as Frontline Features. You can access these features by navigating through tabs within trip details.

Let’s review the available Frontline Features for the Trips app.
Posts – A post is a comment which can be replied and reacted to by others users in your organization. You can write a post to ask questions or remind a colleague about a detail for an upcoming business trip.

Files – A file is a document that can be uploaded from your computer or the Appward Cloud and then linked to any Trip record. Files are frequently utilized as supplements, filling in details that may not have been highlighted elsewhere. You can use Files to share images, videos, and PDFs to contextually improve the record of a trip.

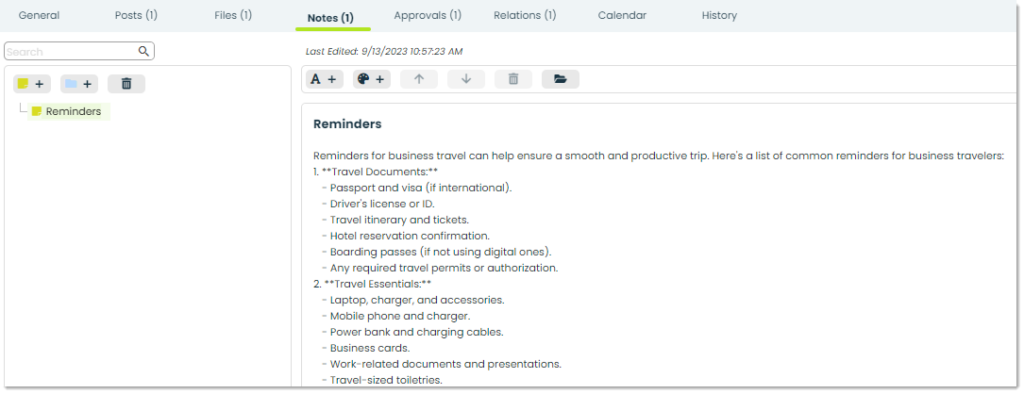
Notes – The Notes tab is where you can write and store brief written records that capture information or thoughts. You can use these notes to stay organized, provide better context to documentation, or to improve communication between you and your team
Approvals – This tab displays all the relevant Approvals required for the completion of a trip.

Relations – In Appward, Relations refer to the way in which two or more concepts, records, or applications are connected. As an example, you can directly link a record from the Expenses app that outlines the cost of something related to the trip record.

Calendar – In Calendar, you can keep track of your scheduled trips by viewing them in a calendar grid, ensuring coordination with your team.
History – You can keep track of and view any changes made to a trip record within History. Details such as date, description, application, and the name of the individual making the change can be found here.
