Table of contents
How to Add Images to Appward Using Screen Grab Software
Thursday June 20, 2024-10 min readWhat is TechSmith Capture® ?
TechSmith Capture offers a free versatile solution suitable for various purposes, whether it’s for professional tasks, personal projects at home, or even recreational activities. This will help you simplify the process of capturing and sharing images and videos from your screen, making it a great option when uploading and sharing images using Appward.
How to download and install
Step 1: Visit the TechSmith Website
1. Open your preferred web browser (e.g., Chrome, Firefox, Edge). For this guide we’ll be using Appward’s preferred browser, Google Chrome.
![]()
2. Go to the TechSmith official website by typing https://www.techsmith.com/jing-tool.html into the address bar.

Step 2: Start free download
1. On the TechSmith Capture® page, click the Free Download button.

2. Clicking the link will take you to a page where you can sign in or create a free account with your email. Then, choose your operating system (Windows or Mac).

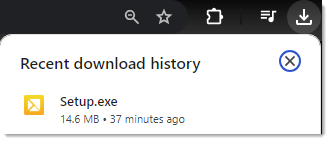
3. After signing in with your newly created account or your existing one, you can proceed with downloading the installer. You’ll see the “Setup.exe” file in your download history.
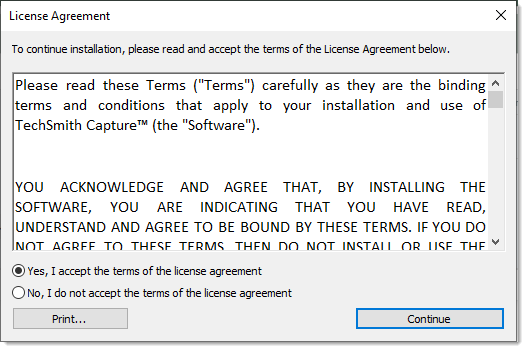
4. Click on the “Setup.exe” file to launch the installer. Read through the License Agreement thoroughly, then press Continue when you are ready to proceed with the install.
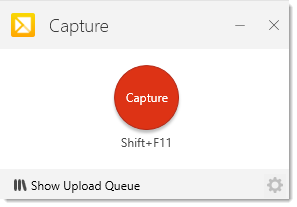
5. After the installation is complete, a small window will appear, indicating that the capture tool is now ready for use!
How to capture screen grabs
To capture screen grabs press the red Capture button, or you can use the default shortcut(Shift+F11) to trigger the capture tool. You can customize this shortcut to a more commonly used key, such as the “Print Screen” key on your keyboard. We recommend this option if it is available.
This will open a tool that allows you to select a specific section of the screen for capturing. Click and drag to highlight the desired area.

Once you’ve chosen the area you want, release the left mouse click, and a toolbar will appear. From here, you can choose whether to capture a screenshot or record a video. Let’s opt for a still screenshot.

There are some additional buttons available in the toolbar. Here’s a quick rundown of what they do.
Image – This button captures a still image of the selected area.

Video – This button starts recording a video of the selected area.

Dimensions – This button allows you to adjust the dimensions or size of the capture area.

Reset settings – This button resets any adjustments or settings made to the capture area, changing them back to default values.

Cancel – This button cancels the capture process and closes the tool.

After capturing your screen grab, the Image Preview dialogue will appear. Here, you can enhance your image with annotations by selecting a color and using arrows, shapes, callouts, and highlights.
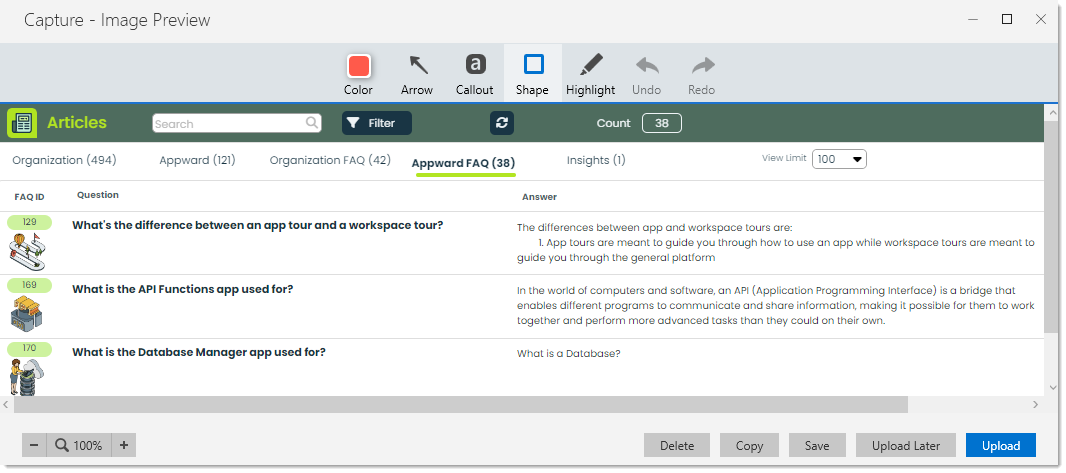
In the bottom right corner of the Preview dialog window, select one of the following options:
1. Save (Windows) / Save As (Mac): Save your content to a location on your computer. This is generally the option you want to select when taking a screen grab for Appward.
2. Copy: Copy the content to your clipboard for pasting in other locations.
3. Delete: Permanently delete the content.
4. Upload: Upload your content to the selected destination (This uses Screencast or Knowmia Pro).
5. Upload later: Add the capture to the Upload Queue to upload it later.
Let’s press the save option. You’ll then be asked where on your device you would like to save the screen grab. Select the destination folder of your choice.
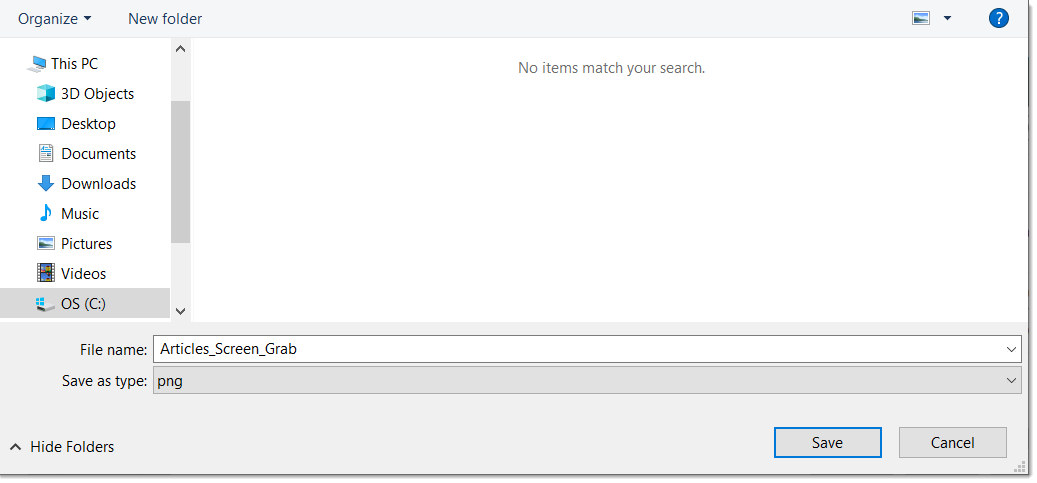
Press Save to confirm the destination. You’ll then be shown a confirmation from TechSmith that your photo has been saved.

How to use screen grabs in Appward
Uploading images to Appward is often used for updating tile images, which visually represent records or types within the platform. Let’s walk through the process of updating a tile image for a record in one of our most popular apps, Actions.
First, capture a screenshot of the image you wish to use as the new tile image. For optimal results, the image should be square, ideally sized at 300×300 pixels. Using TechSmith Capture, specify the desired dimensions during the capture process.

To update the tile image for an action, hover over the tile image while viewing the details of the record.

Click the + Image button. This will display the various options available for updating the app tile.
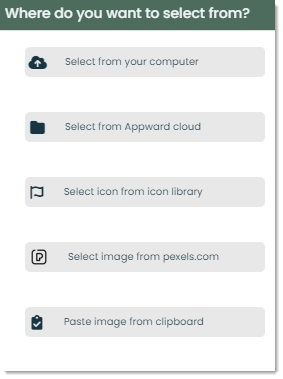
Select from your computer – Choose and upload files directly from your computer. These files will be placed in the app record’s folder. To update the app tile with a screen grab saved to your computer, select this option.
Select from Appward cloud – Access the Appward cloud file explorer and choose from files stored in your Organization, Personal, or Public folders.
Select from Icon library – Choose an icon image from Appward’s extensive icon library, which includes Font-Awesome, Google, and Appward icons.
Select image from pexels.com – Select an image from the public image collection available on Pexels.com.
Paste images from clipboard – Paste an image copied to your clipboard directly into the destination folder. You can copy an image to your clipboard by right-clicking the image and selecting Copy or by highlighting the image and using the shortcut Ctrl+C.
Choose the Select from your computer option, navigate to your saved photo, select it, and your tile image will be updated.
In every HTML editor within Appward, you’ll see many tools at your disposal. One of the most commonly used ones is the Insert Image button. Let’s go through the process of adding an image to an Article.

When you click this button, a window will appear with options for selecting an image source. This utilizes Appward’s cloud explorer, which you can read more about in our Using File Explorer guide. Choose the option to pick a file from your computer.
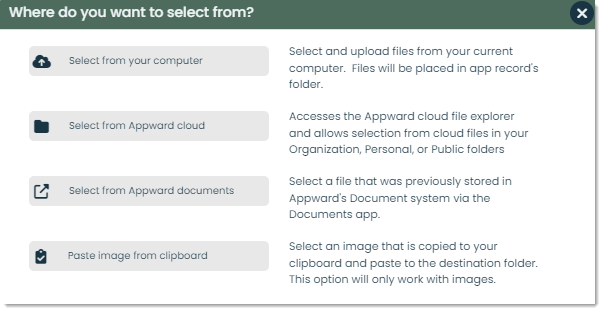
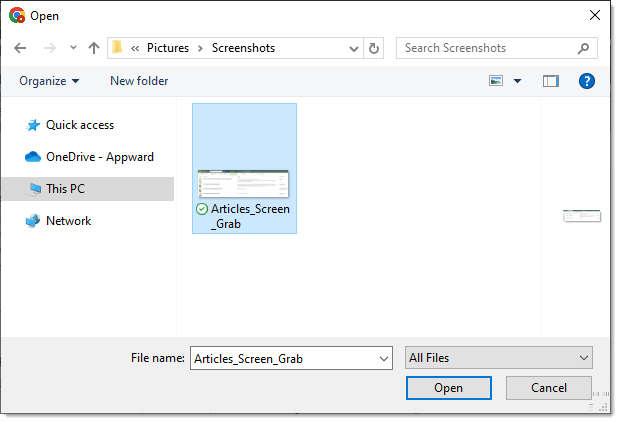
Then, navigate to the folder where your screen grab is saved. Highlight it and press the Open button to upload it to your Appward article. Your image will now be uploaded to the Appward cloud.
