Table of contents
Getting Started with Deliveries
Friday January 19, 2024-12 min readIntroduction
Appward’s Deliveries app simplifies delivery management. Its user-friendly design and features allow you to track delivery status, customer comments, and communicate with your team effortlessly. Receive timely updates on delays or successful deliveries through notifications sent directly to your workspace. This guide will show you how to get started with the Deliveries app and take control of your company’s logistics with ease.
Let’s get started
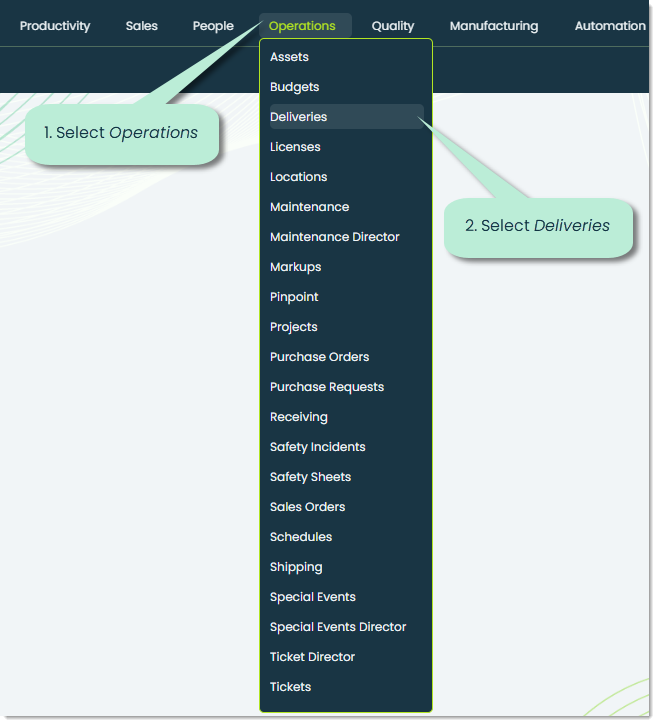
To open the Deliveries app, go to the Operations section in the main navigation bar and select Deliveries.
When you open the app, you’ll see a list of your organization’s deliveries. Let’s check out what the deliveries app offers, starting with the tabs at the top of the screen.
Note: If this is your organization’s first time using this app, the screen will be blank. We’ll cover how to add a delivery in this guide.
Deliveries – This tab gives you a list view of your organization’s deliveries. Deliveries are important for shipping and receiving in a company—they’re all about getting a package to the right person.
Board View – This tab shows a Kanban-style display of your organization’s deliveries, grouped by the stage they are in. For example, a delivery that was just scheduled will be in the “Expected Delivery” column, whereas a delivery that has already been completed will be in the “Completed” column. With the boards view, you can visualize the life cycle of deliveries within your organization and manage their stages by dragging and dropping cards into their appropriate columns.
Insights – This tab is used to analyze data from your organization’s deliveries. Using Insights, you have the opportunity to uncover and make use of valuable information related to delivery types, statuses, participants, and more. For more on Insights, please check out our Getting Started with Insights guide.
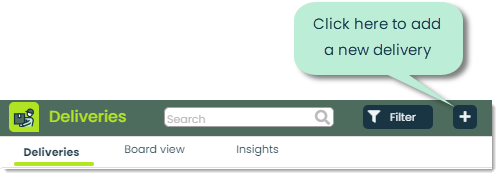
Adding a new delivery
To add a new delivery, click on the + icon at the top of the app screen.
This will bring up the Add Delivery popup, where you can add all the important details for the delivery you are adding.
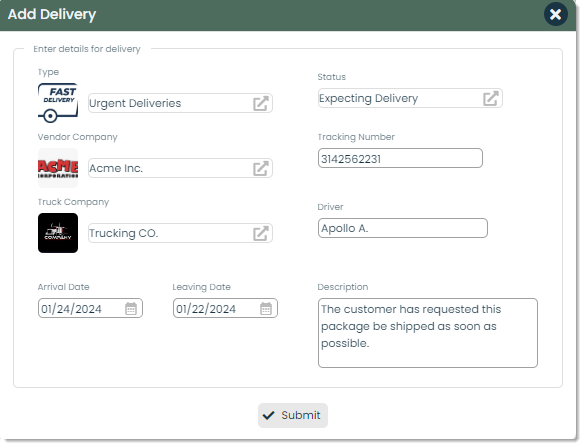
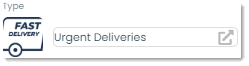
Type – Types are a way of classifying your company’s deliveries into their own categories for better organization and searchability. You have the flexibility to establish and designate types that align with the specific needs of your business. For example, you can create a type called Urgent Deliveries to classify deliveries that require immediate attention and fast delivery.
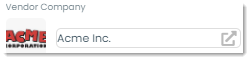
Vendor Company – In Vendor Company, you can click on the external link icon to select from a list of your organization’s company contacts. This field is designed to hold the name of the company you are delivering to.
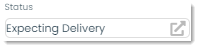
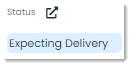
Status – Status indicates the current status of the delivery.
Expecting Delivery: The delivery is scheduled and prepared for dispatch.
Arrived: The delivery has reached its designated destination.
Complete: The recipient company has verified and confirmed the successful delivery, with no further actions needed.
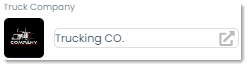
Truck Company – Specifies the trucking company responsible for transporting the shipment. This field assist in tracking and associating the delivery with the specific company.
Tracking Number – The Tracking Number is a unique identifier that is assigned to the delivery for tracking purposes. This gives you the ability to precisely monitor the shipment’s location, and any other important updates related.
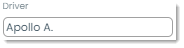
Driver – This is where you can identify the individual responsible for driving the delivery vehicle. This field helps in associating a specific driver with each delivery, helping with accountability.
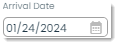
Arrival Date – Records the date and time when the delivery arrives at its destination. This information is crucial for tracking delivery timelines and ensuring timely arrivals.
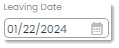
Leaving Date – The date and time when the delivery departs from its origin. This field provides insights into the departure timeline, aiding in overall logistics planning.
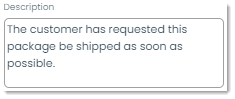
Description – This is where you can provide additional details or context related to the delivery. This field accommodates any relevant information that can enhance understanding or provide specific instructions.
Submit – When you have input all the necessary details of the delivery record you are adding, you can press submit to create the record and display it on the main app screen.

Viewing and managing a delivery
To view an existing delivery, you can do so by clicking on the record of the delivery you want to view.

This will bring up a details flyout, showcasing all the details of the delivery. Let’s go over the newly introduced fields in this view.
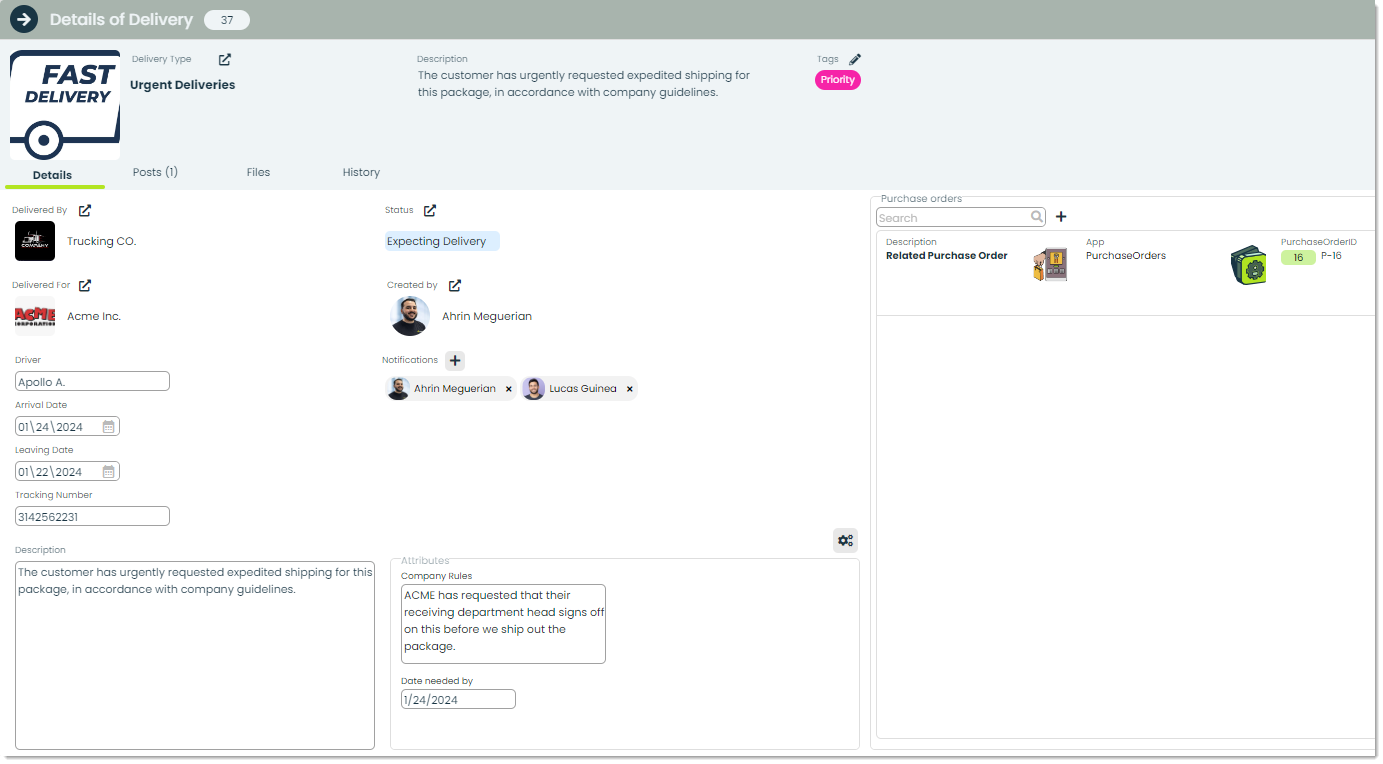
Status – In Status, you can view and update the current status of the delivery. Simply select the external link icon to pick from an available list of statuses. The available statuses can be customized depending on the needs of your organization.
Created by – In Created by, you have the option to see the contact name of the person within your organization responsible for creating the delivery record. By default, your name will appear in this field, however you can modify it to reflect any other contact from your organization as needed.

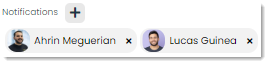
Notifications – Within the Notifications field, simply click the + icon to choose recipients from a list of contacts who should receive updates on the delivery status. Notifications are dispatched to the select contact’s workspace, providing them with a convenient one-click access to the record.
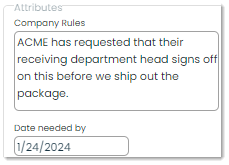
Attributes – Attributes are flexible fields that can be integrated into deliveries to provide a more detailed description. Attribute fields enable you to define and include information that goes beyond the original set of fields for a record. For instance, you can define additional fields related to a delivery when dealing with a delivery that has special rules and instructions.

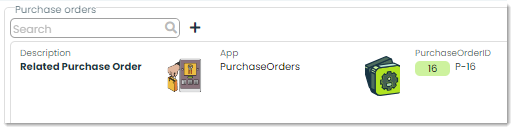
Purchase orders – You can easily link a purchase order directly from the Purchase Orders app to any delivery record you create.
Frontline Features of Deliveries
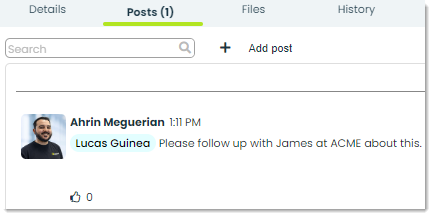
Posts – In Appward, a post is a comment that can be liked or replied to directly by other members of your organization.
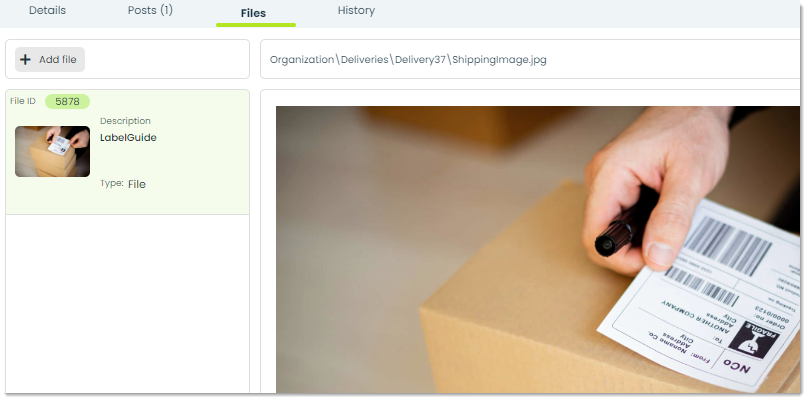
Files – Through the Files tab, you can attach essential documents to a Deliveries record. You can add files directly from your computer or from the Appward cloud. After adding a file, you can view it through an integrated document preview within the Files tab. Individuals within your organization with access to the record can view and download the file to their personal computers.
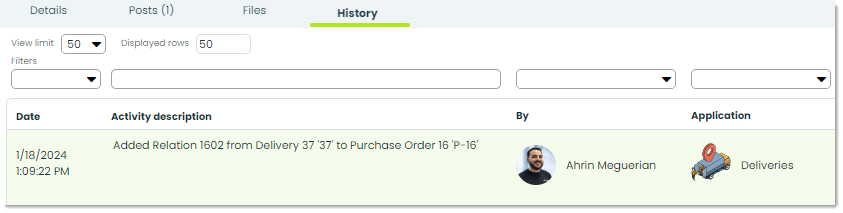
History – In History, you can view an activity log related to the Deliveries record you are viewing. You will see a list displaying the modifications date, activity description, modification author, and the application in which it was made.
Additional Features of Deliveries
Help – The help button can be found in the top right corner in most of the apps in Appward. This resource offers insightful tours and information compiled specifically to help guide you through how the app works. Tours are interactive, step-by-step visual guides designed to give you the foundation to start using all the robust features within Appward.

Reminders – You can set reminders for yourself within Deliveries, to make sure you never miss an update on the progress of a delivery.

Follow – In many apps, you can “follow” records, which will notify you of changes to that record. In the Safety Incidents app, you can follow an incident to be notified whenever specific actions related to the incident happen. For example, if you want to get notified when an edit has been made to an incident, you can use this feature to get that notification. To follow an incident, click the Follow button in the top-right corner. From the popup that appears, you can select exactly what you’d like to be notified of.

Archive – Archiving is a common feature within the majority of apps in Appward. Archive serves as an effective tool when you wish to remove a record from sight without permanently deleting it. Archived records are essentially concealed from the main screen but remain accessible through specific search filters.

Delete – To delete a Deliveries record permanently, you can do so using the Delete button. These records will not be recoverable.
