Table of contents
Getting Started with Employees
Wednesday May 31, 2023-12 min readIntroduction
Employees is an app for streamlining all employee-related data and processes. With Employees, you can quickly access and update your team’s information, reduce the time and effort required to complete routine administrative tasks, and maintain the integrity of sensitive employee information. This guide will walk you through the various app features including adding an employee, updating general/sensitive information, adding personal events, viewing other related information of employees, and deleting an employee. Let’s get started.
Getting Started
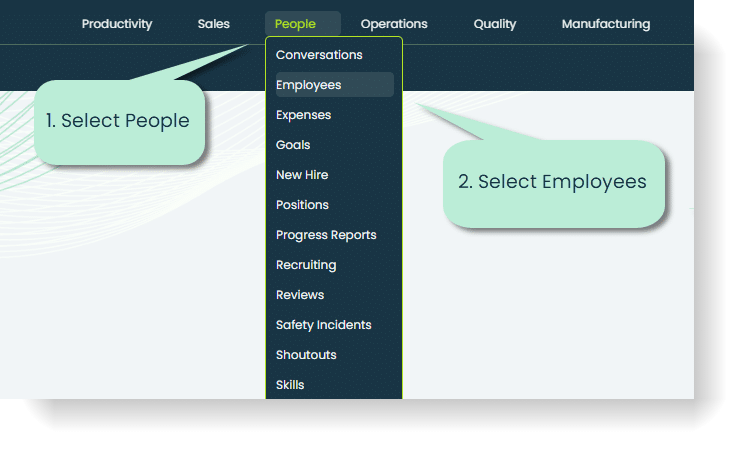
To open Employees, go to the People section of the main navigation bar and select Employees.
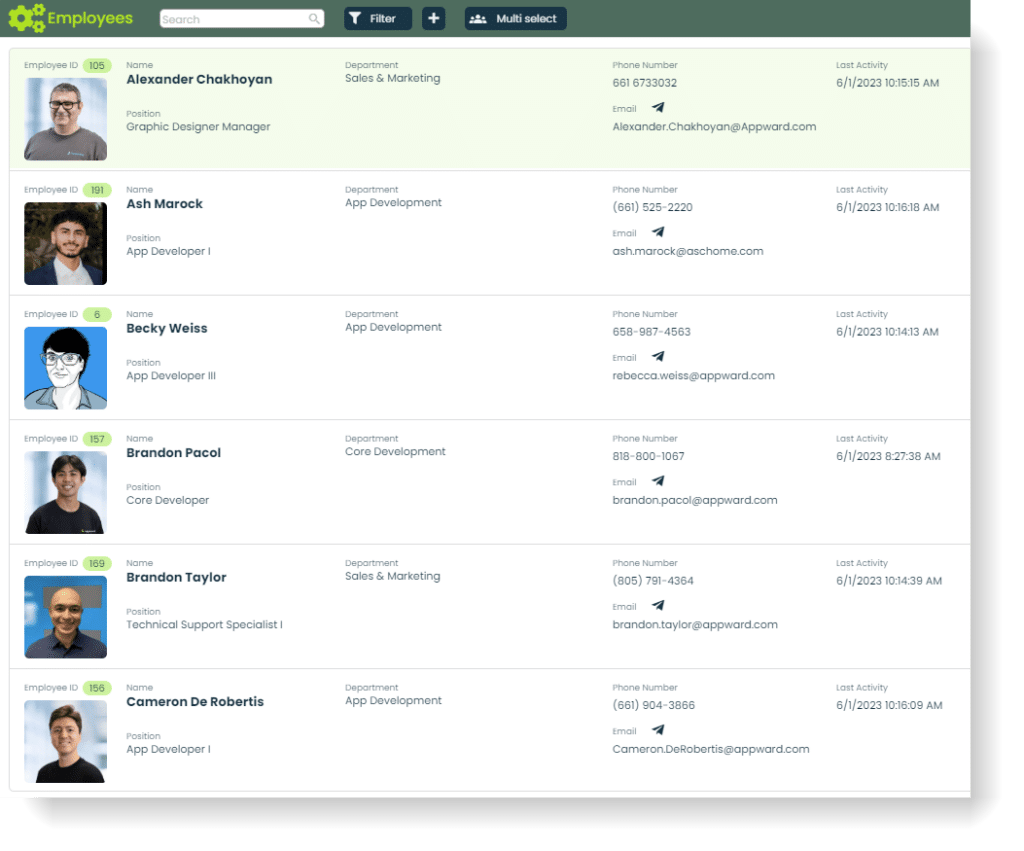
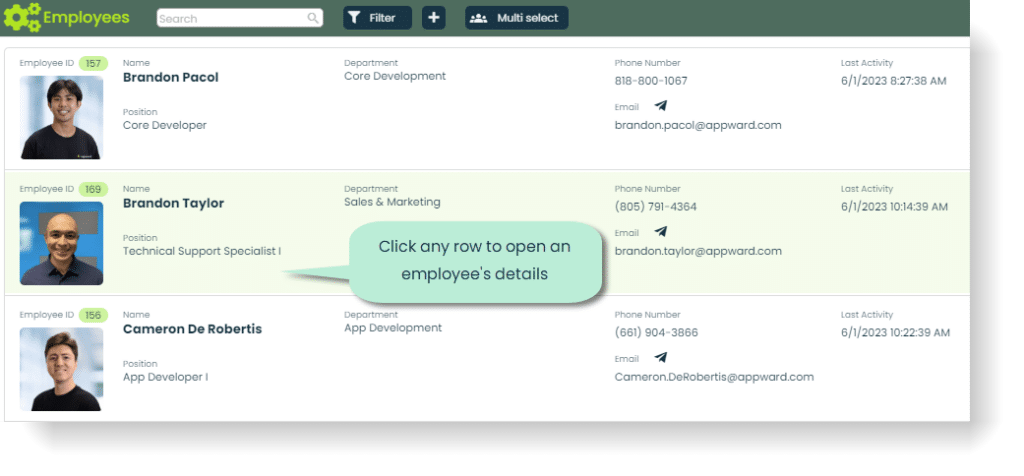
When you open the app, the first thing you will see is your current list of employees. If this is you haven’t added any employees yet, this space will be empty for now.
Adding an Employee
To add an employee, click the “+” button at the top of the main screen. This will bring up a screen for adding an employee’s information.
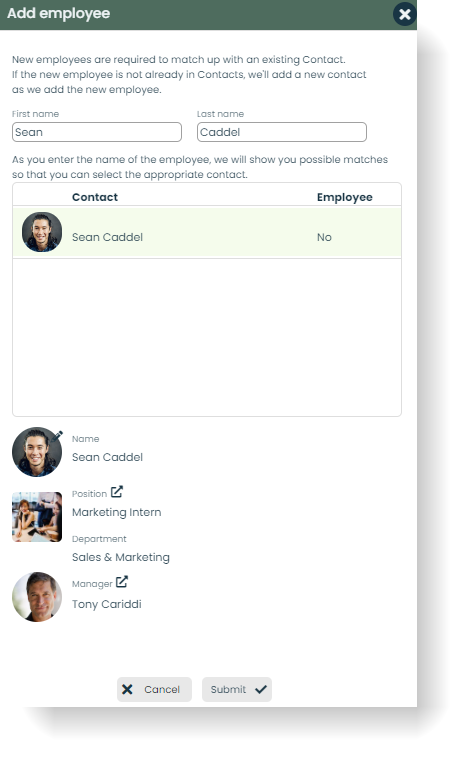
Note: Employees and Contacts are NOT the same thing. All Employees are Contacts, but a Contact is not always an Employee (they could be separate parties, vendors that you work with, etc.). That being said, new employees are required to match up to a contact in Contacts. If a contact has not already been made for the employee, no worries. Appward will automatically create the contact at the time of employee creation. For employees that ARE linked to an existing contact, as you type in their information, possible matches will appear in the middle section. You may select that contact from the list and all available contact information will be added to that employee.
Here’s a quick description of the other fields:
Profile Picture: You may select the employee’s profile picture from Appward’s file explorer. If the employee is linked to an existing contact with a profile picture, that picture will appear here.
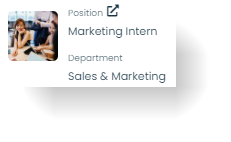
Position/Department: Select the position of the employee. Positions created in the Positions app show up in the selector window.
Manager: Select the employee’s manager here. This will automatically populate with the manager of the employee’s position. This value can be edited.

Click Submit to add the employee.
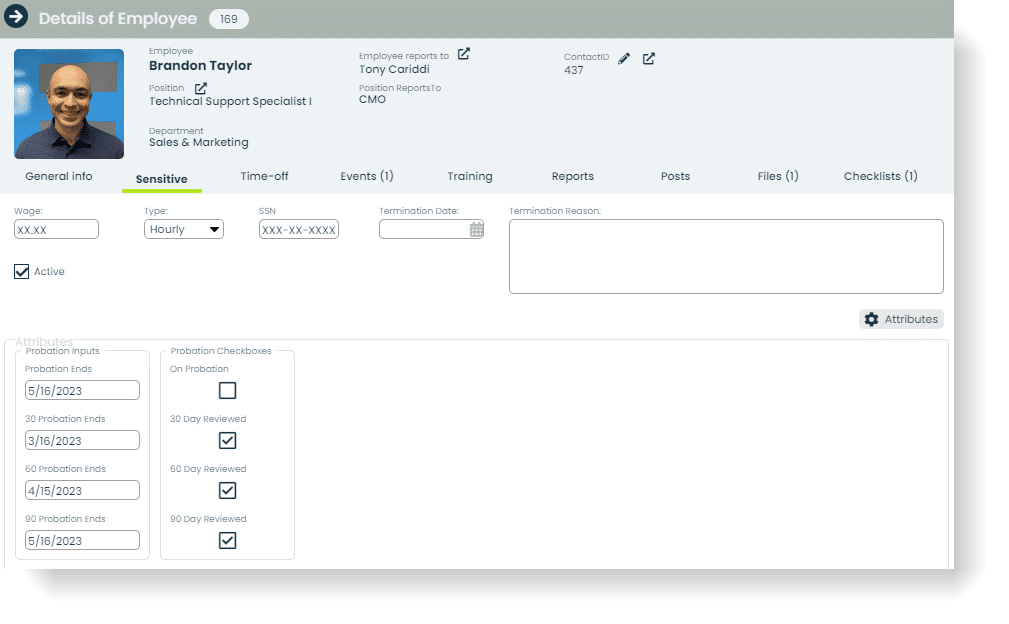
Updating General/Sensitive Information
Once an employee has been added, you can modify their information inside of their details page. You can access an employee’s details from the main view by clicking on their row.
Let’s go over the General Info tab first:
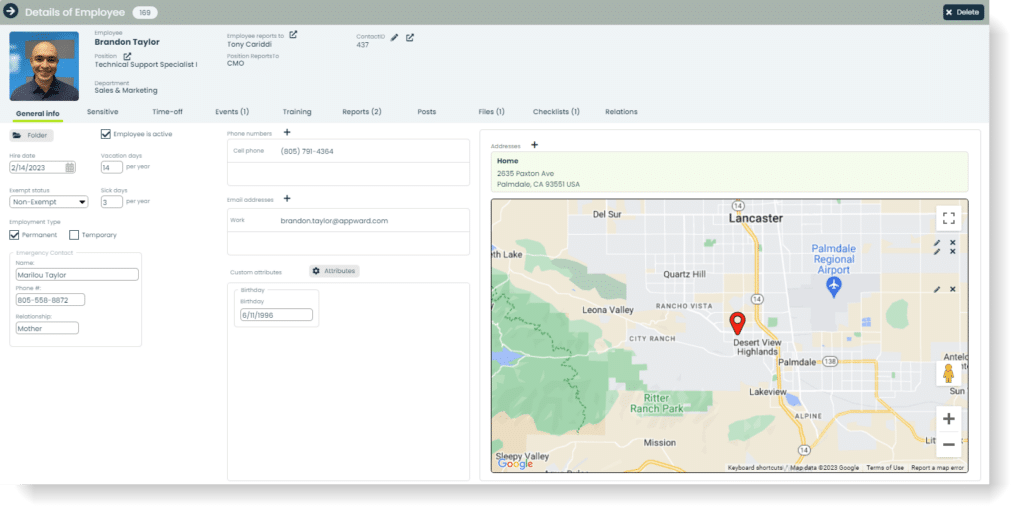
Active Status: Refers to an employee’s current employment status within the organization. It indicates whether the employee is actively working and fulfilling their job responsibilities or if they are no longer employed.

Hire Date: The date on which they were officially hired or started their employment with the company.

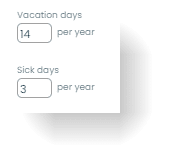
Vacation/Sick Days: The number of allocated vacation/sick days as determined by your company. The number of vacation days per year determines the calculation of that employee’s PTO (paid time off) accrual in the Time Off app.
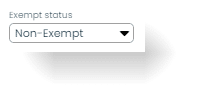
Exempt Status: Refers to an employment classification under the Fair Labor Standards Act (FLSA) in the United States. It determines whether an employee is exempt or non-exempt from certain wage and hour provisions, specifically regarding overtime pay. Employees classified as exempt are not entitled to receive overtime pay, while non-exempt employees are eligible for overtime compensation.
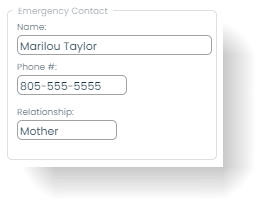
Emergency Contact: Having an emergency contact for an employee is to ensure the well-being and safety of that person during unforeseen circumstances. With this field, you can enter the phone number of the contact, their name, and their relation to the employee.
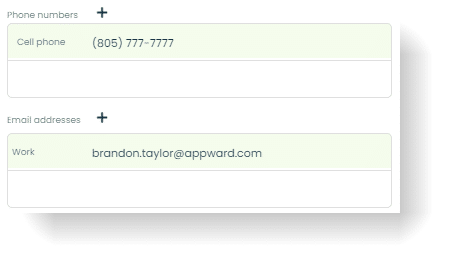
Phone Numbers/Email Addresses: This is the important contact information for your employees. You can add, edit, or delete as many relevant phone numbers/email addresses of a particular employee.
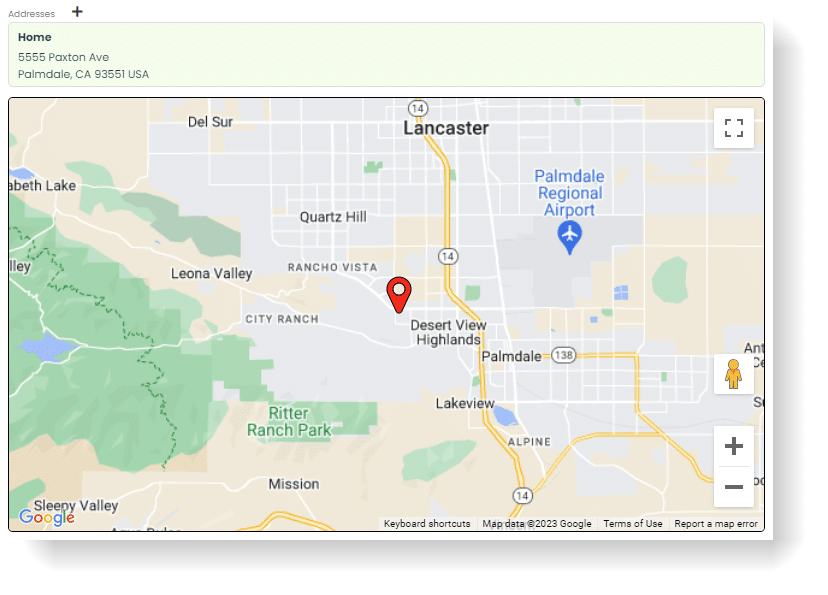
Addresses: If applicable, this is the section for adding any addresses associated to the employee. Similar to phone numbers/email addresses, you may add, edit, or delete as many addresses as need be. A map will appear with the primary address listed.
Custom Attributes: For any relevant employee information that doesn’t fit any of the fields above, you can create your own custom attributes for holding that data. For example, say you wanted to add a section for date of birth. Because there is no field by default that can store this information, you can create your own attribute to hold this. For more information on creating custom attributes, read Creating Custom Attributes.

In addition to general information, more sensitive information can be added in the Sensitive tab. This information is typically more private and, in turn, more protected. Values for these fields will only be accessible to those with proper permissions in the Roles app.
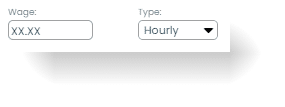
Wage/Type: The financial compensation and type of compensation provided to employees for their work. It is a fundamental aspect of their employment agreement and plays a crucial role in attracting and retaining talented individuals.
Social Security Number: Social security number is an extremely sensitive piece of information used for tax, work status, and background check purposes.

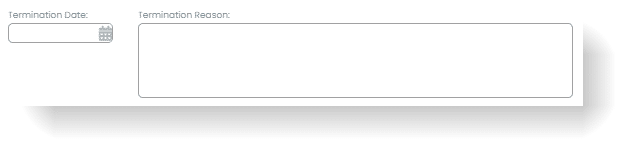
Termination Date/Reason: If applicable, you may enter the termination date and reason for termination for an employee that has been fired.
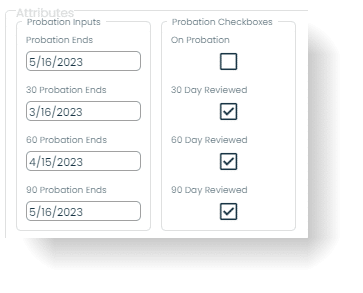
Custom Attributes: Similar to custom attributes in general information, you can create your own custom attributes for sensitive information as well.
Adding Personal Events
It is important to keep a historical record of your employees’ personal events, whether that is an accident in the workplace, a meeting with HR, or an absent day from the office. The place to keep these records is within the Events tab of an employee’s details.
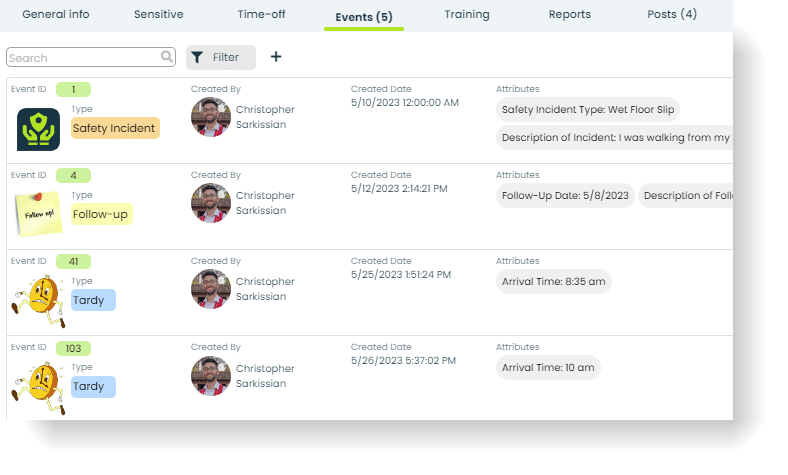
To add an event for an employee, click the “+” button next to the search and filter elements. This will bring up the following popup:
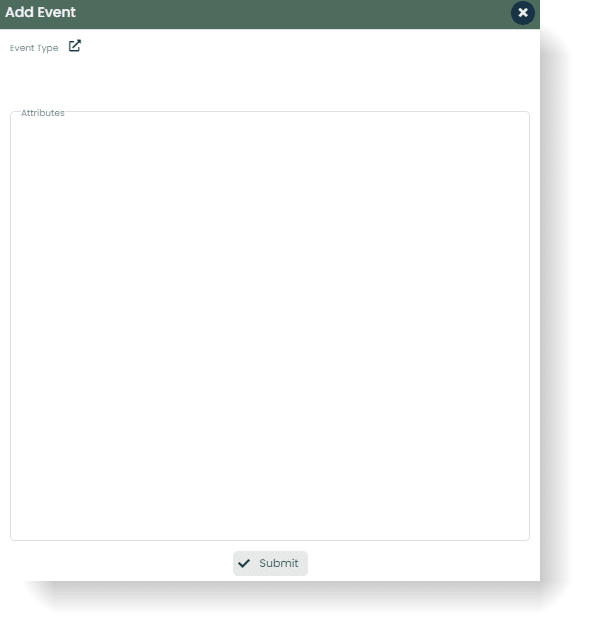
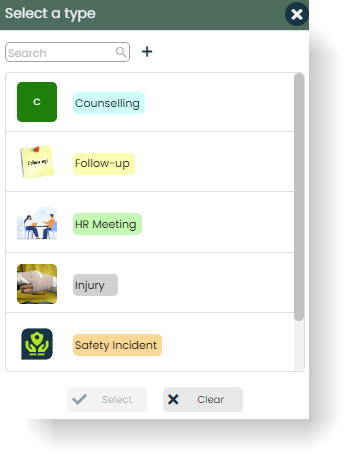
The first thing you will select is the event type. Click the Type selector to bring up a list of already-made types (if no types have been created, this section will appear blank).
Let’s create our own event type by clicking the “+” next to the search bar. This will bring up the following popup:
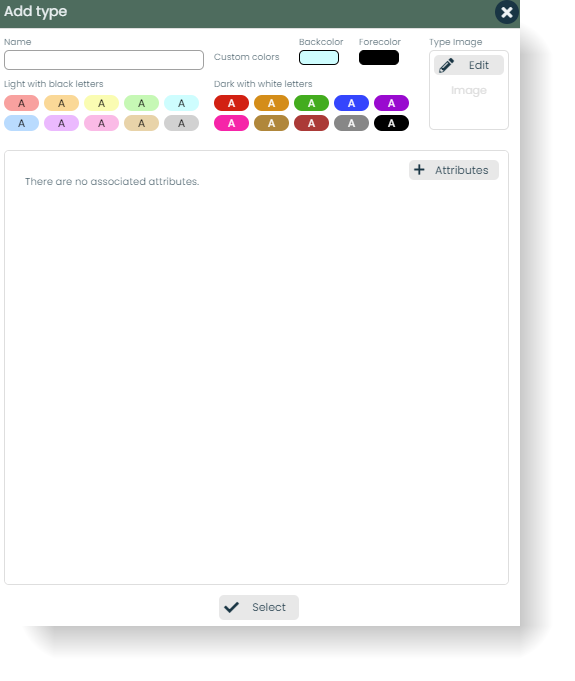
A type consists of a name, a label forecolor/backcolor, an image, and associated attributes.
Viewing Other Related Information
The Employees app makes it incredibly easy to view all employee-related information from within one app. In addition to general/sensitive information and personal events, you can view each employee’s time-off calendar, training sessions, and reports.
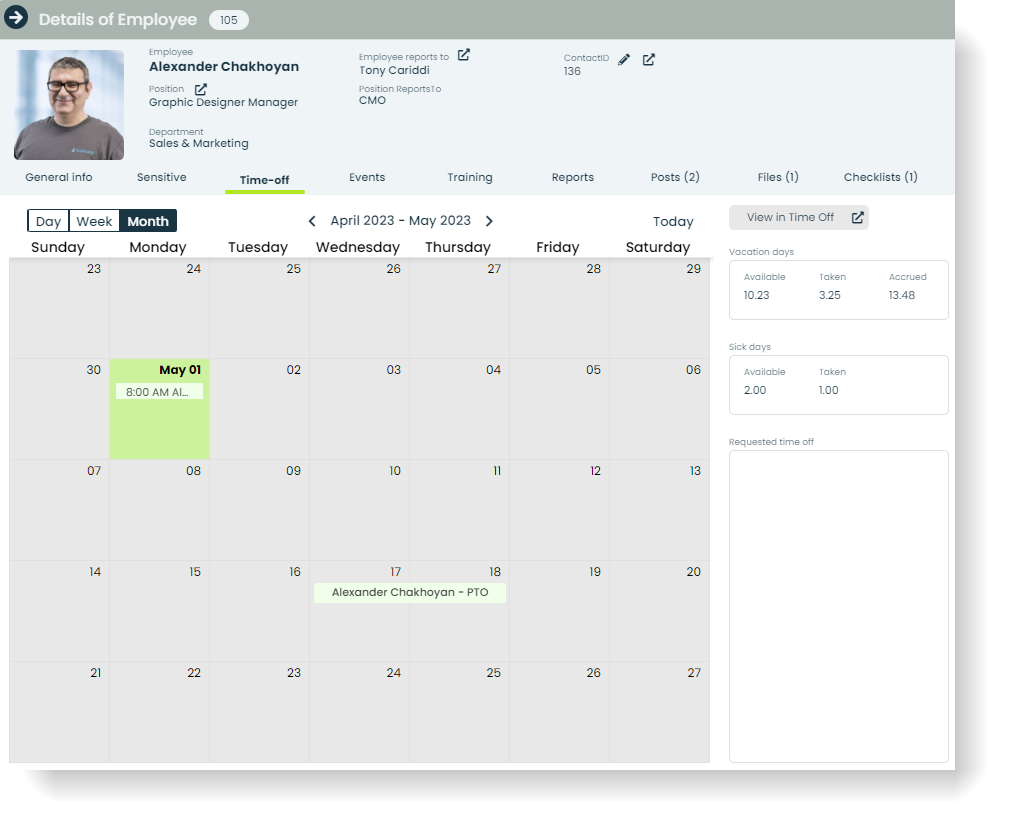
Time Off: In the Time-Off tab, you can view a calendar of each employee’s time-off requests. This information is imported from the Time Off app and is incredibly useful for finding out the schedule of a particular employee. You can also open the calendar in the Time Off app by clicking View in Time Off.
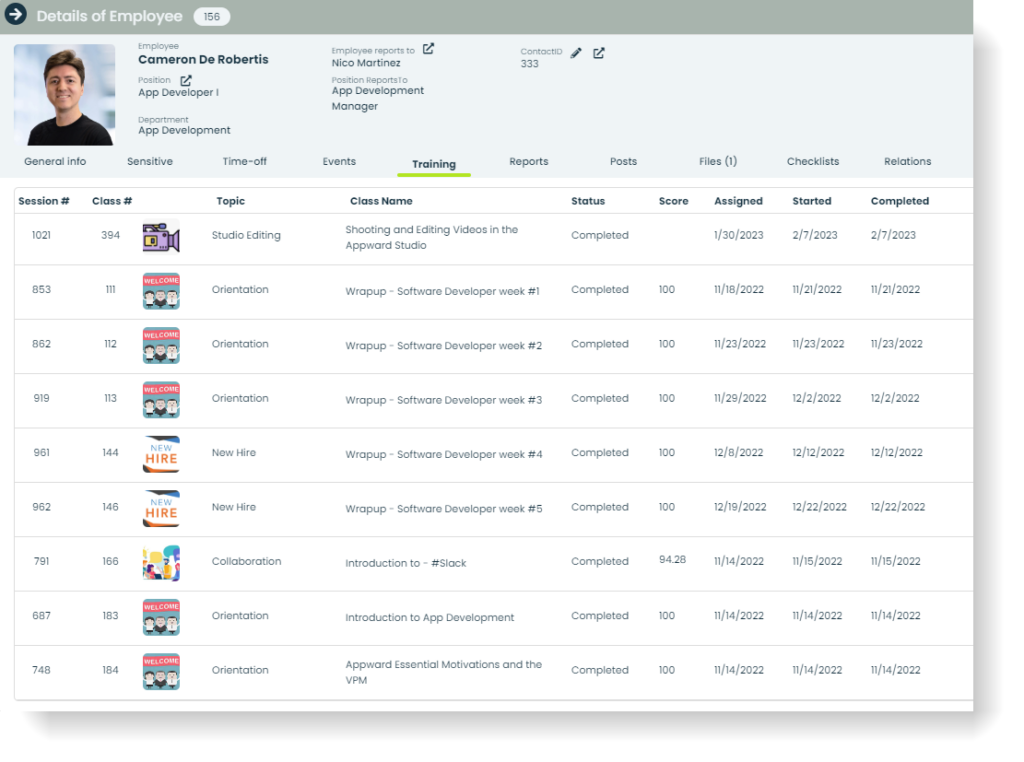
Training Sessions: In the Training tab, you can see a full list of a selected employee’s training sessions. For each assigned training session, can see the topic, class name, the status of the training (Completed, In Progress, etc.), score (if applicable), and assigned, started, and completed dates.
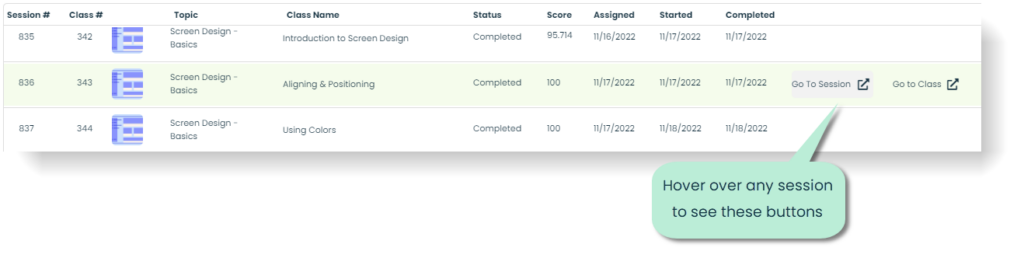
By hovering over a particular session, two additional buttons appear for viewing a particular session or class (Go to Session and Go to Class). If you have access to Training Director, you can click either of these buttons and the respective information will be displayed in the Training Director app.
Reports: Reports are structured documents that present information, findings, or data in a clear and organized manner. In the case of employees, they can be used to summarize a range of information such as job performance, future goals/developments, disciplinary actions/incidents, and any other organized information related to an employee. Any generated reports on an employee can be found in the Reports tab.
{ reports tab }
Deleting an Employee
To delete an employee, go to the details of an employee by clicking their record from the main screen. In the upper-righthand corner, there is a Delete button. Click here, and confirm that you would like to delete that particular employee.
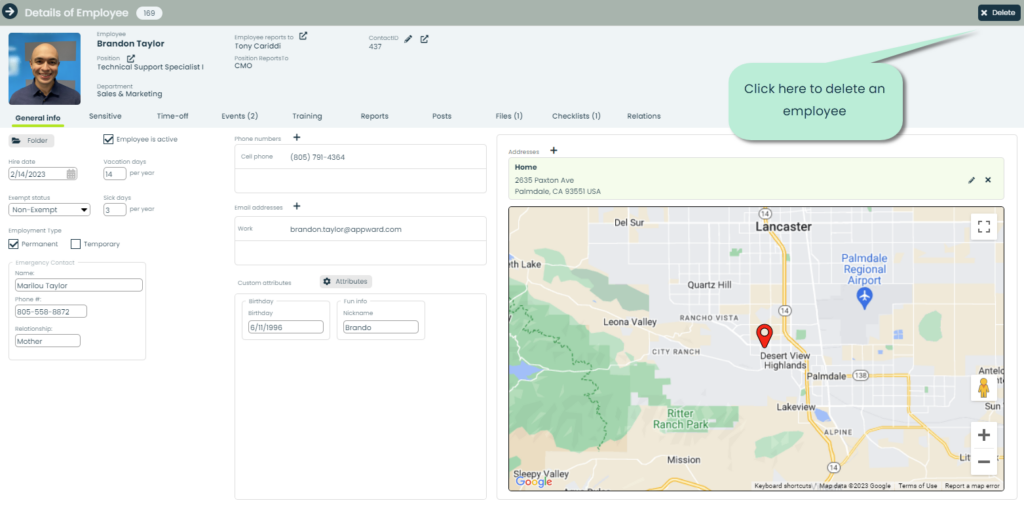
Note: This will delete the person from your list of employees, but their contact record will still remain. To delete their contact, go to the details of that contact in Contacts, click the Delete button in the top-right corner, and confirm the deletion by selecting Yes.