Table of contents
Getting Started with Expenses
Monday February 12, 2024-12 min readEffective expense management is crucial for financial control and timely reimbursements. Outdated systems create administrative burdens and increase the risk of oversight. With the Expenses app, Employees can easily list expenses, attach receipts, and create reports. It facilitates communication between employees and managers, speeding up approval processes. Using the Expenses app saves your organization money, improves compliance, and enhances financial management.
Let’s get started
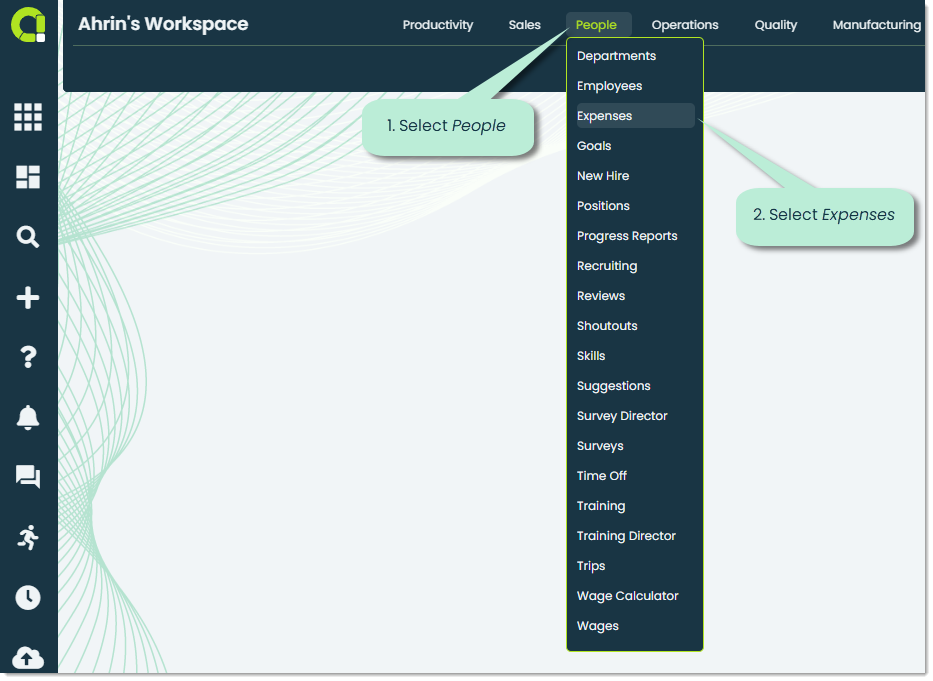
To access the Expenses app, navigate to the People section of the main navigation bar and select Expenses.
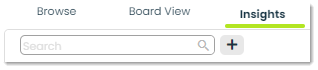
When you launch the app, you’ll be shown the expenses that have been submitted by members of your organization. At the top of the app screen, you’ll notice three tabs: Browse, Board View, and Insights. Let’s go over them.
Browse – This is the default tab that will be selected when you open the Expenses app. Here, you can view a comprehensive list of your organization’s expense reports.

Board View – This tab shows a Kanban-style display of expense reports grouped by their status. For example, all expenses with a status of “Approved” will appear in the Approved column. The board view gives a clear picture of how expenses are moving along-from creation to approval. By putting expense reports into different groups based on their status, it’s easy for members of your organization to see where each report stands and makes it simple to track and manage finances.

Insights – Insights give you a visual way to analyze data related to expenses. You can make your own insights with custom SQL queries and use charts or tables to display the data. Some useful insights for Expense reports might include information about categories spent on, or amount spent over a period of time.
Adding an expense report
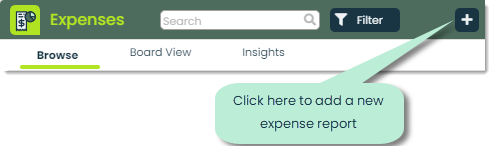
To add a new expense, click the + icon at the top of the app screen.
This will bring up the Add Expense Report popup, where you can add important details. Let’s go over the fields.
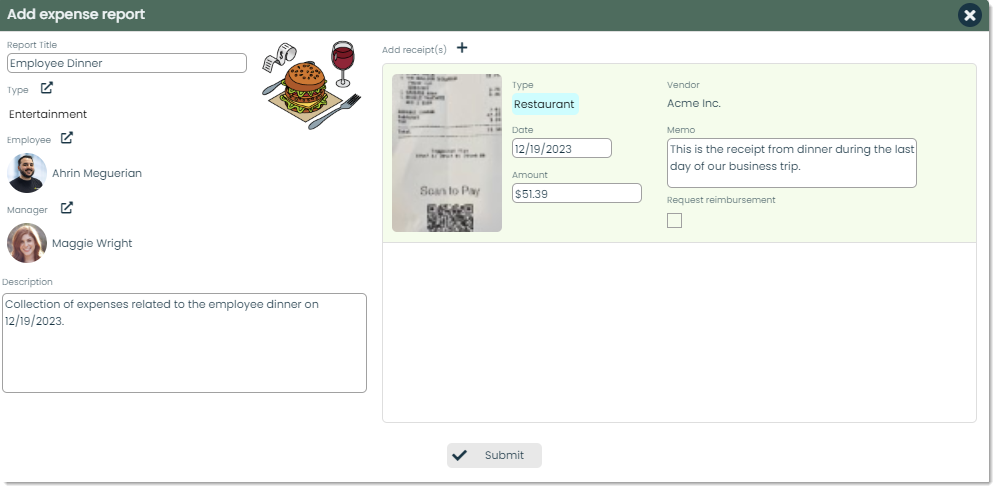
Report Title – This is the title of the expense report. Title should be clear and concise, providing the reader with a clear indication of what the expense record contains.

Type – You can categorize the expense report you create by the type you select. Visually, types are labels with custom names, colors, and images that can be assigned to records throughout Appward. However, types provide you with a way to organize your data in a fully flexible, customized way to suit your business. As an example, an expense associated with a fun activity could be labeled with the type Entertainment. Even more in depth, Expenses gives you the opportunity to further narrow down the type by determining what type of Entertainment it was. For more information on Types, please check out Using Types.

Employee – In Employee, you can select the name of the employee who is responsible for the expenses. This can be you as the creator, or you can create it on behalf of somebody else if required. To select the employee, click on the external link icon to open up a list of employee contacts from your organization.

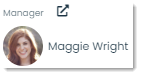
Manager – Similar to the Employee field, you can select the manager that will be handling the approval process of an expense report.
Description – The Description field is where you can provide detailed explanations, itemizations, and relevant contextual information for the expenses reported.

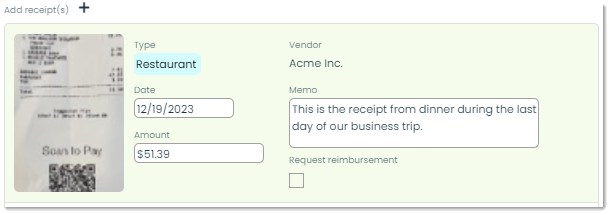
Add receipt(s) – This is where you can provide the receipts for your expenses. You can click on the + icon to start the process of adding a receipt.
Type: This field refers to the category or classification of the expense being recorded. It could include types such as travel, office supplies, restaurants, etc., depending on the nature of the expense.
Vendor: In Vendor you can define the company or individual from whom the goods or services were purchased. This helps in identifying the source of the expense and can be important for maintaining accurate records.
Date: The date field represents the specific date when the transaction took place.
Amount: This is where you can define the cost associated with the expense.
Memo: In the Memo field, you can include additional notes or details about the expense.
Request reimbursement: Select this field if you need to request reimbursement for the expenses. This will notify the manager in charge, so the company can make a decision on their course of action.
Submit – When you have filled in all the details of the expense report, you can press Submit to create your Expenses record.

Viewing and Managing an expense report
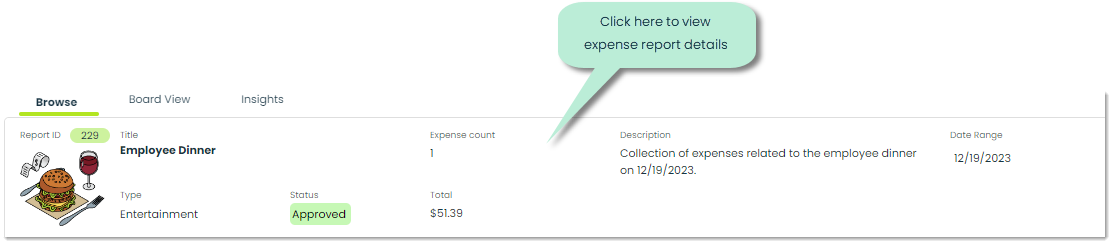
To view the details of an expense report, navigate to the Browse tab and click on the record you want to view.
This will bring up the details of the expense report, where you can view or manage its details.
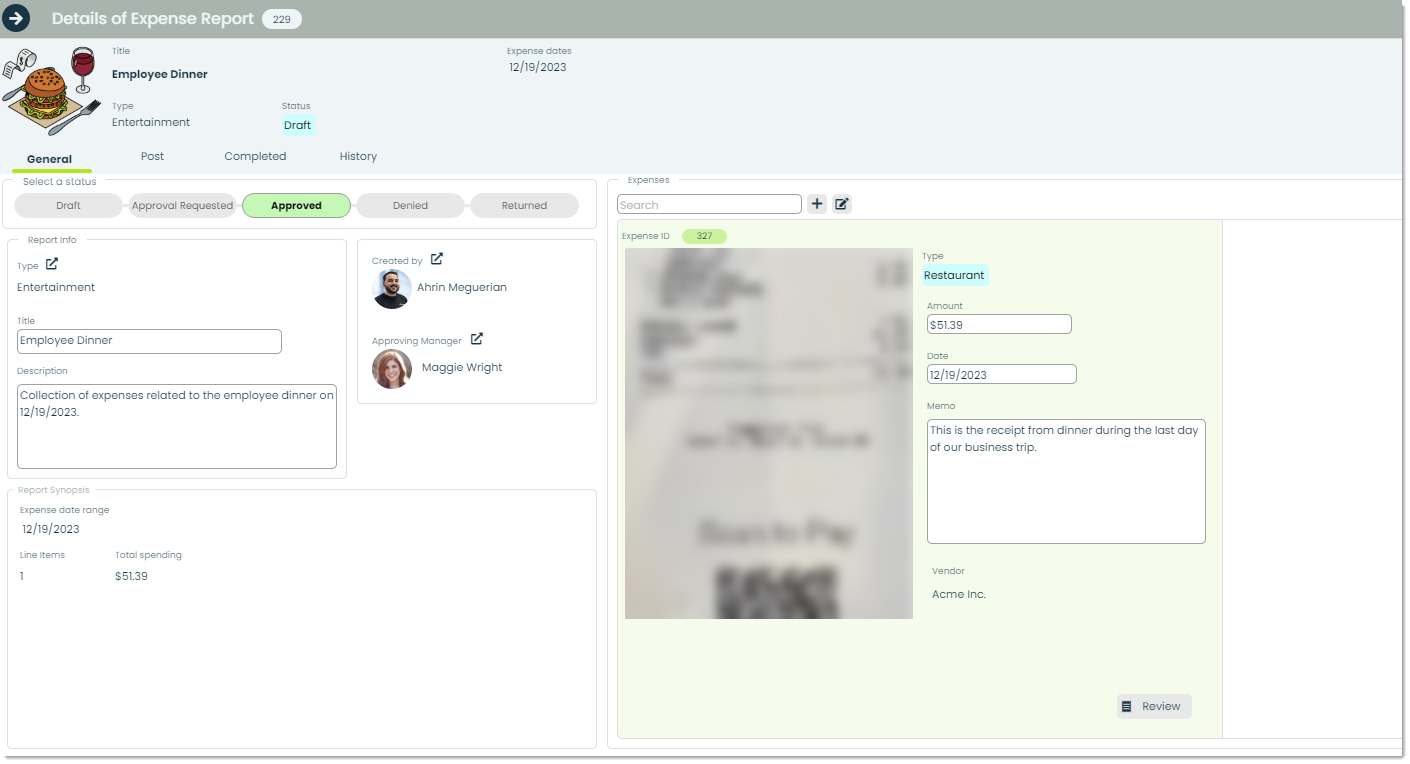
Select a status – You can use the status bar to specify the current stage of the expense report. These are the five statuses explained:
Draft: The report is still in progress and not yet submitted for approval.
Approval Requested: The report has been submitted and is awaiting approval.
Approved: The report has been reviewed and accepted.
Denied: The report has been reviewed and rejected.
Returned: The report has been sent back for revisions or further information.

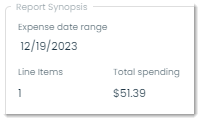
Report Synopsis – In Report Synopsis, you can view:
Expense date range: This is the period when the expenses were made, showing the start and end dates.
Line items: These are individual entries in the report, showing each expense with details like date, vendor, amount, and description.
Total spending: This is the total amount of money spent on all the expenses listed in the report for the given time frame.
How to search and filter results in Expenses
Finding the information you’re looking for when you need it is important. For that reason, Appward has advanced search and filtering built into every app. To search through your organization’s Expenses record’s you can use the Filter button located at the top of the app screen, or use the search bar by typing in your desired search parameters. Let’s go over the specific searches available when using the search bar in the Expenses app.
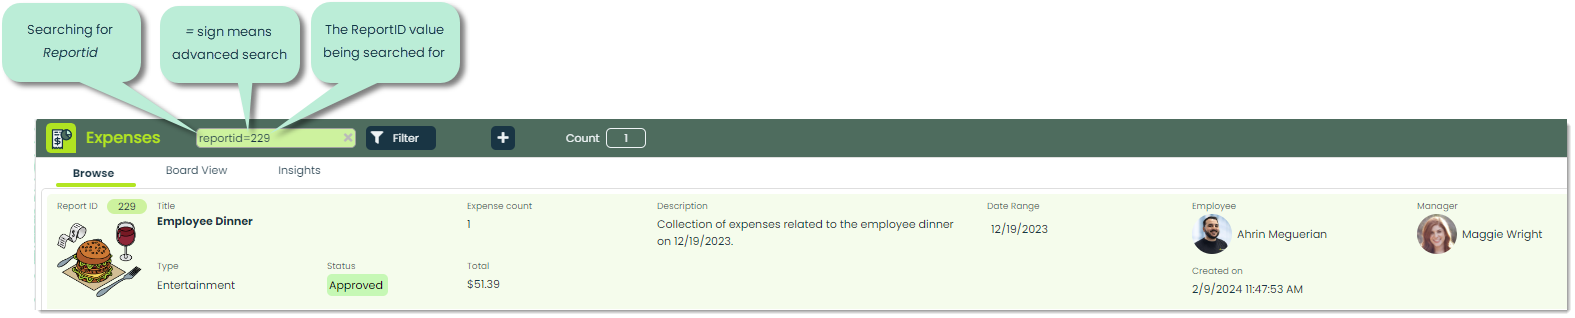
The image above shows how the “reportid” search parameter can be used. These are the other ways you can search for this record:
- ReportID: expensereportid=229
- Report Title: reporttitle=employee dinner
- Status: status=approved
- Description: description=collection
- Manager: manager=maggie
- Total cost: total=51.39
Note: Searching is not case-sensitive, so no need to worry about capitalizing letters.
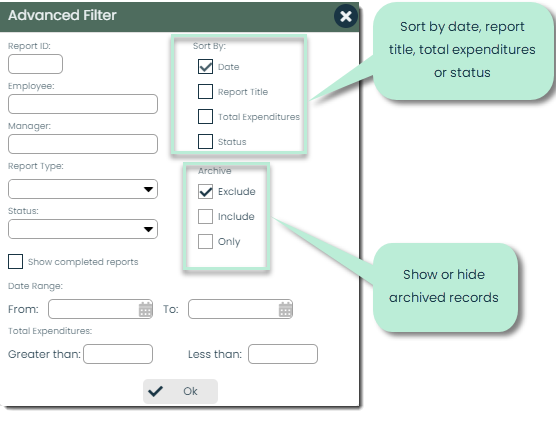
You can also use the Filter button to bring up a menu offering the same features as the search bar.

You’ll then be shown the Advanced Filter popup. In this popup, you can give more instructions on how you want the results sorted and choose whether to show archived records.
Frontline Features of Expenses
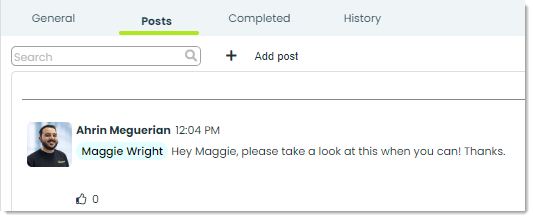
Posts – In Appward, a post is a comment that’s open for likes and direct replies from other members of your organization. It fosters engagement and interaction among users within your organization.
History – In the History tab, you can access an activity log associated with the Expenses record you’re currently viewing. This log shows you a chronological list of changes, including the date, description of activity, author of the change, and the name of the application where the change was made.

Additional Features of Expenses
Help – The Help button is conveniently located in the top right corner across most apps in Appward. This invaluable resource provides insightful tours and information tailored to guide you through navigating the app effectively. These tours are interactive, step-by-step visual guides created to equip you with the knowledge needed to utilize all the features of Expenses.

Archive – In Appward, archiving is a widely used feature found in the majority of apps. You can use archiving to remove records from immediate view without permanently deleting them. Archived records are essentially hidden from the main screen but remain accessible through specialized search filters.

Reminders – Staying on top of the status of an expense report is important. With Reminders, you can make sure you’re kept in the loop with the records you need to be. Reminders trigger automatic notifications sent directly to your workspace on the day you schedule them for.

Delete – You can delete an Expenses record by clicking the Delete button. This will send the record to the Deletions app, where it will be available to recover for five days.
