Table of contents
Getting Started with Licenses
Wednesday November 29, 2023-19 min readLicenses is a purpose-built application designed to efficiently manage and monitor licenses issued to your organization’s customers. By overseeing the licenses granted, your organization can effectively monitor customer payments, ensuring adherence to sound business practices and safeguarding financial assets. Within the Licenses app, you have the capability to monitor expiring licenses, engage in communication through posts, and maintain a comprehensive context with the integration of files.
Let’s get started
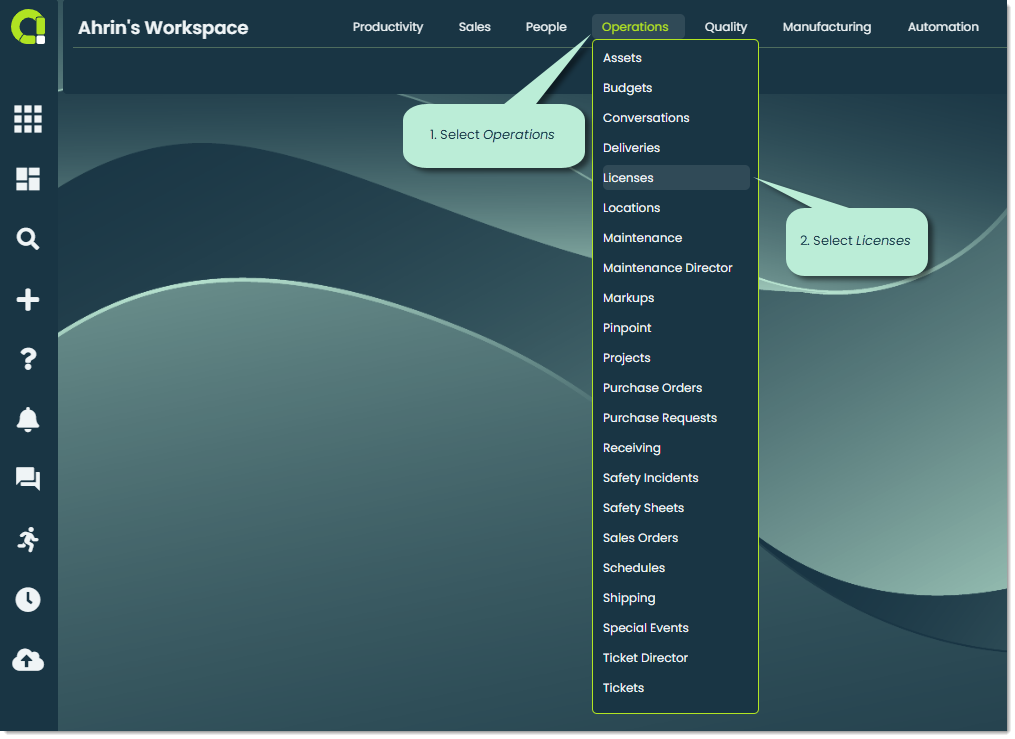
To open the Licenses app, navigate to the Operations section of the main navigation bar and select Licenses.
When you first open the app, you’ll be shown a list of existing license records within your organization.
Note: If this is the first time anyone from your organization is accessing this app, this screen will be blank.

At the top of the app screen, you’ll notice five additional tabs. Let’s go over them.
Customers – In the Customers tab, you can view the customers who currently or previously hold a license from your organization.

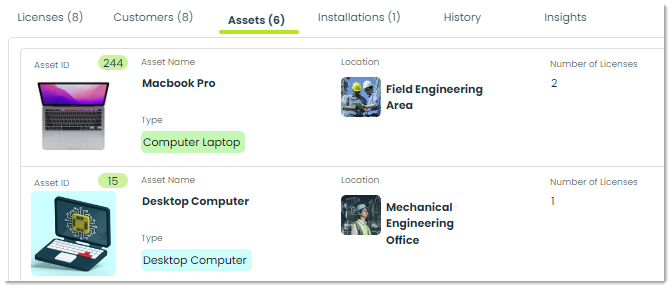
Assets – The Assets tab is where you can view all the assets that are associated with licenses in your organization.
Installations – In Installations, you can view the installations that are associated with a license. Installations are directly imported from the Installations app.

History – In the History tab, you can view a log of activities relating to the creation and management of licenses. You’ll see a list displaying the change date, activity description, the author of the change, and the application in which the activity originated from.

Insights – This tab is used to analyze data from your organization’s licenses. With Insights, you can discover and utilize valuable information related to license types, status, and cost. For more on Insights, please check out our Getting Started with Insights guide.
How to add a License record
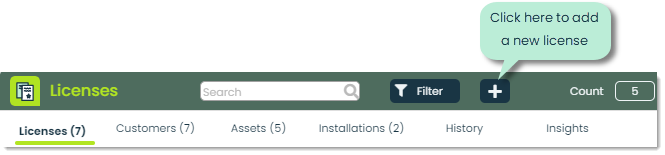
To add a new license , press the + icon at the top of the app screen.
You will then be shown the Add License popup, where you can define the necessary details of the license you are adding. Let’s go over what each of these fields represents.
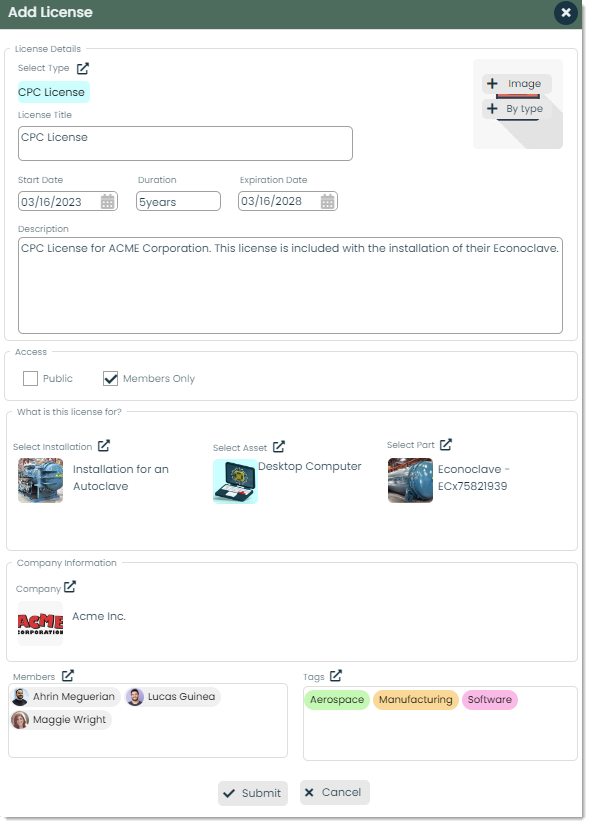
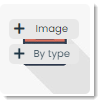
Select Type – You can categorize the license you create by the type you assign to it. Visually, types are labels with custom names, colors, and images that can be assigned to records throughout Appward. However, types provide you with a way to organize your data in a fully flexible, customize way that suits your business. For example, if your license is for a software named “CPC”, you could assign the type to be a “CPC License.” You can select the type by selecting the external link icon and picking from an available list of types. For a more in depth explanation on Types, please check out Using Types.

License Title – License Title is where you can give your license a unique or identifiable title. This title should be concise, yet descriptive enough to help the viewer understand which record they are going to view before they click on it.
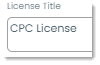
Image – You can choose to designate an image for display on the license record. This image can either be selected through the file explorer or assigned from a predefined image assigned to the type of the license.
Start Date – This field represents the start date of the life cycle of the license. You can manually type in the date , or use the built in calendar picker to select from a visual calendar.

Duration – The duration is defined as the time from the start of the license to the expiration date. You can define this date manually, or select the start and end date to have this calculated automatically.

Expiration Date – The expiration date is the date that the license is no longer valid.

Description – This is where you can provide a description for the license. The description serves as a valuable space to communicate essential details , such as the purpose, terms, or specific conditions associated with the license.

Access – Access determines the privacy level of your license. If the license is Members Only,

Public: If the access level is Public, the license will be visible for everyone in your organization to see.
Members only: If the license is Members Only, the license will only be visible to those defined as members. Members play an important role within Appward, as they allow you to provide specific individuals from your organization with access to particular records.
Select Installation – Installations offer a centralized solution for monitoring and overseeing the installations carried out by your organization. You can select an installation to link to this record by selecting the external link icon in the Select Installation field. To learn more about installations, please check out our Getting Started with Installations guide.

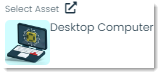
Select Asset – In Appward, assets are defined as resources that an organization owns, with the expectation that it will provide a future benefit. To select an asset to link with the record, simply click on the external link icon and select from the list of your organization’s assets. For more on how assets work, please check out our Getting Started with Assets guide.
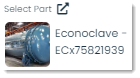
Select Part – Parts are slightly different from assets, because they refer to specific components as opposed to the general version of a component. As an example, a screwdriver asset can have multiple parts associated with it. Parts are defined as individual components. To get a more in depth explanation of parts, please check out Getting Started with Parts.
Company – In Company, you can define the company or customer who your organization has provided the license to. Companies can be selected directly from a list of your organization’s company contacts. For more on companies, check out Getting Started with Companies.

Members – Members are individuals whom you assign the ability to edit a shipping record. Members play an important role within Appward, as they allow you to provide specific individuals from your organization with access to particular records. Records in your organization can generally be categorized as public, members-only, or private. To select members for a specific License record, simply click the external link icon and select from a list of organizational contacts.

Tags –In terms of appearance, tags function as customized labels with distinct font styles and background colors. They play an important role across Appward, enhancing the organization and search capabilities of your organization’s Licenses. Moreover, tags offer additional context to individuals within your organization, providing them with insights into the content of a record before they access it. For more information on tags, refer to the article Using Tags.

How to view and manage the details of a license
To view the details of a license, navigate to the Licenses tab and click on the row of the record you wish to view.

Next, the details flyout for the selected record will be displayed. Let’s review the unfamiliar fields that you can either view or edit within the license details.
Select Asset
Asset status: The current state of the asset, indicating whether it is operational, broken, lost, or requires repairs.

Asset type: The category of the asset, which generally will define it’s purpose.

Asset cost: This refers to the monetary value of the asset.

Asset Description: In this field you can view the explanation of the asset if available. Descriptions will generally provide information about the asset’s characteristics, purpose, or specifications.

Select Installation
Installation Status: The current state of the installation process, indicating whether it is on-site, off-site, or requires repairs.
Model Number: The model number is the unique number assigned to the model of the installed equipment.

Installation Description: The description of the installation, providing the reader with additional information.

Install Date: The date the installation was originally carried out.

Warranty Duration: The period of time in which the installation is covered under warranty.

Warranty Expiration: In Warranty Expiration, you can pinpoint the precise expiration date of the provided warranty, down to the seconds.

Serial Number: A unique string of numbers assigned to a specific item designed to make identification easier.

Select Part
Part Type: The category this particular part is categorized in.

Part Number: The Part Number is a unique identifier assigned to the part, providing a reliable way of differentiating it from any other part.

Manufacturer: The company or entity that produced the part.

Manufacturer Part Number(MPN): The unique identifier assigned to the part by the manufacturer.

Part Description: A description for the part providing relevant information about its specifications.

Price: The cost associated with one unit of the part.

Viewing contacts
To view contacts who serve as representatives between your organization and the companies who have active or expiring licenses, navigate to the contacts tab within the details flyout.

Role: The role the individual holds at their company.
Member: The person identified as the representative for their company, featuring their name and image.
Company: The name of the licensed organization.
Phone Number: The contact phone number associated with the individual or company.
Email: The email address for communication with the individual or company.
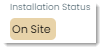
Uploading and viewing the license agreement
To upload or view the license agreement associated with your organization’s provided license, you can visit the License Agreement tab within the details flyout.
When you first access this tab, it will be empty. You can upload the required licensing agreement here so that it is contained within this details flyout.
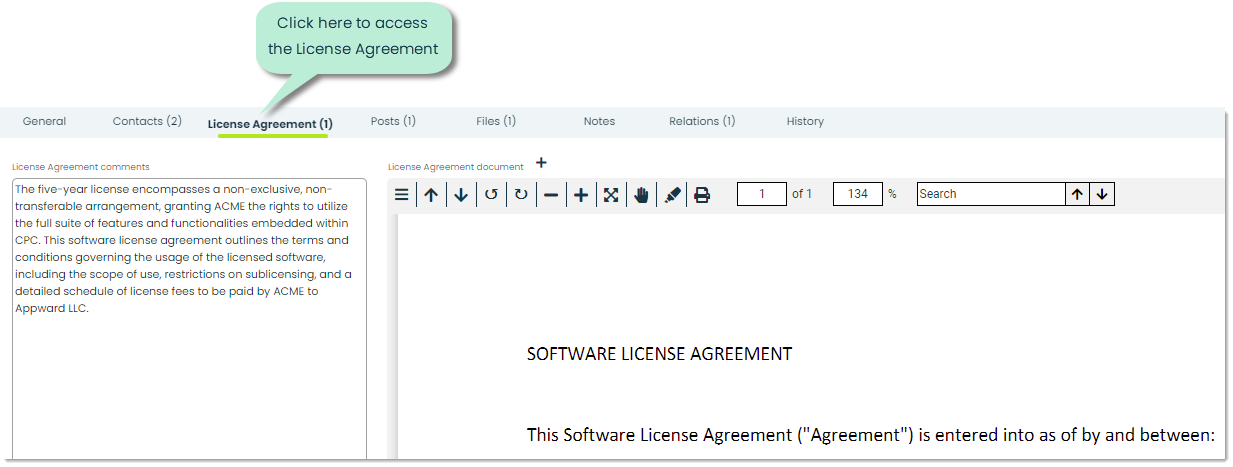
To upload a file, click on the + icon within the License Agreement tab.
You have the option to upload the file in three different ways. Let’s go over them.
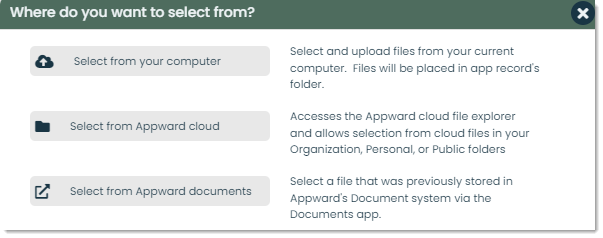
Computer: Select and upload files form your current computer. You can use this method if the file is currently stored locally and not previously uploaded to your organizations file explorer.
Appward cloud: Accesses the Appward cloud file explorer and allows selection from cloud files in your Organization, Personal, or Public folders. You can use this method if the file you wish to access has been uploaded to the Appward cloud previously.
Appward documents: Select and upload files directly from Appward’s Documents app. Documents is designed to help you create a comprehensive library of documents and media assets essential for everyday operation of your organization. For more on Documents, please check out Getting Started with Documents.
Frontline features of Licenses
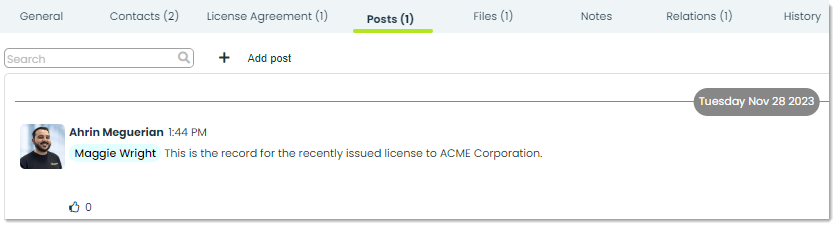
Posts – In Appward, a post is a comment that can be liked or replied to directly by other members of your organization. Within Licenses, a common way of using posts is to write parties associated with the licensing agreement with any additional comments you’d like to make.
Notes – The Notes tab allows you to jot down and store thoughts or important information quickly and easily. Notes help you in organization and offer additional context to license records.

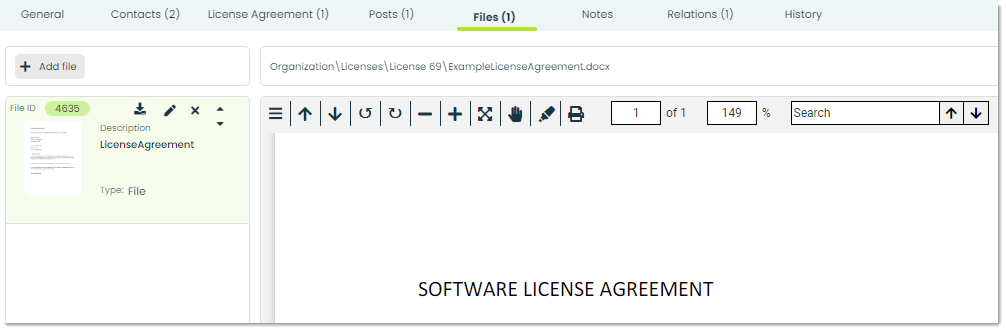
Files – Through the Files tab, you can attach essential documents to a license record. You can add files directly from your computer or from the Appward cloud. After adding a file, you can view it through an integrated document preview within the Files section. Individuals within your organization with access to the record can download the file to their personal computers.
Relations – Relations are a great way to link records from different apps together. For example, if your license record involves an installation, you can include the installation directly from your organization’s Installations app.

Additional features of Licenses
Archive – Archiving is a common feature present in the majority of application within Appward. It serves as a valuable tool for temporarily concealing a record without permanently erasing it. Archived records are essentially concealed from the main screen buy remain accessible through specific search filters.

Delete – To permanently remove a license record, press the Delete button. A confirmation popup will appear, ensuring you want to proceed.
Note: Deletion is irreversible, so please confirm your decision before selecting yes.
