Table of contents
Getting Started with Notes
Friday February 2, 2024-12 min readThe Notes app is your personal space for capturing ideas, organizing thoughts and staying on top of your tasks. Whether you’re jotting down quick reminders or crafting detailed plans, this digital notebook is designed to keep your thoughts in order and seamlessly collaborate with your team. This guide will cover everything you need to know about the app including how to add and organize notes, compose the perfect note and share your notes with your team.
Let’s get started
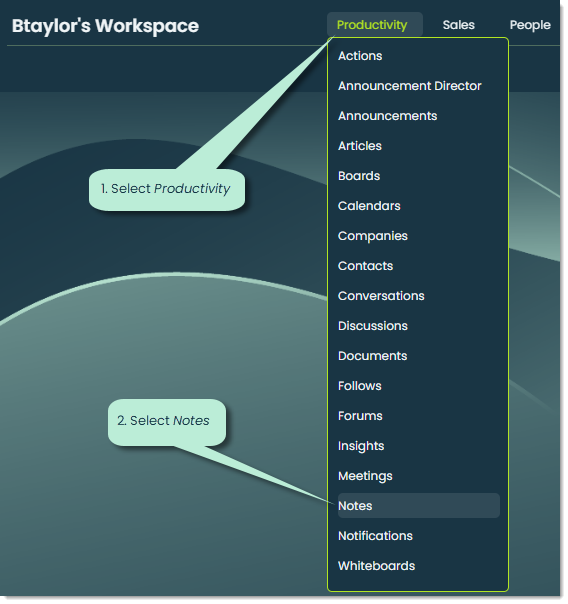
To open the Notes app, go to the Productivity section of the main navigation bar and select Notes.
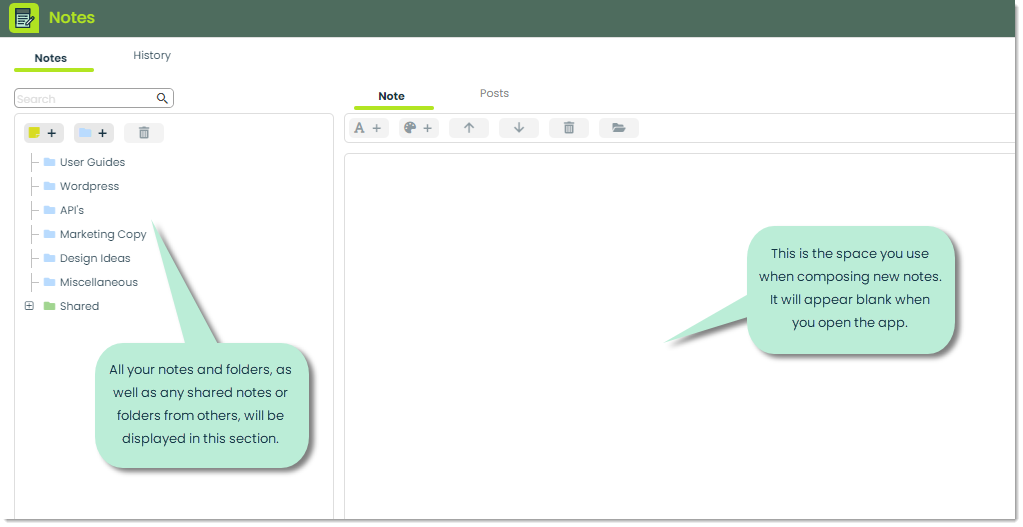
The app will open up to the Notes tab. On the left side, you’ll find a list of notes you’ve created or that others in your organization have shared with you. If it’s your first time using the app, this section may appear blank. On the right side is the space you’ll use to compose your notes. We’ll touch on that soon.
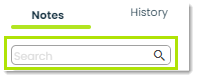
At the top of the left section there is a search bar you can use to find any folder or note from your list.
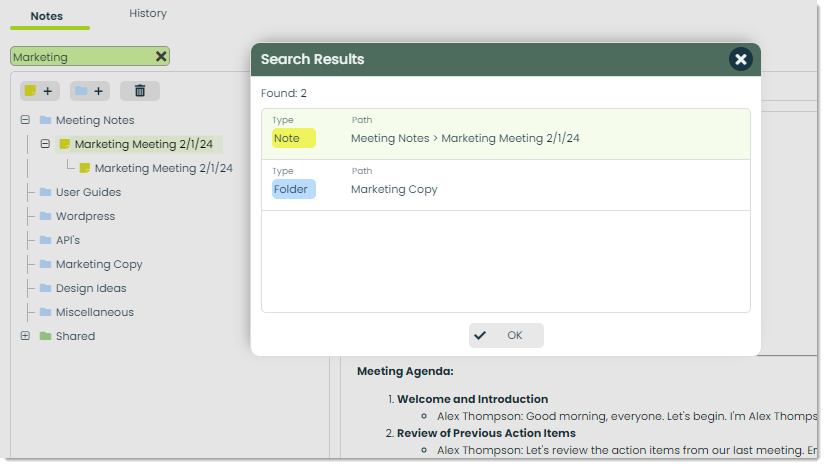
When you search something up, a popup will appear telling you all the matching results. You can click on any result to jump directly to that note or folder.
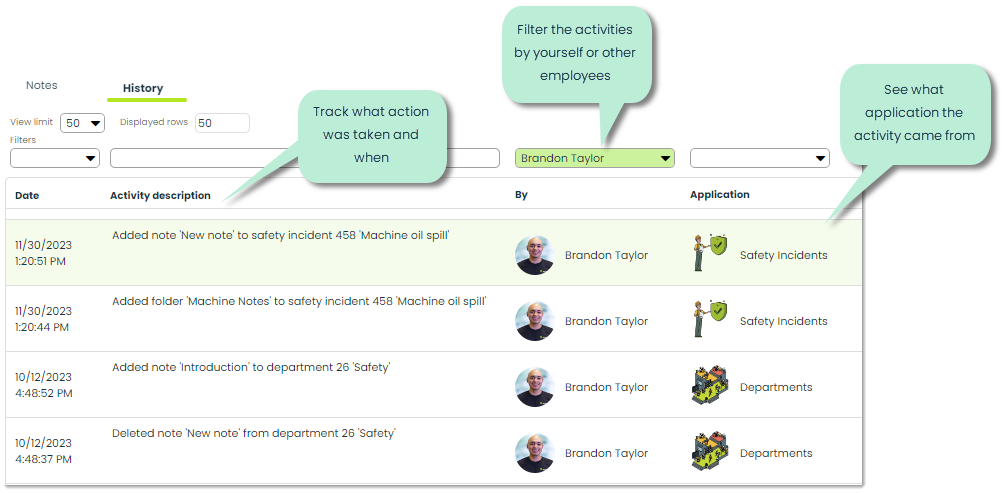
The other main tab is the History tab. Here, you can track a detailed log of any activities you have taken in the Notes app, or any app that provides the Notes feature!
How to add new notes
To add a new note, you can use the following buttons found on the left side of the app.
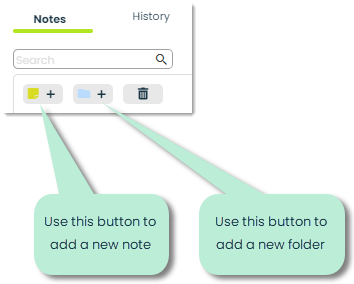
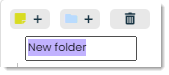
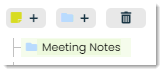
Grouping your notes into folders is a good practice for keeping everything organized. To begin, you can click the folder button to create a folder. From here, a folder titled “New folder” will be added to your note list. You can name it anything you want.
Once you’ve created a folder, you can add a note by clicking the note button. If you plan on adding a note to a specific folder, make sure that you select it before adding your note. You can tell which folder is selected by the highlighted green background color. When you click the note button, you’ll see two options for adding:
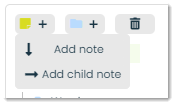
Add note means that the note will be added at the same level of the selected note or folder. For example, if you want to place a note inside a folder, you can select any item that is a direct child of that folder, and the new note will be added at that same level. If you don’t select any item, the note will be added at the root level. If there is no direct child of the folder, you can select the folder and use Add child note. This looks at the currently selected item and adds a new note as a child of that selection. To keep your notes organized, it’s a good idea to add them as child notes of folders.
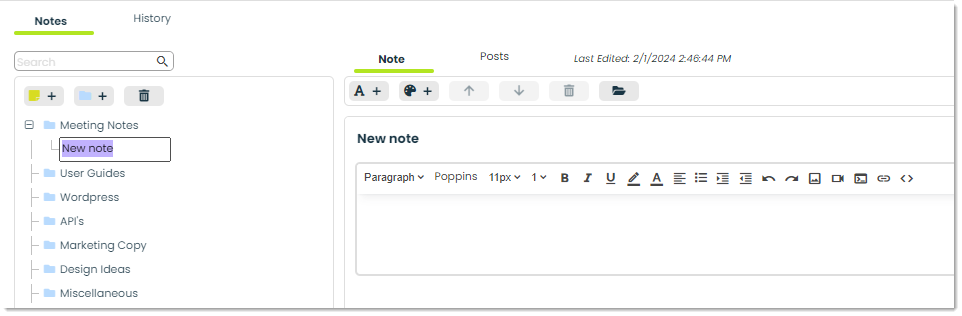
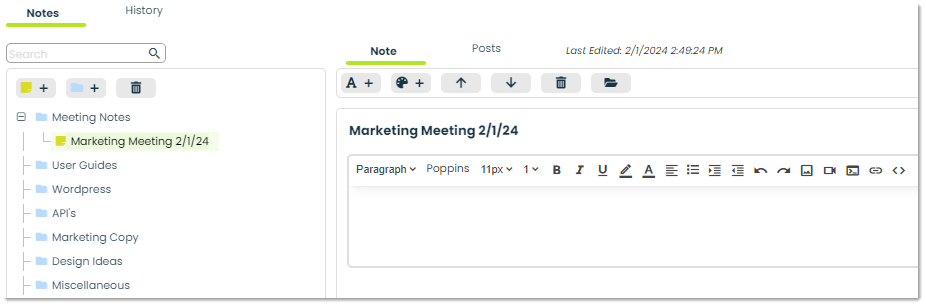
Similar to adding a folder, a new note will get added with a default name of “New note”. You can rename this to whatever you want. As soon as you add that note, you’ll see that the space on the right now contains an area for you to write and edit text.
How to compose notes
As far as what you can create, the Notes app is extremely flexible. You can compose fully-formatted notes with the ability to add pictures, videos or any other file attachments. Additionally, you can add your own HTML code to customize your notes to the fullest extent. If text isn’t enough, you can even add your own drawings. Let’s cover how to add text first.
Adding text
To add text, click the following button:
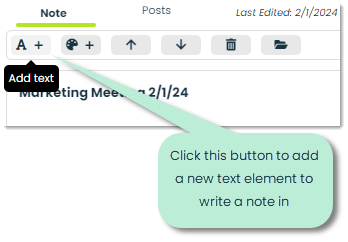
This will create a new text element which is a full-featured text editor.

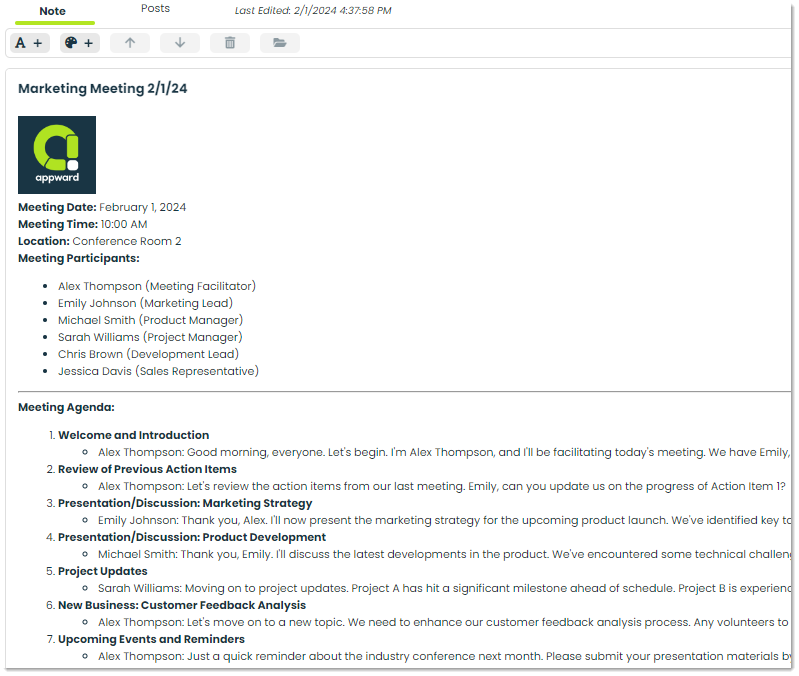
Here’s an example note using the text editor:
For more on all the features of the editor, check out our article on Using the HTML editor.
Adding a sketch
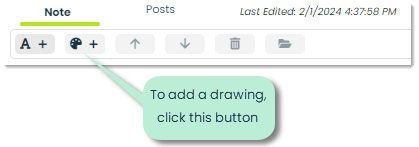
To add a drawing, click the following button:
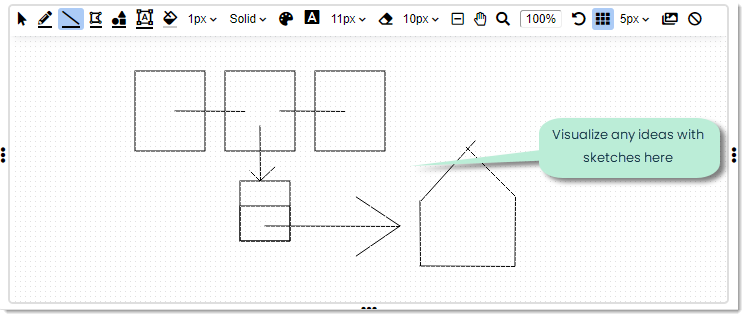
This will create a new sketch element which can be used to create drawings.
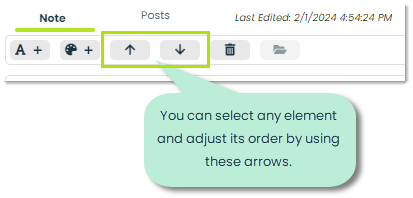
You can add as many text or sketch elements as you’d like, and you can reorganize them by using the up or down arrows pictured below.
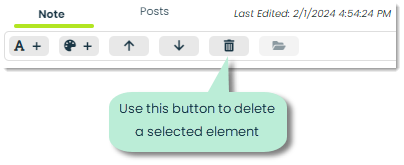
To delete any element, you can select it and use the trash button.
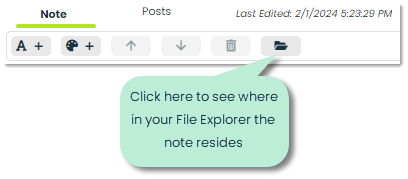
You can also see where in your File Explorer app your note is stored in the system. Select the note you want to locate, then click the folder button pictured below.

How to share notes
You can share notes for seamless collaboration with others from your organization. To do this, select the note or folder you’d like to share. In the top-right corner, click the cog button.
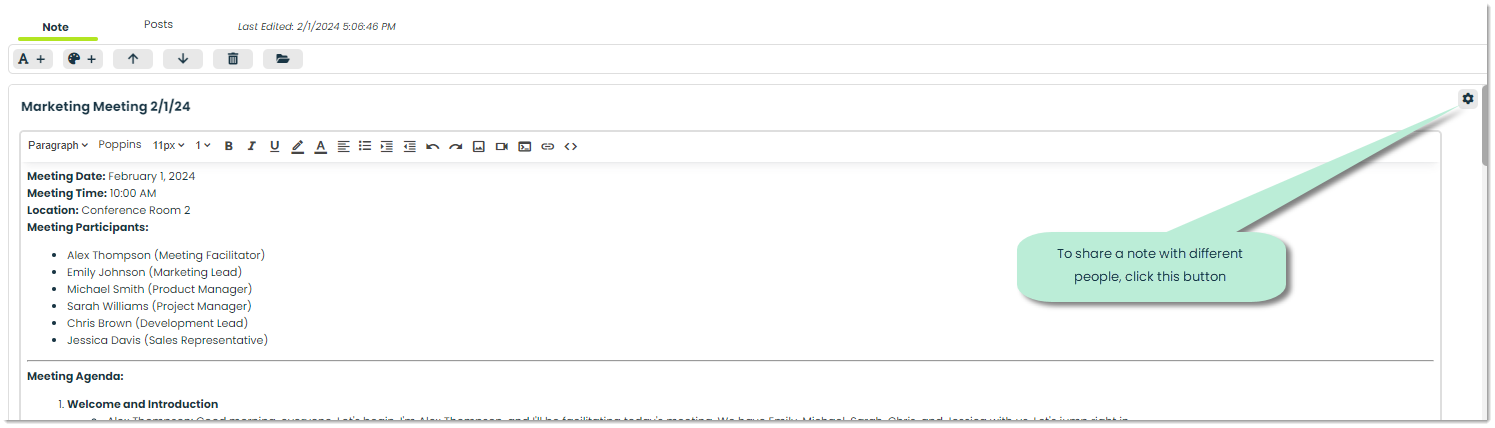
This will bring up a menu for selecting who you want to share with and what access level those people have with the note.
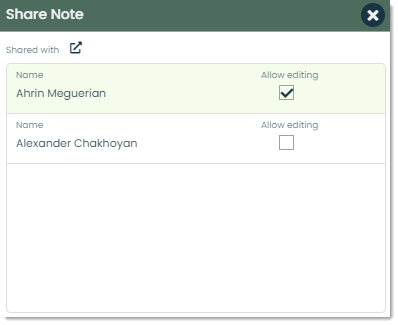
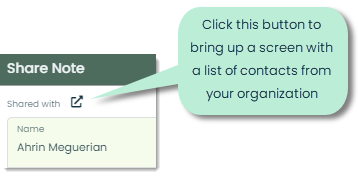
To select the people you’d like to share your notes with, click the link icon pictured below.
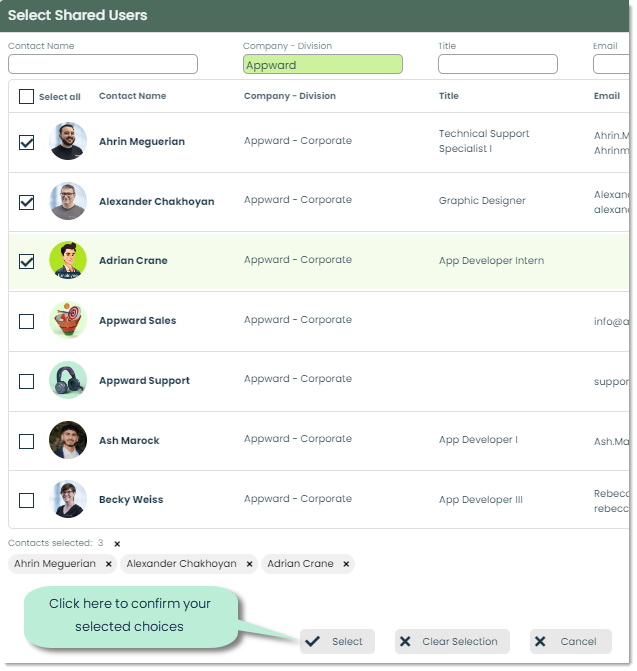
Select who you would like to share the note with and click Select at the bottom to confirm your choices.
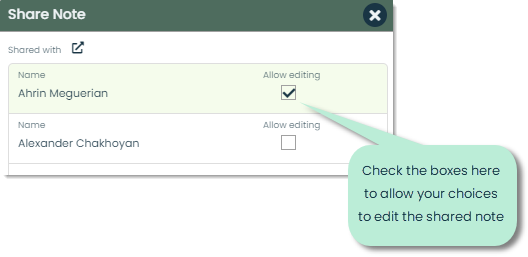
On top of your selections, you can control whether or not those people can edit the notes. Use the checkboxes pictured below to do this.
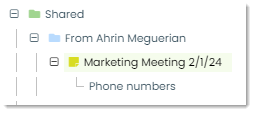
Each selected person will receive a notification that you have shared a note with them. They can then view the note on their Appward account in the Notes app. Any shared notes will appear in a special Shared folder from which they can see the note and who shared it.
How to delete/restore notes
To delete a note/folder, select it from your list of notes and click the trash button.

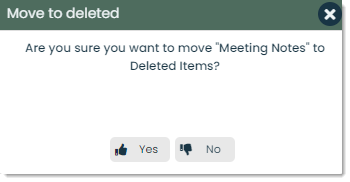
A message will ask you to confirm the deletion. If you want to delete the note/folder, click yes.
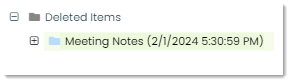
The note will be moved to your Deleted items folder.
From here, you still have access to the information. If you want to permanently delete the item, right-click and select Permanently delete folder.

You can also choose to restore any deleted items by right-clicking them and selecting selecting Restore. This will bring the note/folder back to your main list of notes.
Using Notes in other apps
In many Appward apps, you’ll find the familiar features of the Notes app, enabling you to perform note-related tasks across different applications. For instance, if you’re using the Departments app and wish to add notes specific to a Department, you can conveniently do so in the dedicated Notes tab within the Department details. This ensures that all relevant information stays organized and contextually connected.
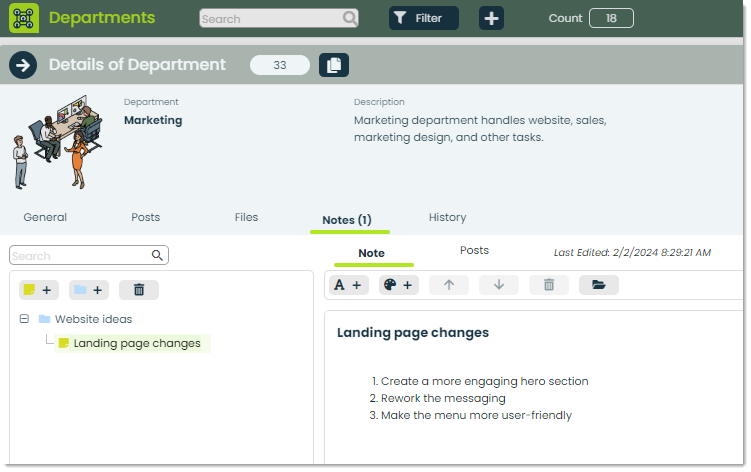
Writing notes here is exactly the same as in the Notes app. The great thing about this method is that you can see not only your notes, but any notes from any other person for the given record. That means fully-connected, in-context information from everyone on any particular item.
Note: Notes that you add in apps other than the Notes app will not be displayed in your Notes app. If you want a note that you’ve composed in an app to show up in Notes, you can share the note to yourself, and the note will show up in your Shared section.