Table of contents
Getting Started with Progress Reports
Monday October 9, 2023-15 min readIntroduction
The Progress Reports app streamlines the creation, management, and administration of progress reports for your organization. Whether it’s an employee’s annual review or a financial report for your company, Progress Reports has you covered. In this guide, we’ll walk you through the entire process of creating and managing your reports to ensure they are tailored to your specific needs.
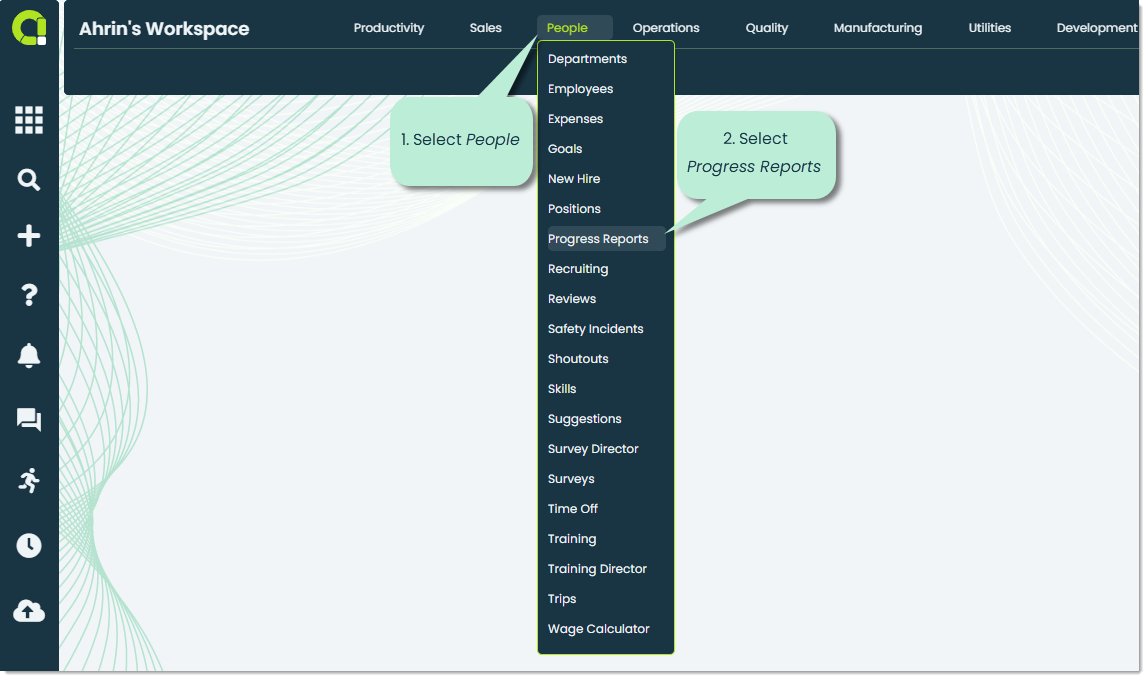
To open the Progress Reports app, head over to the People category in the main navigation bar and select Progress Reports.
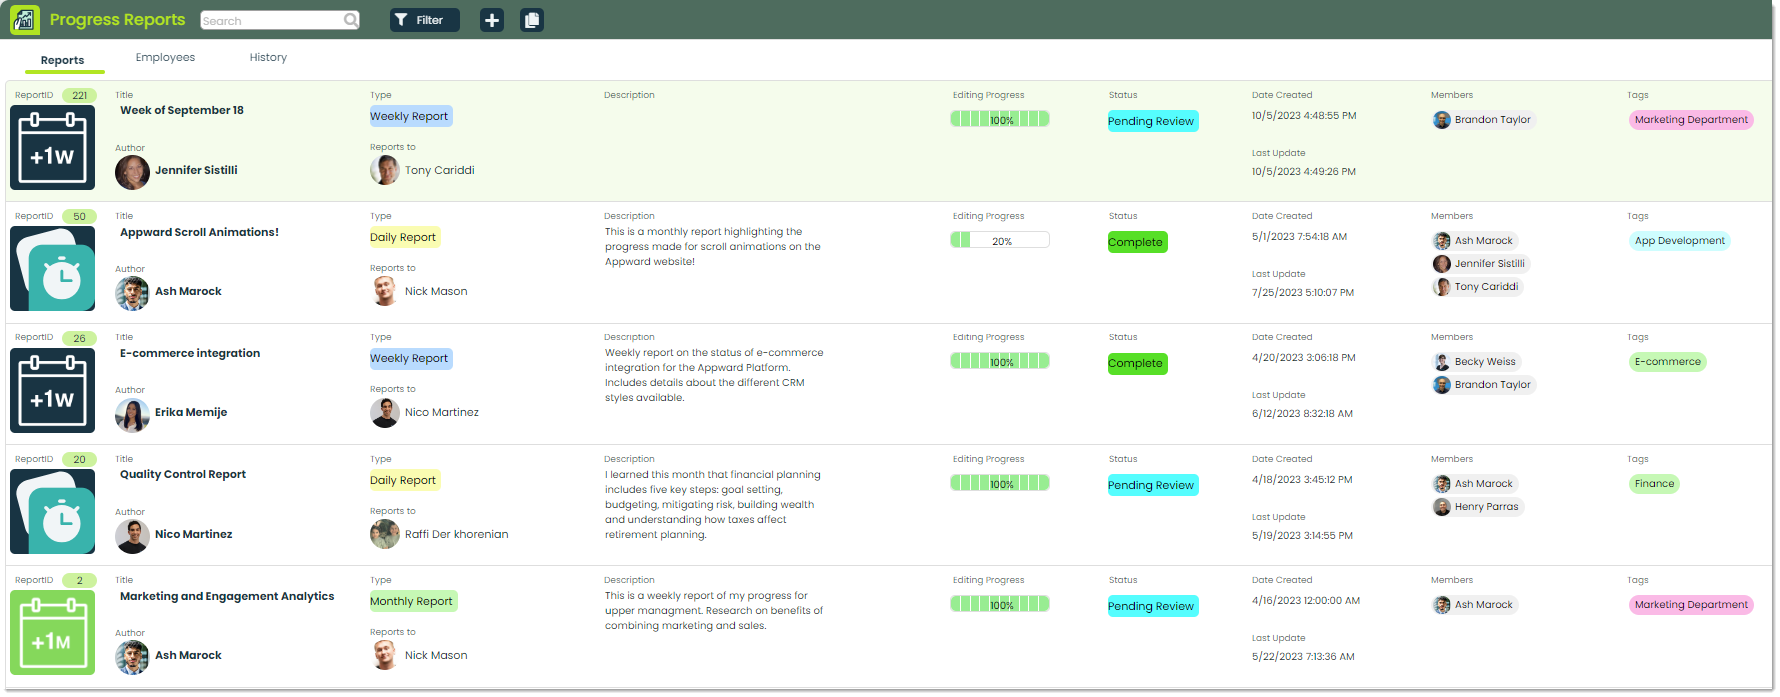
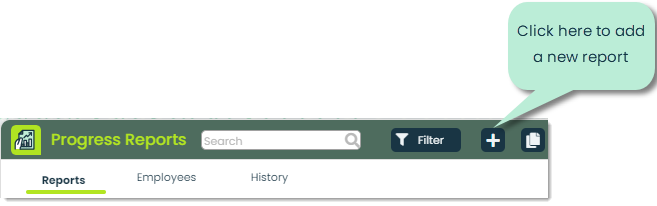
When you first launch the Progress Reports app, you’ll see a screen displaying all Progress Reports your organization has previously created that you have access to. We’ll cover the available tabs and what features they offer during the course of this guide.
Note: If your organization has never created a progress report before, this screen will be blank.
Reports – This is the default tab you’ll be presented with when the Progress Reports app is first opened. In Reports, you can access all reports created by individuals in your organization for which you have viewing permissions.
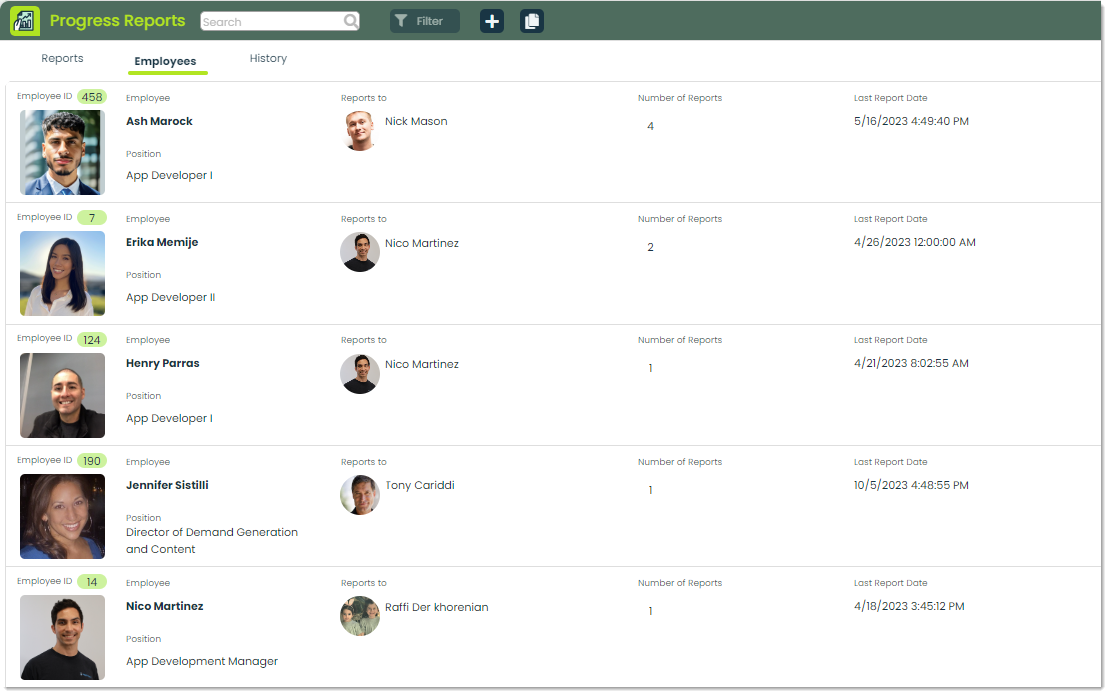
Employees – The Employees tab displays the employees in your organization who have authored a progress report. This tab will also show who the employee reports to, the number of reports they have authored, and when the date of their last report was.
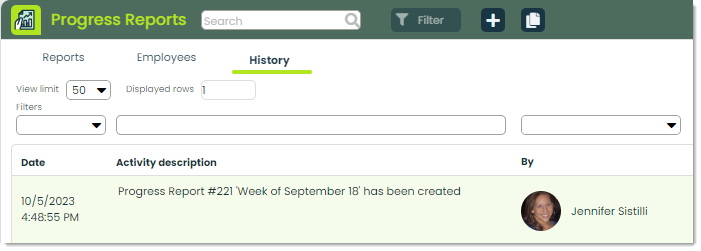
History – History displays an activity log pertaining to the record of reports within Progress Reports.
How to add a progress report
To add a progress report record, you can click on the + icon at the top of the app screen.
Next, you’ll be shown the Add Progress Report popup, where you can input important details of the progress report you wish to add. The fields in this popup might not be familiar to you, so let’s go over them.
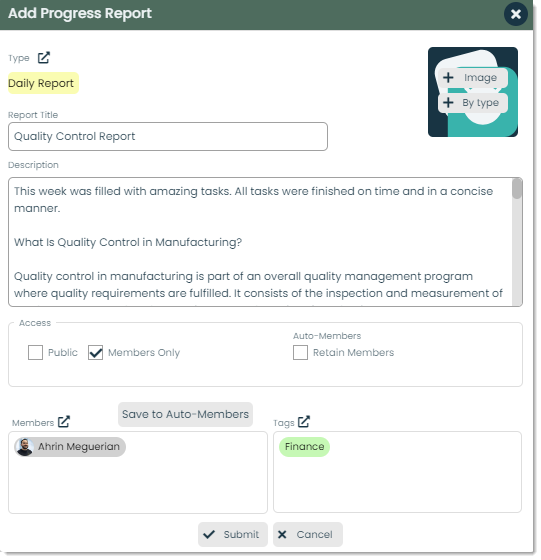
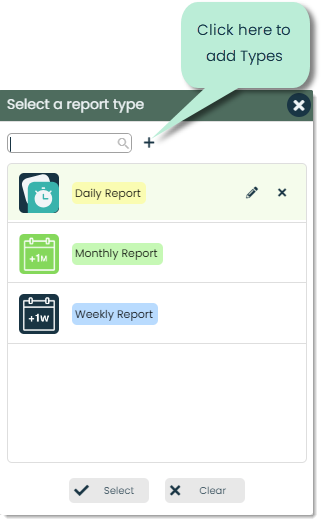
Type – In Appward, Types are a way you can classify your organization’s progress reports into their own categories for better organization and searchability. You can create and designate types any way you like, so that they are completely relevant to your business. As an example, a report that is submitted every day might be assigned the type Daily Report.

To select a type, simply click on the picker icon in the Type field. This will bring up a popup, where you have the option of adding a new type or selecting one that was previously created by someone in your organization. For more on Types, please check out our Using Types article.
Note: If this is the first time anyone from your organization has visited the type picker in Progress Reports, there will be no types to choose from.
Report Title – The Report Title is important since it is often the first element of a progress report that catches a viewer’s attention. The title should serve as a very short yet clear preview of what the reader will see if they click on the record.

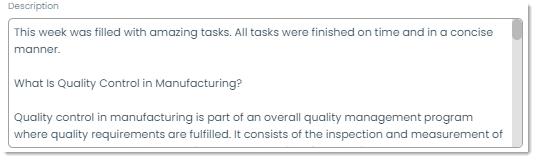
Description – In the Description field you can provide the reader with important information and the bulk of the written content within a progress report. You can include information such as key findings, objectives, and methodologies which give the audience a full scope of the reason for the progress report.
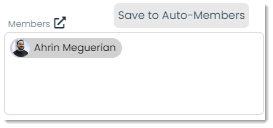
Members – You can provide users with the ability to view and edit records by assigning them as a member. Members can be assigned with the picker in the Members field.
Access – Within the Access section of the add process, you can define if the record should have specific privacy settings.
Public/Members Only: You can designate a record to be public or for members only. Public means that you are giving access to anyone in the organization to view the record. Members only means that only members you assign are able to view and edit the record. Members are used in almost every app at Appward and provide you with a dynamic way to keep records private if needed and provide an extra layer of security.
Auto-Members: Auto members are members who are pre-selected from a list of contacts in your organization. You can check the Retain Members checkbox to make sure that auto-members are assigned to the record you are creating. In order to access the list of auto members, you need to be an admin in your organization. Auto members are individuals pre-selected from your organization’s contact list. To ensure auto-members are associated with the record you’re creating, simply enable the Retain Members checkbox. Access to the list of auto members requires admin privileges within your organization.

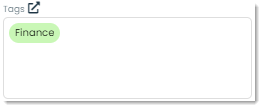
Tags – Tags and Types are similar in that they both serve as keywords to classify and categorize progress reports. However, there is a key difference between them. Types are singular categories that each progress report falls into, whereas tags offer more flexibility as they allow multiple keywords to be associated with a single report. For more on tags, please check out Using Tags.
Submit – You can finalize your report details and submit them by pressing Submit. After submitting, your new progress report will be displayed in the main pane and have its own viewable record.

Cancel – If you don’t want to create a new record, you can click Cancel which will close the window and stop the process of creating a new progress report.

How to view and edit progress reports
To view the details of a progress report, you can click on the row of the record you wish to view.

After clicking on the record you wish to view, you will be presented with a details flyout showing you the details of a progress report.
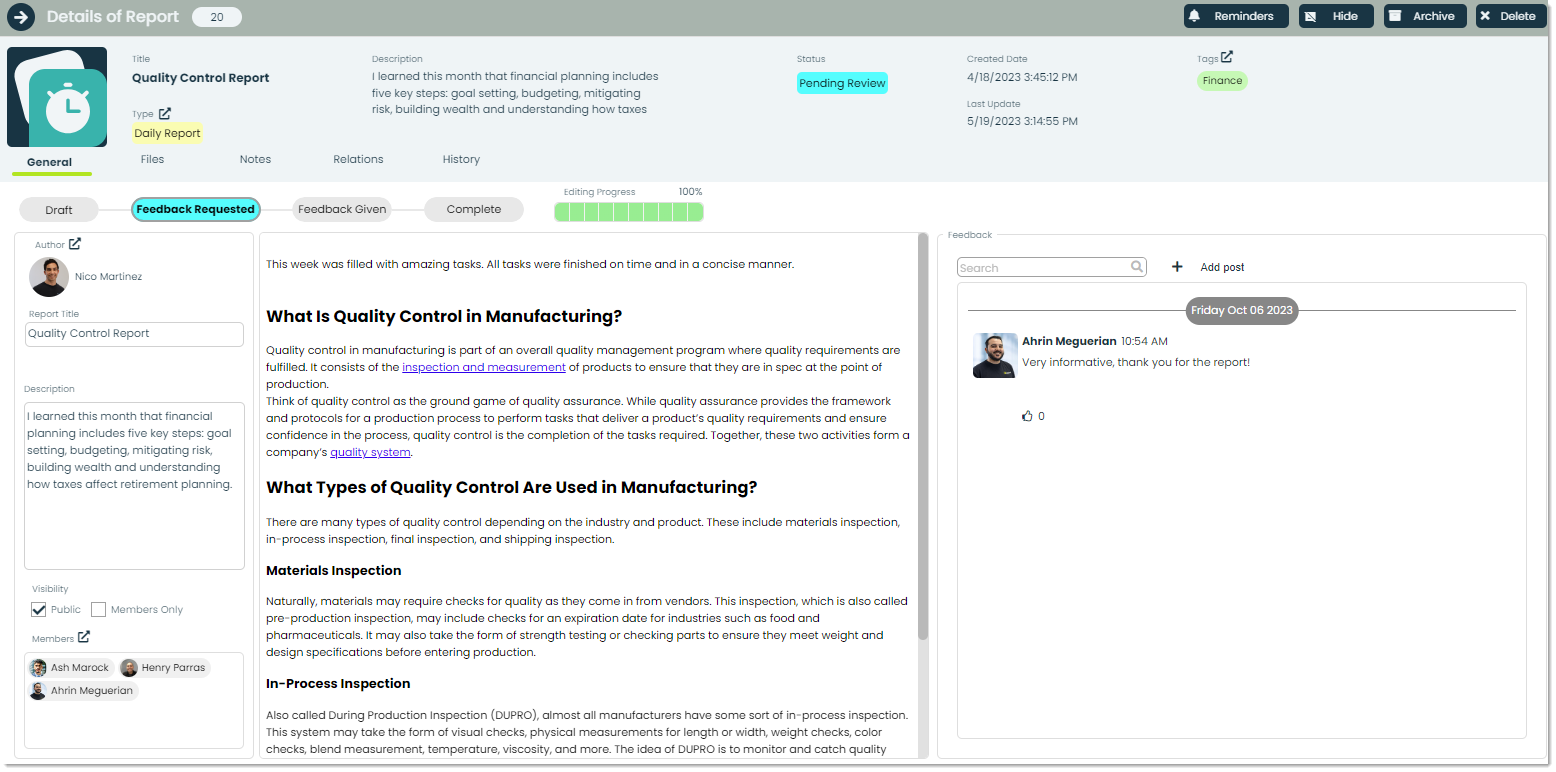
Within the details flyout, there are many of the same fields that were present in the add popup. Let’s review the fields that are not familiar.
Progress bar – In Appward, progress bars are often used to track and manage the status of a process. Within Progress Reports, the progress bar can be used to move reports to different phases such as Draft, Feedback Requested, Feedback Given, and Complete. You can click on the individually labeled fields to change the current progress level of your report. Let’s cover what each of the stages indicate.
Draft: In the Draft stage, a report is in its initial phase. It means that the author of the report has started working on it, however it is not ready to be submitted for review yet.
Feedback Requested: When a report is in the Feedback Requested stage it indicates that the author of the report has published the report and is requesting feedback from supervisors or reviewers. During this stage the author might receive general comments, suggestions, and recommendations regarding their report.
Feedback Given: Feedback Given indicates that the progress report has been reviewed by relevant parties, and feedback or comments have been provided. This stage is important for keeping efficient collaboration and communication between you and your colleagues.
Complete: When a progress report reaches the Complete stage, it means that all of the necessary revisions and improvements have been made according to the feedback received. Viewers of the report will know that it is complete and will not be edited in the future.

Status – You can check the present state of the progress report in the Status field. Whenever you update the progress bar, the Status of the progress report will automatically adjust to reflect these changes.
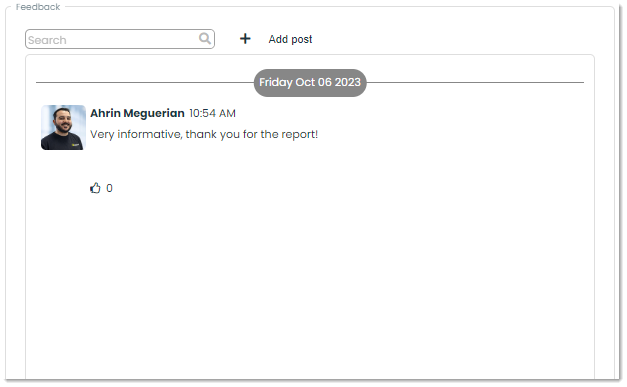
Feedback – Feedback is where you can provide comments using Posts. In Appward, a post is a comment that can be liked or replied to directly by other members of your organization. Within Progress Reports, a common way of using posts is to write to author(s) of reports with any additional comments you’d like to make.
Viewing reports by employee
To view reports by employee, navigate to the Employees tab. Let’s go over the details shown within this tab.
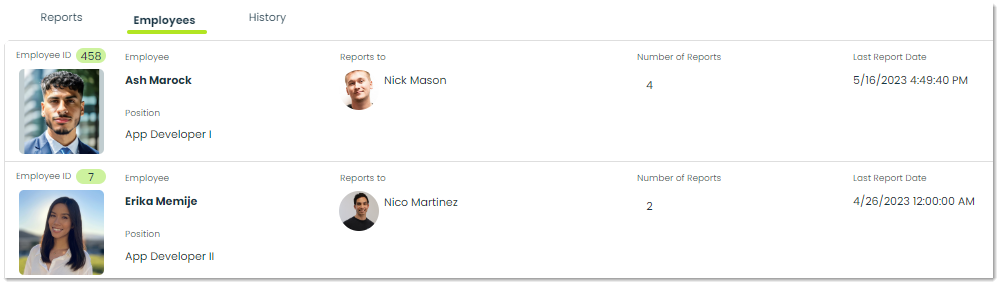
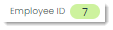
Employee ID – Employee IDs are unique numerical values assigned to an employee within your organization. They serve as a way to reference each employee and helps your organization manage its workforce effectively.
Employee – You can view the name of the employee within the Employee field. The profile image associated with the employee will also be shown.

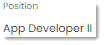
Position – Position refers to the specific job or role that an individual holds within an organization. Positions within an organization are typically defined by a job title that includes clear details such as the department they work in, or their level of expertise in the field.
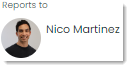
Reports to – When an employee Reports to someone in your organization, it means that they are accountable to that person in terms of their work responsibilities and overall performance. This management hierarchy is established within the Employees app.
Number of Reports – Number of Reports indicates the total quantity of progress reports authored by the Employee you are viewing.

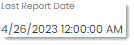
Last Report Date – The date of the last published report by a specific employee is displayed in the Last Report Date field.
To view the details of an employee’s created reports, click on the row of the employee you wish to access.
Frontline features of Progress Reports
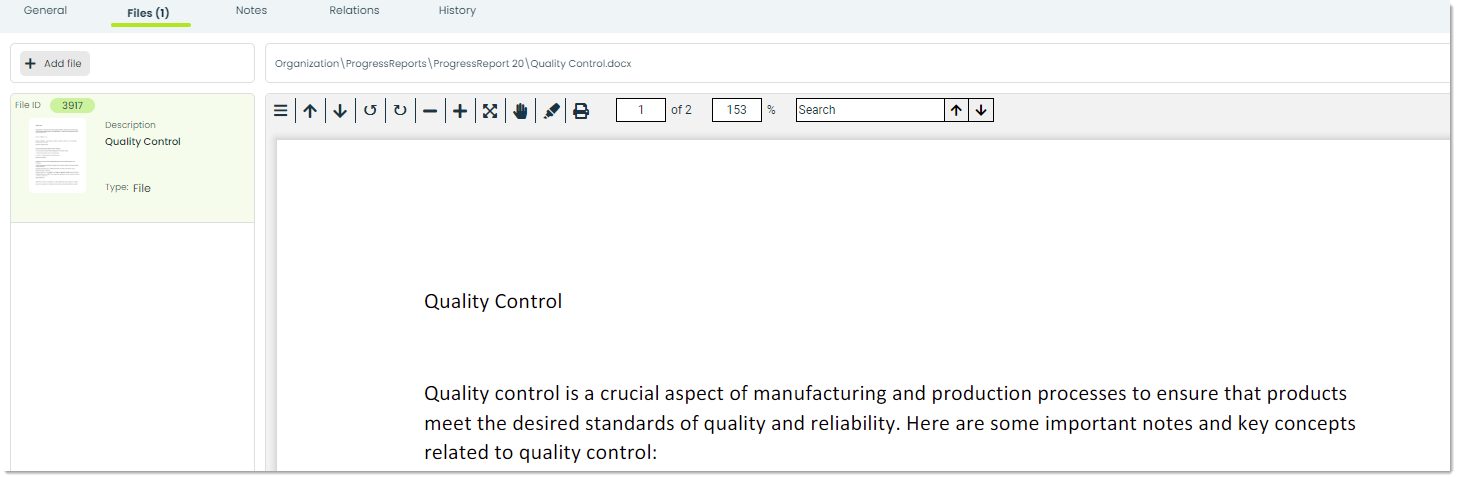
Files – Through the Files tab, you can attach essential documents to a progress report You can add files directly from your computer or from the Appward cloud. After adding a file, you can view it through an integrated document preview within the Files tab.
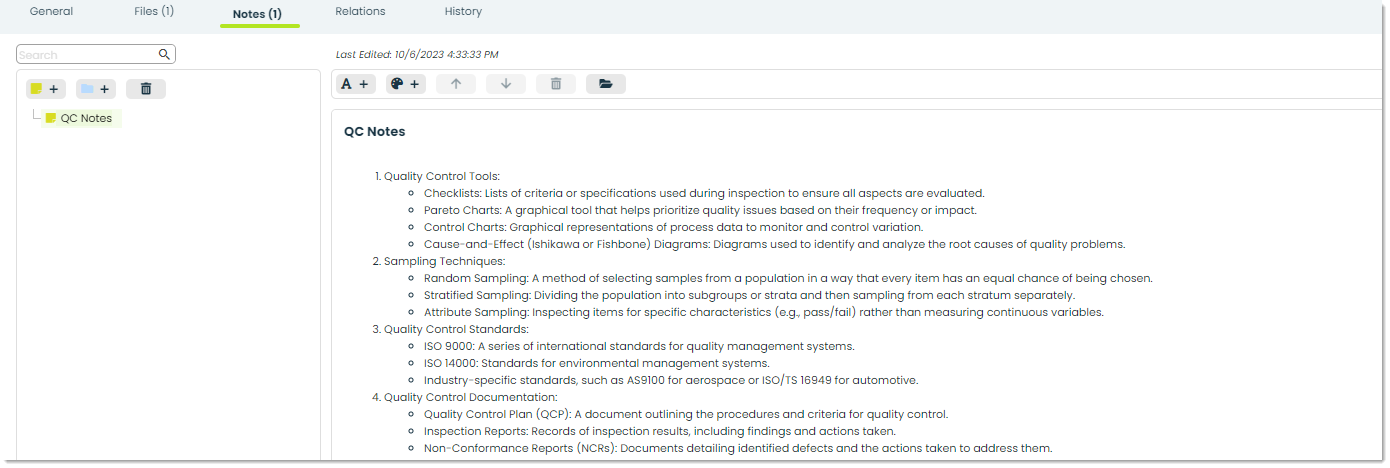
Notes – Within the Notes tab you can write and store written records that help capture and convey your thoughts. You’ll be able to stay organized, provide better context to progress reports, and improve communication between you and your team.
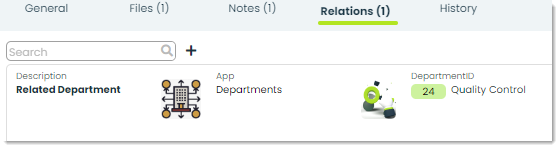
Relations – You can include related records from other apps within your organization in the Relations tab of a progress report.
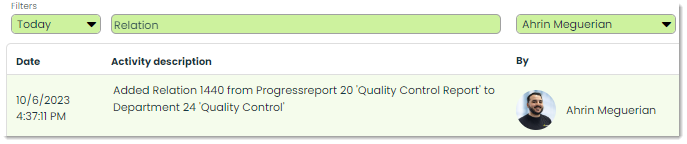
History – In History, you can view detailed information about the status change of progress report record. Details such as the employee responsible for the update, the timestamp of the modification, name of the application and a description of the activity performed are shown. Additional features within history such as advanced filtering using name, time, and related app name are also available for you to use.
Additional features of Progress Reports
Reminders – You can set reminders for yourself within progress reports, to make sure you never miss a revision or an update to a report status.

Hide – Hiding a progress report record means that the record will only by visible by applying the “Show Hidden” filter when searching.

Archive – Archiving is a prevalent functionality found in most of the apps within Appward. It provides a useful tool for temporarily hiding a record without permanently deleting it. Archived records are essentially hidden from the main screen but can still be accessed using specific search filters.

Delete – You can delete a progress report permanently by pressing the Delete button.
