Table of contents
Getting Started with Suggestions
Thursday November 16, 2023-19 min readIntroduction
The Suggestions app is like a suggestion box for your team. It’s a simple way for employees to share their ideas to make things better at work. Whether it’s improving processes, the office vibe or company culture, this app makes it easy for everyone to pitch in their thoughts. No need to wait for different channels or worry about whether your ideas are being heard because every opinion counts.
This guide will cover everything you need to know about the Suggestions app including how to create a suggestion, set up a suggestion budget, request approval for the suggestion and execute on an approved suggestion.
Let’s get started
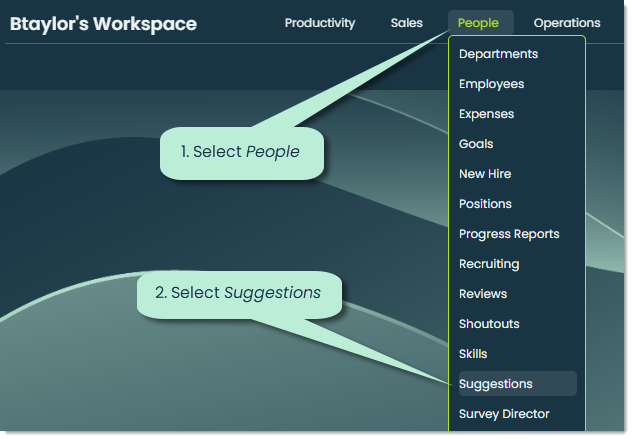
To open Suggestions, go to the People category of the main navigation bar and select Suggestions.
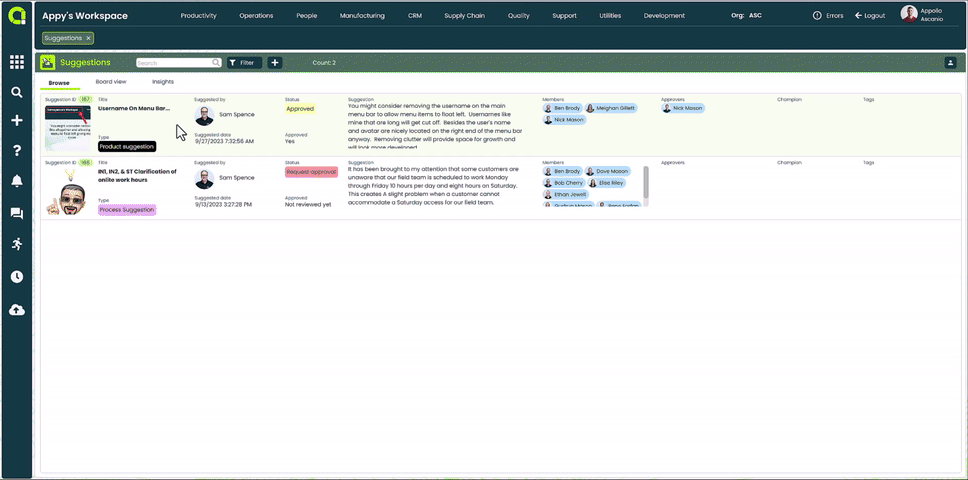
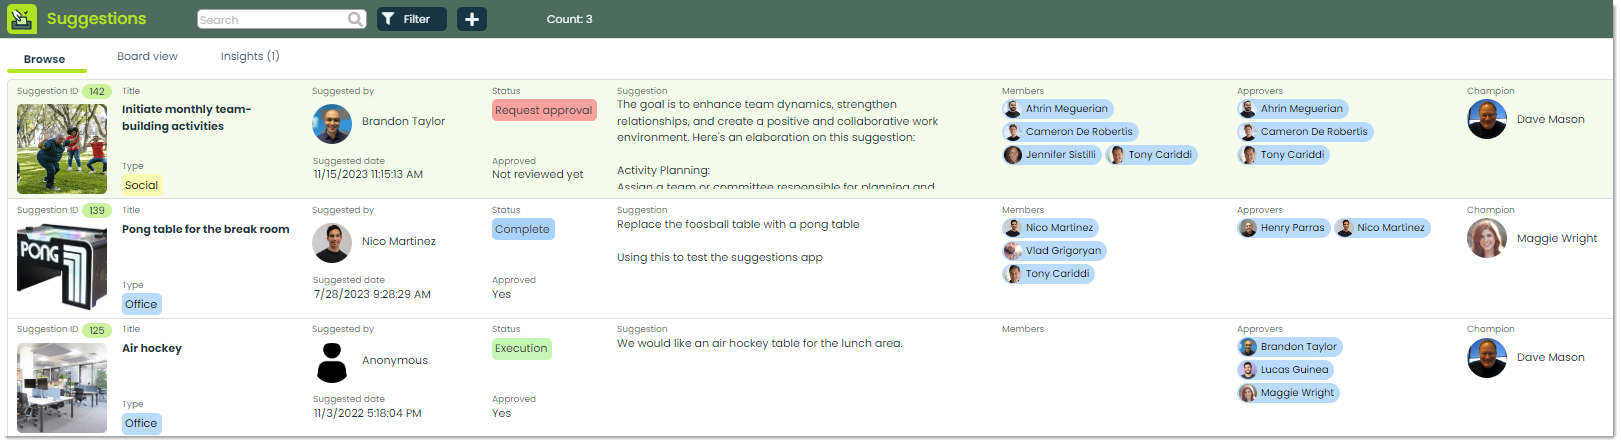
When you open the app, you’ll see a list of your organization’s suggestions sorted by most recent suggestion.
Let’s go over each tab:
1. Browse – This is the default tab when opening the app. It contains a list of all suggestions that have been added by your organization.
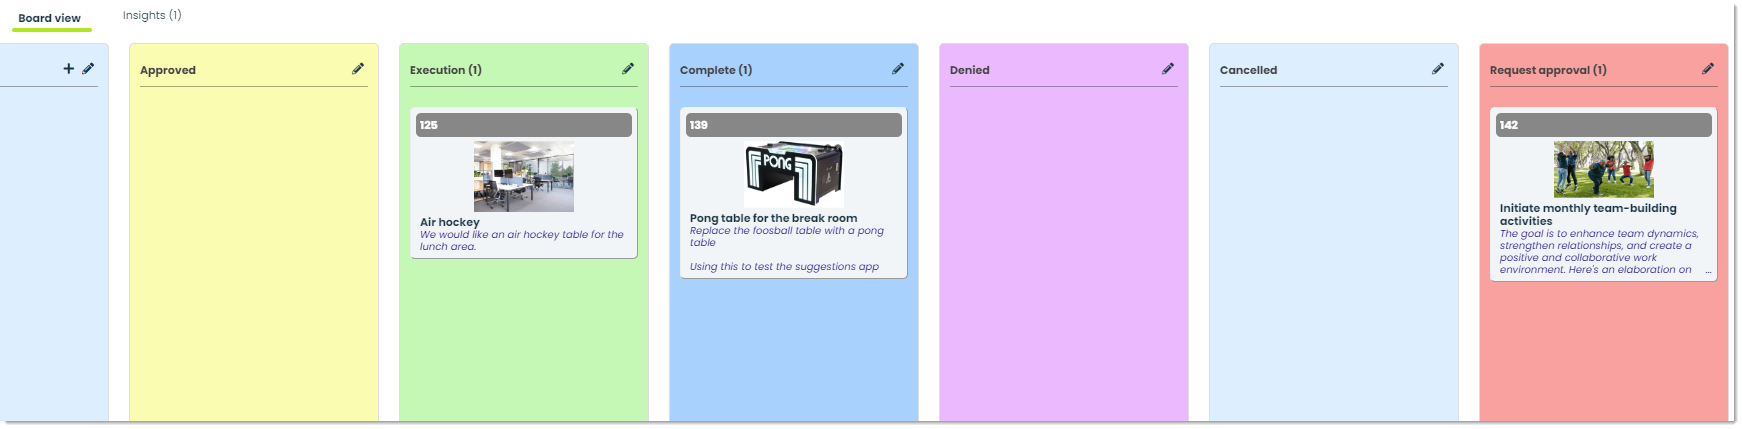
2. Board view – This tab shows a Kanban-style display of suggestions grouped by their status. For example, all suggestions with a status of Request approval will appear in the Request approval column. The board view gives a clear picture of how suggestions are moving along—from the idea stage to decisions. By putting suggestions into different groups based on their status, it’s easy for the team to see where each suggestion stands and makes it simple to track and manage ideas.
3. Insights – Insights give you a visual way to analyze data related to suggestions. You can make your own insights with custom SQL queries and use charts or tables to display the data. Some useful insights for Suggestions might include information about successfully converted suggestions or budget analysis.
How to add a new suggestion
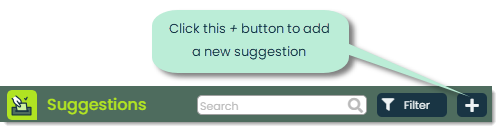
From the top header, click the + button to add a new suggestion.
A popup will appear for you to add in the suggestion information.
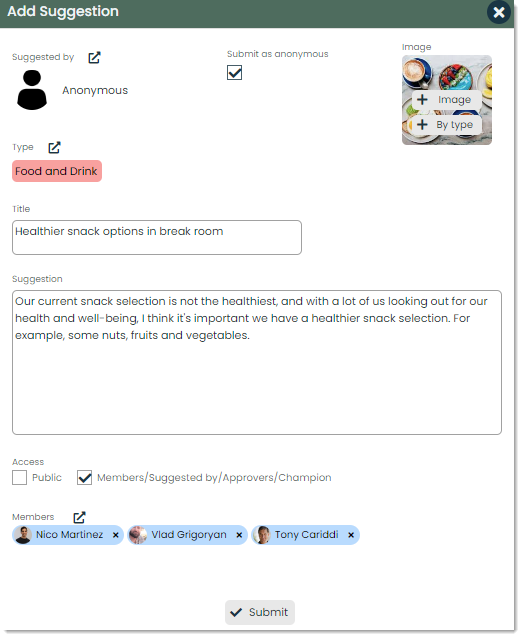
Let’s go over each field of this popup and what it means.
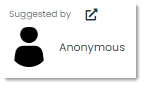
Suggested by – This field indicates who is making the suggestion. By default, this will default to whoever is adding the suggestion. To modify this value, you can click the external link icon to select a different contact. You can also check the Submit as anonymous box to submit the suggestion anonymously.
Submit as anonymous – You can check this box to submit your suggestion as anonymous. This option recognizes that not everyone may be comfortable with their suggestions being openly attributed and provides a safe space for individuals who prefer to share their insights without attaching their name to it.
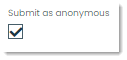
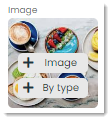
Image – You can associate an image to a suggestion for better visualization and understanding. Sometimes, a picture can convey information more effectively than words alone. To add a picture, just hover over the image space and click either + Image for any picture or + By type to choose the type image. Type images are covered in the Type field definition.
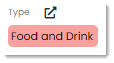
Type – A type is a label consisting of a key phrase, color and optional image which can be assigned to a record to define the primary category that it belongs to. Just like sorting your emails into folders, types help you group items in a logical, organized way that makes sense your business. For Suggestions, types could include categories like Process improvement, Team building, or Cost savings. Unlike tags which could change, Types provide a permanent way to classify and understand your suggestions, helping you maintain a structured and organized workflow. For more on types, make sure to check out our article on Using Types.
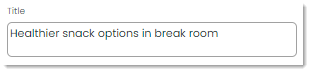
Title – This is the title of the suggestion. It should clearly and concisely capture the essence of your suggestion. A good title gives readers a quick insight into the main idea without having to dive into the details.
Suggestion – This is the description of the suggestion. With this field, you should explain the context, outline the steps, and articulate any supporting details that will help others fully comprehend your idea.

Access – This field determines the access or privacy level of the suggestion. Checking the box next to Public ensures that everyone in the organization can see the suggestion. Checking the box next to Members/Suggested by/Approvers/Champion limits the visibility of the suggestion to a select group of individuals, ensuring that only the suggestor, members, approvers, and the champion assigned to the suggestion have access to it. For more sensitive suggestion, it is a good idea to limit the visibility to only the people directly involved in it.

Members – Assuming that you’ve checked the Members/Suggested by/Approvers/Champion box in the previous section, you can pick a group of members for the suggestion meaning only those people can see and access what’s inside it. It’s a way to control who gets to view and engage with the suggestion content.

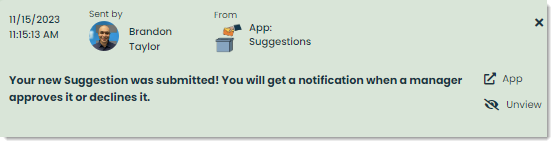
Once you are done, click Submit at the bottom to create the suggestion. Whoever created the suggestion will receive a notification that looks like this:
How to view and edit the contents of a suggestion
Once you have created a suggestion, you can view its contents by clicking on it from the main list.
If you have access, you can quickly change details of a suggestion by editing the information in the text boxes or using the checkboxes and external link icons to select new data. Thanks to Appward’s autosave feature, any changes are saved instantly.
Let’s go through the additional fields of the General info section that were not covered when adding the suggestion.
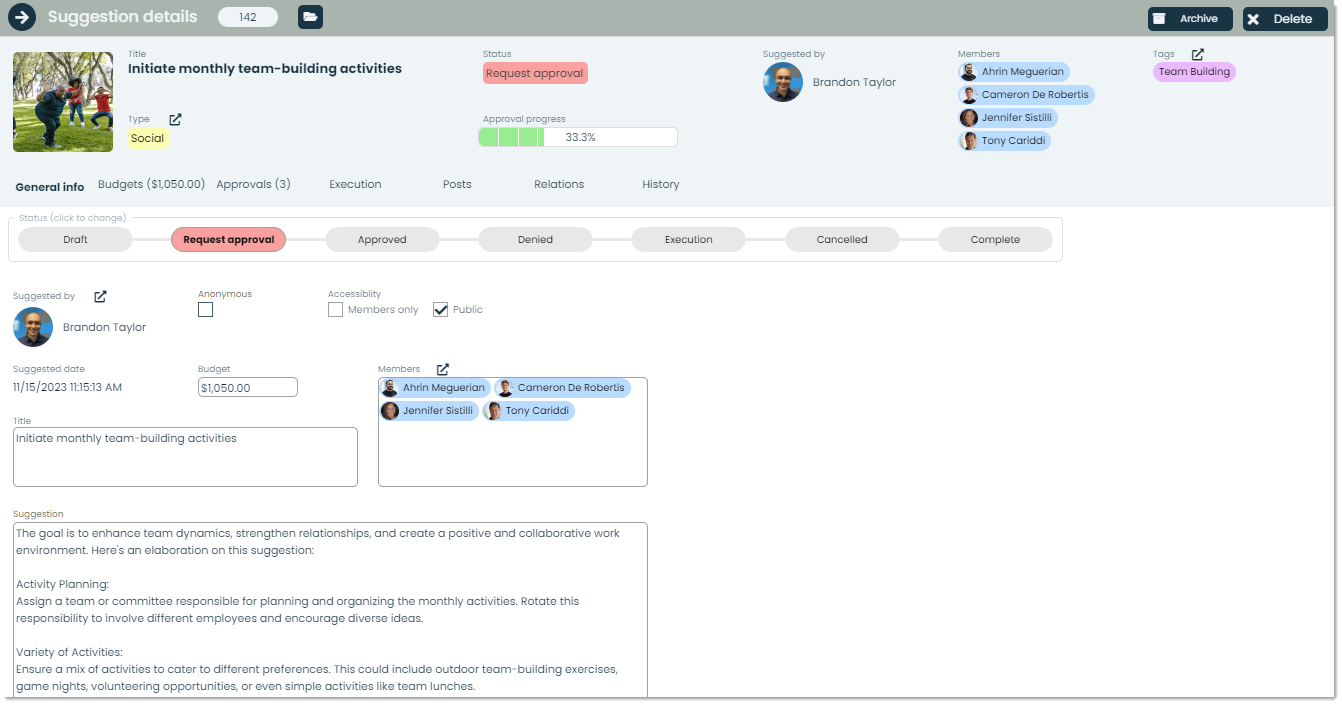
Status – The status of a suggestion indicates its current position or progress within the suggestion workflow. It provides a quick snapshot of where the suggestion stands in terms of submission, approval or execution.
The sequence of statuses is indicated by the following image. To change a status, you can click on any of the labels.

Let’s cover what each status means:
- Draft – The suggestion is in the initial stages, and the details are being prepared or refined. It has not been formally submitted for review.
- Request approval – The suggestion has been submitted and is pending approval from the relevant stakeholders or decision-makers. Typically, at this point, approval requests have been sent out but have not been responded to yet.
- Approved – The suggestion has been reviewed and accepted. It has received the necessary approvals and is ready to move forward to the execution phase.
- Denied – The suggestion has been reviewed and rejected. It did not receive the required approvals and there are no plans for further consideration or implementation.
- Execution – The approved suggestion is currently in progress or being implemented. This status indicates that the plan or action steps are actively underway.
- Cancelled – The suggestion, despite initial approval, has been halted or abandoned before completion. It will not proceed further for specific reasons.
- Complete – The suggestion has been fully executed, and all related activities or tasks have been successfully accomplished. It has reached its intended conclusion or outcome.
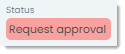
Approval progress – This field indicates the progress of any approval requests that have been sent out. In the following example, the approval progress is 33.3%, indicating that 33.3% of the approval requests have been responded to.
Tags – Tags are labels with keyphrases and colors which are used to categorize suggestions. They provide better organization and searchability of your suggestions as well as give some context into the content of each suggestion record.

Budget – With this field, you can outline the estimated cost associated with the suggestion, helping decision-makers and stakeholders understand the financial implications of implementing the proposed changes. This number will typically be generated from the Budgets tab which will be covered in the next section.
How to set up a budget for a suggestion
There will be times when a suggestion requires some money to accomplish. In these cases, you can track and manage the budget for this suggestion with the Budgets tab.
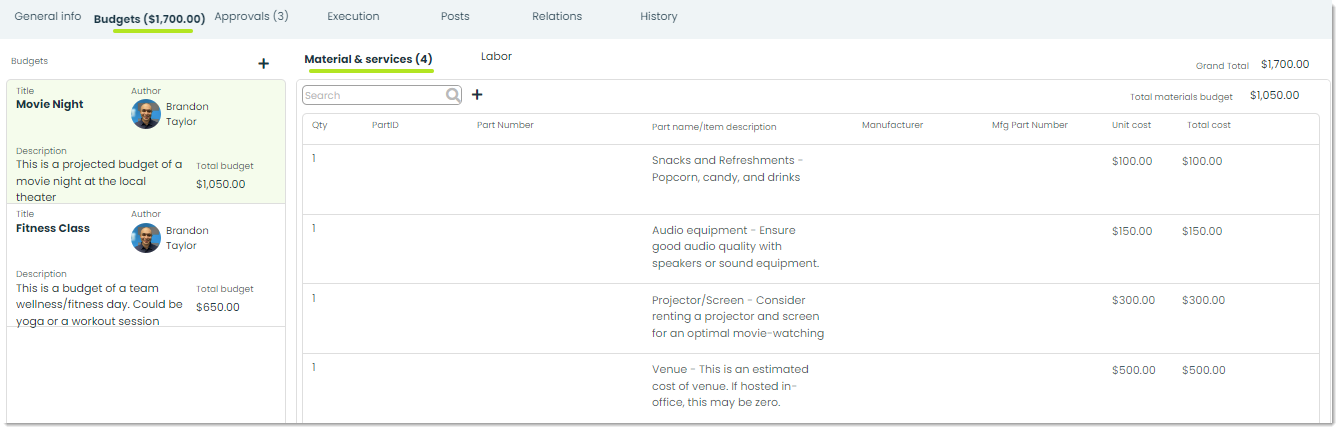
With the Budgets tab, you can add in every expense and estimated cost, whether that’s for a material, service or labor. You can also add in separate budgets for a more organized, modularized set of costs. In the image above, separate budgets have been made for separate team outings. One is for a movie night and one is for a wellness/fitness day. On the right side, you can see each individual item of the budget, its quantity and its cost. The Grand Total field represents the total of each budget, including items from both Material & services and Labor tabs.
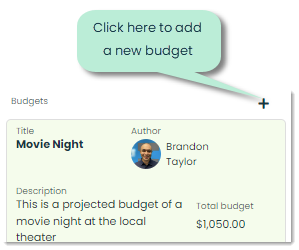
The first step in setting up a budget is adding a new one. To do this, click the + button next to Budgets.
This will open a popup for adding the name of the budget as well as a short description.
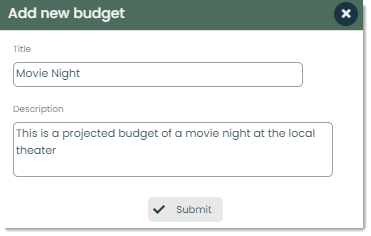
Click Submit to add the new budget. From here, you can add in each budget item in the right section. You can either add items in the Materials & services tab or in the Labor tab.
Let’s cover each tab in the right section and how to add budget items each way.
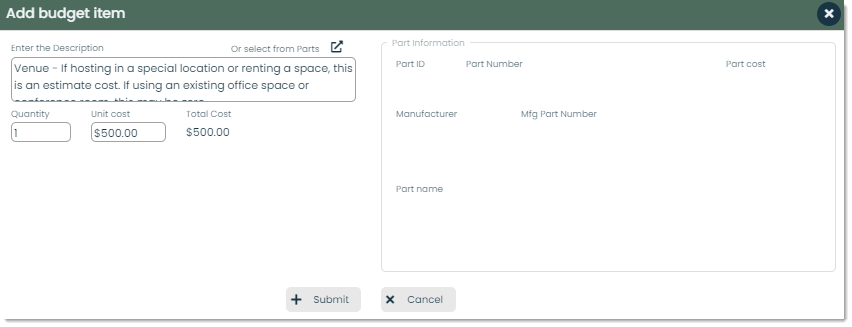
Materials & services – Materials include the physical items or components needed for the suggestion. It could be office supplies, equipment, software licenses, or any tangible items required for the proposed change. Services involve expenses related to external services that might be needed. It could be hiring a consultant, paying for professional services or outsourcing specific tasks related to the suggestion. To add a material or service, click the + button next to the search bar when in this tab. From here, you can add the details of the budget item including a description, the quantity and cost. If the item exists in your Parts app, you can click the external link icon next to Or select from Parts and select the item. This will populate any available part information on the right-hand side as well. Once you have added all the information, click + Submit at the bottom to add the item.
From the list, you can see each item and its cost as well as the total materials budget.
Labor – This category encompasses the costs associated with the workforce involved in implementing the suggestion. It includes salaries, wages and any related benefits for the individuals working on the project. Labor costs are often a significant part of the budget, especially for projects that require human effort and expertise. To add a new labor item, click the + button next to the search bar when in this tab. From here, you can add the details of the budget item including the labor category, quantity, rate and labor description. Once you have added all the information of the labor item, click + Submit at the bottom to add it.
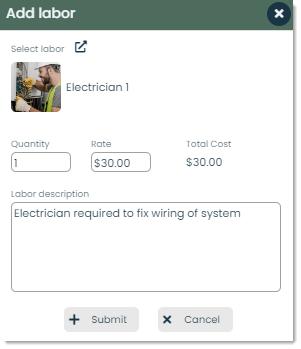
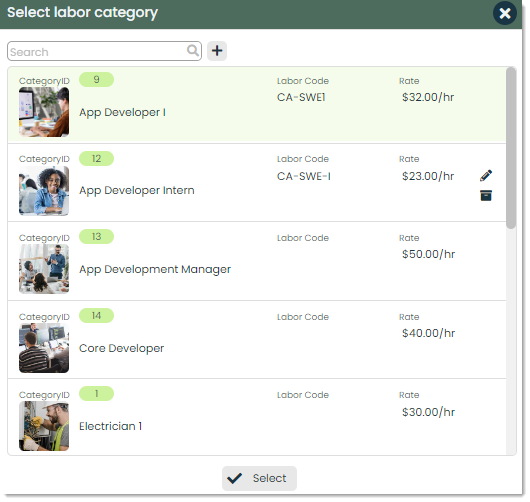
Note: You can select a labor category by clicking the external link icon next to Select labor. You can either select one of the existing categories or add a new one by clicking the + button.
Once you have added in every projected budget item, you can view the grand total next to the Grand Total label and use that number as an estimate for the Budget field of the General info tab.
How to gain approval for a suggestion
Typically, a suggestion will undergo an approval process to determine whether it is worthy of implementation. This For these scenarios, you can use the Approvals tab.
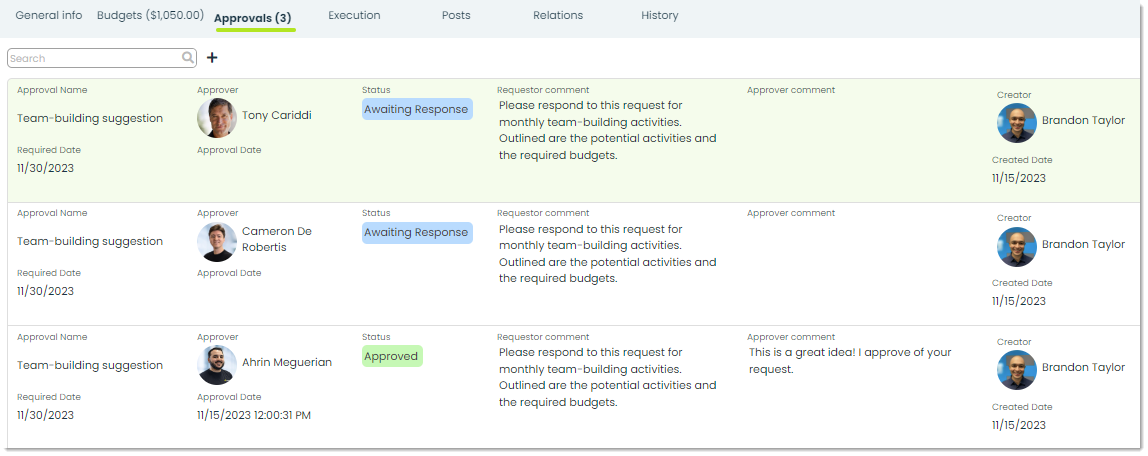
Approvals are requests that serve as a formal communication to decision-makers, aiming to secure their support and validation for the proposed suggestion. It initiates a structured evaluation process, ensuring that decisions are well-informed and aligned with the organization’s goals and policies. In the above example, three approval requests have been sent out to three different approvers. These three people are responsible for determining whether or not the suggestion is worthy of implementing. You can see who each approver is, the status of each request, the comment from the requestor and any comment from the approver. Once a request has been approved or denied, it will be reflected in the request status. Regardless of whether or not the suggestion was approved, this will move the Approval progress bar forward relative to the number of approvers.
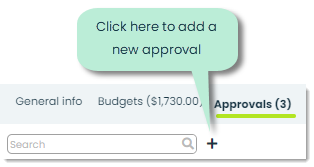
To add a new approval request, click the + button next to the search bar.
This will open a popup for adding new approvals. Here, you can name the approval request, pick who needs to approve it, decide if you want to alert them, set a due date, add a reminder before it’s due and throw in a comment to give some background for the approvers.
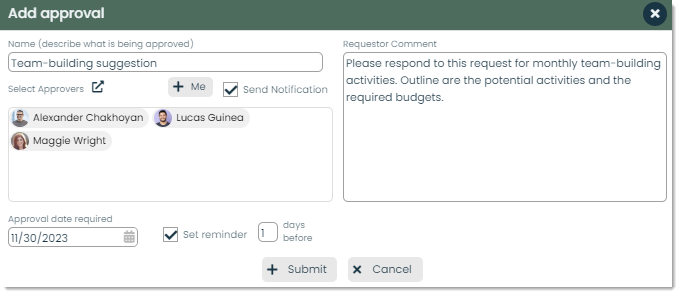
Optionally, you can add yourself as an approver by clicking the + Me button. This will enlarge the screen to include a space for you to approve or reject the request yourself.
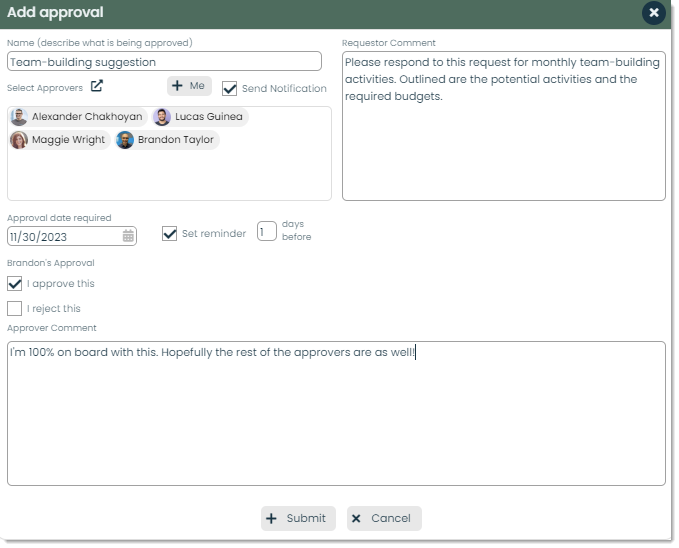
To send out the approval requests, click + Submit at the bottom. This will shoot a request to each chosen approver, and if you added yourself as an approver, it’ll handle your approval too.
Note: If all approvers approve the request, the status of the suggestion will change to Approved. If all approvers have submitted their feedback but one or more rejected the request, the status of the suggestion will be marked as Denied.
How to execute on an approved suggestion
You’ve gotten approvals from all the appropriate parties and have the green light to execute on your suggestion. The next step is to put the approved idea to action. Within the details of a suggestion, you can start this process in the Execution tab.
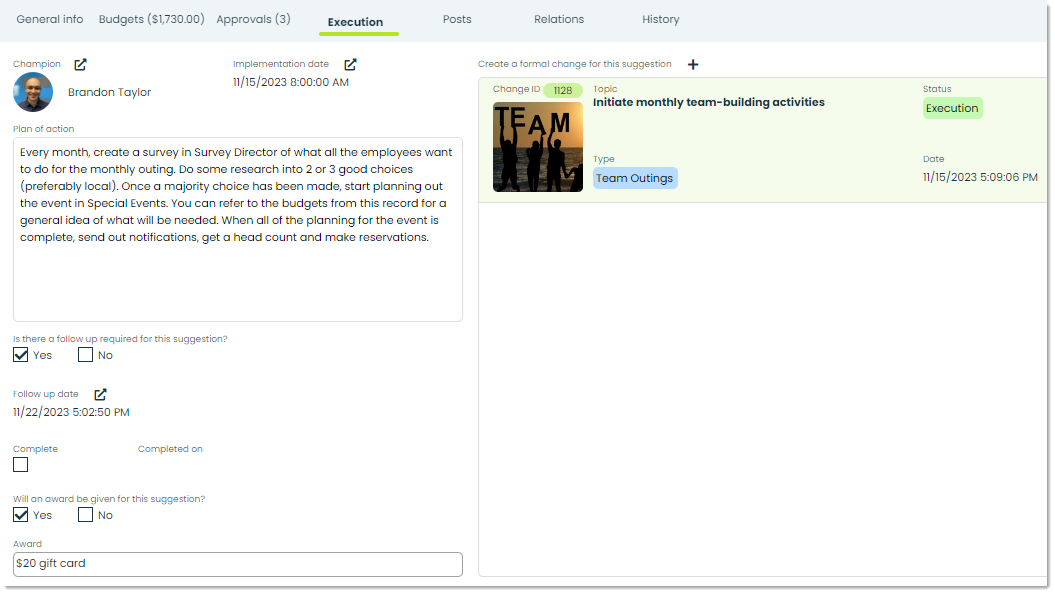
In this part, you can show who’s taking charge (the champion), lay out the plan, note any follow-up needed, check off when it’s done and decide on an award for the idea. Most crucially, you can turn this into a formal change. In Appward, a change is an organized plan of action that stems from a prior event. In this case, it stems from a green-lit suggestion.
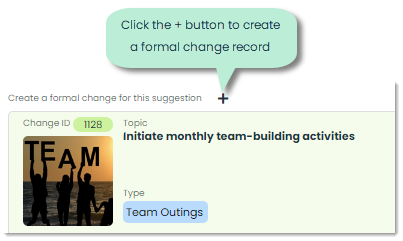
To add a formal change, click the + button next to Create a formal change for this suggestion.
This will open a popup for adding all the details of the change. After clicking Submit at the bottom, a Change record will be added to the Changes app. From here, you can track and manage the process of the change in Changes. For more on how to use Changes, check out the full guide at Getting Started with Changes.
How to use the other Frontline Features of Suggestions
Each app has a set of Frontline Features which are tabs that provide powerful utility based on the app they are found in. In the case of Suggestions, these features can be found in the details page of any suggestion. They are:
- Files
- Posts
- History
Files – Any important documents that you’d like to attach to a suggestion record can be added in the Files tab. With this feature, you can add in as many files as you want and view them with the embedded document viewer.
Posts – A post is a comment which can be replied and reacted to by other people in your organization. You can write a post with any questions or comments about a suggestion as well as mention people or departments by using the @ symbol to notify the respective parties of the post.
History – The History tab provides a detailed log of recent actions performed on a specific suggestion record. This is useful for tracking any changes made, who made them and when.
How to archive or delete a suggestion
This section will cover two features that can be found in the top-right corner of the details page of all suggestion records. These are archiving and deleting.

Here are how those buttons work:
Archive – Archiving is used to store records in a safe, accessible location other than the main list. It’s good for hiding records that don’t need to be seen.
Delete – To delete a suggestion entirely, you can use this feature and the record will be removed.