Table of contents
Getting Started with Articles
Wednesday June 21, 2023-17 min readIntroduction
Articles is an app designed to centralize your company’s knowledge base while providing a platform for creating engaging content. With Articles, you can manage your article repository, providing users the ability to discover and contribute to new publications with ease. This guide will get you started with Articles by covering how to add, edit, share, and perform several other operations on an article. Let’s get started.
Getting started
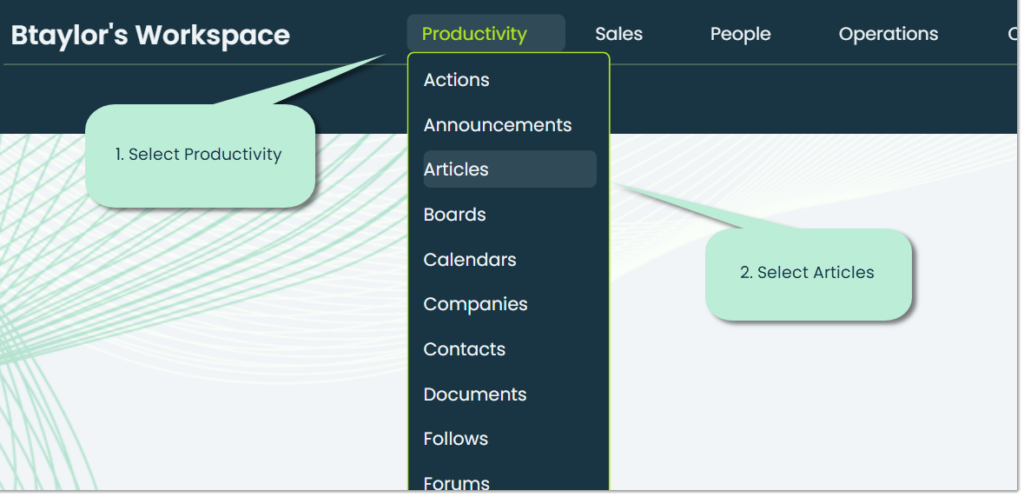
To open Articles, go to the Productivity section of the main navigation bar and select Articles from the dropdown.
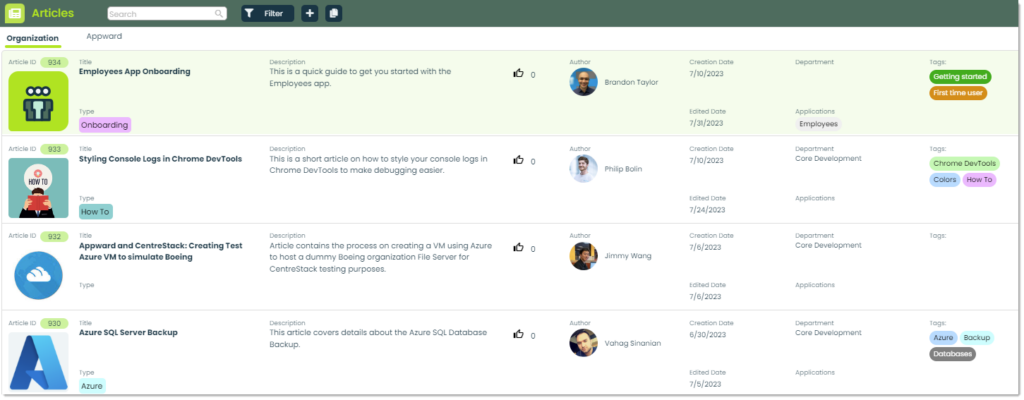
When you first open the app, you will see a list of all your organization’s articles. If no articles have been added yet, this section will appear blank.
Adding a new article
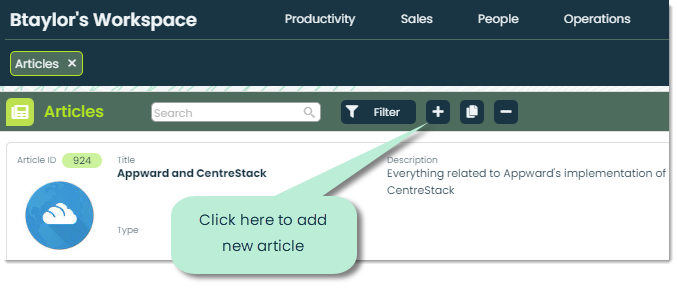
To add a new article, click the “+” button of the main app screen.
A popup will appear for entering the general information of your article. Here is what a pre-filled article could look like:
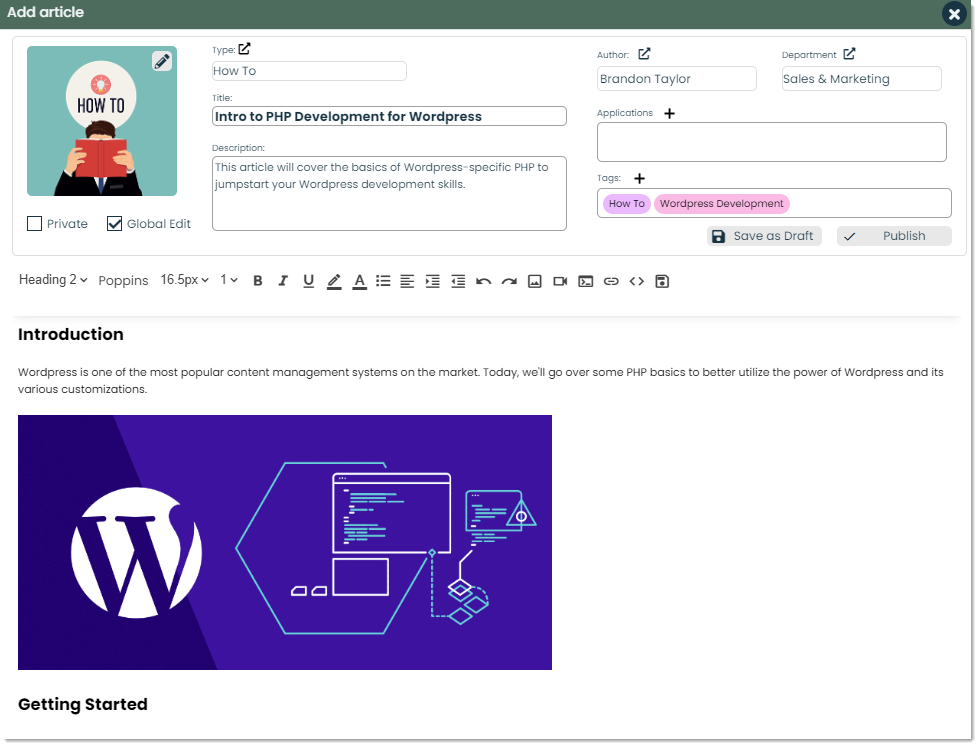
Let’s go over the various fields:
Type: Types are a great way of categorizing your articles. They consist of a name, a label forecolor/backcolor, and an optional image.

Image: You can display an image with your article record. You can select the image from your computer, the Appward Cloud, or from pexels.com.
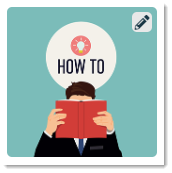
Note: If you select a Type that possesses an image, that image will populate this field. You can select a different image by clicking the pencil icon in the top-right corner of the image window.
Title: This is the title of your article. It should convey the article’s content while enhancing visibility and searchability.

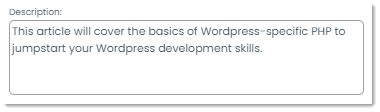
Description: This is a short description of your article. It should give your readers a general idea of what the article will cover.
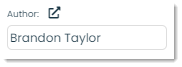
Author: This field will default to the person who is adding the article, but it can be changed by clicking the selector icon.
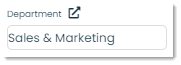
Department: If the article pertains to a specific department, you can indicate that here. The selection of departments comes from the Departments app.
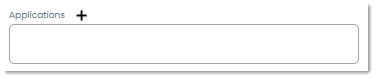
Applications: If the article is related to any specific application(s), you can indicate those applications here.
Tags: Tags are another method of categorizing records. They are keywords which are useful for searching and filtering for specific articles as well as for tracking analytics known as Insights.

Privacy: You can control who can view your article with this field. Checking “Private” indicates that only you and selected members can view the article. Unchecking indicates that the article is public to everyone in your organization.

Note: If you are the current author of a private article and change it to be someone else, you will no longer have access to that article.
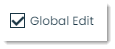
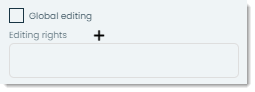
Global Edit: This setting controls who is able to make edits to your article. Checking “Global Edit” indicates that anyone can edit the article. Unchecking indicates that only selected members can edit the article.
Note: Selected members can be chosen in the Edit section of the article details page:
HTML Editor: This is where you compose your article. The HTML editor is used in many areas of the Appward environment. It provides a powerful text editor with many formatting features, as well as the ability to add media, insert code blocks, and extract raw HTML from the content you are writing.
Save as Draft/Publish: With these buttons, you can either save your article as a draft or publish it. Saving an article as a draft will keep your article private until it is ready to be shared. Publishing an article, if not set to private, will make the article viewable by everyone within your organization.

Once you have submitted your article by either saving it as a draft or publishing it, a flyout will display your article in View mode:
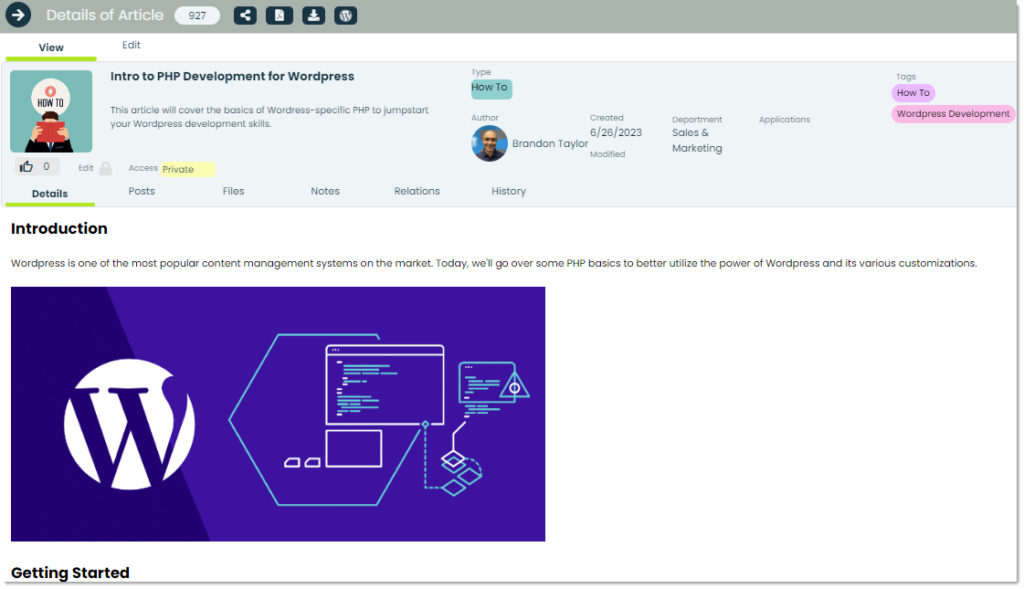
This is what the content will look like for anyone who opens the article. The next section will cover how to edit an article.
Editing an article
There are three scenarios where you’re able to edit an article:
- You created the article
- The article has global editing enabled, meaning that anyone can make edits
- You have been added as a member with editing rights (in the case where global editing is not enabled)
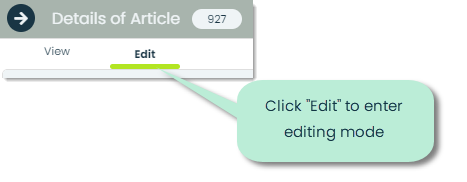
If any of those scenarios apply, you can edit an article by selecting it from list of articles and clicking the “Edit” tab:
From here, you can modify any of aspects of the article.
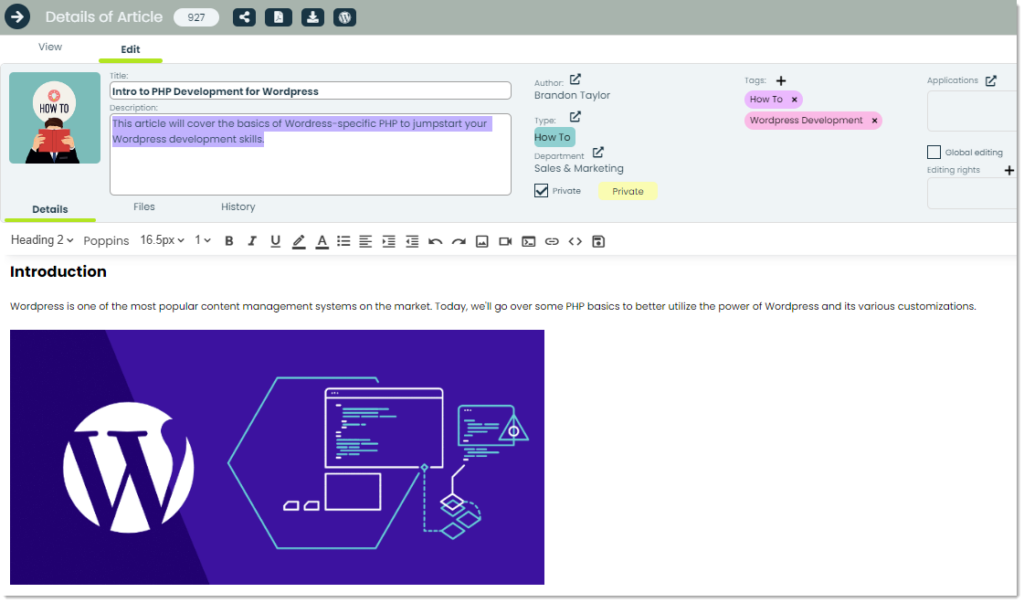
Any changes will automatically get saved.
Frontline features
The Appward environment comes with several “Frontline Features” for every app. For Articles, these features are Posts, Files, Notes, and Relations, and they can be found inside each article’s details.

Here is a quick rundown of the frontline features in Articles and their typical use cases.
Posts – A post is a written comment which can be replied and reacted to by other users to create a dialogue about a particular article. You can write a Post with questions about an article, additional information which may be useful to the reader or mention other employees to link them to the article.
To view the posts of any article, select the “Posts” tab. From here, you can read what others have written about this particular article as well as add any posts of your own.
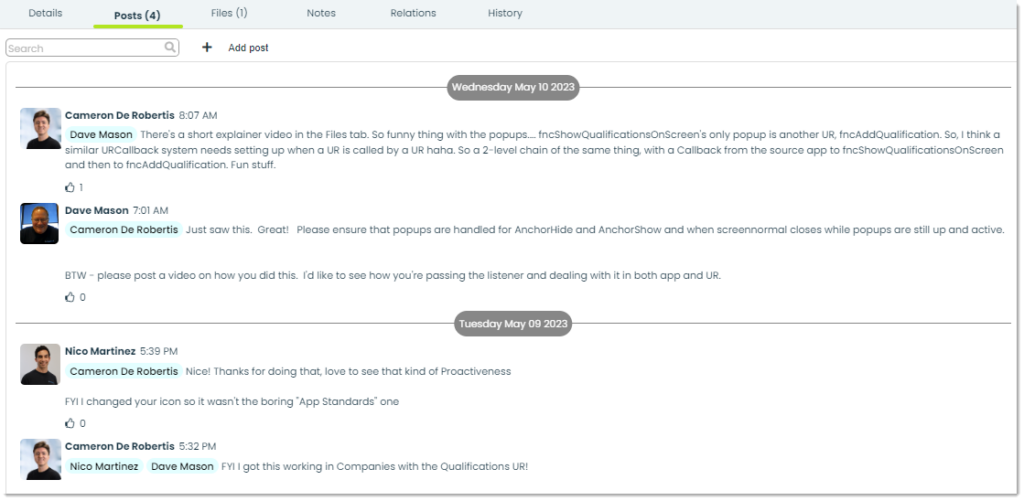
To create a post, simply click “Add Post” next to the search bar. A popup will appear for you to compose your own post with any text or file attachments.
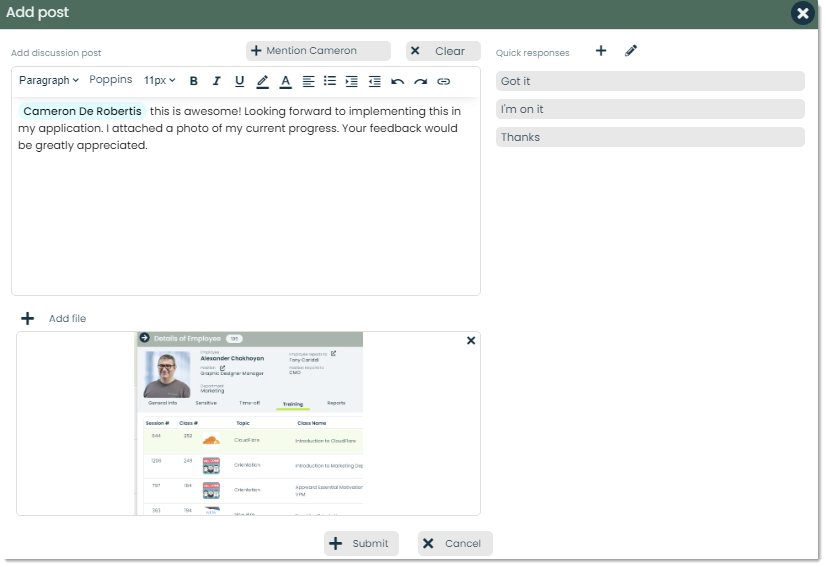
When you are done making your post, click “Submit” to add it. Posts are sorted by most recently made.
Files – A file is a document that can be selected from your computer or the Appward Cloud and attached to any article. Files are commonly used to supplement an article with information that might not have been addressed in the article itself. Files can include images, diagrams, videos, other articles, and any other document that provides additional context to an article.
To access the files of an article, select the “Files” tab. You can view each file by clicking on it from the left-side pane.
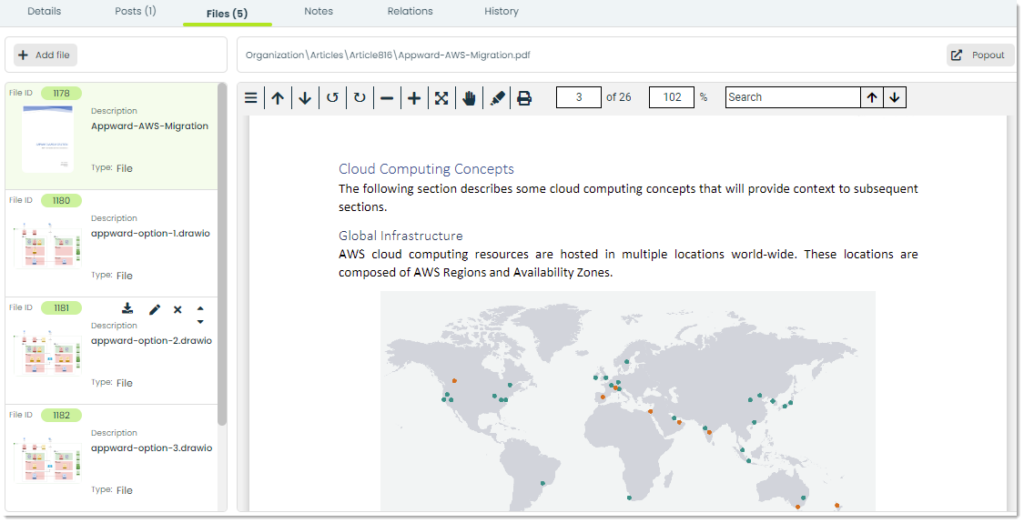
To add a new file, click “Add File” from the top-left corner of the Files tab. From here, a popup will prompt you to select a file from one of the four locations:
- Your Computer
- Appward Cloud – This will open Appward’s file explorer. You can select from cloud files in the Public, Organization, and Personal folders
- Appward Documents – You can select from the files stored in the Documents app
- Appward Articles – You can select another article to attach as a file
Once you have selected your file, give it a description. This will act as the name of the file and you can change this at any time.
Notes – Notes are brief records of thoughts that aid in understanding an article. To view any notes associated with an article, click the Notes tab:
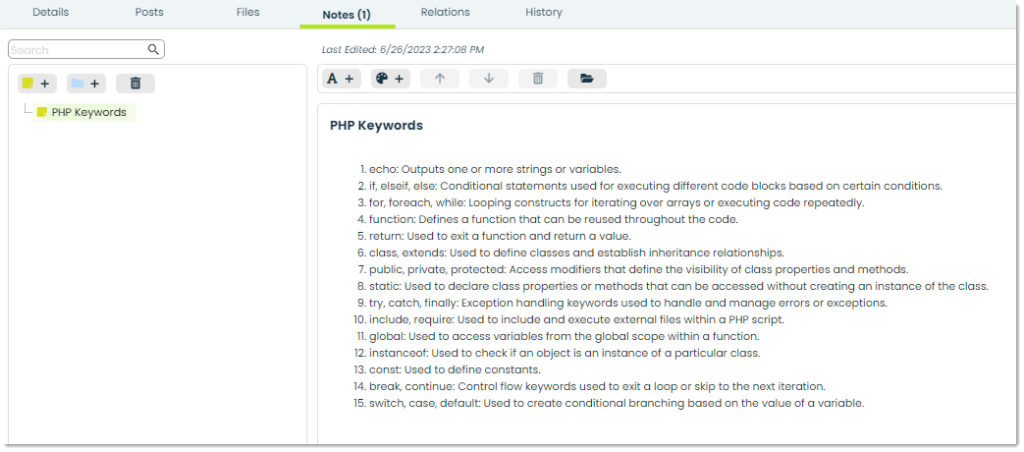
To add in your own note, click the button with the green note icon.
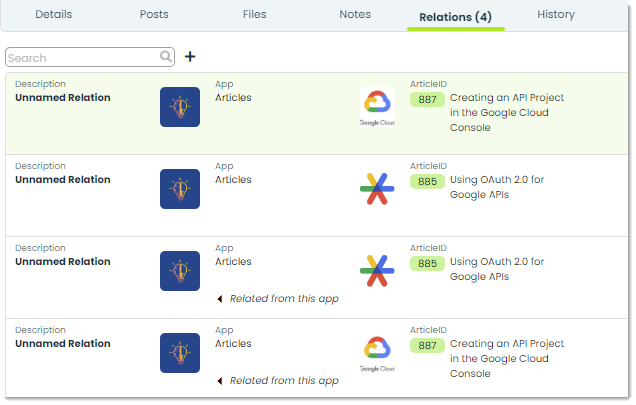
Relations – Relations are a way of forming links between records. Many software applications use relation mechanisms to connect information. Whenever you view a video on YouTube, for example, a list of related videos appears to quickly access similar content. With Appward, you can create relations between articles or records of any type in order to form easily accessible connections. For Articles, this is a great way to connect articles to one another and provide supplemental information for your content.
To view the relations of an article, go to the Relations tab. From here, you can view all of the relations of that article to other articles or outside records.
Sharing, printing and downloading an article
You can share, print, or download any article with these buttons found in any article’s details:
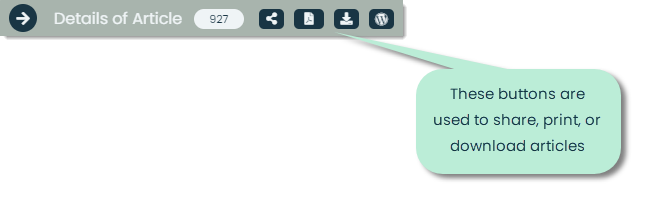
Let’s go over each button one by one.
Share Article: This button generates an AppShare link which can be used to view the article from your browser. Anyone with the link gets visitor access to view the article. The link can optionally be emailed (the sender will be notifications@appward.com).
Print to PDF: This button will open a separate window of the article in a PDF viewer. From this screen, you can download the article as a PDF, print it out, or perform several other operations including jumping between pages, rotating the pages, and zooming in/out.
Download Article: With this button, you can download the article as a PDF without having to enter the PDF viewer. You will be asked to confirm whether or not you want to download the article, and clicking “Yes” will download it to your computer.
Follows and reminders
Articles offers several other features for staying in tune with the latest updates of any particular article. These features are:
- Follows
- Reminders
They can be found in the top-right corner of an article’s details as pictured:

Let’s go over each of these and how to use them.
Follows

When you “follow” an article, you are electing to be notified whenever a specific action occurs within that article. The following popup will appear when clicking “Follows” from the top right corner of any article.
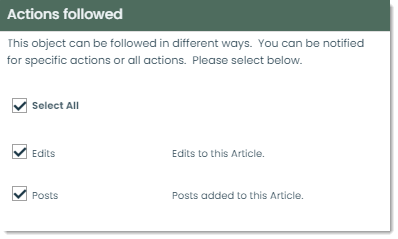
You can choose to be notified whenever:
- Any edits are made to the article
- Any posts are added to the article
This is very useful for keeping track of the latest updates and discussions regarding an article.
Reminders
You can set a reminder for an article to receive a notification about it on a specified date. The following popup will appear when clicking the “Reminders” button.
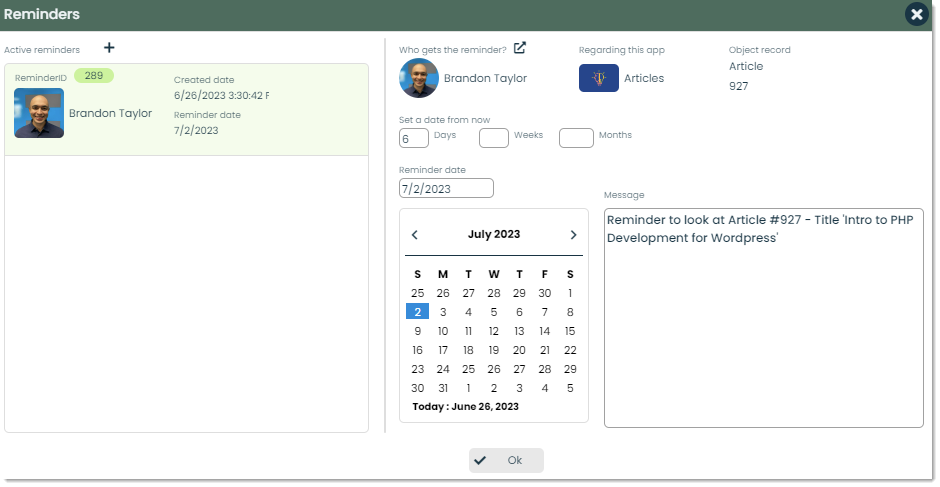
You can set as many reminders as you want as well as select who will be reminded and what the message will be. This feature is useful for remembering to read an article in the future or for re-reading an important article.
Copying and deleting an article
This section will cover two more features: copying and deleting.
Copying an article
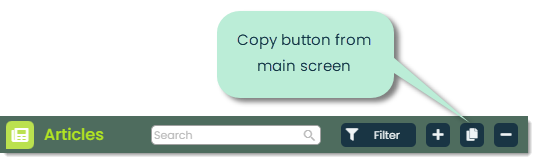
You can copy an article to create a new one by clicking the copy button either from the main screen header for a selected article:
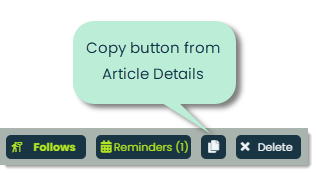
or the copy button inside the details of a selected article:
Clicking the copy button will bring up a screen to confirm whether or not you would like to copy the article.
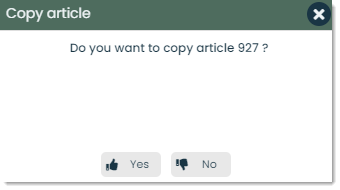
If you click yes, a duplicate of your article will be created with “(Copy)” added to the end of the title. If you make multiple copies of the same article, they will be indexed according to the order the copies were made (Copy 1, Copy 2, etc.).
Deleting an Article
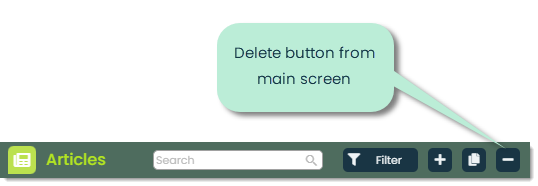
In order for a user to delete an article, that user must be listed as an editor or the article must have global editing privileges enabled. If this is the case, you can click the delete button from the main screen:
or inside the details of a selected article:
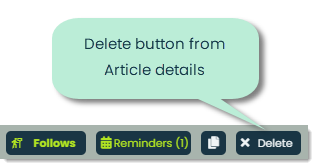
You will be prompted to confirm whether or not you’d like to delete the selected article. If you confirm “Yes”, then the article will be deleted and removed from the list of articles.
Recently added, recently viewed and related articles
This section will highlight three more tools when viewing articles which are recently added, recently viewed and related articles. Let’s go through each of these features.
Recently added
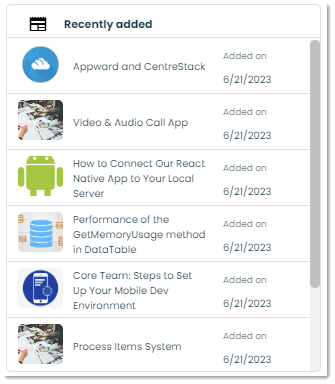
This feature will display the most recently added articles. It can be found on the top-right portion of the main screen. This is useful for getting a sense of the fresh topics of your company.
Recently viewed
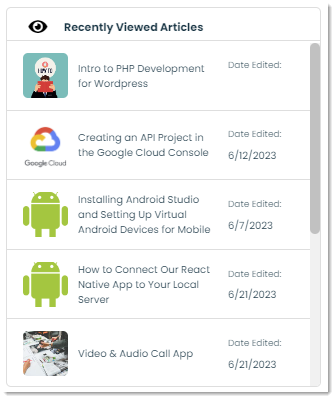
This feature displays a history of your most recently viewed articles. It is found on the bottom-right section of both the main screen and any article details screen. This can come in handy for back-tracking to articles you want to go back to.
Related
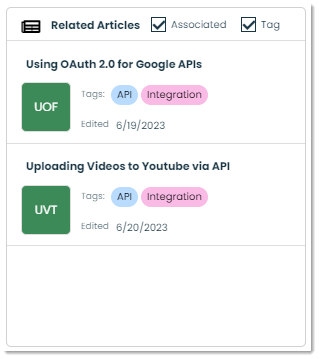
With this feature, you can view similar articles to the one you are currently viewing. There are options for both associated articles (articles that have been linked to other articles through a relation) and for same-tag articles (articles that contain similar tags). This is useful for building upon your knowledge of specific topics with related information. It can be found inside any article’s details on the top-right corner.