Table of contents
Getting Started with Assets
Monday December 18, 2023-20 min readOrganizations frequently rely on manual methods and basic practices for asset management, which leads to error-prone processes and inadequate control over their assets. The Assets app addresses these issues by centralizing your organization’s assets, facilitating timely maintenance, highlighting necessary upgrades, and improving overall asset condition.
Let’s get started
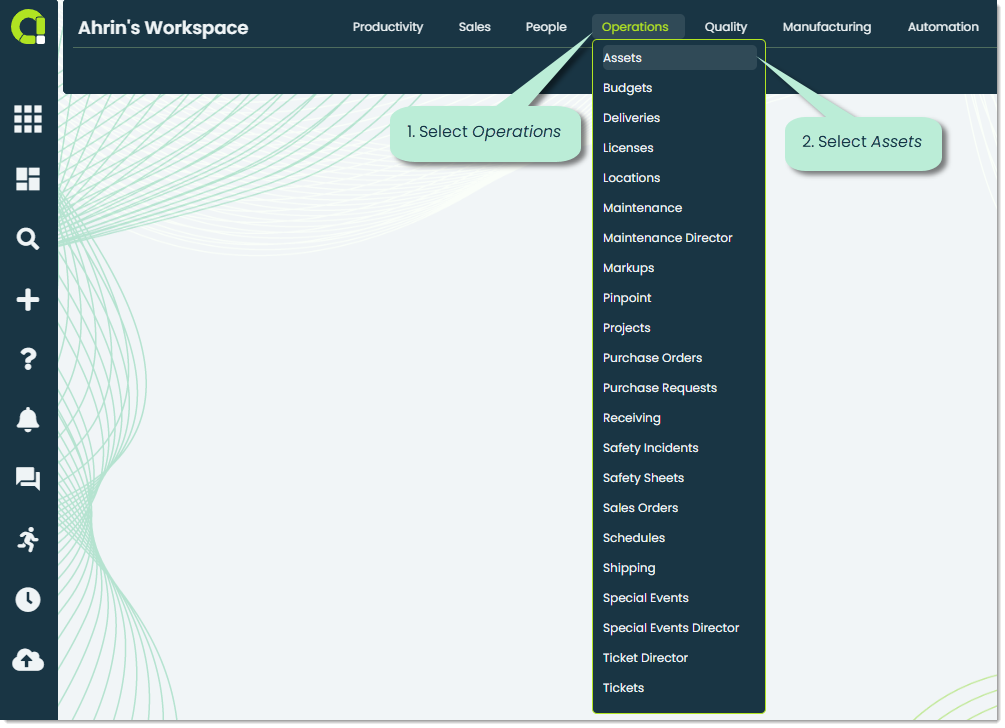
To open the Assets app, go to the Operations section of the main navigation bar and select Assets.
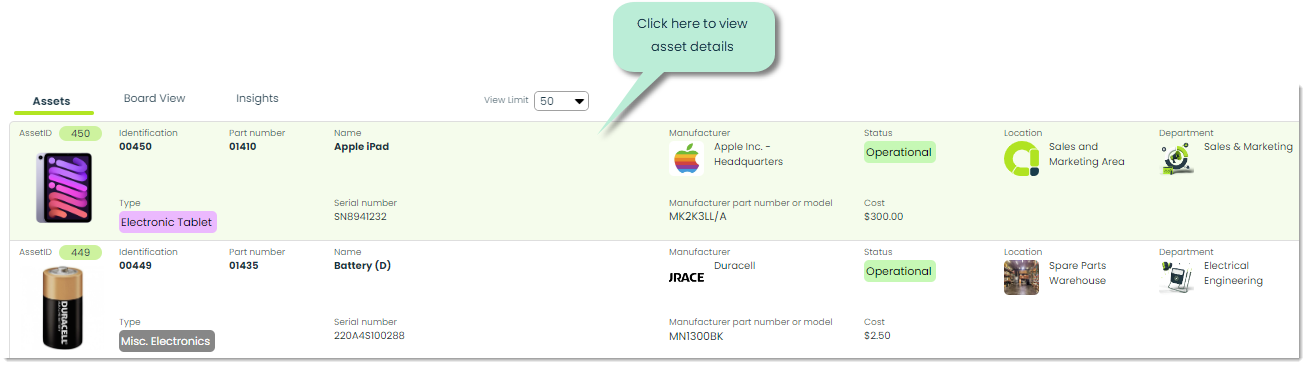
When you first open the app, you’ll be shown a list of your organization’s assets within the Assets tab.
Note: If this is your organization’s first time accessing this app, the screen will be empty.

At the op of the app screen, you’ll notice three individual tabs. Let’s go over the purpose of each of them.
Assets – In Assets, you gain access to a comprehensive list of assets within your organization. You can view the assets in an easy-to-use list view highlighting the key specifics and details about them. Assets
Board – In Board you can get a kanban-style representation of your organization’s assets. With Kanban board, you can easily rearrange your assets into organized columns, simplifying the management of status updates and providing a visual means to monitor your assets.
Insights –This tab is used to analyze collected data from your organization’s assets. With Insights, you can uncover valuable information pertaining to asset allocations, status and even their location. For more on Insights, please check out our Getting Started with Insights guide.
How to add an asset
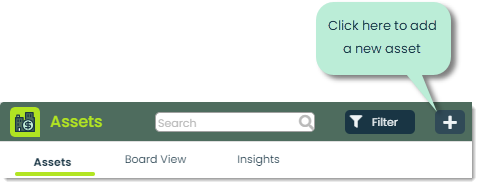
To add a new asset , click the + icon at the top of the app screen.
Next, you’ll see the Add asset popup, where you can add the necessary details for a new asset. Let’s go over the available fields and how you can use them to add your organization’s assets.
Note: If the asset you are adding is already in your organization’s Parts app, you can select the part to auto-populate the provided fields. If the asset is not found in Parts, then you can manually enter the details for a new part/asset.
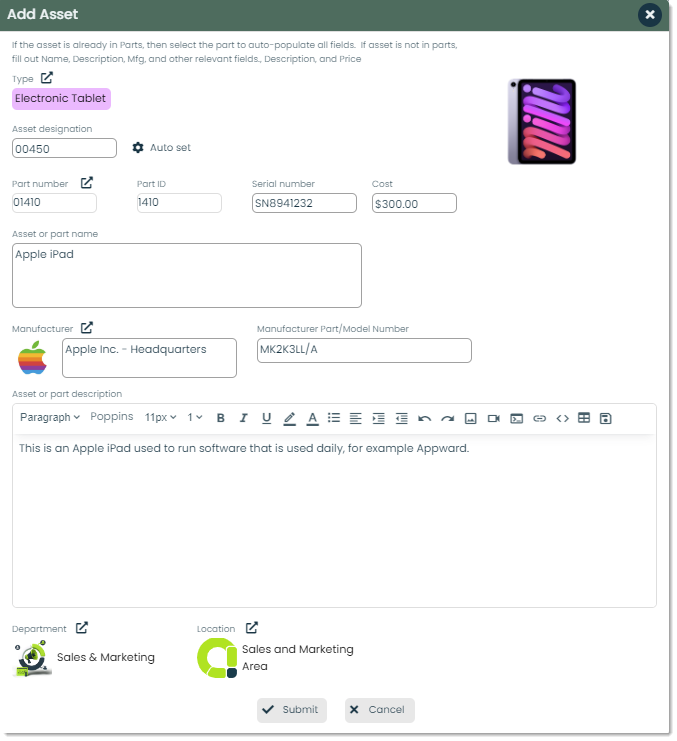
Type – You can categorize the asset you create by the type you select. Visually, types are labels with custom names, colors, and images that can be assigned to records throughout Appward. However, types provide you with a way to organize your data in a fully flexible, customized way to suit your business. As an example, an associated with an Econoclave could be labeled with the asset type Econoclave. For more information on Types, please check out Using Types.
Auto Set – While adding parts to your organization’s Parts app, you might want to set up an automated way to number and organize your parts. To start the process, click on the Auto set
button to open up a settings popup providing you with options. When incorporating components into your organization’s Parts app, consider establishing an automated system for numbering and categorizing these parts. You can begin the process by selecting the Auto set button, which will open up a Settings popup offering various options.
Numbering configuration: In Numbering configuration, you can define the numbering convention you want to follow for newly added parts. This format will be autofilled into the record of new parts upon creation.
Auto-number: In this field, you can view and edit the number that the auto numbering system will start from. As an example, if you were to start at 01459, the next part record you create will be numbered at 01460.
Index: The Index refers to the the index or location of where the number is located within the Numberings data table.
Index reset interval: To completely automate the numbering process, you have the option of resetting the index at defined intervals. To define the reset interval, you can select the checkbox that corresponds to your organization’s needs.

Part number – The Part number refers to a unique identifier that you can assign to a part within the parts app. By selecting the external link icon in Part number, you can pick from a list of existing parts in your organization. This list of parts is directly imported from the parts app, and upon selection it will populate the fields within the Add assets popup with information for that part.

Part ID – The Part ID is a unique numeric code assigned to a specific part within your organization’s inventory.
Serial number – Similar to Part ID, a Serial number is a unique combination of letters and numbers that distinguishes one part/asset from another. Serial numbers help immensely with the traceability of an asset by monitoring the production, distribution, and maintenance history of an asset.
Cost – In Cost you can define the value associated with acquiring, producing, or maintaining a particular asset.

Asset or part name – You can provide a name or label for a specific asset in the Asset or part name field. This can be any length you need it to be, but in general they tend to be short and just enough to describe what the item is.
Manufacturer – In Manufacturer you can define the company that is responsible for producing the asset. You can select this company by clicking the external link icon and picking from a list of your organization’s contacts.
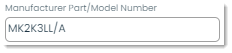
Manufacturer Part or Model Number – The Manufacturer Part Number(MPN) or Model Number is a unique identifier assigned by the manufacturer for a specific item. You can use this as a sure fire way to identify the exact model of an asset.
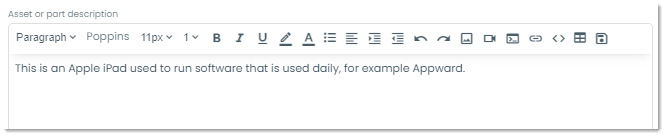
Description – The Description is where you can provide additional information about the characteristics of the product, or describe how the asset is used within your organization.
Department – The Department is the division within your organization that is responsible for the management, use, or oversight of the asset.

Location – The Location refers to the physical place where the asset is placed within your organization’s facilities. You can select a location imported directly from the Locations app by selecting the external link icon and picking from a list of your organization’s locations.

Viewing and managing an asset
To view an asset, click on the row of the record you want to view.
This will prompt you with a details flyout, where you can view all the key information about an asset. In this view, you can also make edits to various fields if required. Let’s check it out.
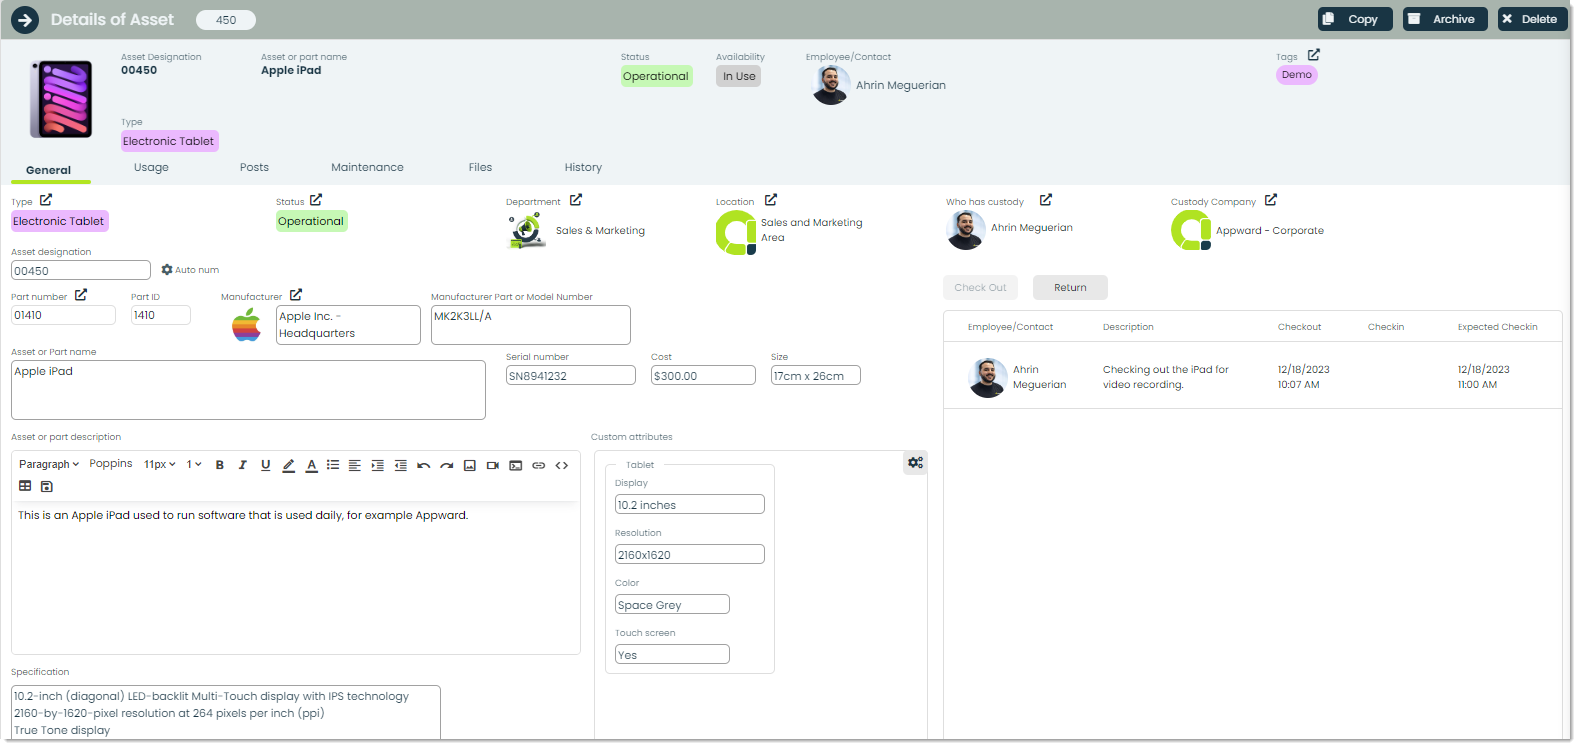
Specification – In Specification, you can define the unique characteristics of the specific asset being checked out. This might include special instructions for usage, or any other details you find important.

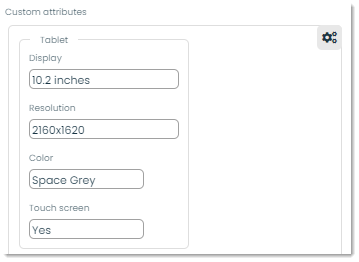
Custom attributes – In Appward, attributes are flexible fields that can be integrated into assets to provide a more detailed description. Attribute fields enable you to define and include information that goes beyond the original set of fields for a record. For instance, you can define additional fields related to an asset when dealing with an asset that is associated with unique use cases or possesses uncommon features.
Status – The current condition or state of the asset. It reflects whether the asset is currently in use, available for use, undergoing maintenance, or in any other state defined by your organization. To select a status from an existing list, or create a brand new one, select the external link icon.

Availability – Refers to the current status indicating whether an item is available to check out or not.
In Use: The item is currently in use. This status will be enabled automatically when someone checks out the asset.
Available: The item is currently available to be checked out by an employee or contact.

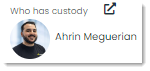
Who has custody – The name of the employee or contact who has the asset in their possession. This means that if there is a contact populated in this field, they currently have the asset checked out. If the asset is not checked out, this field will be empty.
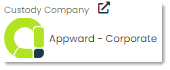
Custody company – The Custody Company is defined as the organization who is responsible for overseeing the custody and management of the asset. This field is especially important when assets from other organizations are being utilized by your company.
Check out – Upon selecting the Check Out button, a popup will appear, allowing you to define the reasons for checking out the asset.

You will then be presented with a popup where you can define the details of why you would like to check out the asset.

Simply select the external link icon to pick an individual from a list of your organization’s contacts. This person will be marked as the person who is checking out the asset.
Return – When you are ready to return the item back to it’s original position, you can press the Return button. This will help your organization track the asset’s usage by notifying them that the asset will no longer be checked out.

Checkout details – You can view a complete log of information about the asset’s checkout history, including dates, individual involved, and the reason for checkout.

Employee/Contact: The name of the employee or contact who has checked out the asset.
Description: In Description, you can define the reasons for checking out the asset.
Checkout: The time and date the asset was checked out by the employee/contact.
Check In: The time and date the asset was returned to the custody company by the employee/contact.
Expected Check In: The expected check in is a time and date that is selected by the employee who is checking out the asset. This time doesn’t necessary reflect the exact time the item was returned, but it does provide a rough estimate of when the item is expected to be returned.
Keeping your assets in good condition
To view a list of existing maintenance tasks or create asset specific maintenance tasks, you can go to the Maintenance tab within the details flyout of an asset.

You can add a new work task by pressing the +Add Work Task button.
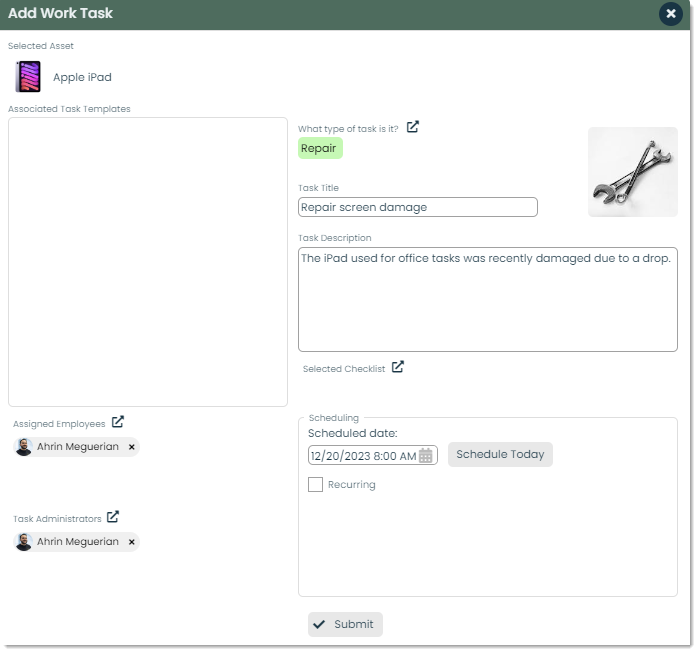
Selected asset – Selected Asset displays the particular asset to which the maintenance task is related to. It includes a thumbnail image of the item, improving context and visual representation.
Associated task templates – In Associated task templates , you can view the templates used if any, to create the maintenance task. Task templates are particularly useful and valuable for creating maintenance tasks that share similarities. These templates simplify the process of creating tasks with common characteristics.
Assigned Employees – The Assigned Employees are individuals who have been specifically tasked with executing maintenance tasks related to the chosen asset.
Task Administrators – Task administrators are individuals who are responsible for overseeing ad managing maintenance tasks from start to finish. You can select task administrators by selecting the external link icon next to Task Administrators and picking from a list of available contacts.
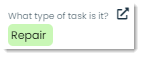
Task Type – When it comes to work tasks, you can classify them based on the specific type you choose. These types, visually represented as labels with custom names, colors, and images, can be applied to maintenance records within Appward. Types offer a highly adaptable and personalized approach to organizing your maintenance data according to your business needs. For example, if you’re completing a task related to electronics repair, you can assign the task type “Repair” to it. To learn more about how to use types, please refer to our article Using Types.
Task Title – A short yet telling name or label for the work task.

Task Description – A detailed explanation about the work tasks, providing context and guidance for the contacts who will be responsible for carrying out the task.

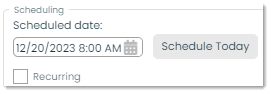
Scheduling – This is where you can schedule the day and time the task is expected to be completed. You can make the maintenance task a recurring task, which is especially helpful for tasks that need to be completed on a week to week basis. To do so, you can select the Recurring checkbox and define the day and start date for the upcoming scheduled tasks.
Submit – You can press Submit when you have filled in all the necessary details for your maintenance task. This will create the task record and it will be visible within the Maintenance tab in the respective asset’s details flyout.

Frontline features of Assets
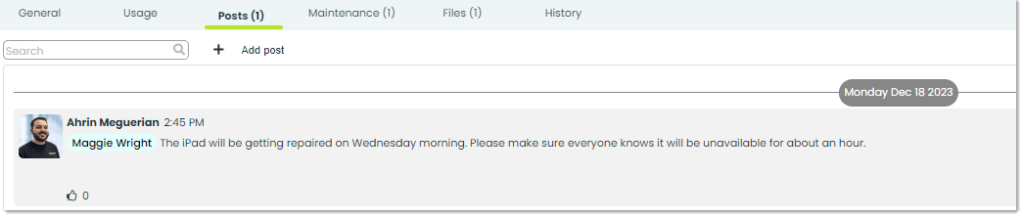
Posts – A post is a comment which can be replied and reacted to by other users in your organization. You can use a post to inquire, discuss, or communicate with a colleague regarding the current status of a part.
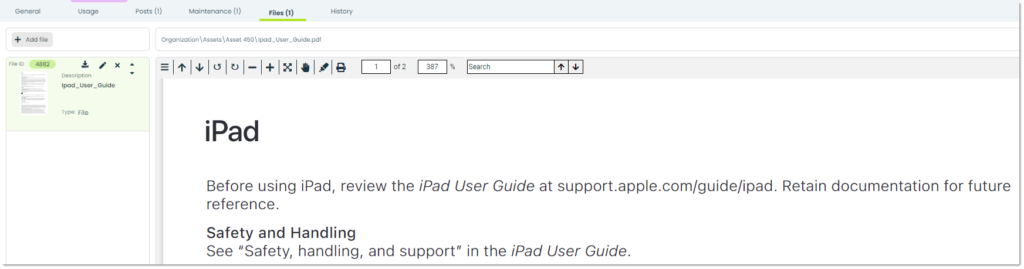
Files – Through the Files tab, you can attach essential documents to an asset. You have to option to add files directly from your computer or from the Appward Cloud. After adding a file, you can view it through an integrated document preview within the Files tab. A common example of using Files in assets is to provide the viewer with a user manual for an asset.
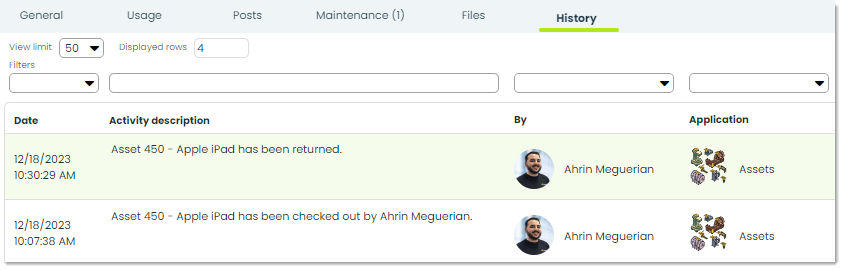
History – In History, you can view an activity log related to the Assets record you are viewing. You will see a list displaying the modifications date, activity description, modification author, and the application in which it was made.
Additional features of Assets
Help – Look for the help button in the majority of apps on Appward. It offers tours and valuable information created to assist you in navigating through the app. These tours serve as interactive step-by-step guides tailored for the application you’re using. Utilizing tours can enhance your onboarding experience, providing a user-friendly and effective solution.

Copy – You can easily duplicate an Assets record by clicking the Copy button at the top right of the app screen. When pressed, this will create an identical copy of the record you currently have selected. This is a great way to save time when inputting multiple assets that are similar.

Archive – Archiving is a common feature within the majority of apps in Appward. Archive serves as an effective tool when you wish to remove a survey record from sight without permanently deleting it. Archived records are essentially concealed from the main screen but remain accessible through specific search filters.

Delete – To delete an Assets record permanently, you can do so using the Delete button. These records will not be recoverable.
