Table of contents
Getting Started with Calendars
Friday September 8, 2023-10 min readIntroduction
Calendars is an app designed to help you keep track of yours and your colleague’s busy schedules and improving overall time management. You can utilize Calendars unified interface to add events and switch between monthly, weekly, and daily views. In this guide we’ll cover how to add events, calendars, and navigate the entire Calendars app.
Getting started
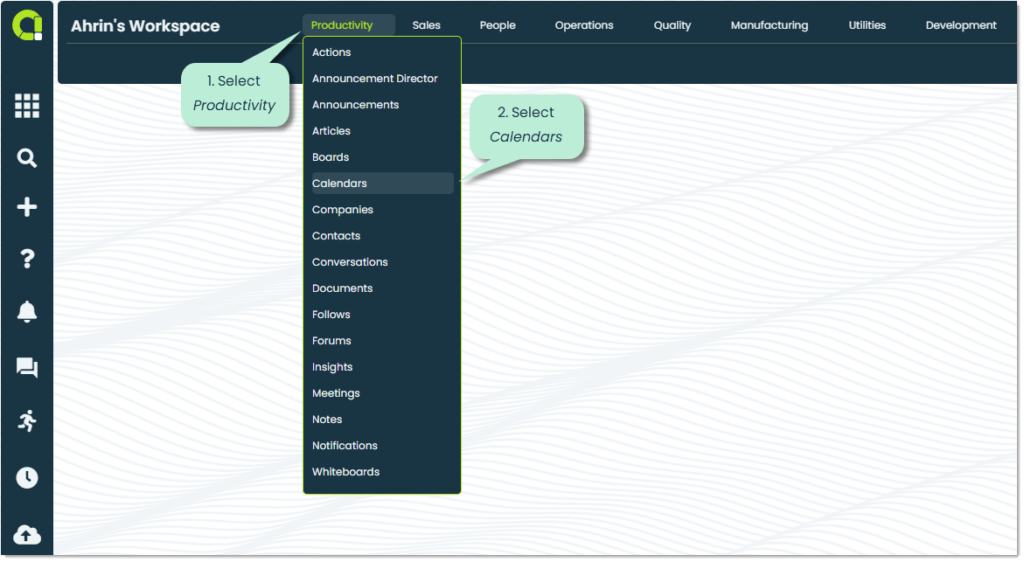
Open the Calendars app by navigating to the Productivity section and selecting Calendars.
Once you have launched the app, you’ll see the Calendar, List view, Insights, and Calendar history tabs at the top of the screen.

Calendar: The Calendar tab is where many of the robust features of the app live. Within this tab, you can create and manage events, customizing each with specific attributes like date, time, location, and reminders, whether for one-time occurrences or recurring patterns. These events integrate into your workspace, offering you an easy-to-use interface for monitoring and viewing all of your important calendar dates.
Note: If your organization has not created any calendars or events, this screen will be empty.
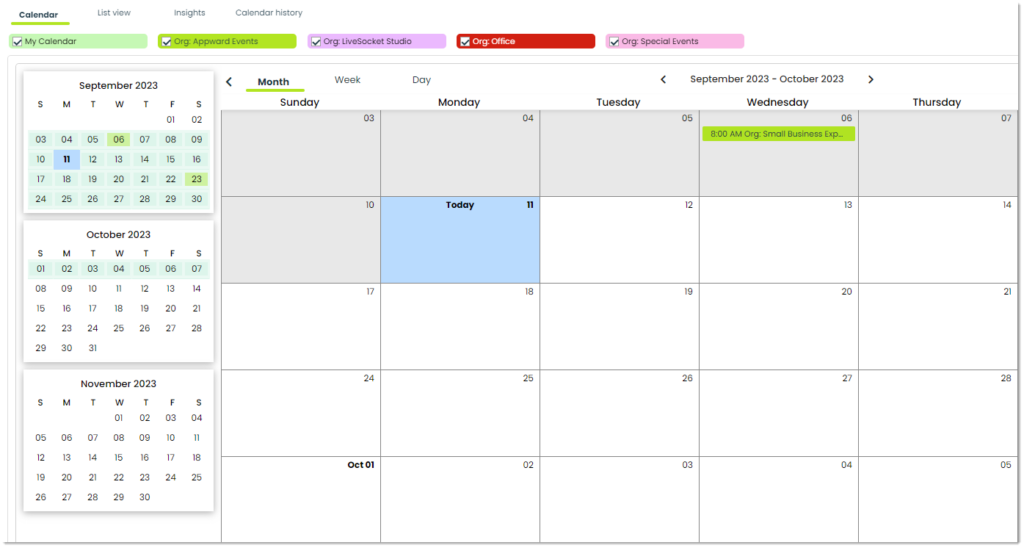
Selecting a Calendar: You can choose the calendars from your organization that you want to include in your workspace, giving you the flexibility to manage your schedule and tailor your Calendar view to your preferences.

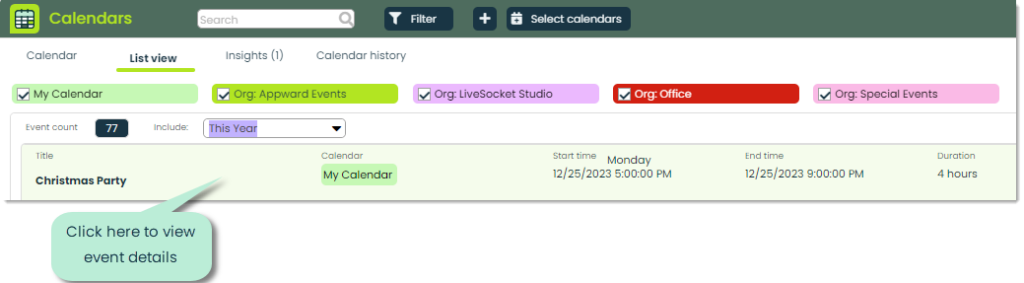
List view: List view displays all the valuable information from the Calendar tab in an easy-to-read list view. You can view essential fields like Title, Calendar Name, Start Time, End Time, Duration, and Location to stay completely up-to-date with your organizations activities and schedules.

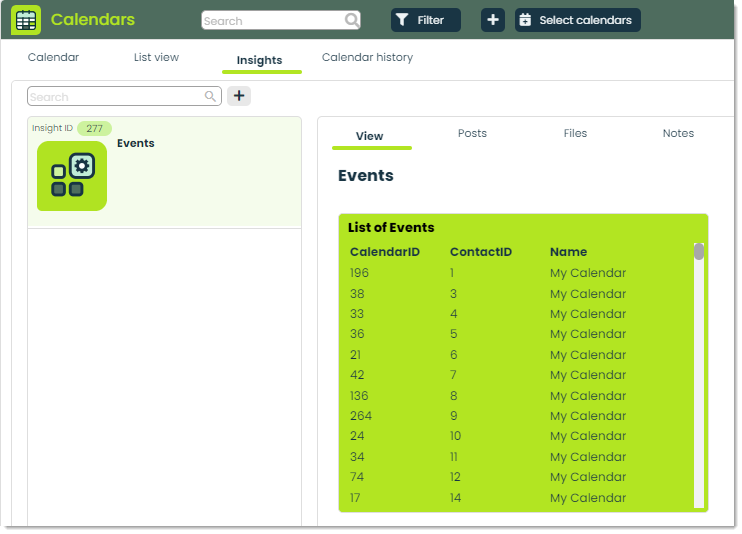
Insights: This tab is where you can analyze the data of your Calendars. You can create customizable queries to gain valuable information such as how many events of a specific type have been scheduled for the upcoming year. For more on Insights, check out Getting Started with Insights.
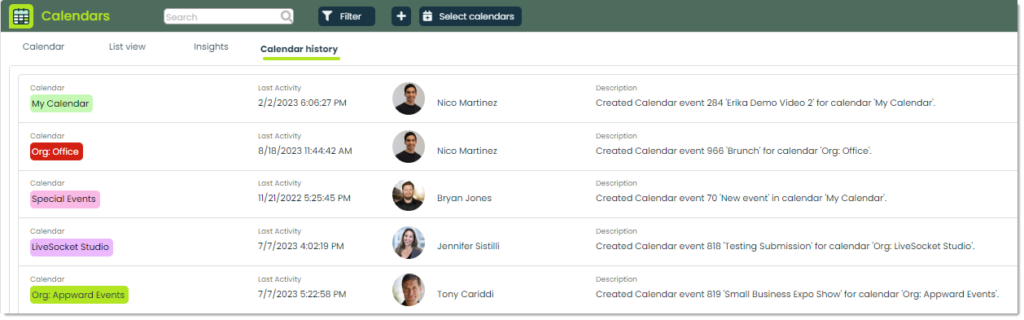
Calendar history: The Calendar history tab provides a record of modifications made to every calendar within your organization, serving as a valuable tool for precise event management and scheduling record-keeping.
How to add a Calendar
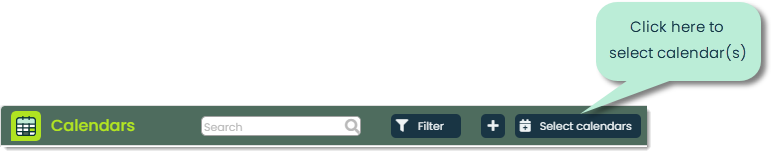
Selecting a Calendar: You can select Calendar(s) you wish to import from your organization by clicking Select calendars.
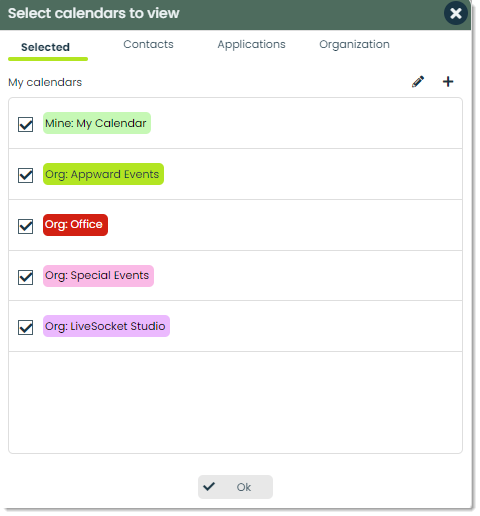
You will then by presented with a popout displaying all of the calendars in your organization. You can select the calendars you wish to add and share events to here. There are various tabs in Select calendars to view. Let’s go over what they do.
Selected: Displays all the available calendars within your organization that you could add to your workspace.
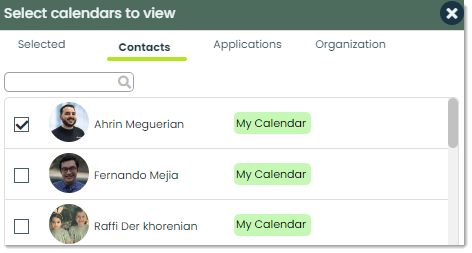
Contacts: Within this tab, you have the ability to choose contacts within your organization, along with the calendars they’ve established. To incorporate a calendar from your contacts, all you need to do is mark the checkbox adjacent to your preferred option.
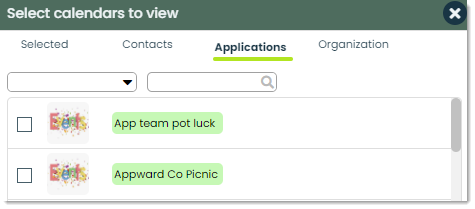
Applications: In Applications you can select calendars linked to different applications in your organization.
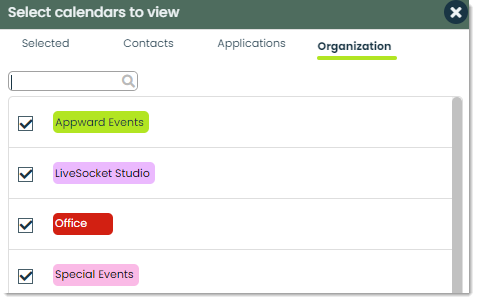
Organizations: Organizations displays all the calendars associated with your current organization. For example, Appward employees will find calendars affiliated with Appward displayed here.
How to add Events
To add a new event, click the + button at the top of the screen.

This will open a popup for entering the new events information.
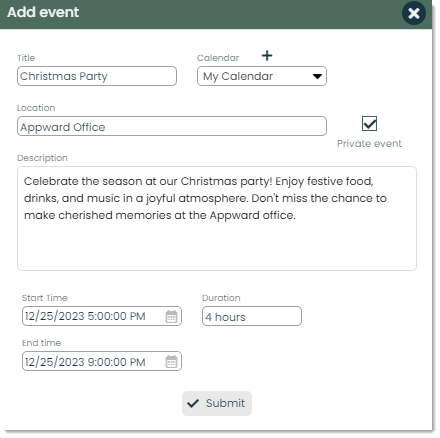
Let’s go over the different fields in this popup.
Title: This field serves as the name of the event. Event titles should be clear, concise and indicate the main purpose of why they are scheduled.

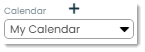
Calendar: Indicate the calendar you wish to add the newly created event to. You can choose a specific calendar within your organization or a personal calendar.
Location: Here you can specify the location of where the even will be taking place. This information is important for making sure that participants are well informed and on-time.

Private Event: You can make an event private to make it more confidential or restricted in terms of its visibility and accessibility. This means that only you or individuals with authorized access to your calendar can see the details of the private event.

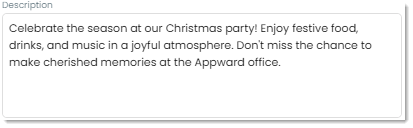
Description: Descriptions provide text which gives the viewer additional details and context for the event being described.
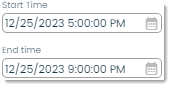
Start/End Time: Refers to the designated time when an event or activity is scheduled to start and end.
Duration: In this field, you can provide information about the duration of the event you are creating, indicating the time necessary for its completion.

Submit: Finalize your created event by pressing Submit. You will see your event posted to both the Calendar and List View tabs.

How to view a calendar event
After creating an event, you can view and edit its details by clicking on it in either the calendar view or list view.
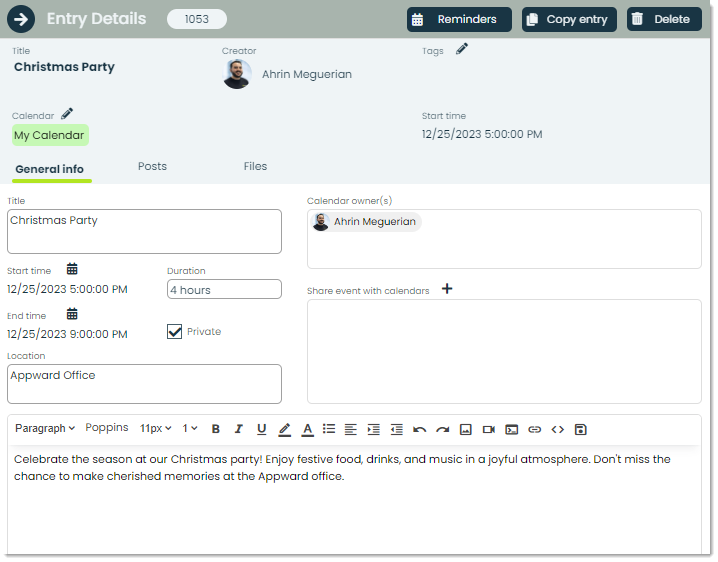
After selecting the event you wish to view, you will be shown all the important details. Many of the fields present in the details flyout were also present in the add process of Calendars.
Frontline features of Calendars
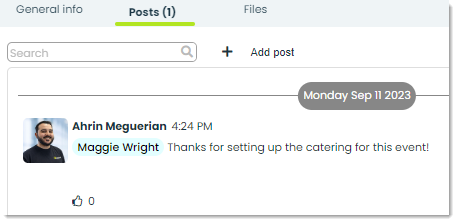
Posts: In Appward, a post is a comment that can be liked or replied to directly by other members of your organization. A common use of posts in Calendars is to discuss additional details or answer questions about an event.
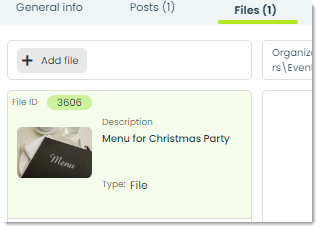
Files: Files enable members of your organization to stay on track, collaborate effectively and make well informed decisions. In Calendars, you can use Files to keep things in context or provide extra information about an event. As an example, you could have a document highlighting the details of a company event.