Table of contents
Getting Started with Installations
Friday December 1, 2023-14 min readIntroduction
The Installations app provides a centralized solution to track and manage installs with easy access to information such as installation schedules, product details and customer requirements. Helping to reduce the need for multiple tools and spreadsheets while minimizing errors associated with the logging, tracking and maintaining of installations.
Let’s get started
To access the Installations app, head over to the Sales section in the main navigation bar and select Installations.

Upon entering the app, you’ll see the Browse tab where you can see your organizations existing installations. Lets go over the different tabs available to you.
Note: If this is your organization’s first time accessing the app, this tab will be empty.
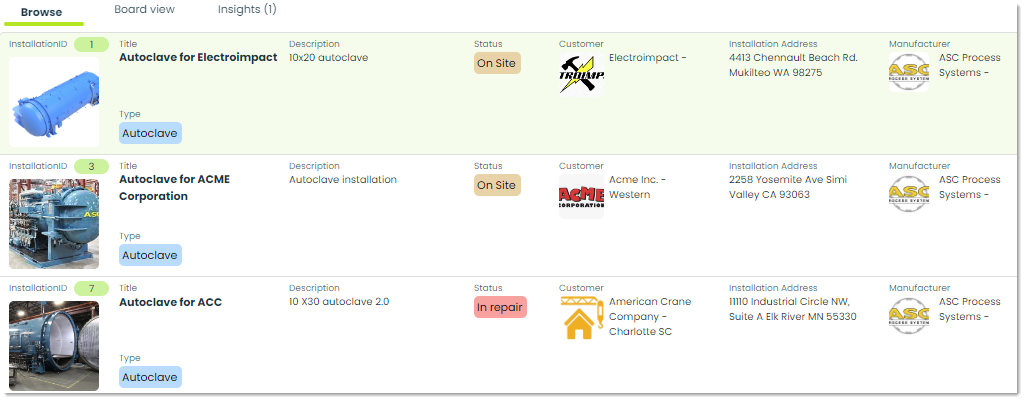
Browse – In the Browse tab, you can view a comprehensive list of your organization’s installations. Installations are sorted by the order they were created in. When you first enter the app, this will be the default tab shown.
Board view – The Board view tab shows you a kanban-style representation of your organization’s Installations. Utilizing Kanban boards, you can easily rearrange your Installations, simplifying the management of status updates and providing a visual means to monitor their progress.

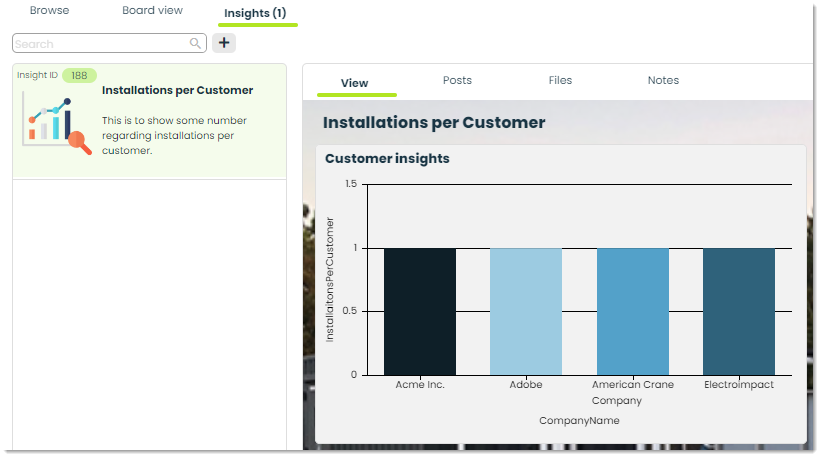
Insights – Utilize this tab to analyze data derived from your organization’s installations. Insights, available within this feature, empower you to uncover valuable information regarding installation types, status, and customer names. If you’d like to delve deeper into Insights, we recommend reading our “Getting Started with Insights” guide.
How to add a new installation record
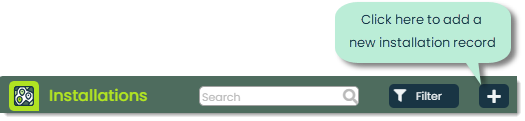
To add a new installation, click the + button at the top of the app screen.
You’ll then be shown the Add Installation popup. This is where you can input the necessary details for your installation. Let’s walk through the process of adding the details.

Image – This is where you can provide an image for the installation record. The image can be uploaded from your computer using Appward’s built in file explorer.
Installation Title – The Installation Title is a brief, concise description that emphasizes the main subject of the installation.
Description – In Description, you can view and edit the description for the installation. Descriptions can include specific details about the installation, its process, or any other relevant information that you think the reader should know.
Part – In Part you can define the specific part involved in the installation. You can select an existing part from your organization by clicking the external link icon and picking the required part from a list of existing parts in inventory.
Manufacturer – The Manufacturer refers to the company or entity that product the part being installed. You can select the manufacturer from a list of your organization’s company contacts.
Customer – In this field you can select the Customer who is having the installation performed from a list of company contacts. This helps in tracking and associating the installation with a specific client.

Install Date – Install date is where you can indicate the date that the installation was completed. You can select a date from the built in calendar picker, or define one manually by typing the date in MM/DD/YYYY format into the provided text box.
Model Number – A Model Number is the unique identifier given to a particular style or model of a product to help distinguish the product from other similar products. The model number is provided by the manufacturer and kept in records by the purchaser.

Serial Number Serial Numbers are particularly useful because they are unique to each individual product, in turn making them useful in determining when and where that specific item was made.
Submit – When you have filled in as much information as you’d like to, you can press the Submit button to create the installation record.

How to view or edit the details of an Installation
To view or manage the details of an installation, click on the row of the record you would like to access.

Upon selecting a record, a details flyout will appear, showing you the important details of an installation. Let’s go over the unfamiliar fields.
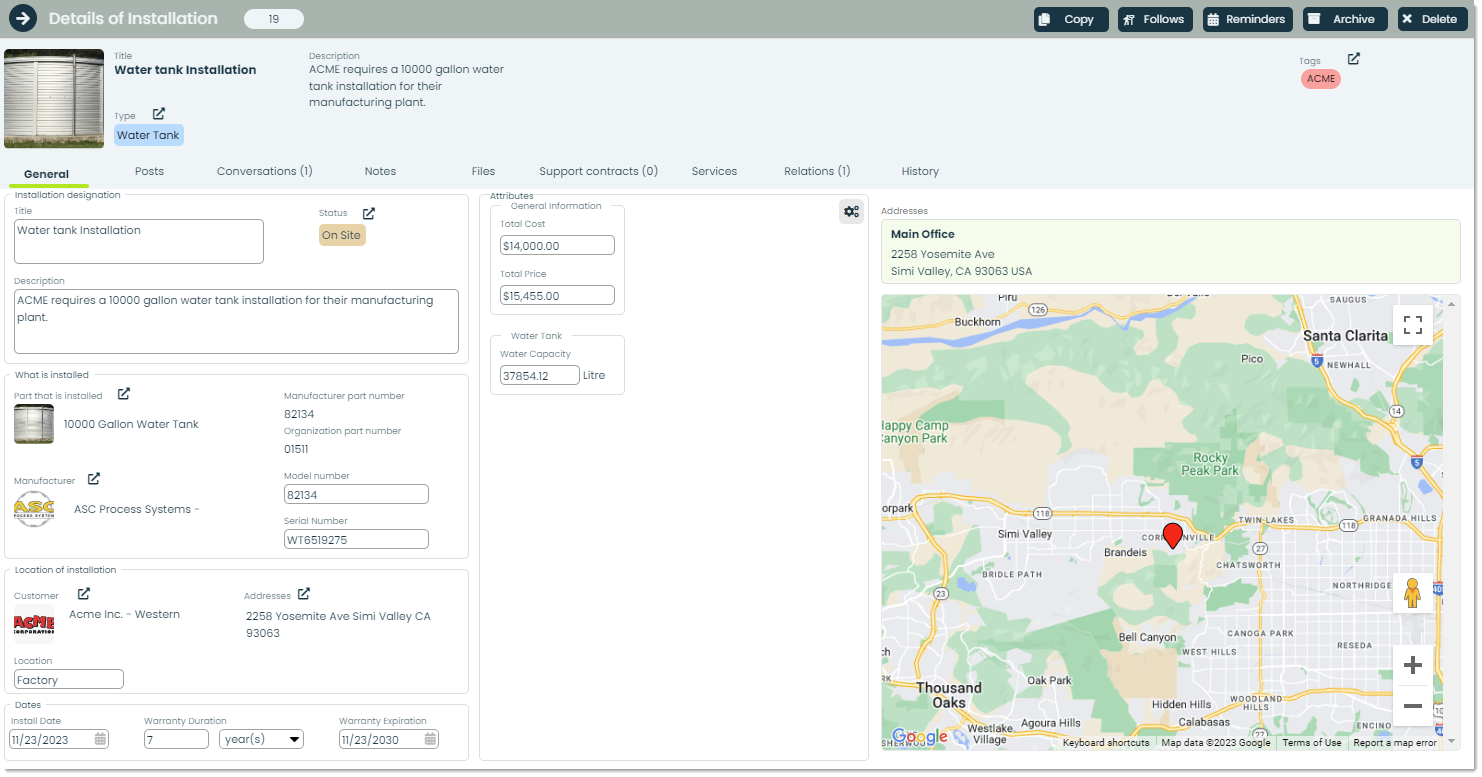
Attributes – In Appward, attributes are flexible fields that can be integrated into installations to provide a more comprehensive description. Attribute fields enable you to specify and include information beyond the initial set of fields for a record. For instance, you can define additional fields related to an installation when dealing with a scenario where the installation is associated with unique use cases or possesses distinctive features.

To configure the fields within custom attributes, press the cog icon within the Attributes section.

Upon pressing the button, you’ll be shown the options available for creating and customizing these attributes. There are a few categories these attributes can be in, let’s cover them.
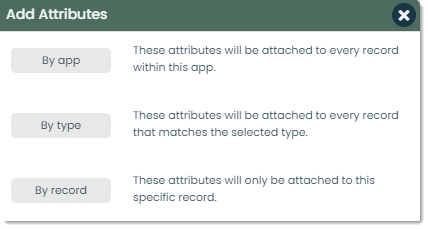
By app: The attributes linked will be attached to every record in the Installations app.
By type: The added attributes will be attached to every record of the same type.
By record: The added attributes will be attached to this record only.
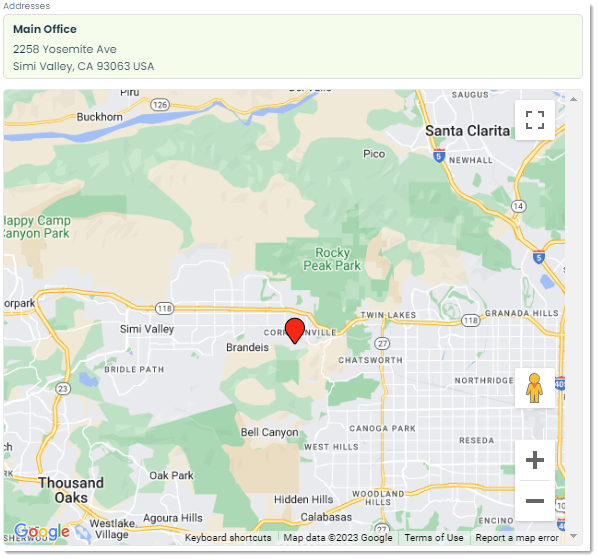
Installations also enhance user experience through the incorporation of the Google Maps API. This enables you to visualize the customer’s address and engage with personalized maps, thereby elevating the overall experience.
How to use Conversations
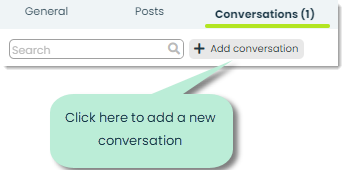
Ensuring proper communication over the course of an installation is incredibly important and often overlooked. With Installations you can create and store a log of conversations with customers or parties involved using integration of the Conversations app. You can find this functionality within the Conversations tab of any installation record.

To add a new conversation, simply click the +Add conversation button.
This will open up a popup for adding new conversations to your installation.
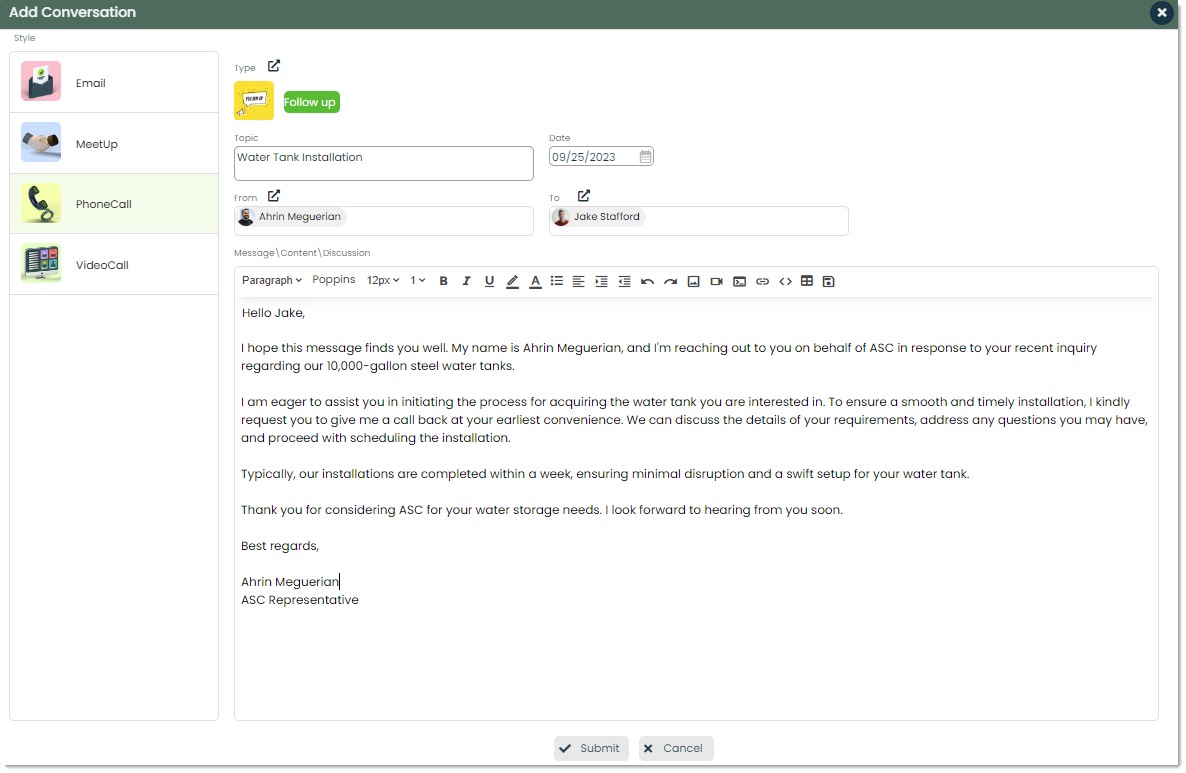
In Appward, conversations can be added in one of the four methods known as styles. The four conversation styles are email, meetup, phone call, and video call. Depending on the style of conversation, a slightly different set of fields will appear. For example, emails contain CC (carbon copy) and BCC (blind carbon copy) fields which are standard for emails. Fill out all the information of your conversation, then press the Submit button at the bottom to add that to the list of conversations within an Installation record. For more on Conversations and how to use it, please refer to the Getting Started with Conversations guide.
How to use the frontline features of Installations
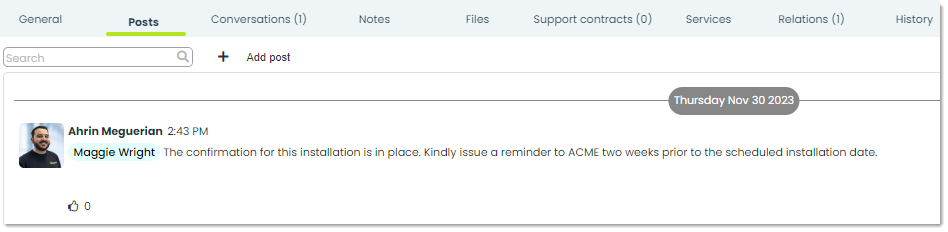
Posts – In Appward, a post serves as a comment open for replies and reactions from other contacts within your organization. For example, you can compose a post featuring a straightforward comment to inform your colleague about a detail regarding the timeline of an installation.
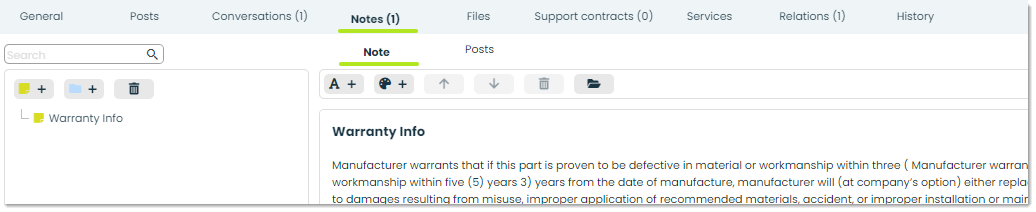
Notes – Within the Notes tab you can write and store notes to help capture and convey your thoughts. You’ll be able to stay organized, provide better input to installations, and streamline communication with your team. The Notes tab serves as a centralized space where you can effortlessly jot down important information, ideas, or reminders related to your installations.
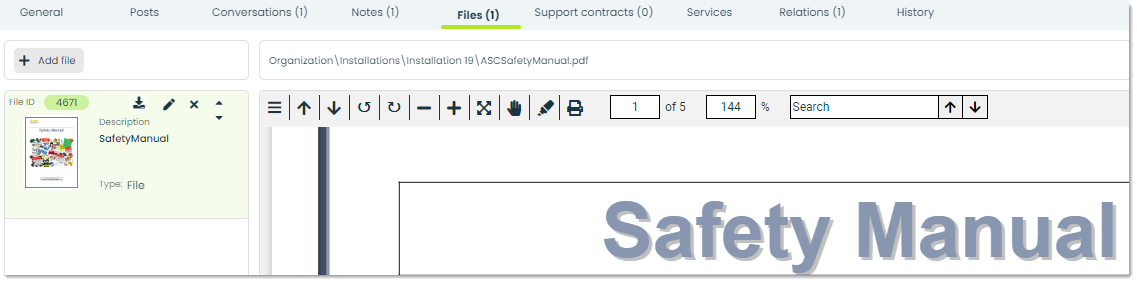
Files – Through the Files tab, you can attach essential documents to an announcements record. You can add files directly from your computer or from the Appward cloud. After adding a file, you can view it through an integrated document preview within the Files section. Individuals within your organization with access to the record can download the file to their personal computers.
Relations – In Relations, you can click the + icon to add records from other apps that relate to the installations record. Relations serve as a great way to keep records from all the apps you use in a centralized location.

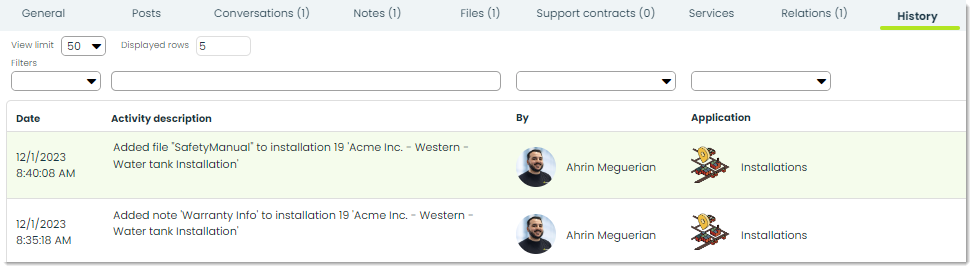
History – In History, you can view detailed information about the status change of an installation record. Valuable information such as the contact responsible for the update, the timestamp of the modification, name of the application and a description of the activity performed are shown. Additional features within history such as advanced filtering using name, time and related applications are also available for you to use.
Additional features of Installations
Copy – You can press Copy to create an identical copy of the Installations record you are viewing. This will result in a new record that retains all the information found in the original record you copied.

Reminders – You can set reminders for yourself within progress reports, to make sure you never miss an update on the progress of an installation.

Archive – Archiving is a common feature found in most of the apps within Appward. It provides a useful tool for temporarily hiding a record without permanently deleting it. Archived records are essentially hidden from the main screen but can still be accessed using specific search filters.

Delete – You can delete an Installations record permanently by pressing the Delete button.
