Table of contents
Getting Started with Locations
Wednesday October 11, 2023-14 min readIntroduction
With the Locations app, your organization can designate specific spaces within your premises and define their intended purposes. Whether it’s a room for daily stand-up meetings or a warehouse for shipping products, Locations assists you in organizing and maintaining control over your business operations. This guide will walk you through the steps of creating a location, managing its details, and how they are used in other apps within your organization.
Getting Started
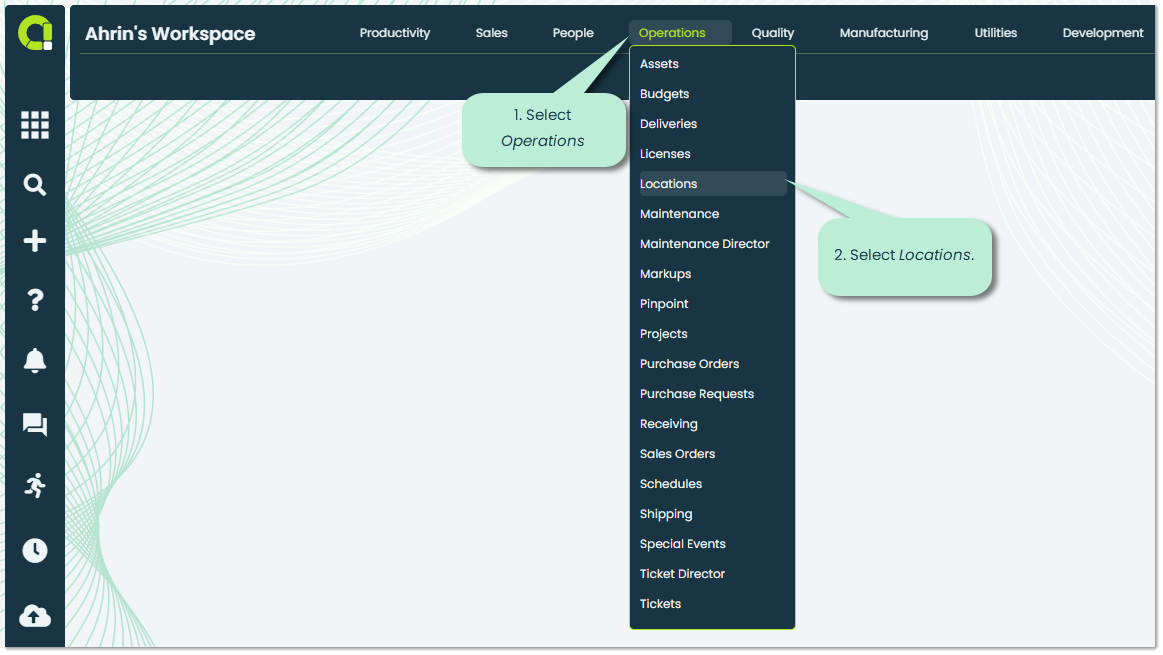
To open Locations, go to the Operations section of the main navigation bar and select Locations.
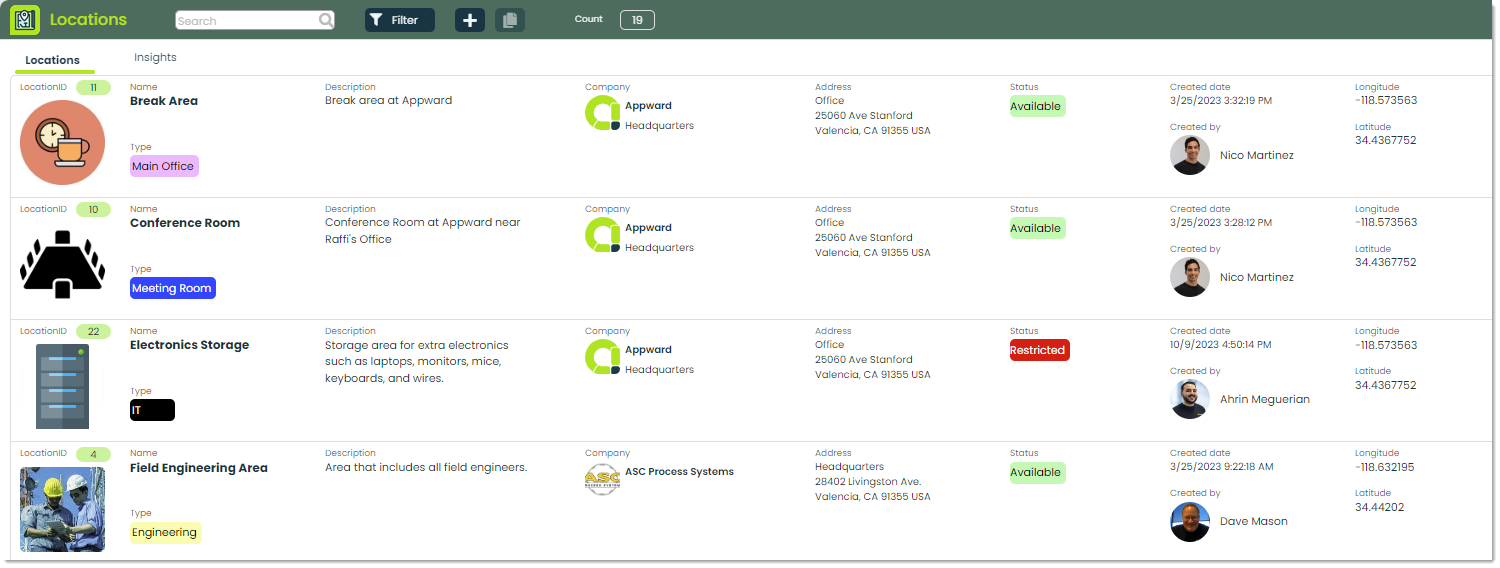
When the app launches, you’ll be shown the existing locations created within your organization. Let’s explore the available tabs and the features within each tab.
Note: If this is the first time your organization has launched Locations, this screen will be blank.
Locations – In Appward, Locations are defined as places where business operations, activities, or functions take place. Each of these locations plays a specific role in the company’s operations, and they may vary in size, function, and significance depending on the organization’s structure and industry.
Insights – This tab is used to analyze collected data from your organization’s Locations. With Insights, you can uncover valuable information pertaining to Location types, status, and frequency of use. For more on Insights, please check out our Getting Started with Insights guide.
How to add a new Location
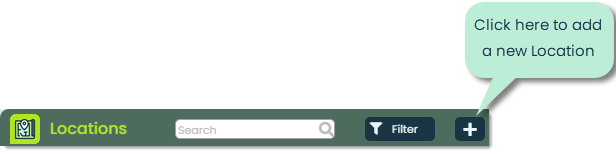
To add a new Location to your organization, click the + icon at the top of the app screen.
You will then be presented with the Add location popup, where you can enter the necessary details for the location you are adding. Let’s go over the available fields you can enter information into.
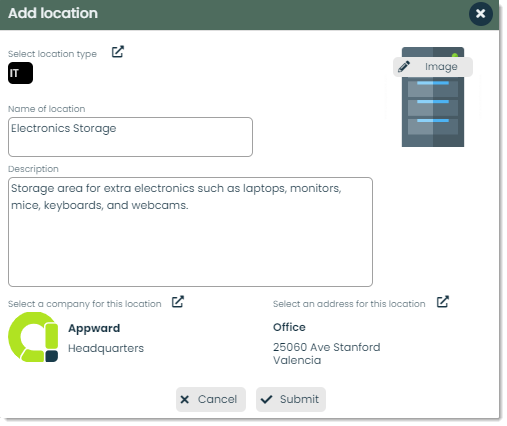
Type – You can categorize the location you create by the type you select. Visually, types are labels with custom names, colors, and images that can be assigned to records throughout Appward. However, types provide you with a way to organize your data in a fully flexible, customized way to suit your business. As an example, a location associated with the IT department at your company could be labeled with the location Type IT. For more information on Types, please check out our article Using Types.

Name – You can assign a name to a location within the Name of location field. The name should be clear, concise, and help the reader identify the subject at first glance.
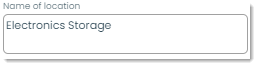
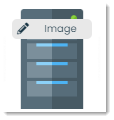
Image – You can add an image to associate with the location you are creating. This image can be uploaded from your personal computer or selected directly from the Appward cloud.
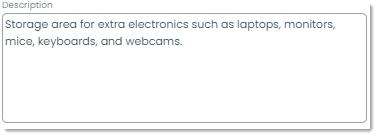
Description – Having a clear description for your locations is essential for ensuring the efficient use of spaces, proper record keeping, and communication within your organization.
Company – This section of the Locations record indicates the name of the company of where the location exists. You can click on the icon next to the Select a company for this location to select from a list of existing company contacts.

If you wish to add a new company contact, you can do so by clicking Add Company within the Select a Company popup.
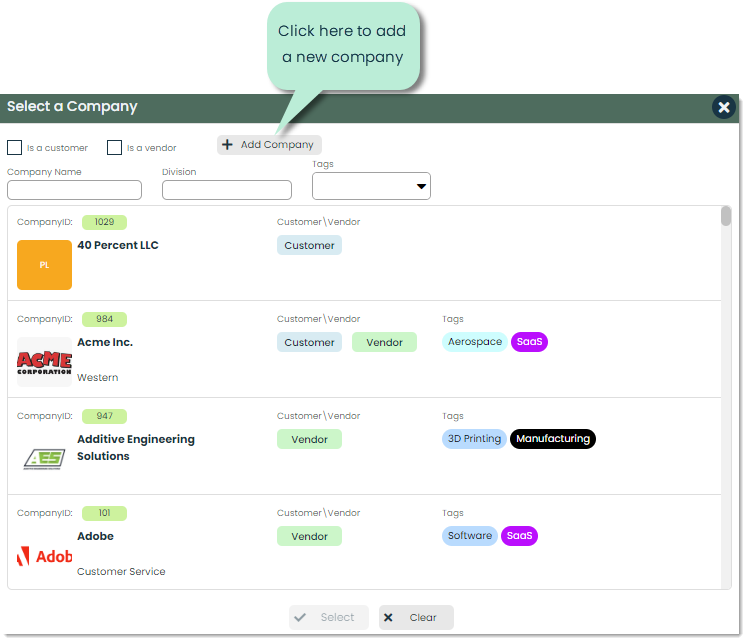
For more on adding companies, please check out How to Add a Company to a Record.
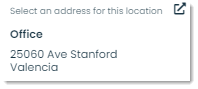
Address – This is the address of the location you are defining within your organization. You can select the address by clicking on the picker within Select an address for this location.
After clicking on the picker, you will be shown a popup displaying all existing addresses for the company specified. You have the option of selecting one of the existing addresses, or adding a new one.
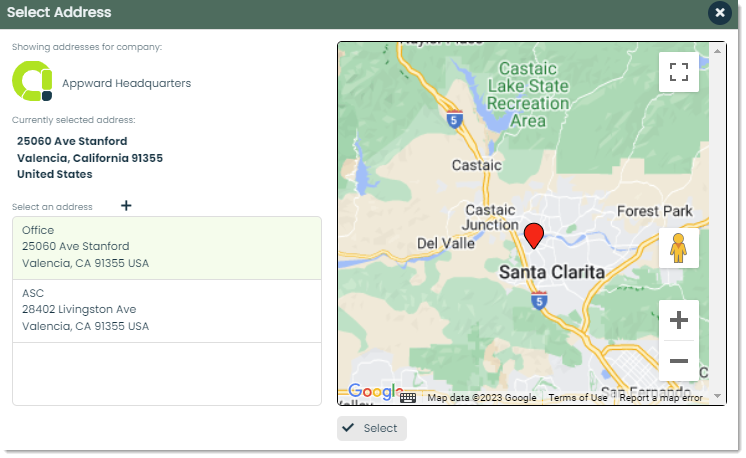
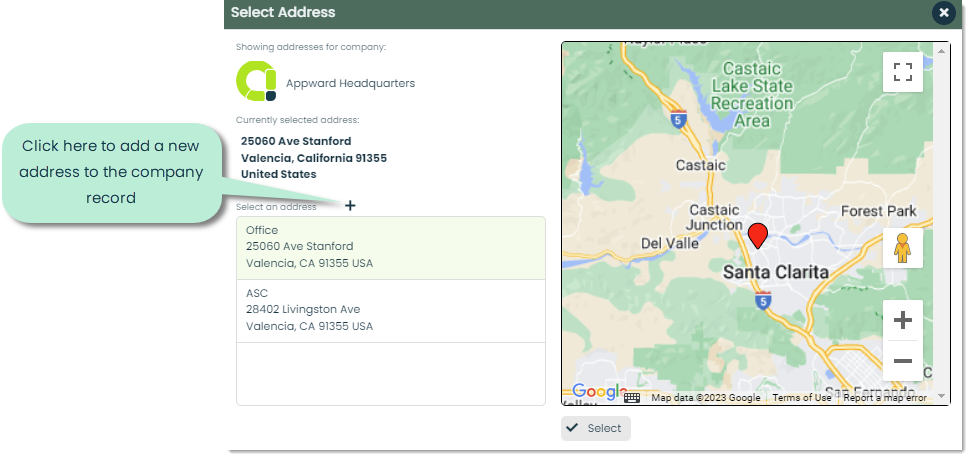
To add a new address, click on the + icon next to the Select an address field.
Next, a popup will appear, giving you fields to fill in for creating a new address. Let’s cover the different fields available.
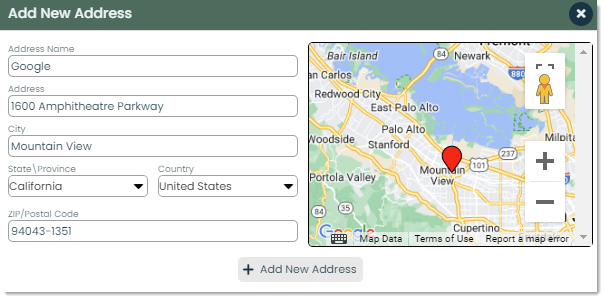
Address Name – Address Name is used to label or identify the particular address you are adding. You can name the address as you see fit, to accommodate your organization’s needs.
Address – Address refers to the specific street name and building number.
City – You can define the city your newly added address is located in here.
State/Province – This is where you can select the State/Province using the drop-down menu.
Country – This is where you can select the country your created address resides in.
ZIP/Postal Code – Define the ZIP code here, which helps identify the specific geographic region the address is in.
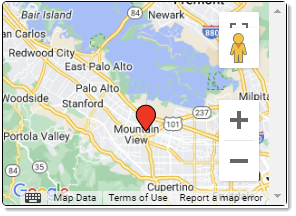
Once you have inputted the following details, you’ll be shown an interactive map that is displayed using the Google Maps API.
Cancel – You can stop the addition of your new location by pressing Cancel.

Submit – Once you have completed inputting all the required information for your new location, you may click on Submit to generate the new record.

How to view location details
To view a location’s details, click on the row within the main pane of the record you wish to access. Before we get into the details of the location, let’s cover the unfamiliar fields in this pane.

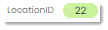
Location ID – A unique identifier to a specific location within your organization. You can use Location IDs to easily distinguish one location from another, especially when looking through your organization’s data tables. In Appward, Location IDs are assigned in numerical order based on their creation date, with higher numbers indicating more recent additions.
Status – Status refers to the current condition or availability of a Location. The status for a location will automatically be set to Available, meaning that the physical location is available for use. You can change the status of a location within its details flyout.

Longitude – Longitude represents the east-west position of a location and is expressed within a coordinate system.

Latitude – Latitude represents the north-south position of a location and is expressed within a coordinate system.

You can use Latitude and Longitude together to provide precise information about any Location you add.
Created date – Created date refers to the date of when a Location was created. It presents the time, ranging from the date down to the second it was created.
Created by – In Created by, you can see the name and photo of the contact who originally created the location record.

After selecting the record you wish to view, you will be presented with a details flyout.
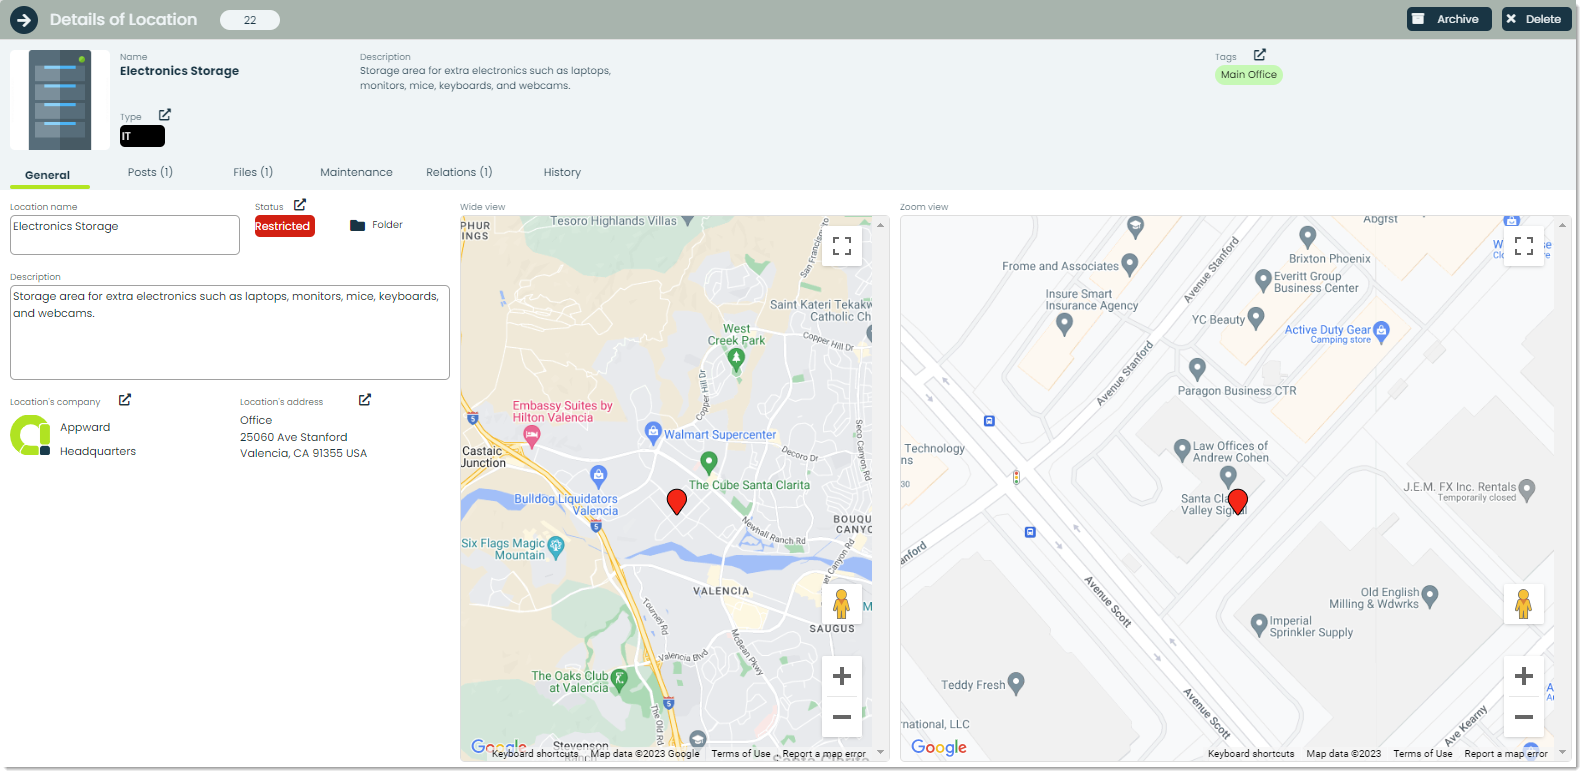
Tags – Tags and Types are similar in that they both serve as keywords to classify and categorize Locations. However, there is a key difference between them. Types are singular categories that each location falls into, whereas tags offer more flexibility as they allow multiple keywords to be associated with a single location. For more on tags, please check out Using Tags.

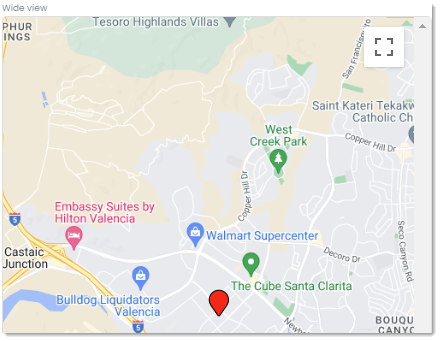
Wide view – Wide view displays a zoomed out version of the Location on a map using the Google Maps API. You can use the wide view of a location to view the cartographic representation on a map and get the full overview visually of where your location is.
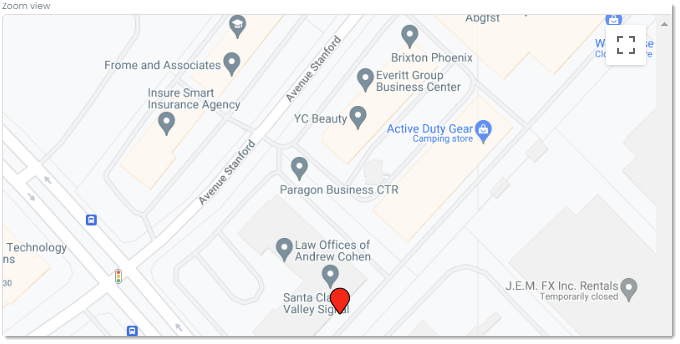
Zoom view – Zoom view allows you to get a closer and detailed view of the specific location you are viewing. In this view, you can see streets, landmarks, and other fine details to get a better understanding of what surrounds your location.
Locations in other apps
Locations are utilized in many Apps in Appward. Let’s focus on one of the common scenarios where Locations are frequently used, specifically in the Maintenance Director app. Within Maintenance Director, locations are used to specify where a maintenance task is going to take place. You have the option of selecting an asset or a location, meaning that you can create maintenance tasks for specific items such as computers, or for specific locations such as offices or break rooms. This makes sure that places everyone uses in your company aren’t booked at the same time and are always maintained according to your organization’s rules.

Frontline features of Locations
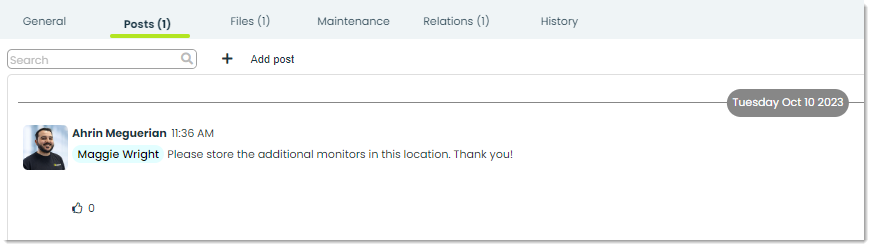
Posts – A post is a comment which can be replied and reacted to by other users in your organization. You can write a post to ask questions or remind a colleague about a revision that needs to be made to a document.
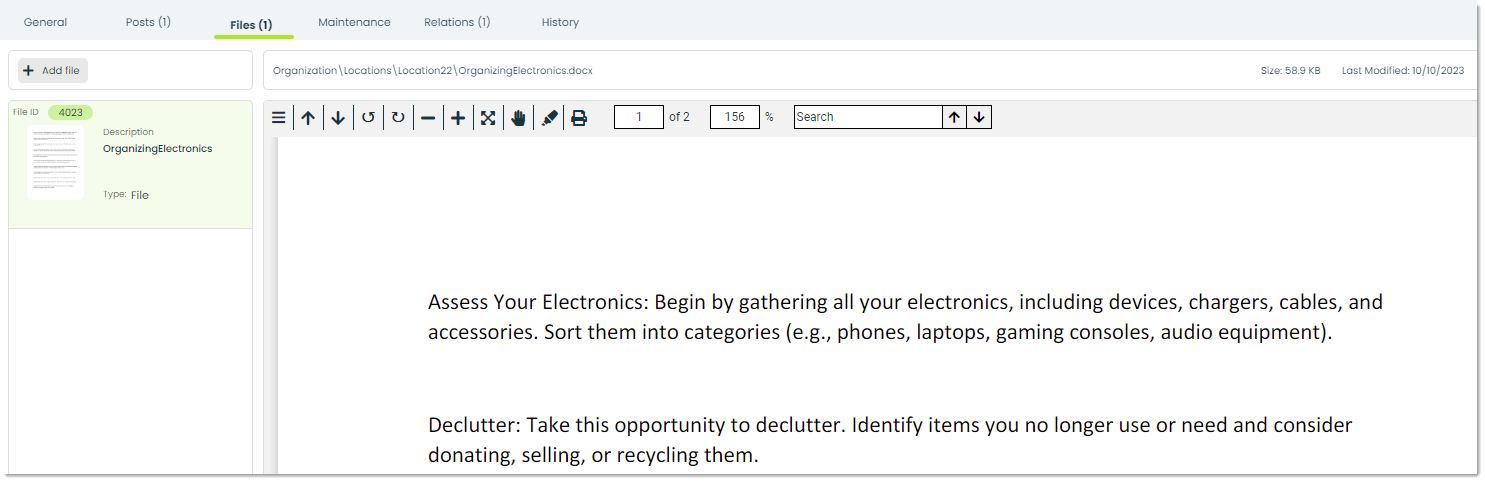
Files – Through the Files tab, you can attach essential documents to a certifications record. You can add files directly from your computer or from the Appward cloud. After adding a file, you can view it through an integrated document preview within the Files section. Individuals within your organization with access to the record can download the file to their personal computers.
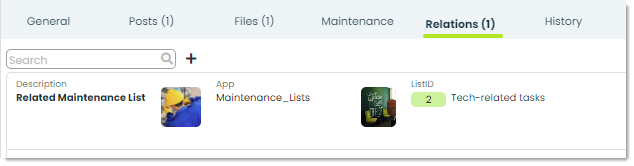
Relations – You can include related records from other apps within your organization in the Relations tab of a Location record.
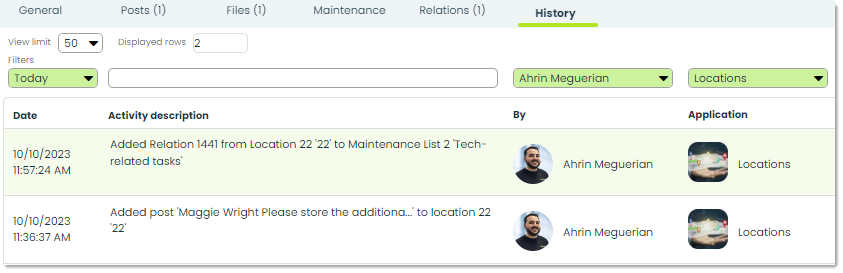
History – You can monitor changes and updates made to a Certification through the History tab. Within this tab you can track the changes made, date of change, and the individual responsible for making the change. Additional search filters can be applied to narrow down the displayed list of activities. You can sort by time of activity, name, and even search by specific keywords.
Addition features of Locations
Archive – Archiving is a common feature within the majority of apps in Appward. Archive serves as an effective tool when you wish to remove a record from sight without permanently deleting it. Archived records are essentially concealed from the main screen but remain accessible through specific search filters.

Delete – To delete a Locations record permanently, you can do so using the Delete button and removing it permanently. You will be prompted with a popup for additional verification of the request to delete.
