Table of contents
Getting Started with Purchase Orders
Sunday February 25, 2024-12 min readIntroduction
As a companion app to Purchase Requests, Purchase Orders is for managing the purchases made by your organization. This guide will cover everything you need to know about the app including how to add new orders, the connection between requests and orders and the process of following up with vendors.
Let’s get started
To open the app, go to the Operations section of the main navigation bar and select Purchase Orders.
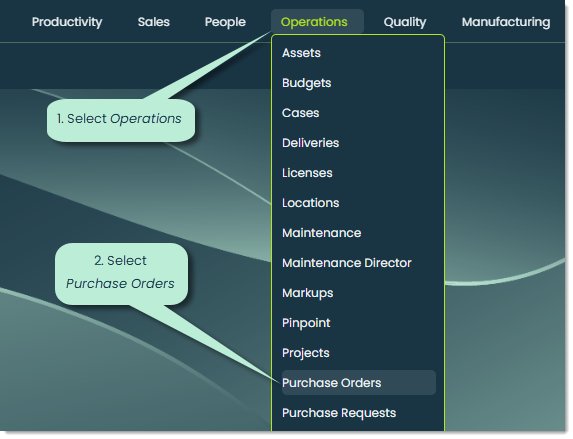
When you open the app, you’ll see four main tabs at the top.

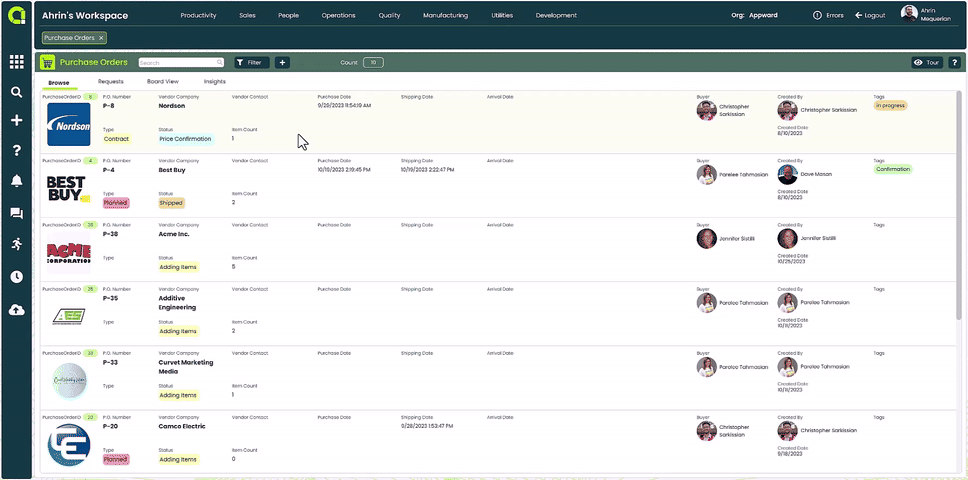
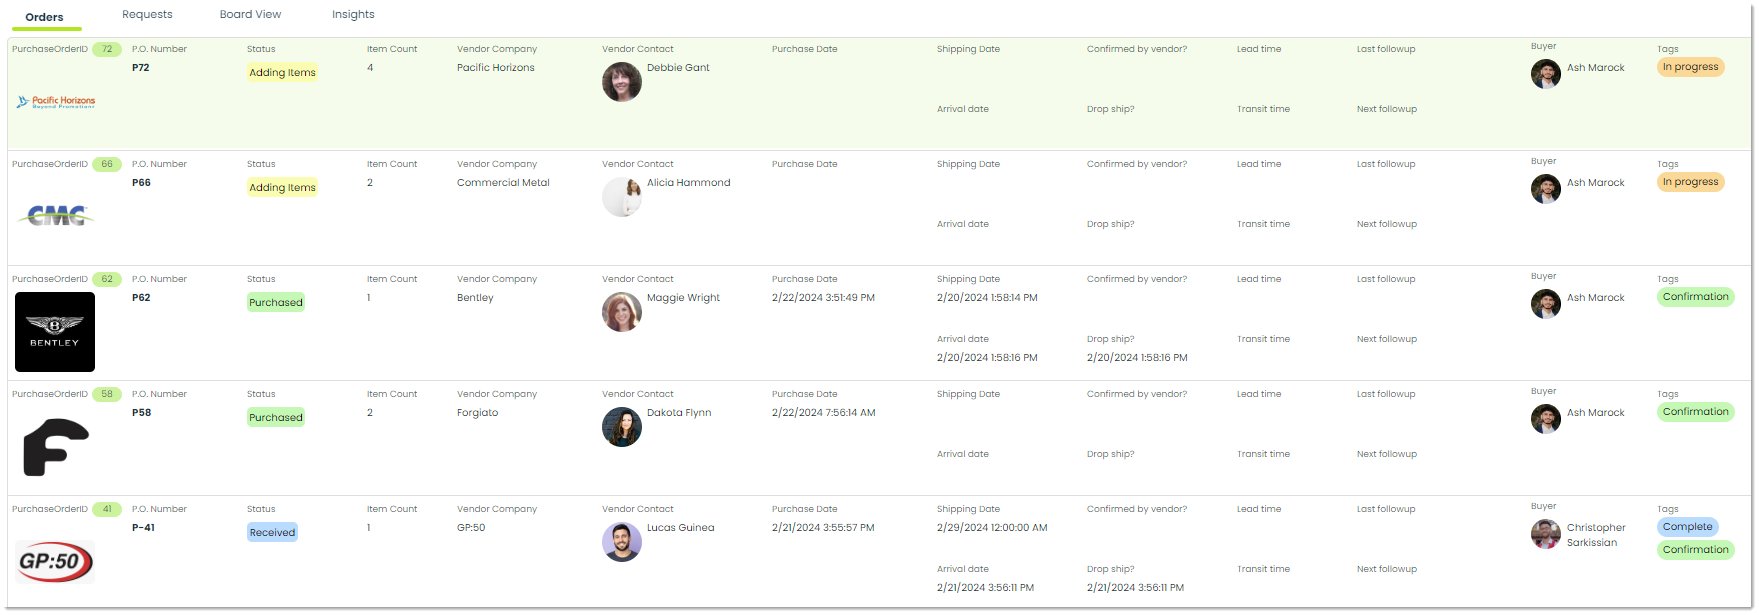
Orders – Here, you can view a list of your organization’s purchase orders as well as the following information:
- P.O. Number – This is a unique number automatically generated for each order for tracking purposes.
- Current status – This is the current state of the order. This could vary from still adding items to purchasing to actually receiving the order.
- Item quantity – The number of items included in the order.
- Vendor company and/or vendor contact information – This is the company that items are being purchased from and their contact information.
- Purchase, shipping and arrival dates – For full traceability, you can input the dates when the items were purchased, shipped and received.
- Vendor confirmation – Depending on the status of the order, you can receive confirmation from the vendor (for example, you can receive confirmation that the order has shipped).
- Drop ship yes/no – This indicates whether the vendor is capable of shipping the product directly to the you without the retailer needing to handle the product themselves. If it’s “yes,” the vendor supports drop shipping, and if it’s “no,” they don’t offer this service.
- Lead time – Lead time refers to the amount of time it takes for an order to be fulfilled or for a project to be completed from the moment the order is placed or the project is initiated until it is delivered or completed. If the order is linked to a lead, you can indicate that current time taken here.
- Transit time – Transit time refers to the duration it takes for an order to travel from one location to another. This could involve various modes of transportation, such as shipping by road, rail, air or sea.
- Last followup/next followup date – This signifies the last or next followup between you and the vendor. It is crucial for tracking the history of communication and ensuring that followups are timely and consistent.
- Buyer – This field contains the person who is putting in the actual order.
- Any identifying tags – Tags are labels which can be used to provide extra visibility and context to a purchase order record.
Requests – Once a purchase request from your Purchase Requests app has been approved, you can view that request here. There are three tabs which serve the following purposes:
1. Requests – In this tab, you can see the requests that have been approved and sent over from the Purchase Requests app. Here is the viewable information of each request:
- PR Number – This is a unique number automatically generated for each request for tracking purposes.
- Request description – A brief description of the request outlining the details of the items or services being requested for purchase.
- Current status – Indicates the current stage or status of the purchase request within the procurement process.
- Any linked work order, project or sales order – If the purchase request is associated with a specific project, work order or sales order, this information is provided to establish the context for the purchase.
- Customer (if applicable) – If the purchase request is initiated on behalf of a specific customer or client, their information is included to attribute the request to the relevant party.
- Requester – The individual or department initiating the purchase request. This could be a department head, project manager or any authorized personnel responsible for procuring goods or services on behalf of the organization.
- Members of the request – Any individuals or teams involved in the review, approval or execution of the purchase request.
- Any identifying tags – Additional metadata or labels assigned to the purchase request for organizational purposes. These tags could include categorizations such as departmental codes, project codes, budget codes or any other classification criteria used to organize and track purchase requests efficiently.
2. Parts – Here, you can view the individual parts which have been requested from the different purchase requests. You can view the following information for each different kind of part:
- Quantity – This quantity indicates how many units of the part are needed.
- Part number – A unique identifier assigned to each type of part for tracking and inventory management purposes.
- Part name – This is the name of the part.
- Manufacturer and/or manufacturing part number – Information about the manufacturer of the part and/or the manufacturer’s part number assigned to it. This helps in sourcing and procurement by specifying the origin and specifications of the part.
- Distributor and/or distributor part number – Details of the distributor from which the part is sourced and the distributor’s part number associated with it. This information aids in procurement and supply chain management by specifying the source and availability of the part.
- The purchase request that the part is linked to – If the part is requested through a purchase request, this indicates the specific purchase request with which the part is associated.
- Any linked work order, project or sales order – If the part is associated with a specific work order, project or sales order, this information is provided to establish context and link the part to the relevant initiative or customer requirement.
- The cost per unit and total cost – The cost associated with each unit of the part and the total cost for the quantity being requested.
- A historical log of the different actions regarding that part (for example, adding 5 of that part via a purchase request, transferring 3 of that part to a purchase order, etc.) – A record of various actions taken regarding the part, such as adding units via purchase requests, transferring units to purchase orders, receiving units into inventory, issuing units for production or maintenance, etc. This historical log provides a comprehensive audit trail of the part’s lifecycle, including its procurement, usage and movement within the organization.
3. Companies – This tab displays a list of vendor companies that purchase requests have been made for. For each company, you can see:
- Company name – The name of the organization.
- Company division – If the company has multiple divisions or departments, this field specifies the particular division associated with the information provided.
- Website – If applicable, this is the company’s official website.
- Phone number – The telephone number(s) through which the company can be contacted.
- Address – The physical location address of the company’s headquarters, office, or primary business location.
Board view – This tab organizes purchase orders by their current status via a Kanban board. From here, you can intuitively keep track of the progress of each order and its current state.
Insights – Insights are a method of visualizing the data within your applications. This tab serves as a convenient place for tracking data related to your purchase orders. You can analyze metrics such as order volume, shipping times, spending trends, supplier performance and whatever else you want. This feature provides you the flexibility to create your own tailored analyses to improve your organization’s efficiency and cost-effectiveness. For more on creating your own Insights, check out Getting Started with Insights.
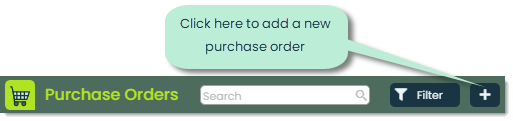
How to add an order
To add a new order, click the + button at the top of the app.
The following popup will appear.
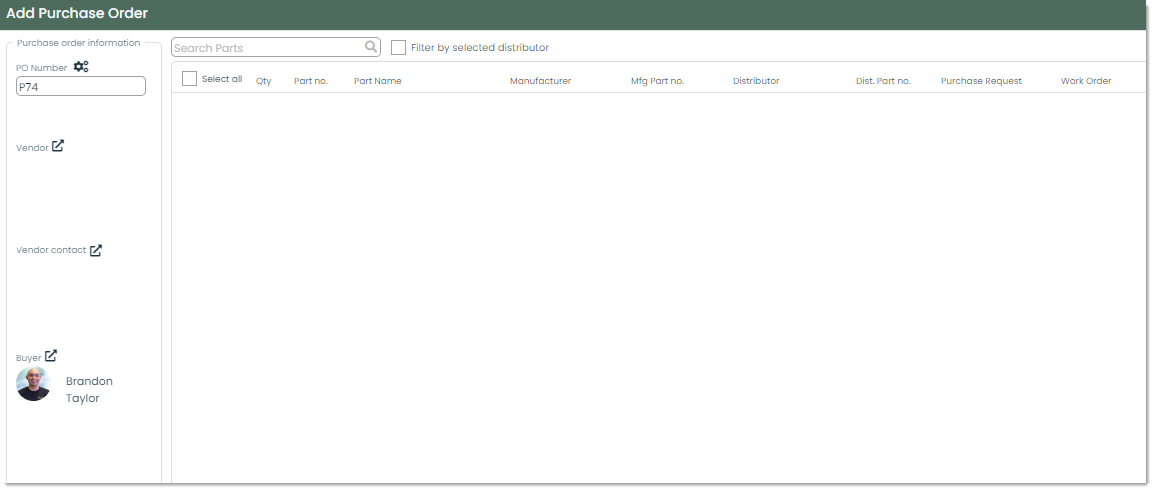
Let’s cover each field of this popup.
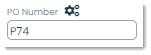
PO Number – This is a number to identify the specific purchase order. This is automatically generated but you can change it if you want.
Vendor – You can indicate who will be provided the purchased items here. You can select from any of the companies in your Companies app, and if the vendor isn’t on file yet, you can add their company.

Vendor contact – You can add a person here to serve as your point of contact from the vendor company. The selection of contacts comes from your Contacts app, and you can add in a new contact if that person isn’t in your system yet.

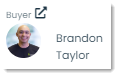
Buyer – The buyer is typically the person from your purchasing department who is responsible for ordering any items. This will default to whoever is adding the order, but you can change it to any contact at any time.
Parts – You can add in the items to order here. You can search for items from your Parts app.

Once you’ve added all the details of the order, click Submit at the bottom to add the record.
How to view and edit the details of an order
You can view the details of any purchase order by clicking on it from the main list. From the Orders tab, click on the order you’d like to view. This will open a flyout to view every detail about that record.
Here, you can modify any of the details of the purchase order. Any changes will automatically get saved. Let’s cover the additional fields on this screen.
Status – You can track the current state of a purchase order with this status bar. You can click on any of the below boxes to change the status of the order.

These are what each of the statuses mean.
- Adding Items – Items are in the process of being added to the order. No purchase has been made at this point.
- Price Confirmation – Once all items have been added, this status indicates that the correct prices have been confirmed for each one.
- Purchased – This means the purchase has gone through.
- Shipped – The vendor has provided confirmation that this order has shipped.
- Received – The order has been received.
Frontline Features of Purchase Orders
Each application has tabs with practical features specific to its use. We call these Frontline Features, and in the case of Purchase Orders, these features are:

Posts – Posts act as an in-app chat log, making it easy to share updates and communicate with your coworkers about a purchase order right from the app. You can mention specific people, positions or departments by using the @ symbol followed by the name of the person, position or department. From their notifications, the mentioned parties can jump straight to the purchase order in the Purchase Orders app. It keeps everything connected and in context. You can also like and reply to posts, creating a space for meaningful dialogue.
Approvals – Approvals provide a structured process of getting specific requests approved. You can send out approval requests to the decision-makers of purchase orders, including a message and expected deadline. The requested parties will get notified that they have an approval to either reject or approve. The Approvals tab provides a convenient and in-context location for any necessary requests for a particular purchase order.
Price Confirmation – To ensure accuracy in the money you spend on the items you purchase, you can track all of the confirmed prices with your vendors here.
Conversations – You can keep a log of conversations has as well as reach out to any parties involved with the order from this tab. Conversations come in the form of emails, phone calls, video calls and physical meetups. You can conduct and/or record any important dialogue that you want to keep on file here.
Reports – You can download custom PDF reports of your purchase orders here. Reports are built using the Report Builder app. For more on creating custom reports, refer to Getting Started with Report Builder.
Files – In the Files tab, you can attach important documents to your purchase order records. You can add as many files as necessary and view them through the built-in document viewer. It’s a practical way to include and review relevant documents such as contracts, receipts and anything order-related.
History – The History tab is your record-keeper for recent actions on purchase orders. This feature is important for tracing back any changes as far as who made the change, when they made it and what kind of change it was.