Table of contents
Getting Started with Purchase Requests
Monday February 26, 2024-12 min readIntroduction
Purchase Requests is an app for tracking and managing your company’s purchasing needs. With this app, you can record-keep all of your purchase-related activities from requests to approvals to fulfillment of orders. This guide will cover everything you need to know about the Purchase Requests app including how to add new requests (from scratch or based on needs from Projects, Sales Orders or Work Orders), gain approval for those requests and create orders in the Purchase Orders app based on those requests.
Let’s get started
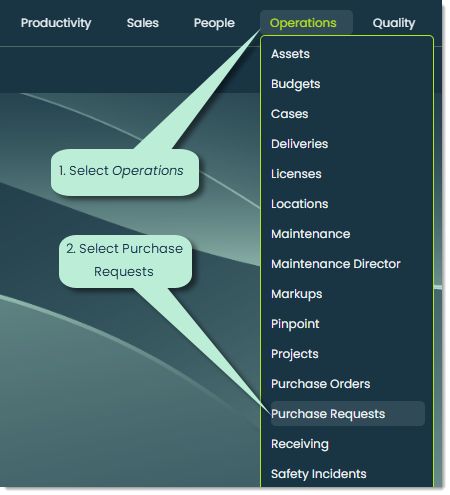
To open the app, go to the Operations section of the main navigation bar and select Purchase Requests.
When you open the app, you’ll see three main tabs at the top.

List view – Here, you can view a list of your organization’s procurement requests including the following information:
- Type of request – Indicates the type or category of the purchase request, such as “Product Purchase,” “Service Purchase,” “Equipment Purchase,” etc. This helps in organizing and categorizing requests based on their nature or purpose. You can create your own types of requests.
- Current status – Specifies the current stage or status of each purchase request within the procurement process. Common statuses might include “Pending Approval,” “Approved,” “In Progress,” “Delivered,” or “Cancelled.”
- Item quantity of the request – Displays the quantity of items or units requested for purchase in each request.
- Any linked work order, project or sales order – Indicates if the purchase request is associated with a specific work order, project or sales order. This linkage helps in providing context and understanding the purpose or requirement driving each purchase request.
- Customer of the order – Specifies the customer or client associated with the purchase order, particularly relevant for orders initiated on behalf of external clients or projects with specific customer requirements.
- The requester – Identifies the individual or department initiating the purchase request. This could be a department head, project manager or any authorized personnel responsible for procuring goods or services on behalf of the organization.
- Members of the request (if applicable) – Lists any additional individuals or teams involved in the review, approval or execution of the purchase request. Members are able to modify information within a purchase request record.
- Any identifying tags – Additional metadata or labels assigned to each purchase request for organizational purposes. These tags could include categorizations such as departmental codes, project codes, budget codes or any other classification criteria used to organize and track purchase requests efficiently.
Board view – This tab organizes purchase requests by their current status via a Kanban board. From here, you can intuitively keep track of the progress of each request and its current state.
Insights – Insights are a method of visualizing the data within your applications. This tab serves as a convenient place for tracking data related to your purchase requests. You can analyze metrics such as your request volumes, approval times, spending patterns or whatever else you want. This feature provides you the flexibility to create your own tailored analyses to improve your organization’s efficiency and cost-effectiveness. For more on creating your own Insights, check out Getting Started with Insights.
How to add a request
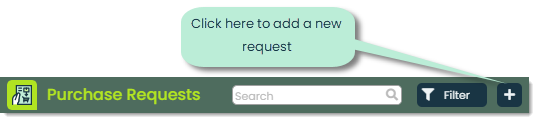
To add a new request, click the + button at the top of the app.
The following popup will appear.
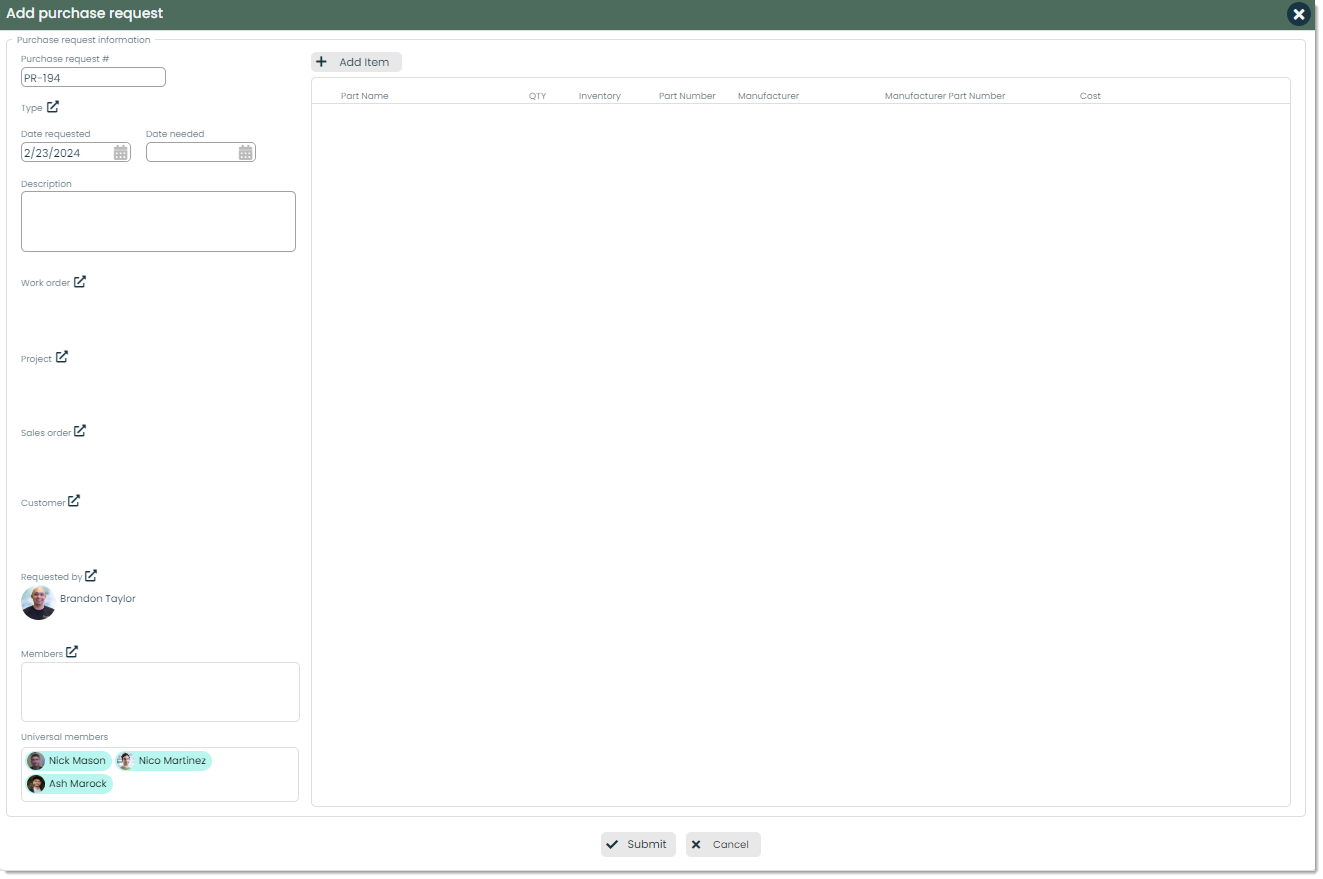
Let’s cover each field of this popup.
Purchase request # – This is a number to identify the specific purchase request. This is automatically generated but you can change if it you want.
Type – You can add a primary category, defined by you or your organization, that this request falls under. This is a great way to organize your requests into groups based on their primary classification.

Date requested/needed – These are the dates that the items were requested as well as when they are needed by.

Description – Here, you can provide a description of the request and give context to whoever will be requested to approve the purchase.
Work order – If the request is linked to a work order from Work Orders (or Work Order Director for admins), you can link that here.

Project – If the request is linked to a project from Projects, you can link that here.

Sales order – If the request is based off a sales order from the Sales Orders app, you can link that here.

Customer – If applicable, you can select the customer here. You can choose from any contact in your Contacts app, or add a new contact if that customer isn’t on file yet.

Requested by – You can indicate who is making the request here. It will default to whoever is adding the request, but you can choose from any contact in your Contacts app or create a new contact if the requester isn’t on file yet.

Members – You can select contacts from your Contacts app to add as members. This will give that selection of people editing access when it comes to the details of the purchase request.
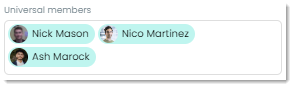
Universal members – This is a preset group of members who will have editing access to ALL purchase requests. If you are an admin of the app, you can determine this list of universal members by clicking Settings in the top-right corner of the app.
Add item – Here, you can add in the items from your Parts app that you want to request for purchase. You can indicate the quantity you require for each part, and the information on that part will be displayed as well as the total cost. For more on adding parts to the Parts app, check out Getting Started with Parts.

Once you’ve added all the details of the request, click Submit at the bottom to add the record.
How to view and edit the details of a request
You can view the details of any purchase request by clicking on it from the main list. From the List view tab, click on the request you’d like to view. This will open a flyout to view every detail about that record.
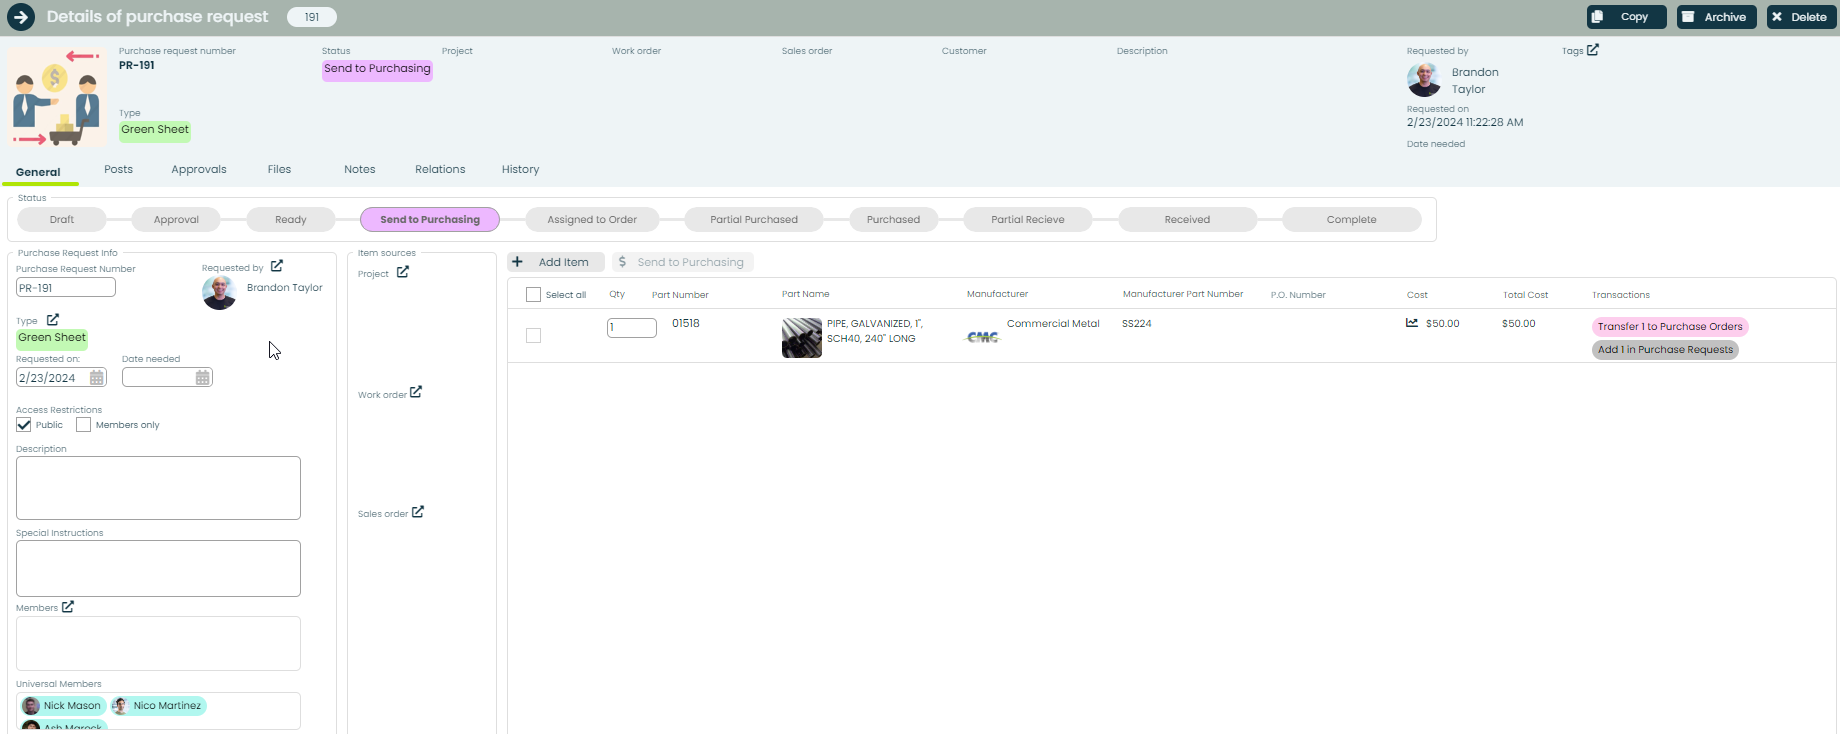
Here, you can modify any of the details of the purchase request. Any changes will automatically get saved. Let’s cover the additional fields on this screen.
Status – You can track the current state of a purchase request with this status bar. You can click on any of the below boxes to change the status of the request.

These are what each of the statuses mean:
- Draft – This status indicates that the purchase request has been created but is still in the preliminary stage. It may require further review, editing or additional information before it is ready to be submitted for approval.
- Approval – The purchase request is submitted for approval to the designated approver(s) within the organization. At this stage, the request is reviewed to ensure it complies with company policies, budgets and other criteria before it can proceed to the next stage.
- Ready – The purchase request has been approved and is ready to be processed further. It may have met all the necessary criteria and is awaiting action, such as being sent to the purchasing department or assigned to an order.
- Send to Purchasing – The approved purchase request is forwarded to the purchasing department or personnel responsible for procurement. This initiates the procurement process, where the purchasing team begins sourcing and acquiring the requested items or services from suppliers.
- Assigned to Order – The purchase request has been assigned to a specific purchase order, indicating that procurement activities are underway.
- Partial Purchased – Indicates that only a portion of the requested items or services has been purchased so far. This status may occur when some items are available for procurement while others are still pending availability or approval.
- Purchased – All items or services requested in the purchase request have been successfully procured from suppliers. This status confirms that the purchasing process is complete, and the organization has secured the necessary goods or services.
- Partial Receive – Indicates that only a portion of the purchased items or services has been received by the organization. This status may occur when deliveries are made in multiple shipments, and some items have arrived while others are still in transit.
- Received – All items or services requested in the purchase request have been received and documented by the organization. This status confirms that the goods or services have been physically received and are ready for use or further processing.
- Complete – The entire procurement process associated with the purchase request, from initiation to receipt of goods or services, is complete. This status signifies closure of the request and indicates that all necessary actions have been taken.
Frontline Features of Purchase Requests
Each application has tabs with practical features specific to its use. We call these Frontline Features, and in the case of Purchase Requests, these features are:

Posts – Posts act as an in-app chat log, making it easy to share updates and communicate with your coworkers about a purchase request right from the app. You can mention specific people, positions or departments by using the @ symbol followed by the name of the person, position or department. From their notifications, the mentioned parties can jump straight to the purchase request in the Purchase Requests app. It keeps everything connected and in context. You can also like and reply to posts, creating a space for meaningful dialogue.
Approvals – Approvals provide a structured process of getting specific requests approved. You can send out approval requests to the decision-makers of purchase requests, including a message and expected deadline. The requested parties will get notified that they have an approval to either reject or approve. The Approvals tab provides a convenient and in-context location for any necessary requests.
Files – In the Files tab, you can attach important documents to your purchase request records. You can add as many files as necessary and view them through the built-in document viewer. It’s a practical way to include and review relevant documents such as contracts, receipts and anything request-related.
Notes – With the Notes tab, you can capture quick thoughts and details directly within the app, making it a handy tool for on-the-go annotations.
Relations – Relations are used to create links between different pieces of data. Say, for example, you are creating a purchase request which is to be linked to a specific department within your organization. If you want to indicate a relationship between the two entities, creating a relation is the way to do that. From the Relations tab, you can click the + button to form a new relation. You can identify both records based on the type of object they are (one is a Purchase Request, one is a Department), then describe the relationship between the two records.
History – The History tab is your record-keeper for recent actions on purchase requests. This feature is important for tracing back any changes as far as who made the change, when they made it and what kind of change it was.