Table of contents
Getting Started with Support Contracts
Friday February 2, 2024-12 min readAppward’s Support Contracts simplifies Service Level Agreement management by centralizing agreements. This helps ensure consistent service and avoids missed renewals, ultimately boosting customer satisfaction and revenue for businesses. This guide will provide you with all the necessary details of navigating and using Support Contracts.
Let’s get started
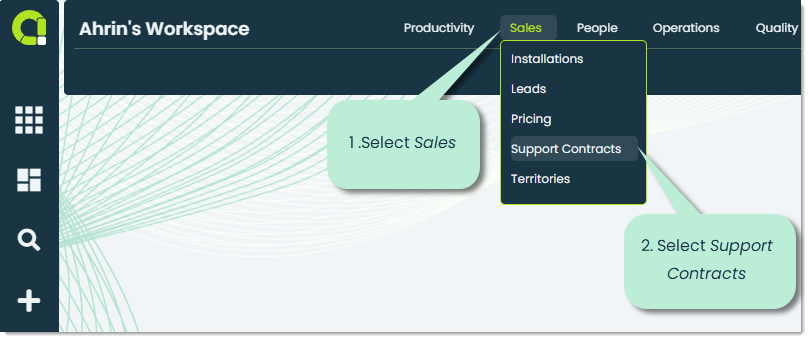
To access the Support Contracts app, navigate to the Sales section in the main navigation bar and select Support Contracts.
When you open the app for the first time, you’ll land on the General tab. Let’s explore what this tab offers along with the features of the others.
Note: If this is your organization’s first time using the Support Contracts app, this screen will be blank.
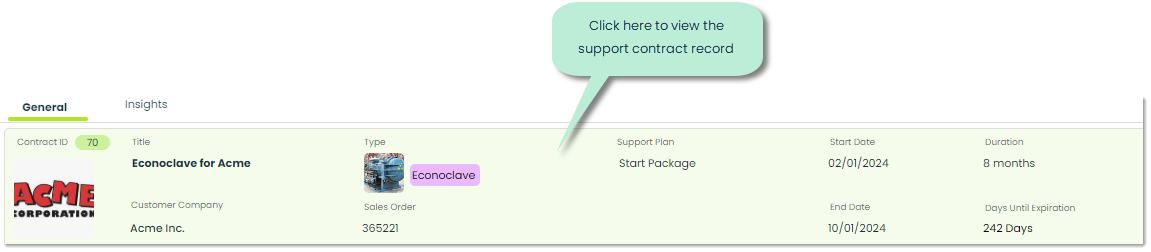
General – In the General tab, you can access a list of your organization’s Support Contracts. Here, you’ll find crucial details like company name, start/end dates, type, and any linked sales orders associated with each record.

Insights – This tab is used to analyze data from your organization’s support contracts. Using Insights, you have the opportunity to uncover and make use of valuable information related to contract types, statuses , participants, and more. For more on Insights, please check out our Getting Started with Insights guide.

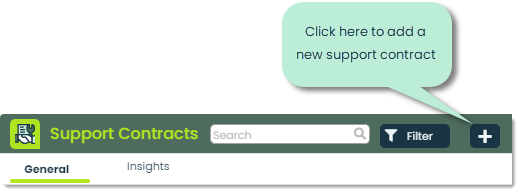
Adding a support contract
To add a new support contract, click the + at the top of the app screen.
This will bring up the Add Support Contract popup, where you can start to add the necessary details required.
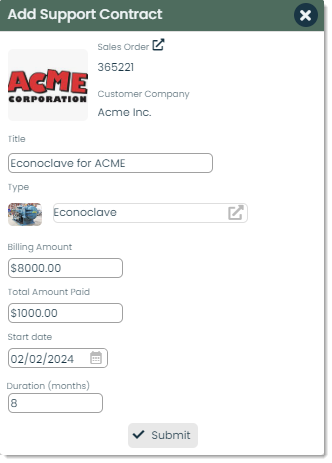
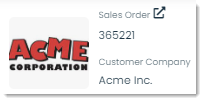
Sales Order – In Appward, sales orders are documents generated by sellers in response to a customer’s purchase of a good or service. They are essential in confirming the details of a sale and the signals of the seller’s intent to fulfill the order. In the Sales Order field, you can click on the external link icon to pick from a list of sales orders that your organization has created within the Sales Orders app. For more information on Sales Orders and how the app works, please check out Getting Started with Sales Orders.
Title – The title field is where you can designate the name or identifier of the sales order. Titles are generally specific and straight to the point, giving the viewer an understanding of what the record contains.
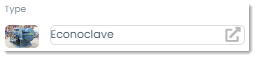
Type – You can categorize the support contract you create by the type you select. Visually, types are labels with custom names, colors, and images that can be assigned to records throughout Appward. However, types provide you with a way to organize your data in a fully flexible, customized way to suit your business. As an example, a support contract associated with an Econoclave could be labeled with the type Econoclave. For more information on Types, please check out Using Types.
Billing Amount – In Billing Amount you can define the total amount of money that the customer is invoiced for the goods or services specified in the sales order.

Total Amount Paid – Total Amount Paid is where you can define the total sum of money received from the customer for the goods or services specified in the sales order.
Start date – The date on which the sales order was initiated or created. You can enter this date manually or select it using the built-in calendar picker.
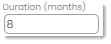
Duration (months) – In the Duration field, you can enter the amount of time in months that the sales order will be valid for.
Submit – When you have entered all the required details of the sales order, you can press Submit to create the sales order.

Viewing and editing a support contract
To view and manage a support contract record, click on it while in the main tab of the app.
This brings up a details flyout, where you can view or edit all the important details of the support contract. At the top of the details flyout, you’ll notice eight tabs. Let’s go over the unfamiliar fields, starting with those in the main Details tab.
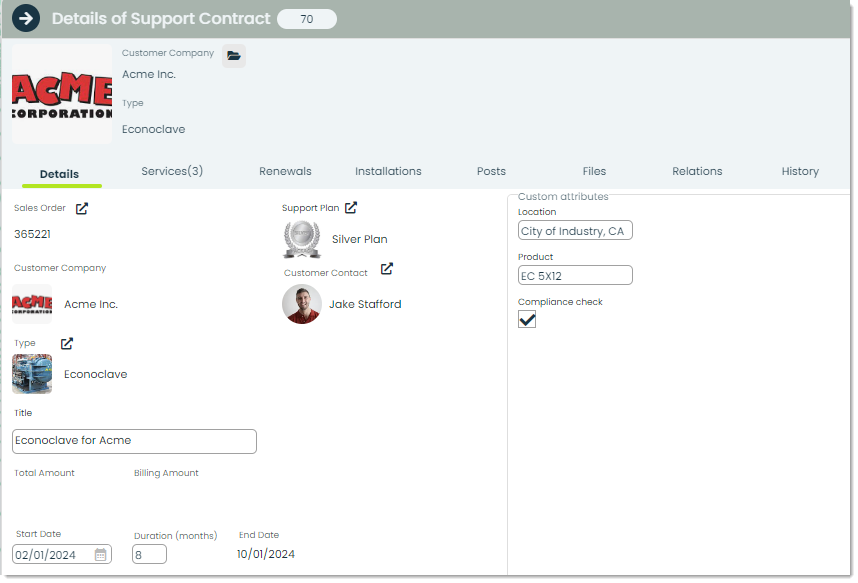
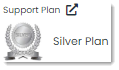
Support Plan – Support plans are customizable based on customer or company needs. They outline the assistance and services offered, including response times, availability, contact methods, and covered issues.
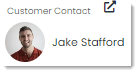
Customer Contact – The Customer Contact is a representative from the company tied to the support contract, serving as the main point of communication with the support provider. You can select from a list of available contacts by clicking on the external link icon.
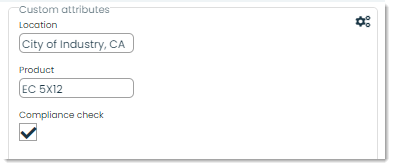
Customer Attributes – In Appward, attributes are customizable fields that you can add to support contracts for more details. They let you include extra information beyond the standard fields. For instance, you can add new fields to describe the specific product name a customer is using or hone in on the location of the company being supported.
Creating and adding services
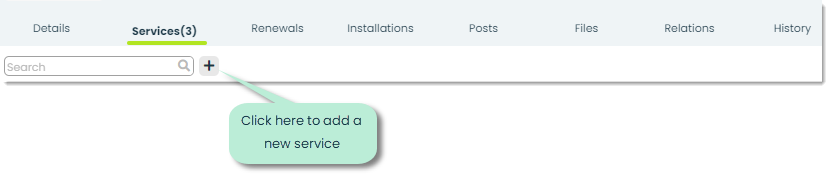
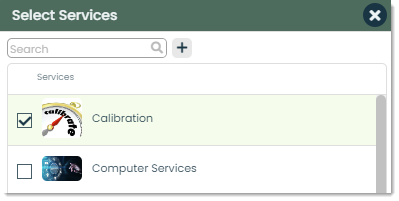
To create or add a new service, navigate to the Services tab. Click on the + icon to get started with creating a service.
This will bring up a menu where you can select to include existing services within the record or create new ones.
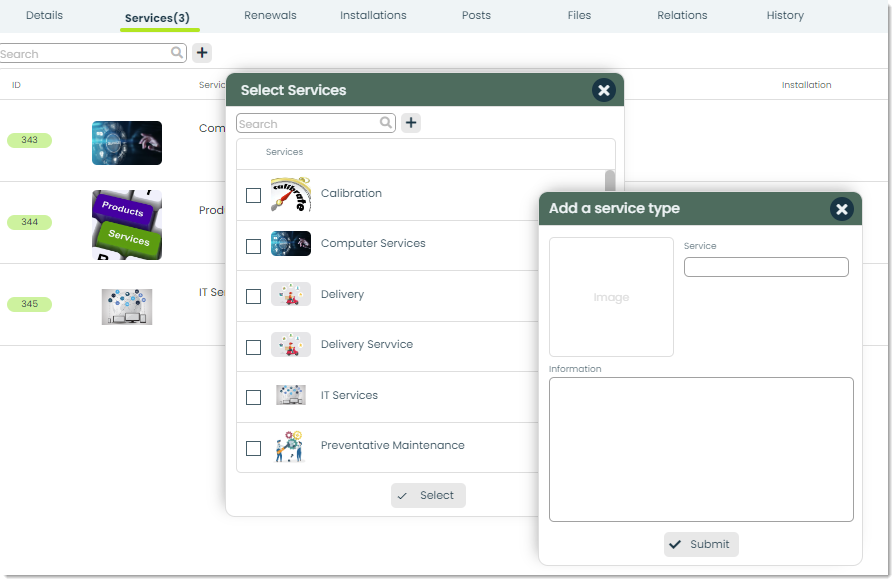
After filling out the details of your new service type, you can select it within the Select Services popup. Simply click on the checkbox next to the service you wish to associate with the support contract record.
Frontline features of Support Contracts
Posts – In Appward, a post is a comment that can be liked or replied to directly by other members of your organization. Within Support Contracts, a common way of using posts is to communicate with coworkers or other members of your organization about the support contract being viewed.

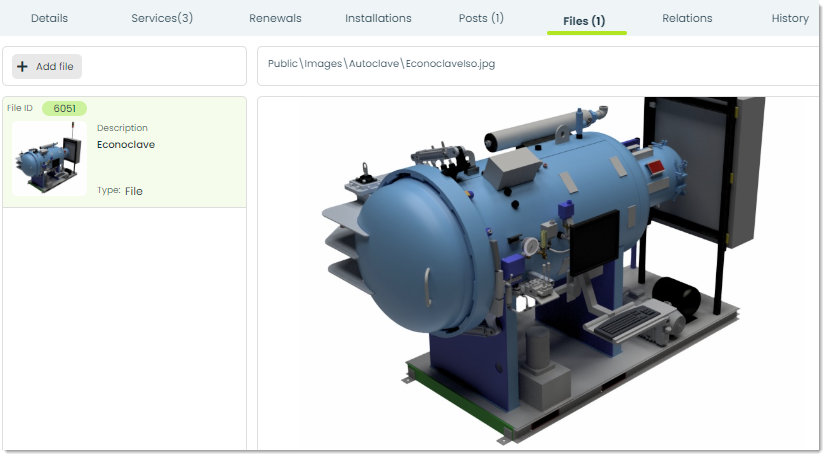
Files – Through the Files tab, you can attach essential documents to a support contract. You can add files directly from your computer or from the Appward cloud. After adding a file, you can view it through an integrated document preview within the Files section. Contacts in your organization with access to the record can download the file to their personal computers.
Relations – Relations enable linking records from different apps together. For example, in your support contract, you might need to link a company contact directly from the Companies app to help maintain context.

History – The History tab displays an activity log related to the viewed Support Contract, listing change dates, activity descriptions, change authors, and the app where changes were made.

Addition features of Support Contracts
Archive – Archiving is a common feature present in the majority of application within Appward. It serves as a valuable tool for temporarily concealing a record without permanently deleting it. Archived records are essentially concealed from the main screen, accessible through specific search filters.

Follow – In many apps, you can “follow” records, which will notify you of changes to that record. In the Support Contracts app, you can follow a contract to be notified whenever specific actions related to the contract happen. For example, if you want to get notified when an edit has been made to an incident, you can use this feature to get that notification. To follow a support contract, click the Follow button in the top-right corner. From the popup that appears, you can select exactly what you’d like to be notified of.

Delete – To delete a Support Contracts, press the Delete button. A confirmation popup will appear, ensuring you want to proceed. These newly deleted records are available for recovery for 5 days in the Deletions app.

Help – Look for the help button in the majority of apps on Appward. It offers tours and valuable information created to assist you in navigating through the app. These tours serve as interactive step-by-step guides tailored for the application you’re using. Utilizing tours can enhance your onboarding experience, providing a user-friendly and effective solution.

Searching and Filtering – In every application within Appward, you have the ability to use advanced searching and filtering tools to precisely locate and access the information you need. Utilize the search bar positioned at the top of the application screen for a general search, or click on the Filter button to apply additional filters, helping you fine tune your search.
