Table of contents
Getting Started with Training
Wednesday August 2, 2023-12 min readIntroduction
Training is a companion app to Training Director. While Training Director is used to create and manage training courses, Training is used by employees to take those courses. This guide will provide a walkthrough of the different features of the Training app and how a user can get the most out of their training experience.
Let’s get started
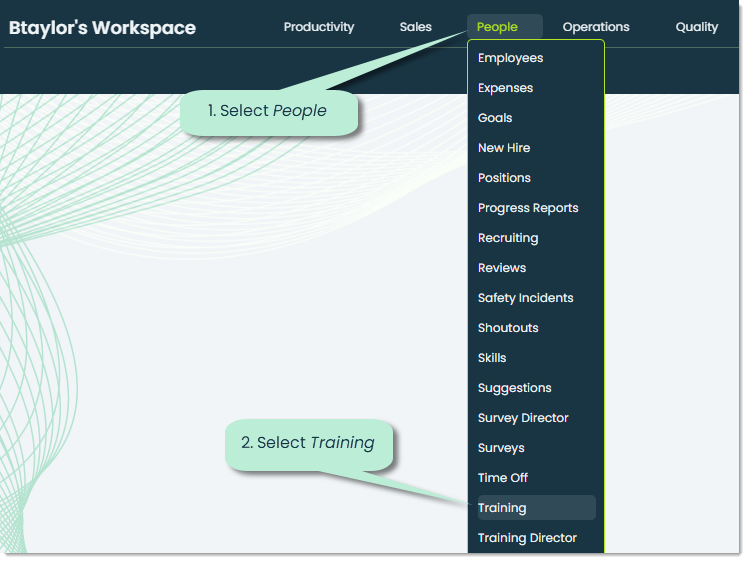
To open the Training app, go to the People category of the main navigation bar and select Training.
When you open the app, you’ll see a screen that may look similar this:
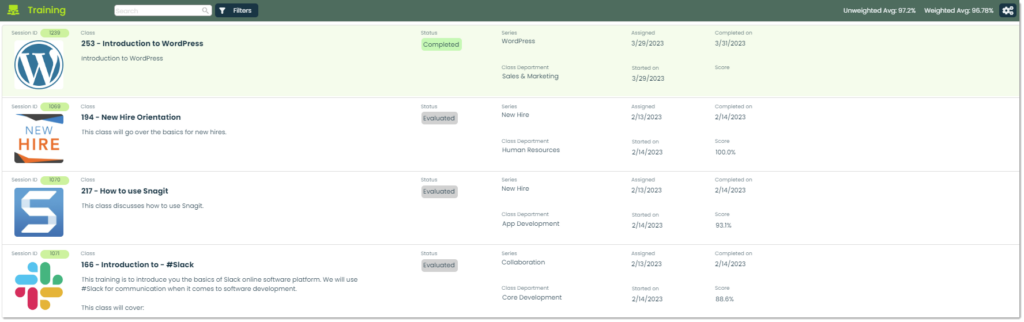
Classes are assigned to employees via the Training Director app. When you are assigned a class, a unique instance of that class, or a session, is created for you. If you don’t have any sessions (no class is assigned to you), your list of trainings will be empty. For more information on assigning classes to employees, check out the Getting Started with Training Director guide. The rest of this guide will assume that you have at least one class assigned to you. Let’s go through the various aspects of the main screen.
Search and filter – With the search bar, you can search for trainings via their title, description, class ID, session ID, status, series or department. Type whatever you’d like to search for in the white box and press Enter to show the search results. Filters are a similar method of finding a specific training(s). You can add in as many filters as you’d like to produce your search results. Additionally, you can combine the search and filter features for more precise searches.

Unweighted and weighted average – Appward keeps track of your overall training scores. Your unweighted average is your overall grade without taking into account other employees.

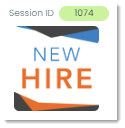
Session ID and class image – The session ID of your training is a unique number used to identify and differentiate a training session from any other training session. For example, say that five different employees were assigned the class 304 – How to use Snagit. The class ID, 304, would be the same for every employee. Each employee would need to have a way to differentiate their version of the class from everyone else. Therefore, we use session ID’s to uniquely identify each training session. If you know the session ID of a training, you will know the exact instance of a training session including the class, the assignee, the trainers and every other detail.
Class ID and title – This is the ID of the class as well as the title. Each class has its own unique ID.
Class description – This is a description of the training class.

Status – This represents the current state of the training session. A status could be one of the following:
- Pending – The class has been assigned but has not been started.
- In progress – You have started the training session but haven’t completed it yet.
- Completed – You have completed the training session and are waiting for a grade.
- Evaluated – The training session is complete and has been graded by a trainer.

Series – Training classes can be organized into a tailored curriculum based on employee, position or department. This example show a series called New Hire which is a multi-class curriculum for new employees to follow.

Class department – If the training class belongs to a specific department, that will be indicated here.

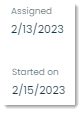
Assigned and started dates – You can see when a class was assigned to you as well as when you started the training.
Completed date – This is the date that you finished the training. This is useful for getting an idea of how long your training sessions are taking.

Score – This represents how well you did on the training. Scores are percentage-based.

How to view and start a class
Once a class has been assigned to you, you can view the details of that training session by clicking on it from the main list. A flyout will appear where you’ll be able to view the session information.
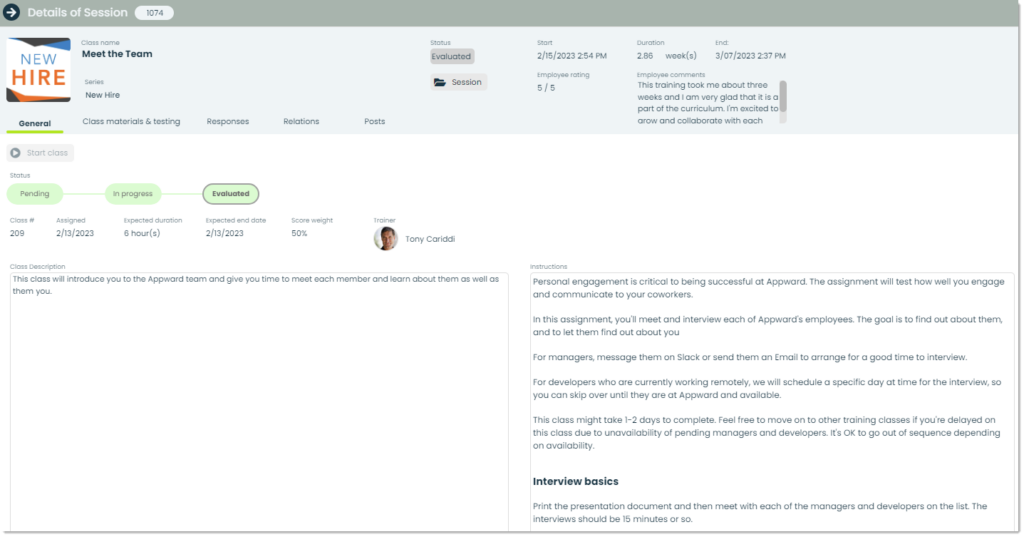
Let’s go over the additional details of a session.
Session folder – Some classes will allow access to your training session’s folder in the Appward File Explorer. Trainers may want you to access certain files inside that folder or ask that you place your own files in there. By clicking the Session button, you can access any files inside of the folder as well as add any of your own files.

Duration – This is the amount of time you spent on the training session.
Employee rating – For constant improvement to training classes, you can add in your rating of the class.

Employee comments – Comments are another great way to improve the training classes. You can provide your feedback at the end of a training session.
Start class – To start a training session, click this button. Once you start a class, the timer for that session will start and this button will become disabled.
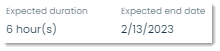
Expected duration and end date – This is an estimated duration of time required to complete a training.
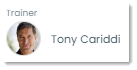
Trainer – Each class consists of a trainer or set of trainers. These people will be notified when you finish your session and will be able to grade your completed work. Additionally, you can reach out to your trainer(s) via Posts for an intuitive and direct line of communication.
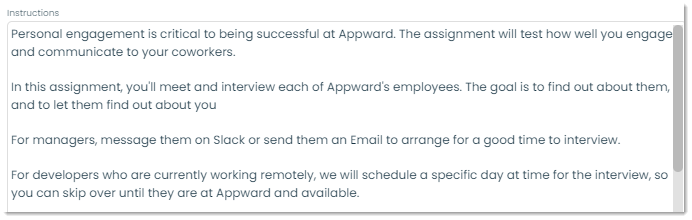
Instructions – Typically, a class will come with a set of instructions to follow. It’s important to read these before starting any training.
How to start a training and access training materials
Now that we’ve gone over the different aspects of a training session, let’s start a training! To do so, click on the session you’d like to start from the main list and select Start class. This will trigger the timer of the training session to start and change the status of the session to In progress. At this point, you can navigate to the Class materials & testing tab. This is typically where any course and test material will be. Course material can come in many forms such as videos, images, pdf’s and plain text.
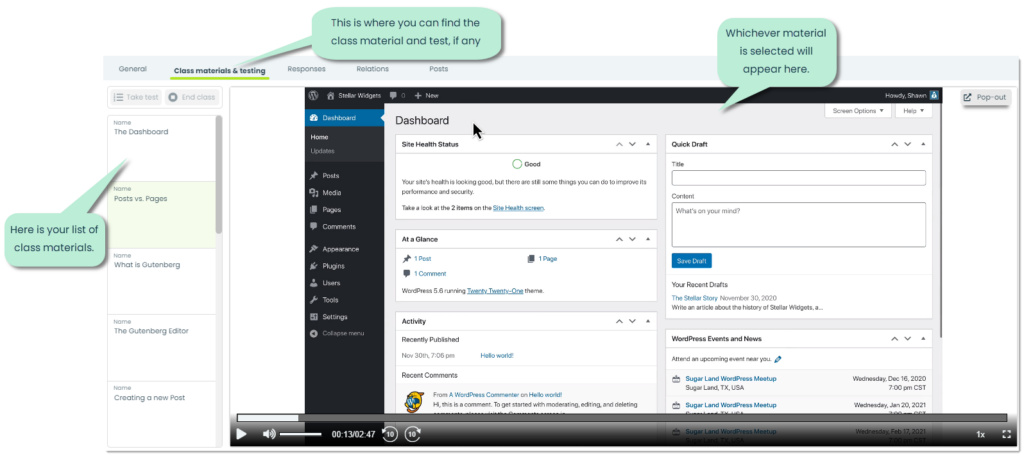
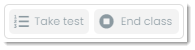
You’ll notice two buttons on this page:
If a class comes with an assessment, you’ll need to take a test at the end of the session. Once you are done learning the course material and feel ready, you can click Take test to begin it. From here, a popup will appear for you to answer the test questions. Below is an example of a popup and test question.

To navigate between questions, use the bar at the bottom.

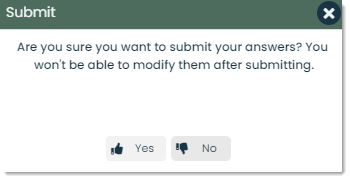
Once you’re done answering all the questions, you’ll see a popup for confirming your responses.
If you confirm Yes, a final popup will appear for providing feedback on the class. This is typically used for management to improve the training classes. You can provide a 1-5 score of the class as well as any comments that the trainers should know.
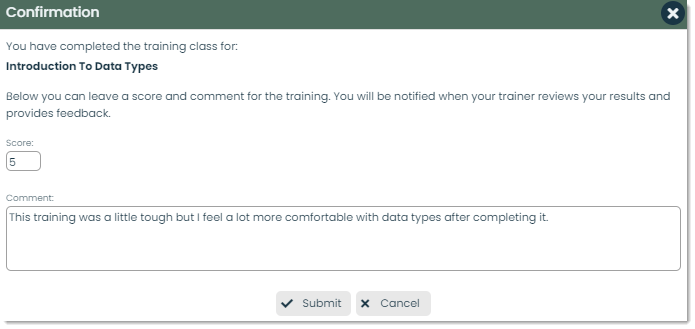
Once you click Submit, the status of the training will change to Completed and your trainers will be notified. The only thing left to do is wait for feedback!
How to view and respond to trainer feedback
You’ve completed the training session, awesome. At this point, the assigned trainers will be notified of this and will be responsible for evaluating your training. When they do evaluate your training, you’ll get a notification that looks like this:
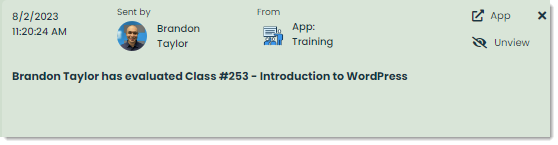
You can view the feedback from your trainer by double-clicking the notification or clicking App from the top-right corner of the notification. This will open the details of the evaluated training session. To view any trainer responses, click on the Responses tab.

You’ll see your score on the training as well as any comments from the trainer. To reply to trainer feedback, you can go to the Posts tab to utilize a powerful feature of Appward called Posts. A post is a written comment which can be replied and reacted to by other users to create a dialogue about a particular training session. You can write a Post with questions about the training, additional information that was left out of your assessment or any response to the trainer feedback that you’d like to provide.