Table of contents
Getting Started with Training Director
Monday May 1, 2023-21 min readIntroduction
Ensuring that your team has the skills to execute on a daily basis starts with great training. Using the Appward Training Director app, you can create and evaluate custom-made training courses tailored to your team’s needs. This user guide will help you get started with the app by providing step-by-step instructions for various features such as adding new training classes, viewing/editing a class, assigning classes to employees, and evaluating trainings.
Getting started
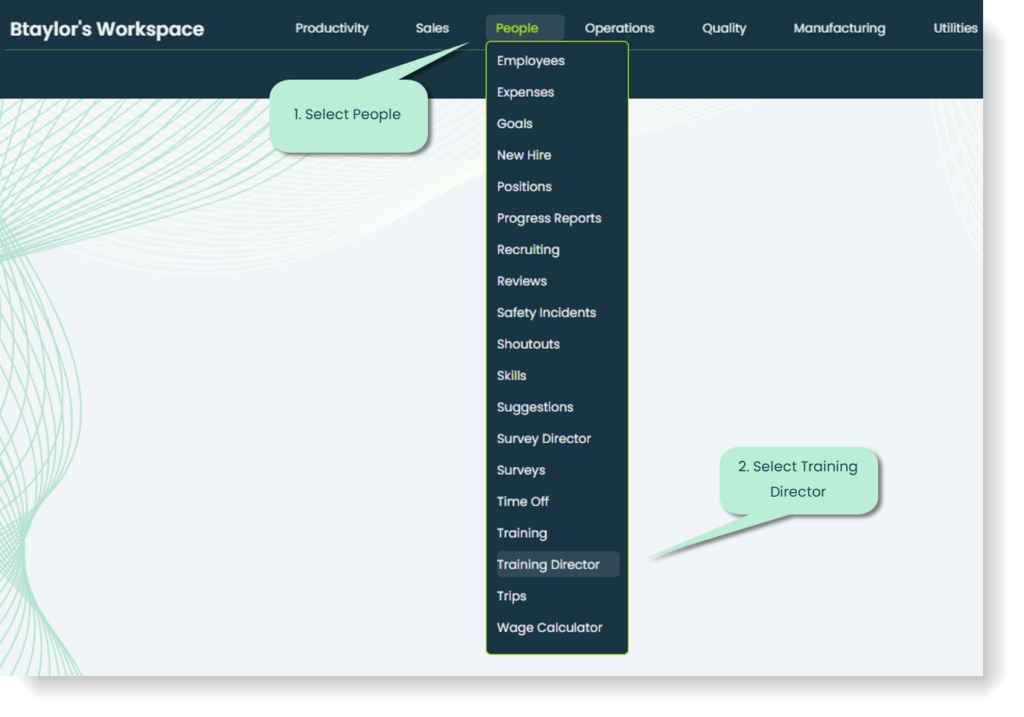
Open the Training Director app by navigating to the “People” section and clicking Training Director.
Once you’ve opened the app, you’ll see 4 tabs at the top of the screen: Employees, Positions, Classes, and Sessions.
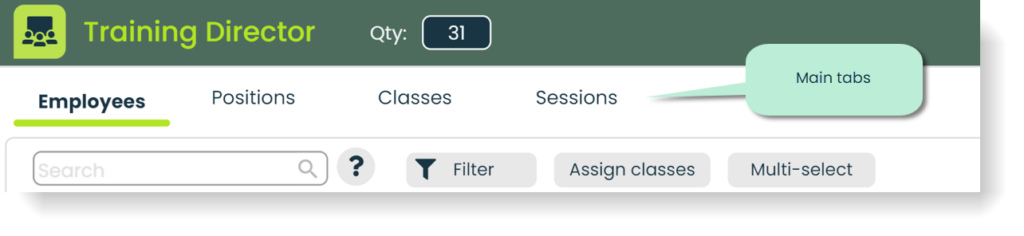
Employees: Provides a list view of all active employees on your team. This is where you can view, assign, and evaluate training sessions based on employee.
Positions: Lists all active positions imported from the Positions app. Here, you can create and assign multi-class curriculums based on company position, allowing for a more tailored training experience.
Classes: Lists all created training classes. This section is for creating new classes and assigning them to multiple trainees at once.
Sessions: Provides a list view of all employees’ training sessions. Here, you can evaluate specific sessions by searching and/or filtering for the desired class and employee.
Note: If no employees or positions have been added to your platform, the Employees and/or Positions sections will appear blank.
To add employees:
- Go to the Employees app (People category of the top navigation bar, select Employees)
- At the top of the main screen, select the “+” button to add an employee
- In the popup that appears, add in the employee’s information (name, photo if applicable, position, and their manager)
- Click submit to add and repeat this process for any additional
To add positions:
- Go to Positions app (People category, select Positions)
- Click “+” button at the top of main screen
- In the popup, add the position name, an image of the position (if applicable), the department the position is within, and the person that the position reports to
- Click submit to add this positions and repeat these steps to add more positions
Creating a new class
To create a new class, follow these steps:
- Create the course material
- Add a new class and enter General Information
- Add course material in Documents tab
- Set up Test
Step 1: Create the course material
Before adding any class, you must create the content that drives the training. Here are common types of training content and great tools for creating each:
- Slide shows: Microsoft Powerpoint comes with a variety of design templates for visually engaging presentations
- Text-based documents: Microsoft Word provides a range of powerful formatting and editing tools for different styles of text and the ability to add tables, charts and images
- Videos: Camtasia is a video editing software that includes features for recording your screen, adding annotations, importing media and more
Step 2: Add a new class and enter General Information
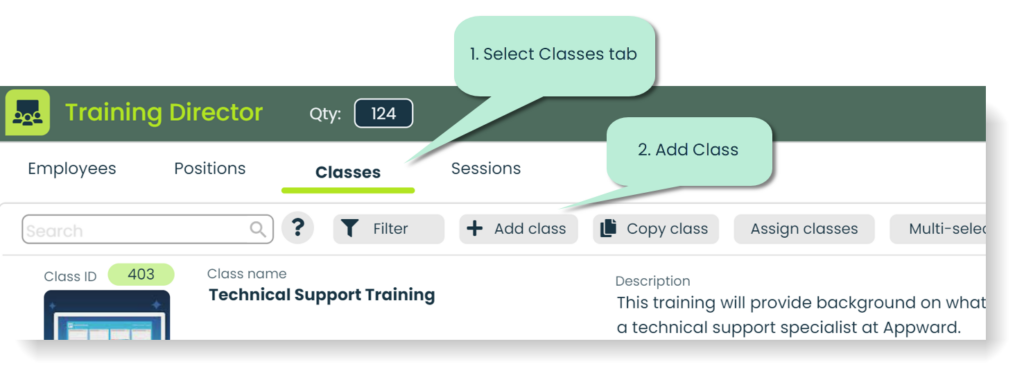
Once you’ve created your course material, you’re ready to add a new class. Click on the Classes tab and find the “Add Class” button located at the top of the screen.
Clicking the “Add Class” button will bring up a screen for creating a new class. Start by entering a name, description, and creator of the class. Then, optionally assign the class to a series if it is part of a multi-class set and a department if the class pertains to a specific section of your team.
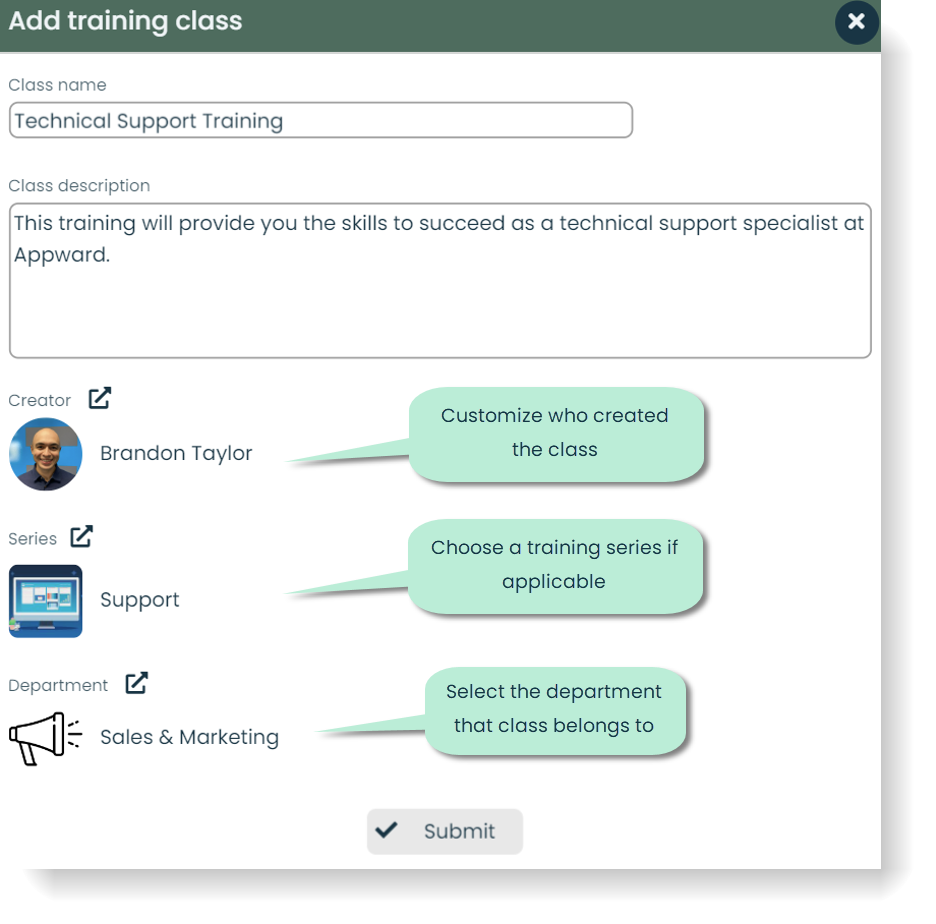
Once you’ve entered all the necessary information, click “Submit” to create the new class. A flyout will appear with the newly created class and its current details. Here, you can make adjustments to any of the previously entered fields, as well as these additional class settings:
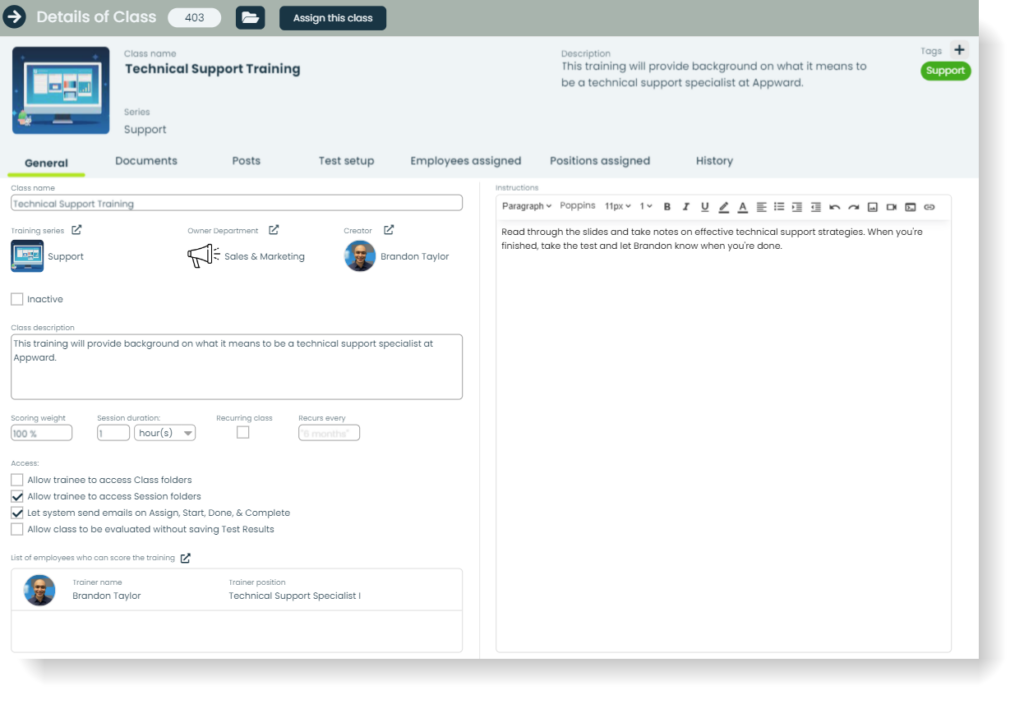
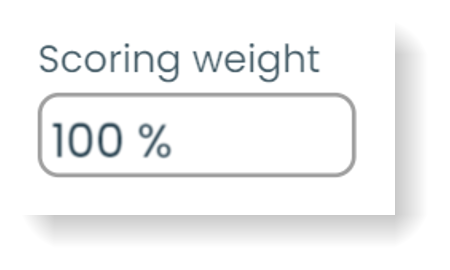
Scoring weight: The relative importance of a class in terms of percentage toward overall grade
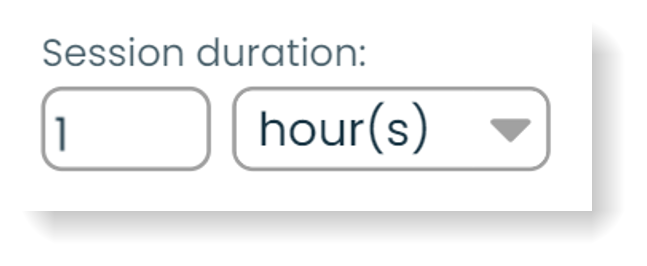
Session duration: The estimated time that a class should take to complete (determined by you)
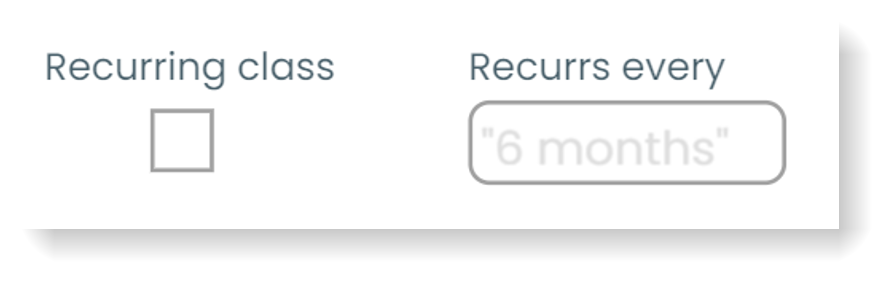
Recurring class settings: Enables scheduled, recurring classes. This is for classes that should be repeated every few months (renewing a license, certificate, etc.)
Class permissions: Control what folders/materials your trainees have access to, as well as other behaviors of class. This can be variable based on your training structure:
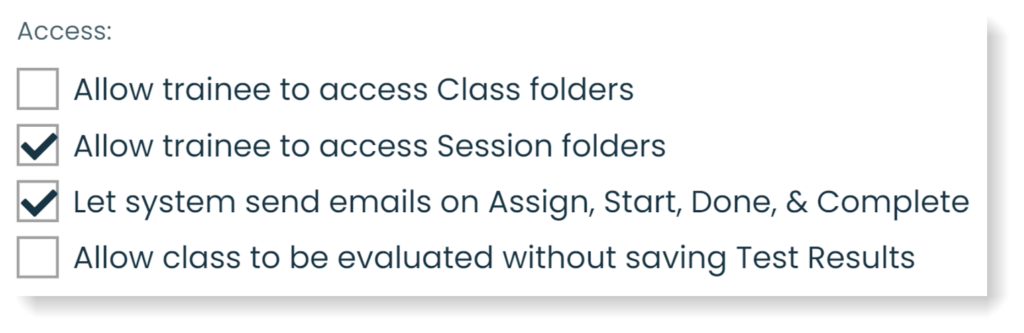
- Access to Class Folders: Trainees have access to material housed in the main class folder (typically information that is relevant to everyone taking the class)
- Access to Session Folders: Trainees can access material in their training session for that class (useful for trainees uploading their own work, also for sharing material that is specific to an employee)
- System emails: Automatically have emails sent during the Assign, Start, Done, and Complete phases of training session
- Allow class to be evaluated without saving Test Results: Useful for practice runs of a test without impacting trainee’s actual grade
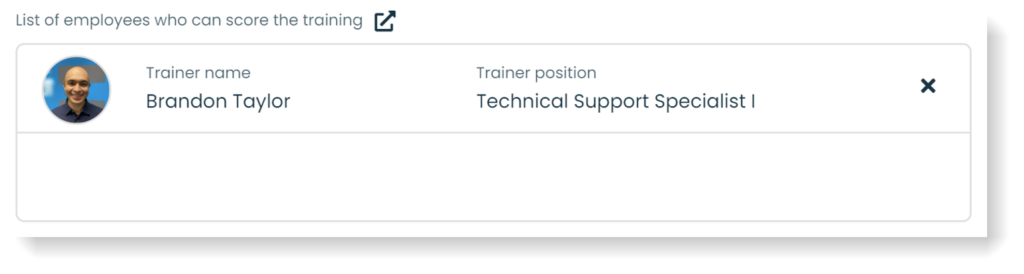
Assigned trainers: Trainers that are selected here are able to evaluate training sessions for a particular class and provide constructive feedback to trainees
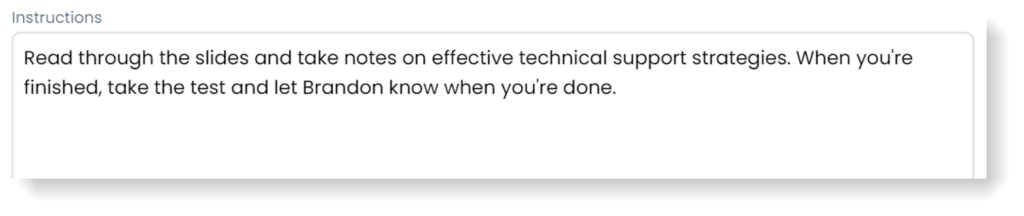
Class instructions: Provides pre-class context for trainees to know what to do before, during and after a training session
All of these fields can be edited at any time if the class changes.
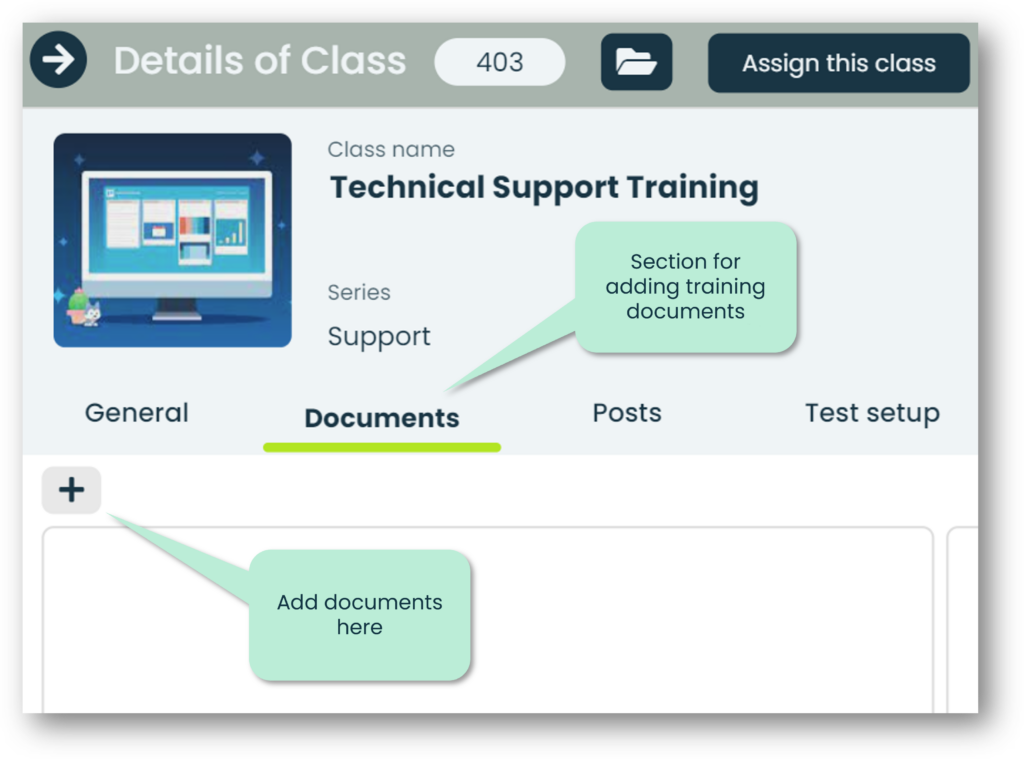
Step 3: Add course material in Documents tab
Now that the general details of the class are entered, you can upload all of your course material using the “Documents” tab. Here, you can add a new document by clicking the “+” button.
Clicking the “+” button will bring up an “Add Document” popup:
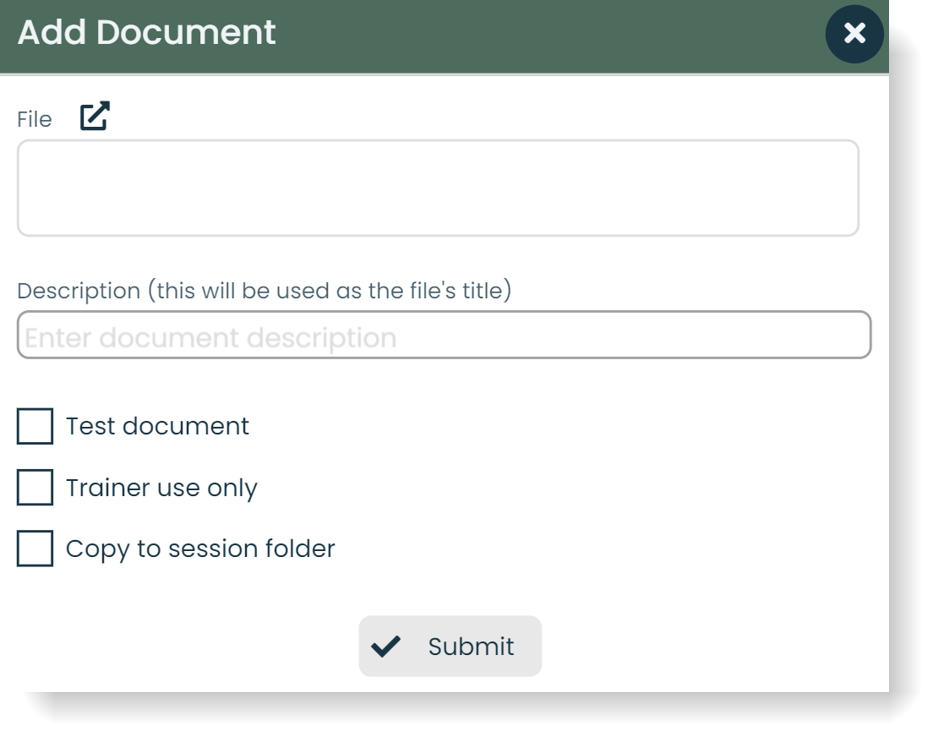
Click on the icon next to “File” to bring up the File Manager, and choose from which location you will be importing a file:
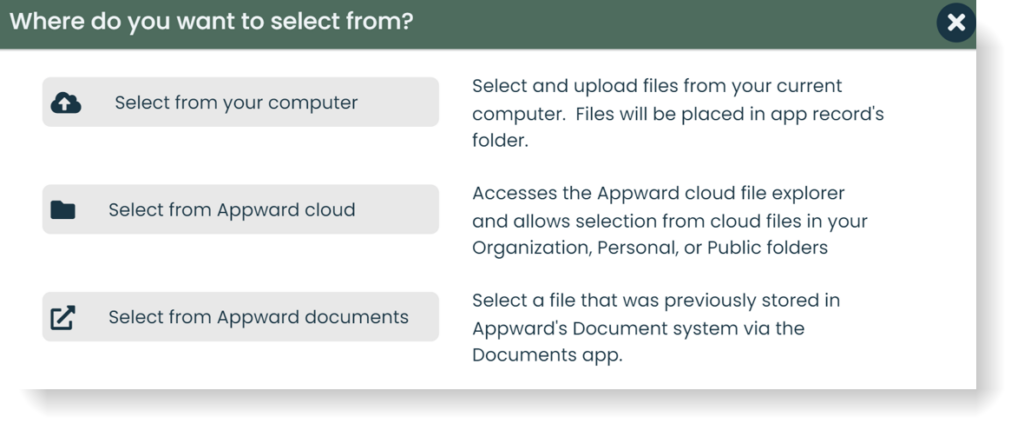
- Select from your computer: A file on your local storage
- Select from Appward cloud: A file housed on Appward’s server (opens “File Explorer” app to find cloud file from Organization, Personal, or Public folders)
- Select from Appward documents: A file previously stored in Appward’s Document system via the “Documents” app
Enter a description of the document (this will appear as the title of the document), as well as any of the checkboxes that apply:
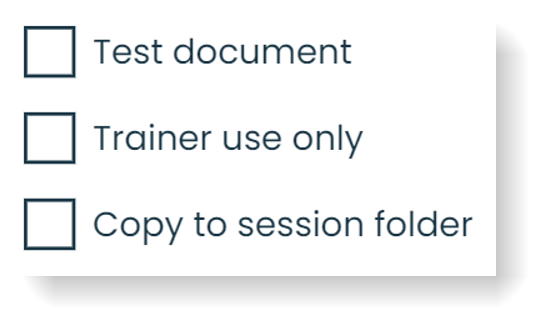
- Test Document: Indicates that this document will be used during the assessment portion of the training
- Trainer use only: Will only be visible to trainer (useful for solution guides, past trainee results, etc.)
- Copy to session folder: Creates a copy of file and stores it in respective class session (allows for file access in session folder)
Click “Submit” to add the document, and repeat this process for all documents you would like to add to a class.
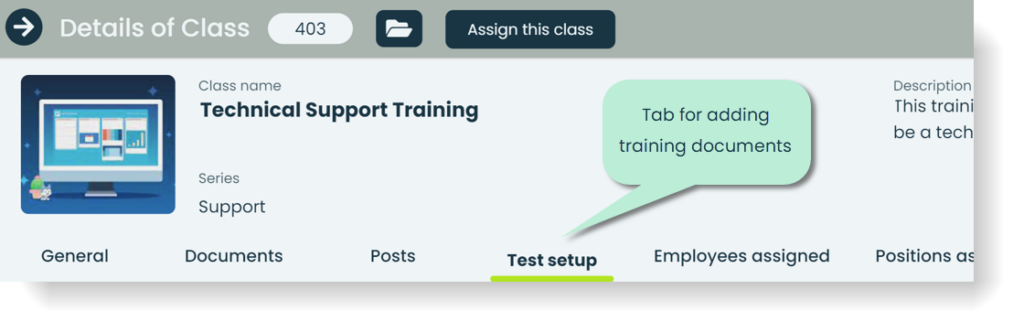
Step 4: Set up a Test
At the end of a training session, it’s common to have a test to evaluate the trainee’s ability to comprehend the subject material. To create a test for a class, go to the “Test Setup” tab.
Here, you will add:
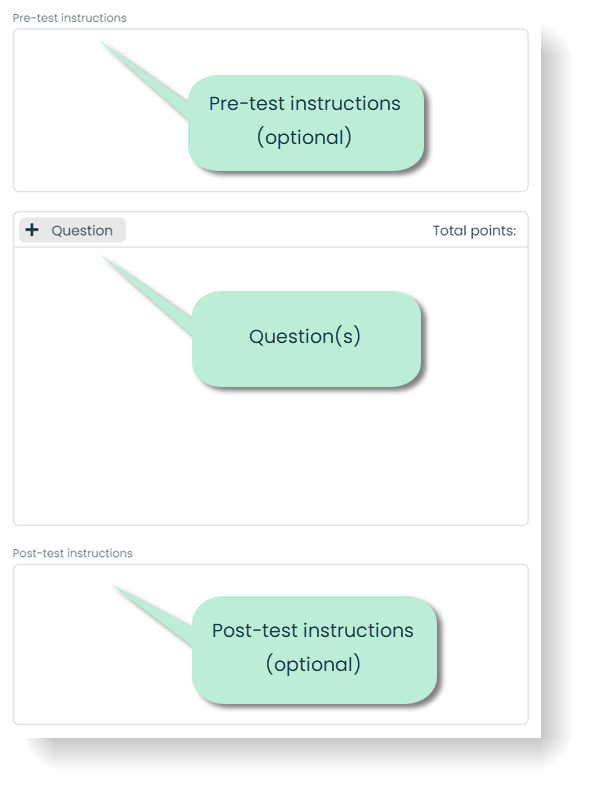
- Pre-test instructions (optional): Type any important instructions for before a trainee starts the assessment
- Question(s): These are what you’ll be creating as prompts for your trainee to answer
- Post-test instructions (optional): Type any important instructions for after a test has been completed (this can include requesting feedback from trainee for class improvements)
To add test questions, click on the “+ Question” button.

A popup will appear for customizing a new question:
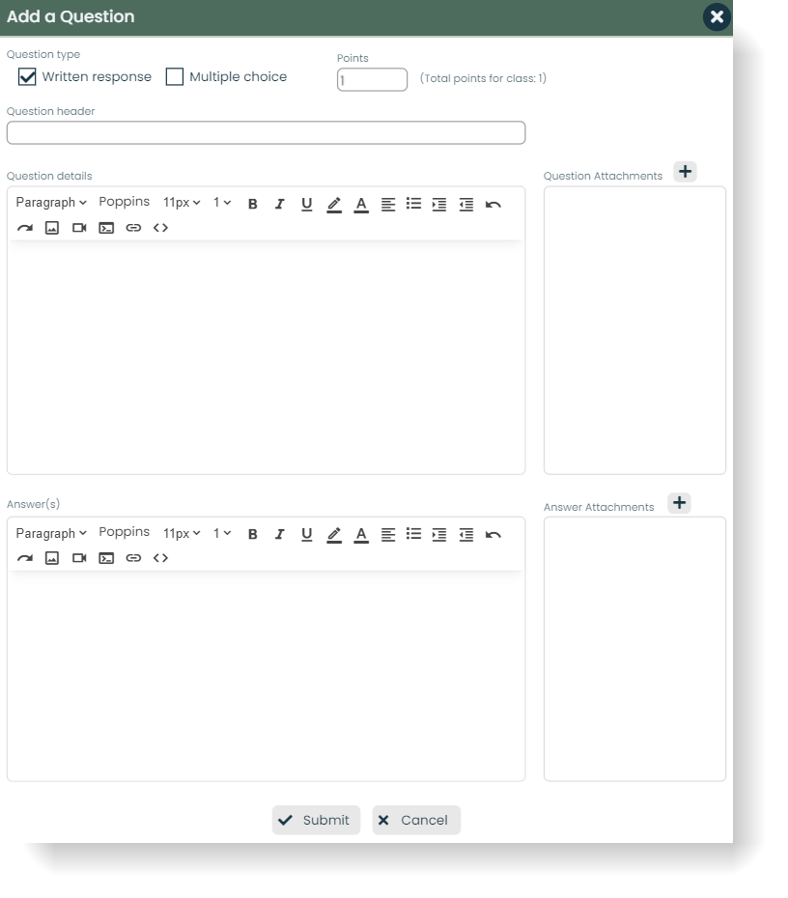
Question(s) can:
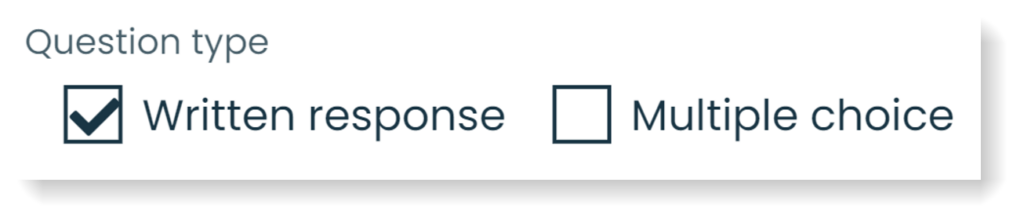
- Be formatted as either written responses or multiple choice
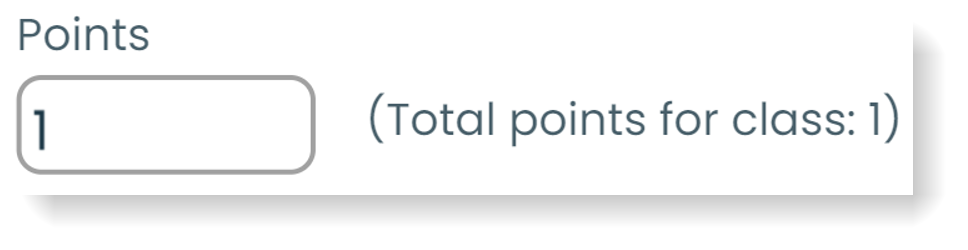
- Hold a point weight (1, 2, etc.) for more/less important questions
- Have a header which appears at the top of the question (commonly where the actual question will go, will appear in bold)

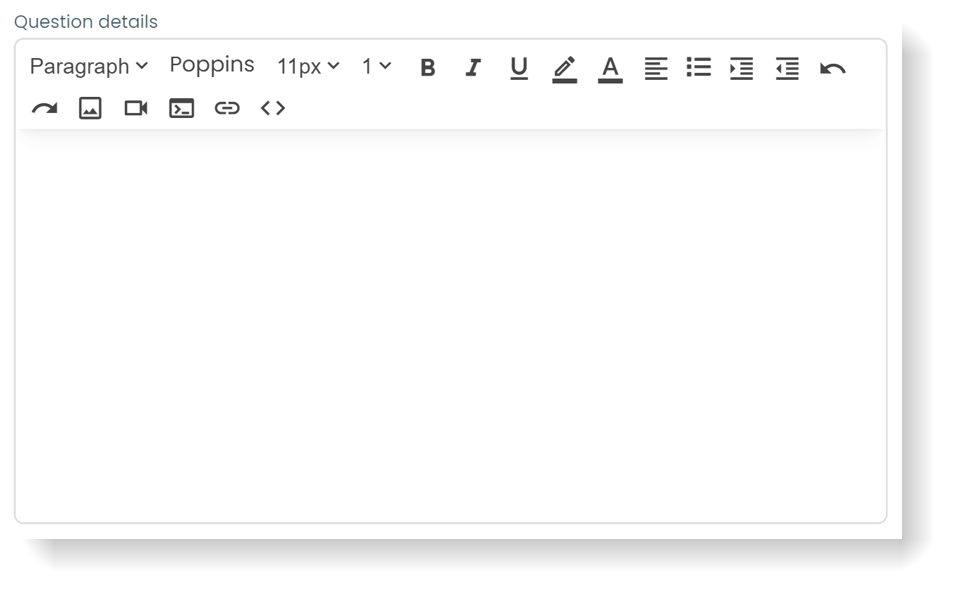
- Contain custom-formatted descriptions/answers with ability to attach images, video and audio for a richer learning and evaluation experience
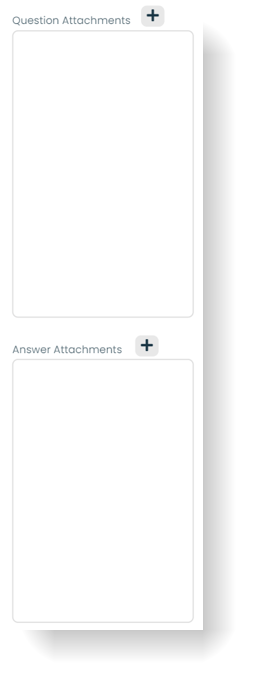
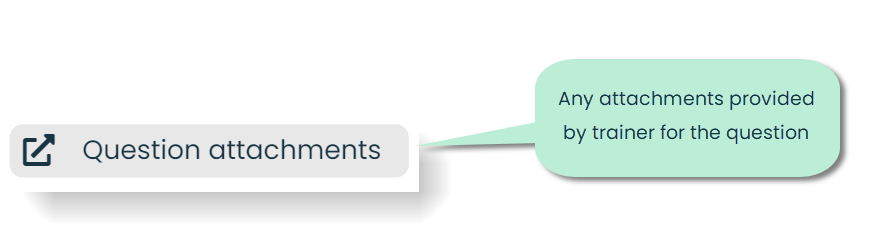
- Contain question and answer attachments as needed for completing/evaluating questions
Once you are done setting up your question, click “Submit”, and repeat this process for as many questions as you’d like.
Assigning classes
Once a class has been created, you can assign it to your team for them to start training. There are multiple ways of assigning classes:
- Employees tab (Typically for assigning classes to specific people)
- “Assign classes” from Employees screen
- “Assign” button from employee details screen
- Classes tab (Typically for assigning specific class/classes to employees)
- “Assign classes” from Classes screen
- “Assign this class” from class details screen
- Positions tab (add classes to a specific position’s curriculum)
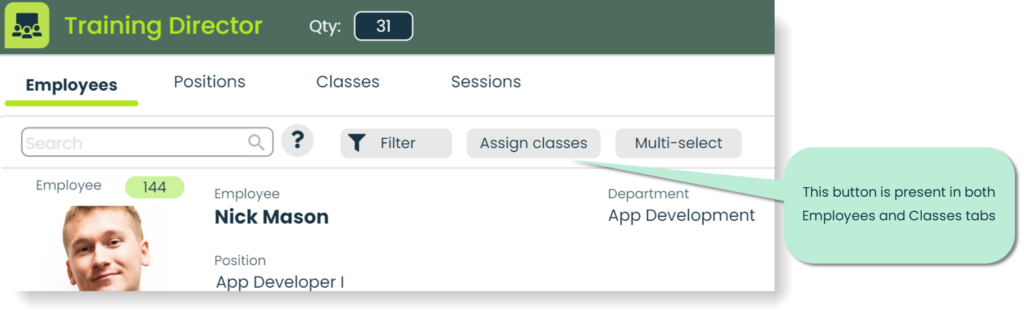
Note: You may have noticed that “Assign classes” is present in both the Employees and Classes tabs. This is because the same user resource function is called for both buttons. Both buttons will do the exact same thing, just from different spots. This simply allows for flexibility across the app. Let’s cover the “Assign Classes” method first:
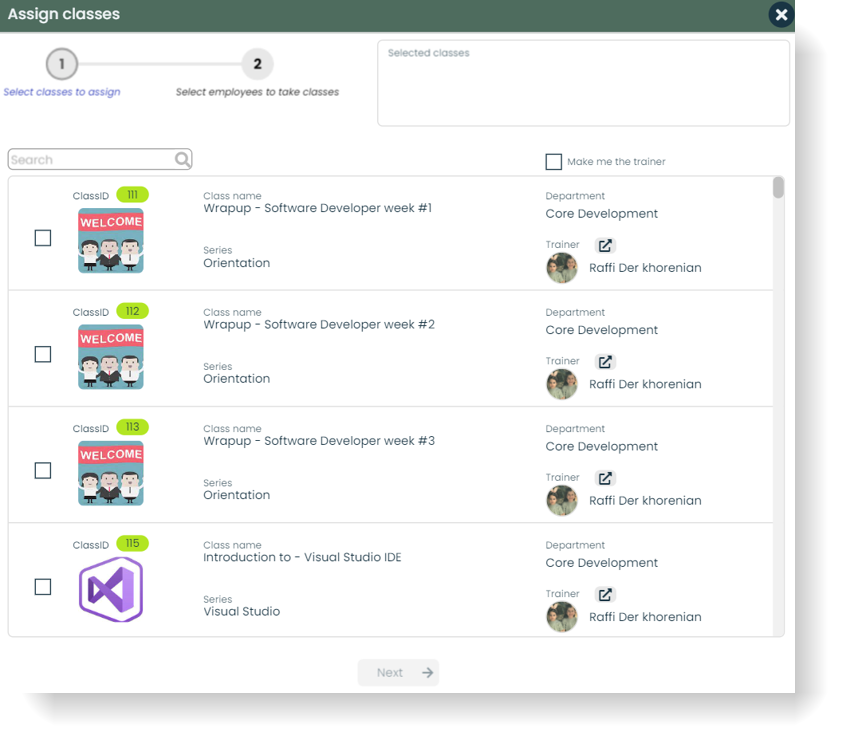
In either the Employees or Classes tab, select “Assign classes” to bring up a popup.
The two steps of this method of assigning are:
Select classes to assign: Select any classes to assign by using the search bar or scrolling through the list. Additionally, you can set whether or not you’d like be the trainer of the classes you are assigning (meaning you would be able to evaluate and provide feedback to trainee’s assessments).
Select employees to take classes: A full team roster will appear for you to select assignees. In this view there is a column which lists any selected classes that a particular employee has already been assigned. Here, you have the option of choosing to only assign the classes to employees that have not yet taken those classes. This is to help prevent any overlap of already-taken courses.
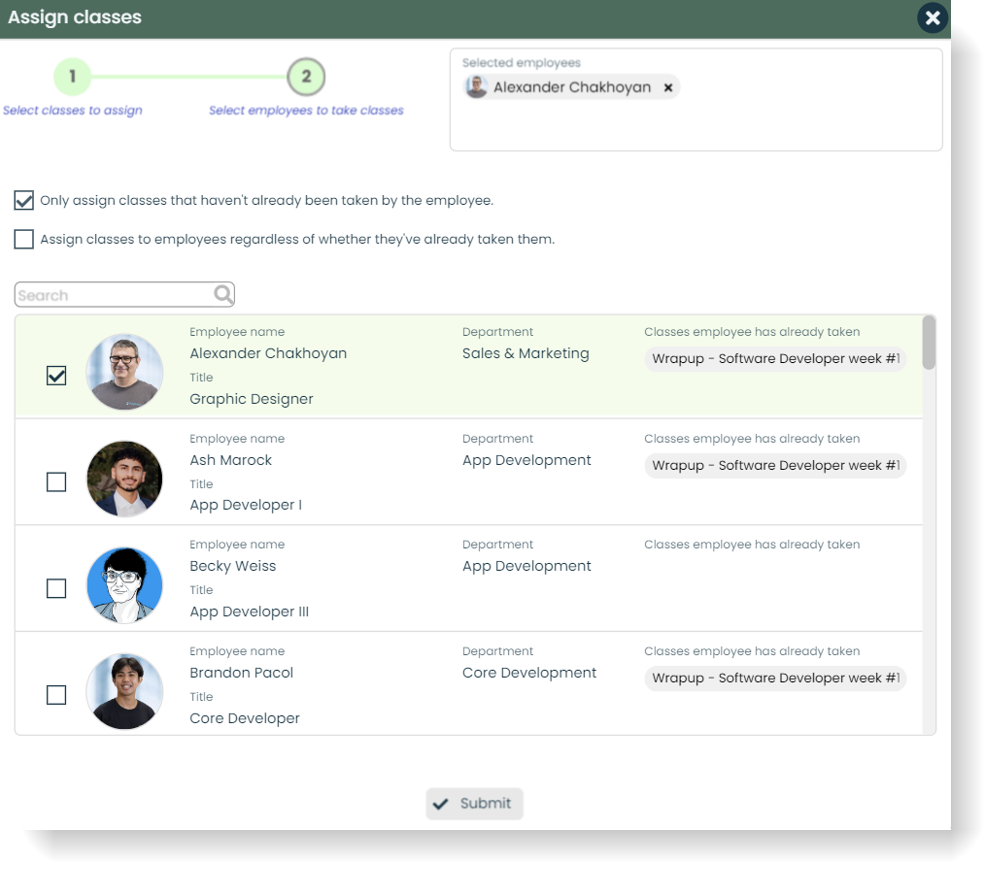
Once you have selected the appropriate classes and assignees, press “Submit” at the bottom of the screen to send out the training sessions.
Let’s now go over the other ways of assigning classes, starting with the Employees tab.
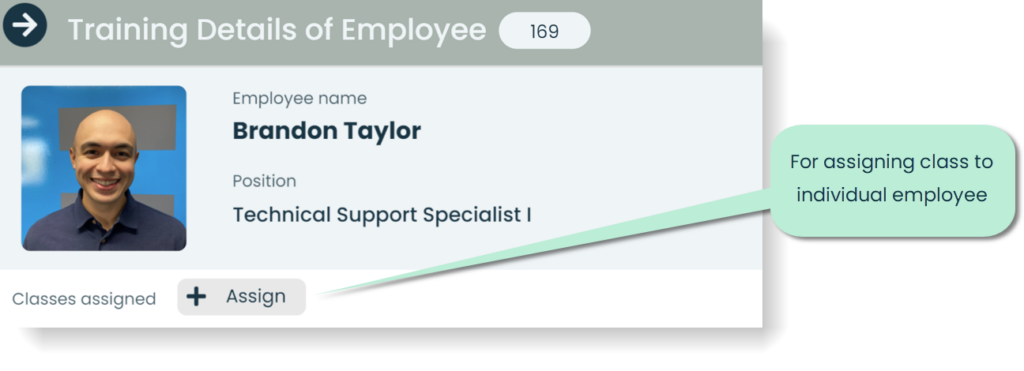
1) Employees tab:
In the Details page of a trainee of your choice (Employees tab, click on desired trainee), click the “Assign” button to bring up a screen for assigning classes.
That will bring up an “Assign Classes” screen:
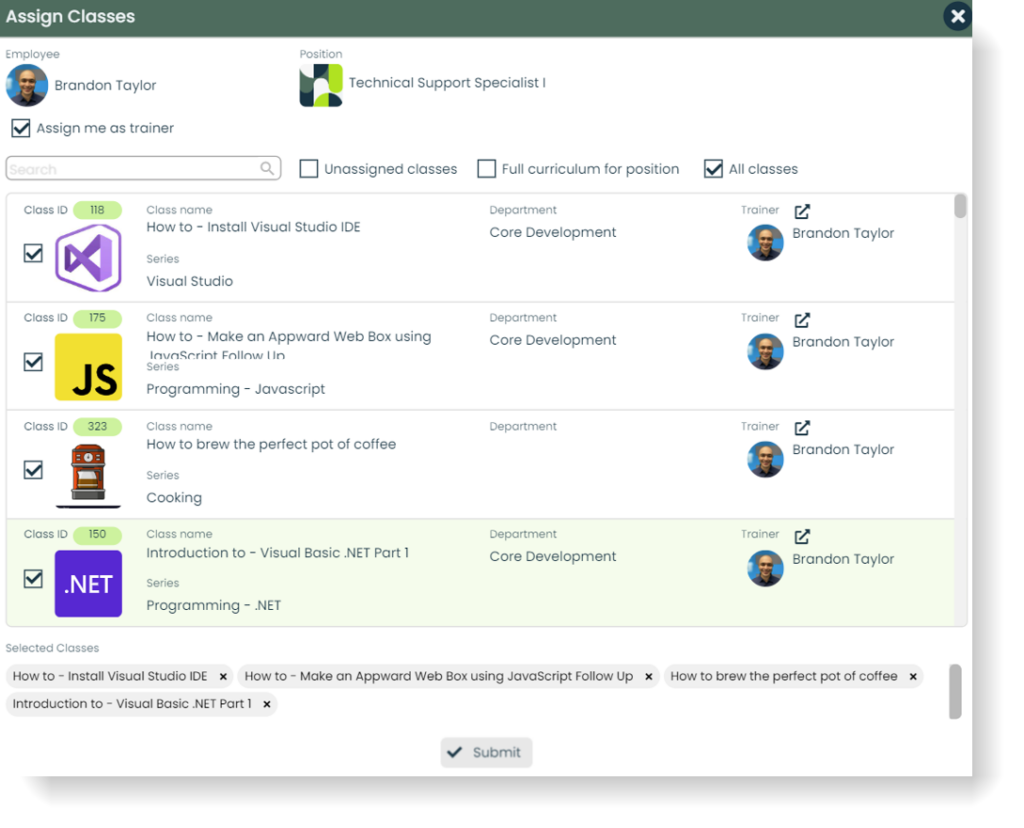
Search through the list of available classes from the following categories
- Unassigned classes: Classes that are a part of the employee’s curriculum but have not yet been assigned
- Full curriculum for position: A complete list of classes for the trainee’s position
- All classes: A full list of all active training classes in your database
Check the boxes next to the classes you want to assign to the trainee. Click “Submit” at the bottom of the popup to assign the selected classes.
2) Classes tab:
In the Details page of an individual class (Classes tab, click on desired class), click the “Assign this class” button to bring up a popup to assign classes.
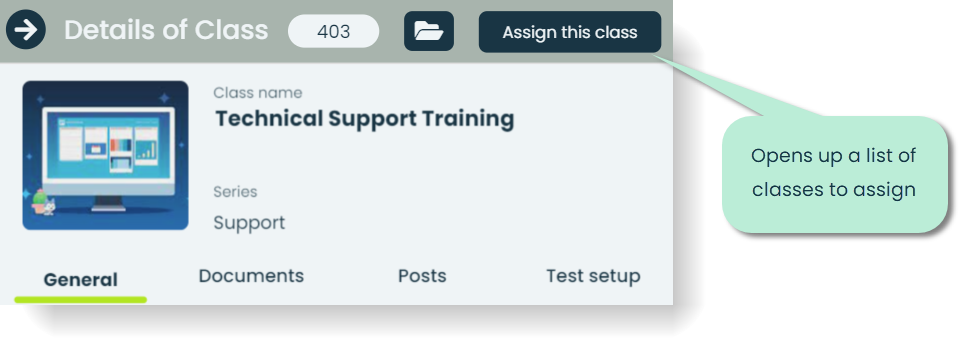
This is the SAME popup that you’ll see from “Assign classes” in Employees and Classes main screen. The only difference is that whatever class you are pressing “Assign this class” for will be pre-selected.
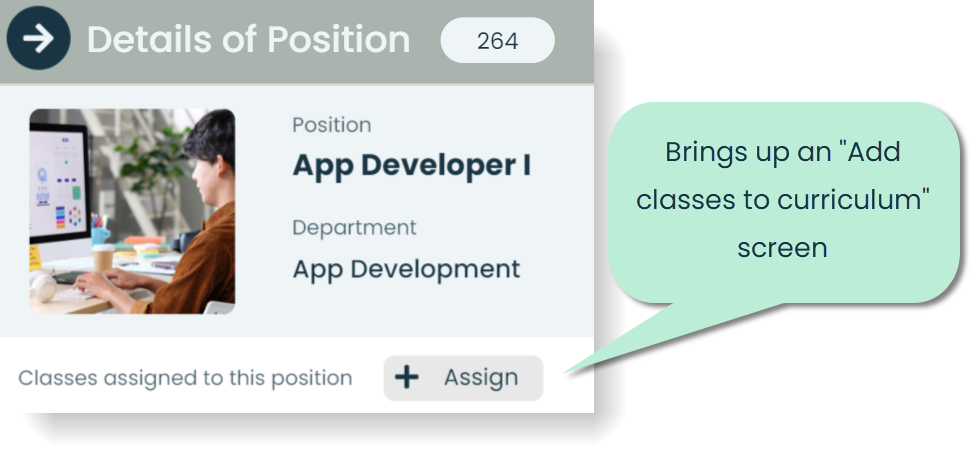
3) Positions tab:
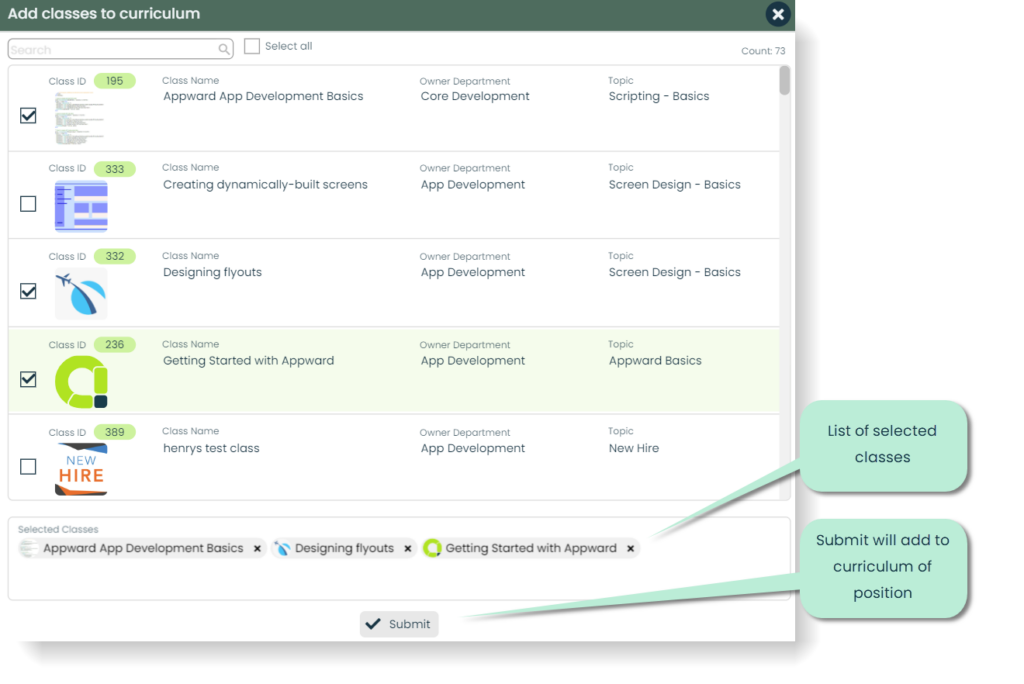
In the Details page of an individual position (Positions tab, click on desired position), click the “Assign” button to bring up a screen for adding classes to that position’s curriculum.
Select as many classes you would like to add, then click “Submit” at the bottom to assign the selected classes. These classes will now appear in the curriculums of all employees in that position and can be assigned via the Employees tab.
Evaluating training sessions
After an employee has finished a training class, it is time for an assigned trainer to evaluate that completed session. Evaluating training sessions is essential for gaining insight into your employees’ progress and the effectiveness of your classes, whether or not they include a test at the end.
There are two ways to evaluate completed training sessions:
- Employees tab (evaluate a particular employee’s training sessions)
- Sessions tab (usually through a notification) which uses searching/filtering to find a particular session(s)
1) Employees tab
From the Employees tab, select the employee whose training(s) you would like to grade. A flyout will appear listing all of that employee’s assigned classes. Each class will have one of four statuses: Pending, In Progress, Completed, or Evaluated.
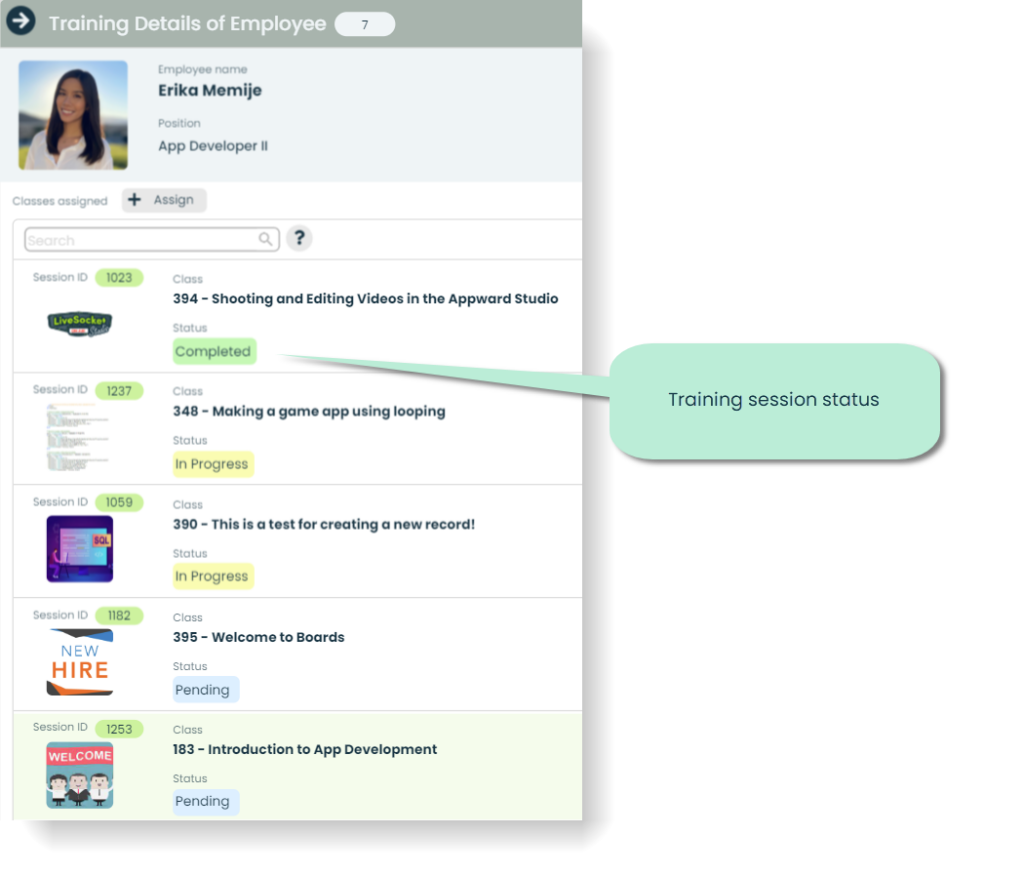
Pending indicates that the class has not yet been attempted by the employee.
In Progress means that the class has been started by the employee but has not yet been submitted.
Completed means that the employee has finished the class and an evaluation from a trainer is pending.
Evaluated means that a class has been completed by the employee and evaluated by a trainer.
Sessions that are “In Progress” or “Completed” are open for evaluation by a trainer. A good use of evaluation during the “In Progress” stage could be for employees who have exceeded a certain time limit. However, most of the time, the classes that will be graded are those that are marked “Completed”.
Note: For classes with no test, completed training sessions will default to “Evaluated” with a grade of 100%. Any evaluated course, including these, can have their results re-evaluated by a trainer by clicking “Edit results” in the session’s details.
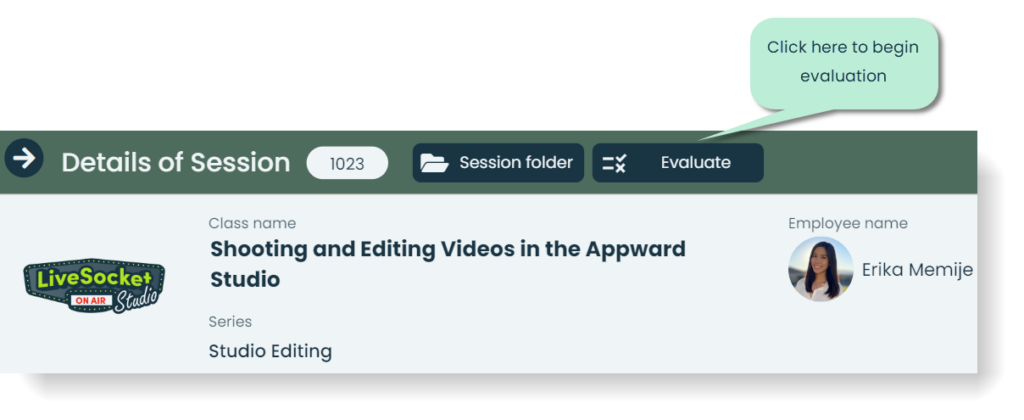
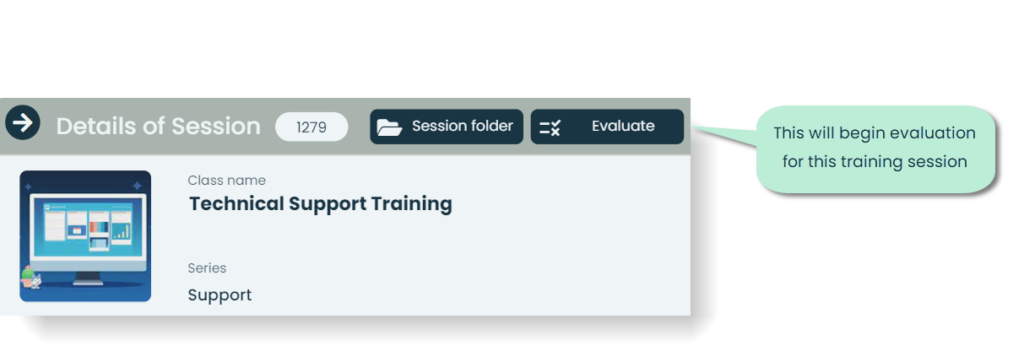
Select a training session marked “In Progress” or “Completed” that you would like to evaluate. A flyout will appear of that session’s details. In the header of the screen, click the “Evaluate” button to begin evaluating that session.
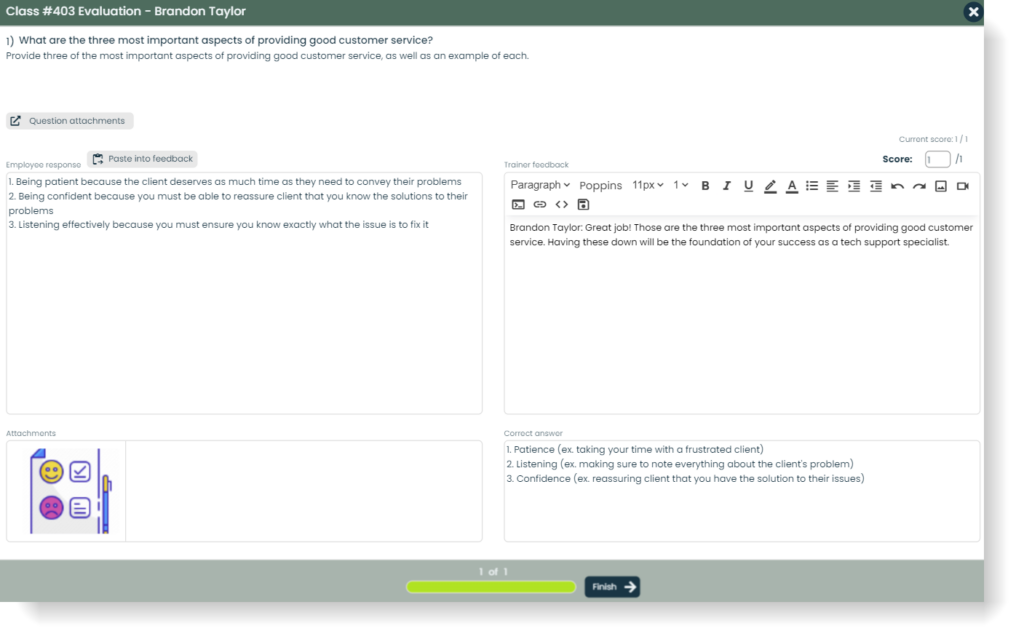
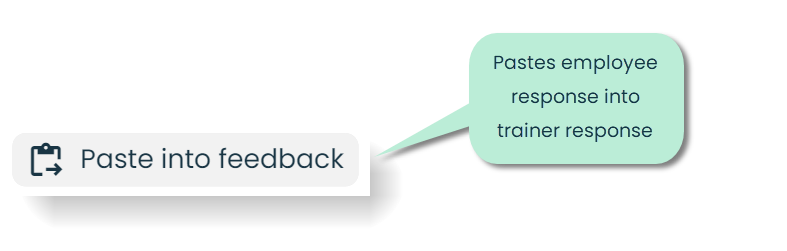
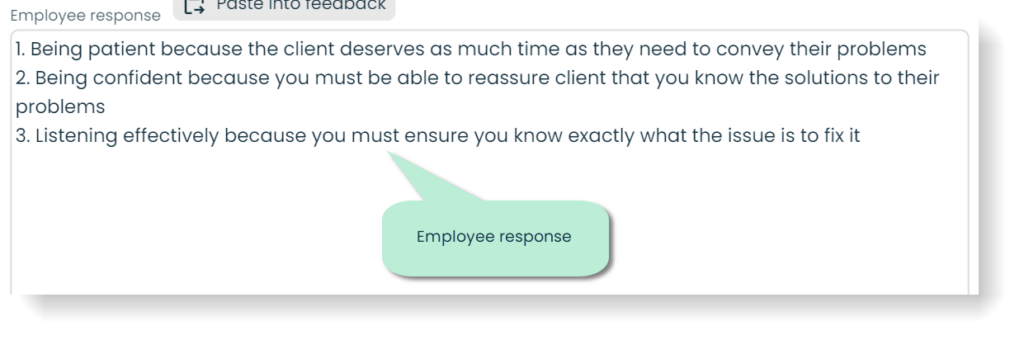
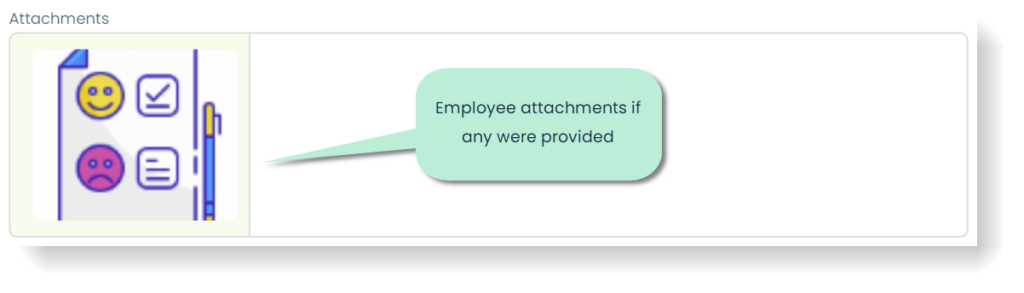
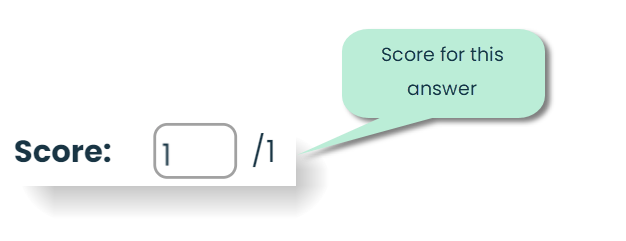
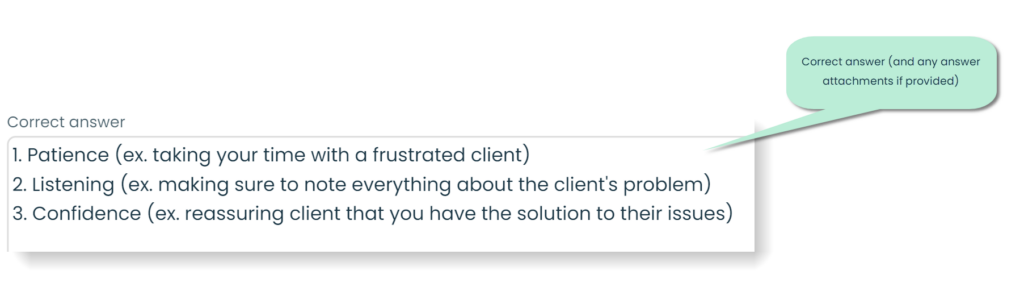
Once you click “Evaluate”, a screen will appear which displays the class number and the name of the employee in the header. Below that will be the first question of the test, as well as the employee’s response to that question and any attachments that the employee has provided. To the right of that is a box labeled “Trainer Feedback” which you can use to type your response to their answer (any comments/constructive feedback for the employee). If an answer has been configured for a written-response question in “Test Setup” , it will appear in the “Correct answer” box to use as a reference for grading. Finally, fill out the box labeled “Score” in the top right corner with the number of points you’d like to give for a given response.
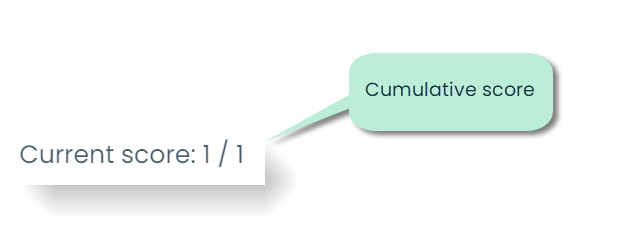
Repeat this process for all employee responses, then click “Finish”. The final screen will be a place to change the final score if need be and overall feedback of the training. You can click “Complete Evaluation” to change the status of the training session to “Evaluated” and notify the trainee or “Save & Exit” to save the current state of the training results for finishing/notifying the trainee at a later time.
2) Sessions tab
Evaluating through the Sessions tab commonly takes place via opening a completed session from a notification. Once a trainee has completed a training, all assigned trainers will receive a notification through which they can go straight to that training session via an external link.
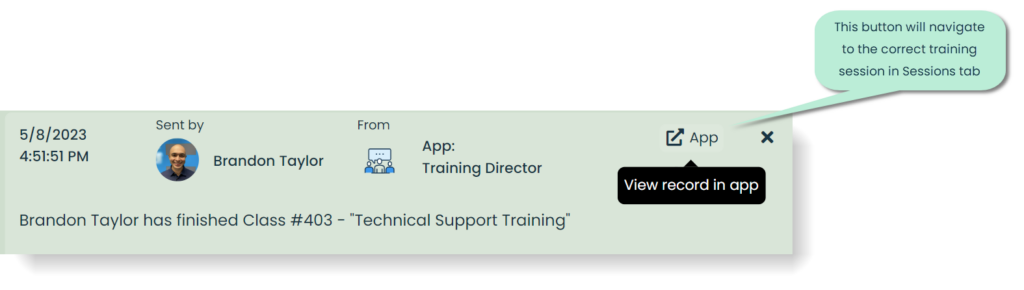
This will open training director to the sessions tab with the correct session from the notification. Because only one session will appear, the details of that session will appear. From here, the process for evaluating the training are the same as evaluating from the Employees tab. Click “Evaluate” to begin evaluation of each question, then either click “Complete Evaluation” or “Save & Exit”.
Glossary
A training session refers to a unique instance of an employee taking a specific course. Each time an employee begins a course, a new session is created for that employee, allowing them to track their progress through the course and for the app to keep record of their results. This is useful because it allows managers and trainers to see how individual employees are progressing through their training and identify any areas where additional support may be needed. For example, if an employee is taking a course on workplace safety, each time they begin the course, a new session is created for them. As they progress through the course, their progress is tracked within that session, allowing the manager or trainer to see how far along they are and how well they are performing. This is different from a CLASS session which is a unique instance of a class.