Table of contents
Getting Started with Labor Tracking
Thursday May 23, 2024-11 min readIntroduction
Appward’s Labor Tracking app offers a comprehensive solution for monitoring employee productivity. Easily track work hours, compare estimates with actual time spent, and generate customizable reports for insightful labor metrics. With full transparency, ensure tasks are allocated effectively, promoting efficiency and productivity across the board.
Let’s get started
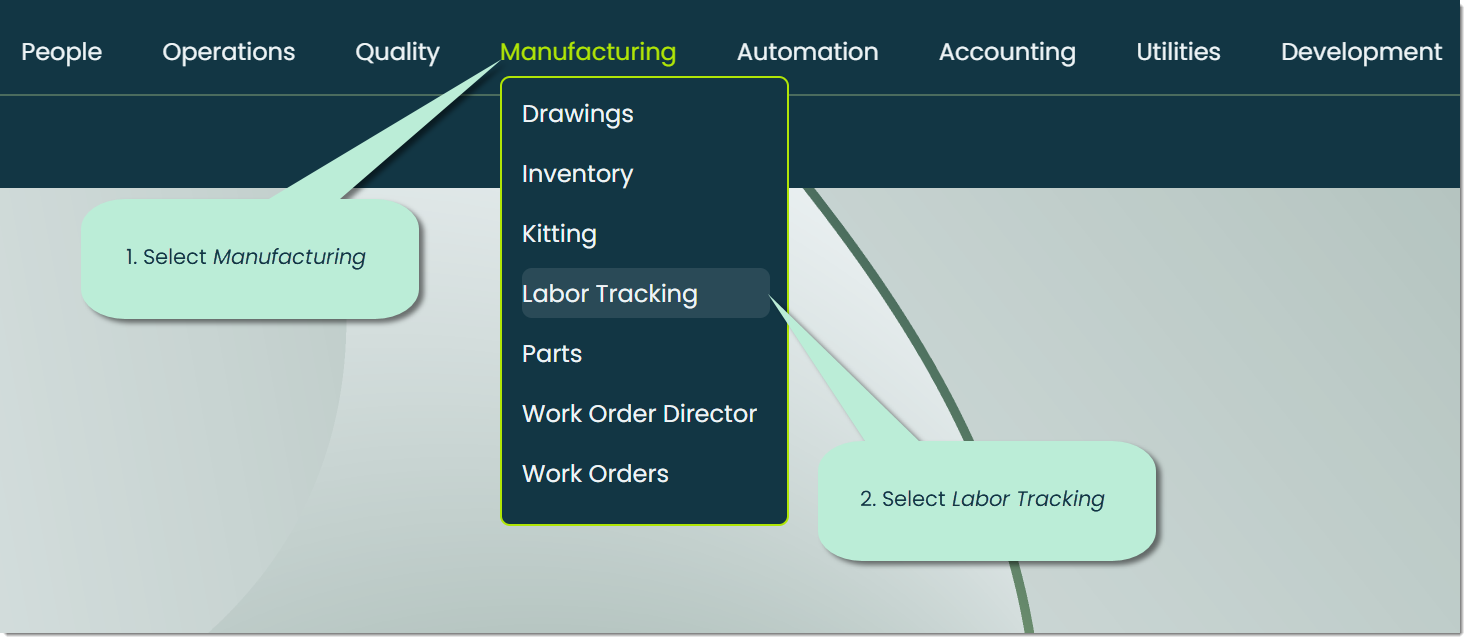
To open the Labor Tracking app, go to the Manufacturing category of the main navigation bar and select Labor Tracking.
When you open the app, the first thing you’ll see is the Labor Entry tab, which will serve as the main hub for tracking time spent on labor.
Note: The functionality of this app relies on data from other applications, such as the Employees app. If you haven’t set up any employee profiles yet, you won’t be able to begin using Labor Tracking.
Let’s go over each of the tabs from left to right.
Labor Entry – This tab is where you can begin the process of accurately tracking the time an employee spends on a labor task.

Allocations – The Allocations tab is where you can view a list of submitted labor entries.

Insights – This tab is used to provide an analysis of your organization’s labor data. You can configure highly-customizable queries that give you a full picture of measurable components such as employee time spent on specific projects.

How to add a labor entry
There are five steps to creating a labor entry, let’s go over them.
Step 1: Employee
The first step of the labor entry process is to select an employee from a list directly imported from your organization’s Employees app.
On the left side of this list, you’ll find a convenient sorting feature for your employees. A highlighted letter signifies the presence of an employee whose first name begins with that letter. Conversely, a greyed-out letter indicates the absence of employees with names starting with that letter in the list.
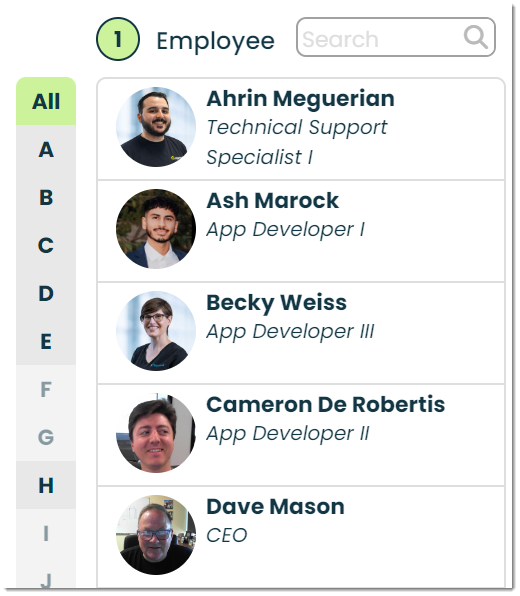
To select an employee, simply click on the employees name in the list. This will highlight them and make step 2 available.

Step 2: Project
The second step is to select a project that will be associated with the selected employee who is adding a labor entry.
To choose a project, simply search for the desired project and select it from the list of options available.
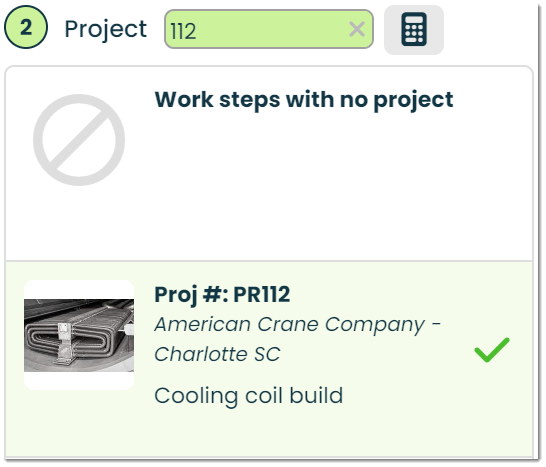
The Labor Tracking app features many tablet and mobile friendly features. We’ll cover them throughout this guide.
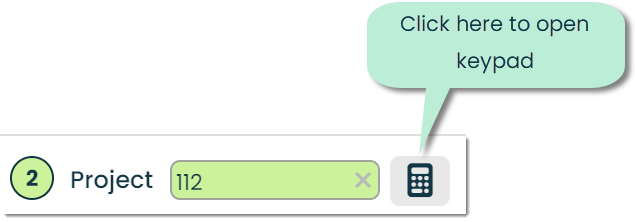
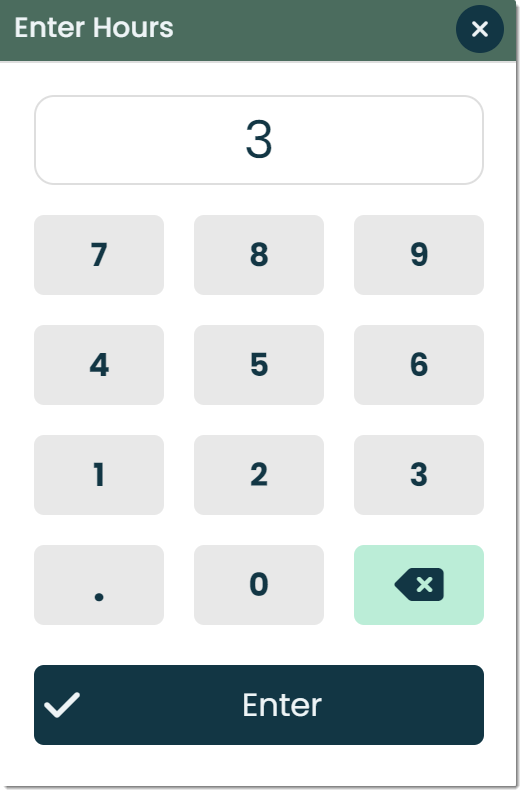
Searching with keypad – When using a tablet or handheld device, you can search records more conveniently by using a keypad instead of a traditional keyboard. Simply click on the keypad icon to enable this feature.
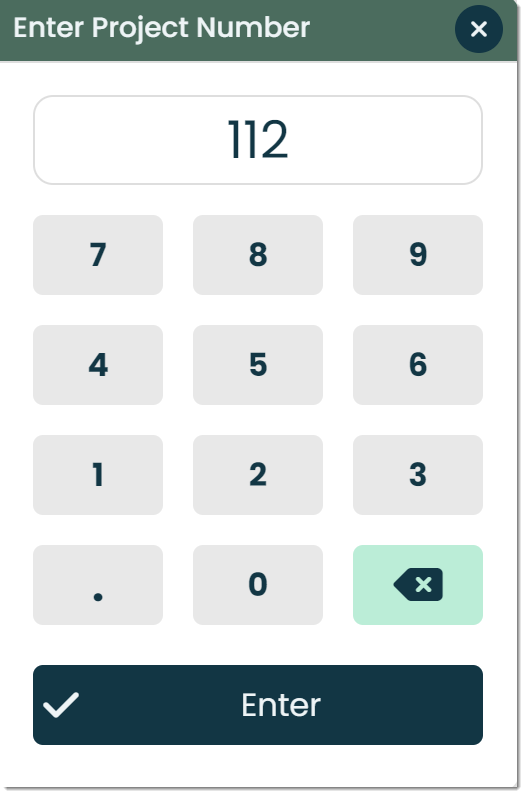
This will bring up the Enter Project Number popup, where you can use the tablet-friendly keypad to search for a project.
Step 3: Subassembly
After selecting the project you’d like to track labor on, you have the option of selecting a subassembly of the project.
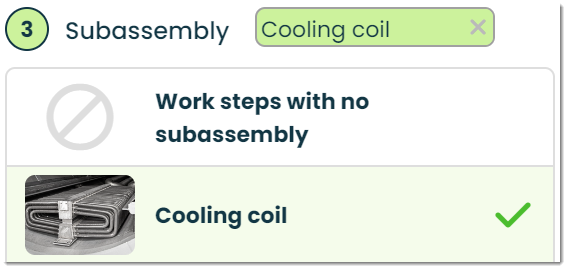
If there are no subassemblies associated with the specific labor you are trying to track, select the Work steps with no subassembly option.

Step 4: Actions
Narrowing it down even further, step 4 is where you can select specific actions related to a project & subassembly.
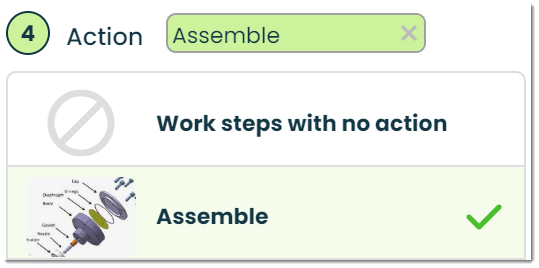
You can also select the Work steps with no action option if you wish to look for a work step (in step 5) that has no actions.

Step 5: Step
In step 5, you can select the specific step in relation to the subassembly selected that will be worked on.
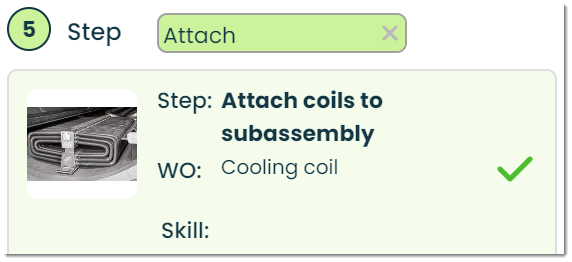
This list provides you with the name of the step , the specific work order, and the required skills to complete the step.
Step 6: Enter hours spent
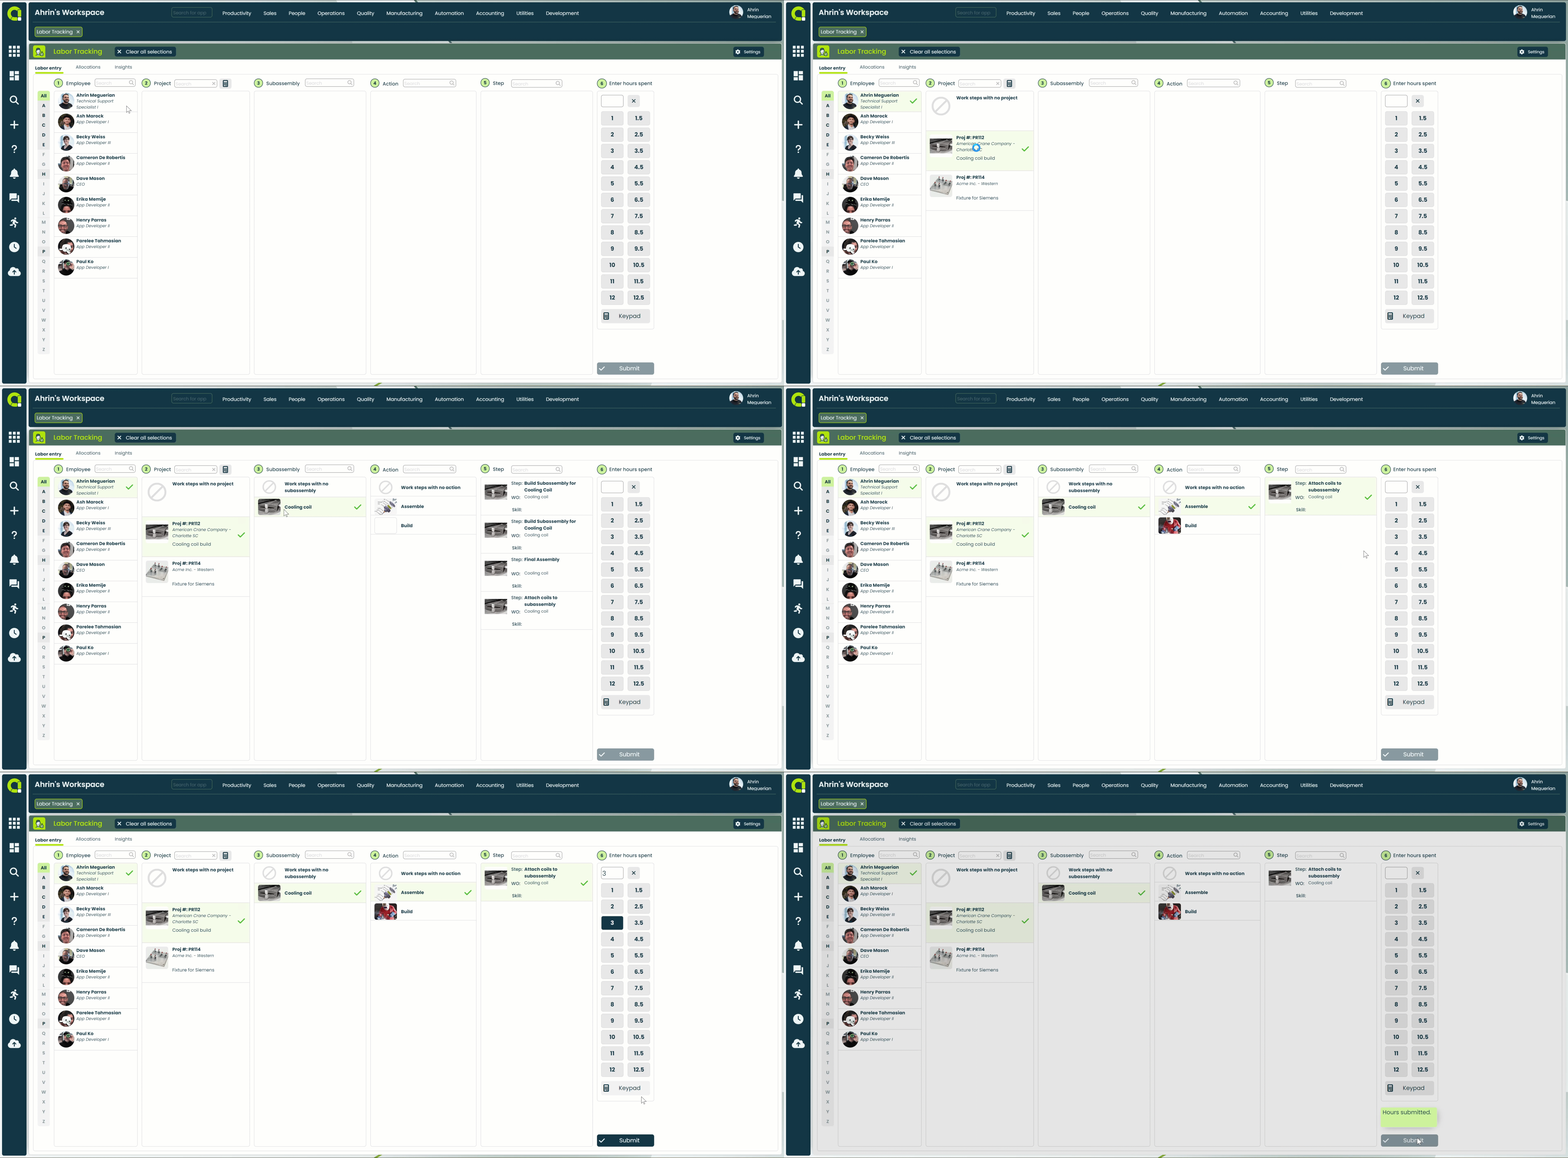
The last step of the labor tracking process is to enter the hours spent. You can use the tablet friendly keypad-style buttons to enter in the hours spent on the labor task, or use text entry by typing in the value yourself.
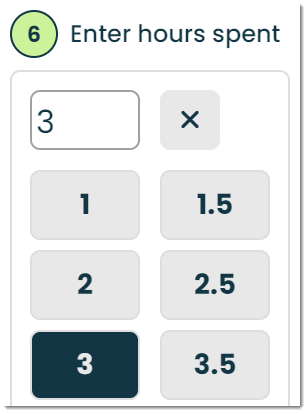
Similar to step 2 where we went over how to search for projects using a keypad, you can enter in the hours spent on a labor task by using the keypad found in step 6.
When you’re ready to submit, simply click on the submit button to create your labor entry.

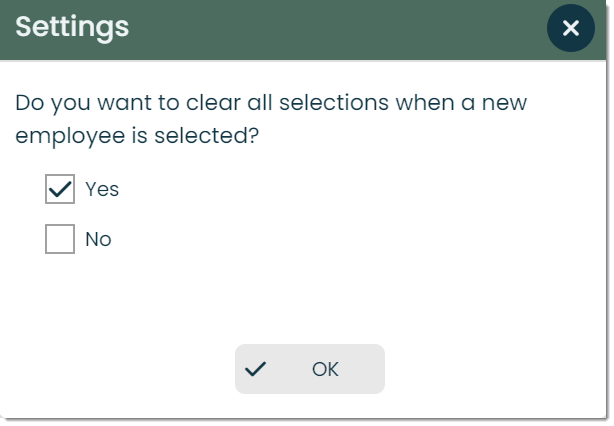
Additional settings – To access additional settings, click on the settings button found in the top right corner of the app screen. This will bring up the Settings popup, where you can decide if you’d like to clear the screen when a new employee is selected. This is especially helpful when multiple employees need to use the same device to track their labor.

Viewing allocations
To view a list of your organization’s created labor entries, navigate to the Allocations tab. Let’s cover what’s available here.

Allocation ID – A unique identifier assigned to each labor allocation.
Total count – The total number of hours of labor entries in the list.

Name – The name, title, and image of the employee associated with the labor allocation.

Duration – The length of time or duration of the labor allocation.

Start date –The date when the labor allocation begins.

End date – The date when the labor allocation ends.

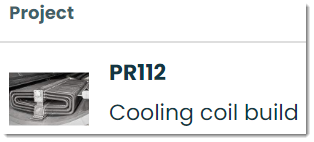
Project – The project to which the labor allocation is assigned.
Customer – The customer company associated with the labor allocation. This customer is assigned during the creation of the projects record.
Work order – The work order associated with the labor allocation..
Work order step – The particular step of the work order corresponding to the labor allocation.
Frontline features of Labor Tracking
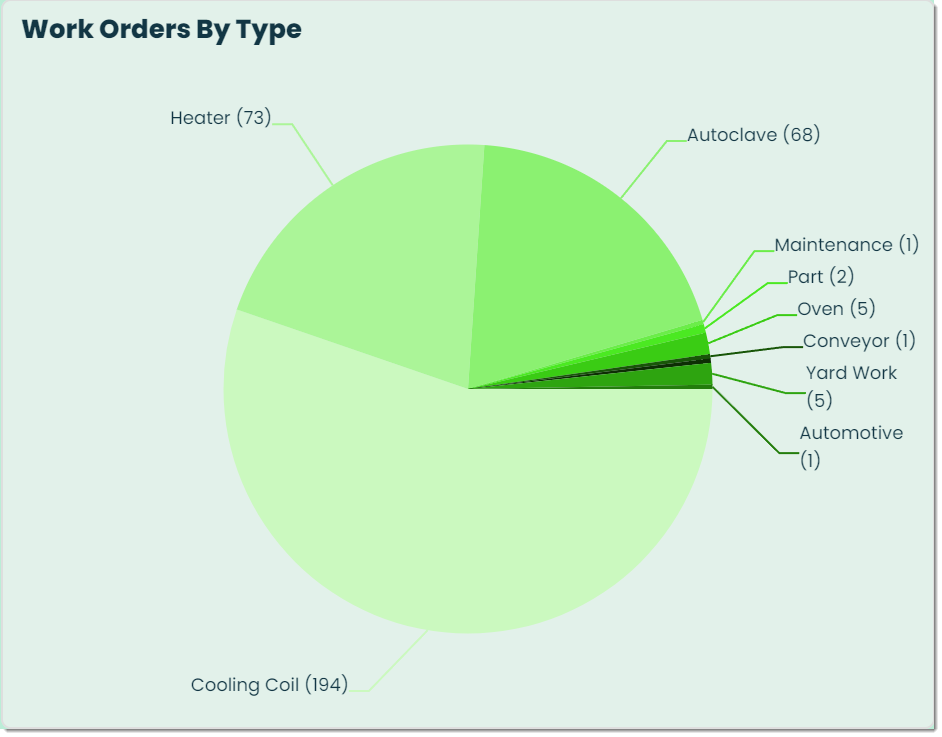
Insights – This tab is used to analyze data from your organization’s labor allocations. Using Insights, you have the opportunity to uncover and make use of valuable information related to labor types, statuses, actions and more. For more on Insights, please check out our Getting Started with Insights guide.
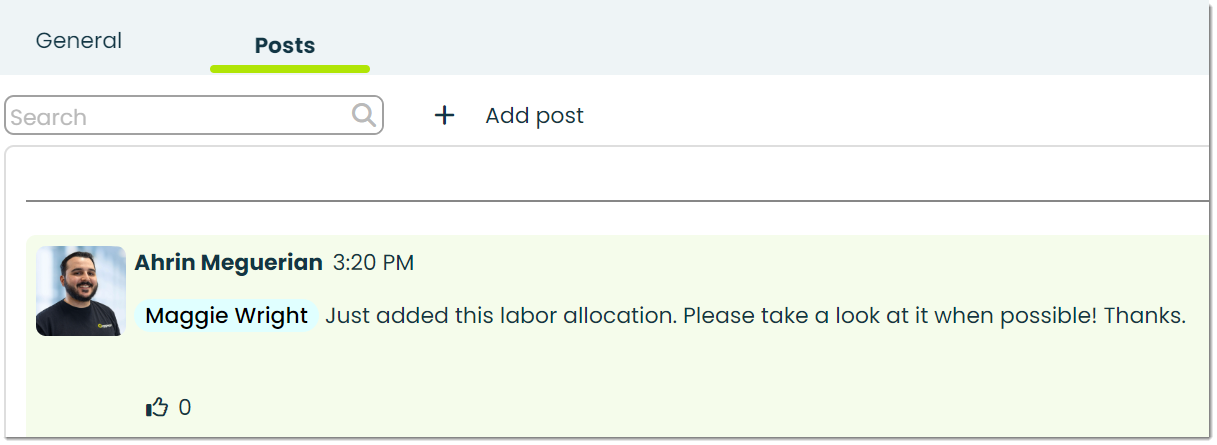
Posts – In Appward, a post is a comment that can be liked or replied to directly by other members of your organization. Within Labor Tracking, a common way of using posts is to write to management or other team members with comments or notes regarding a task.
