Table of contents
Getting Started with Companies
Thursday October 5, 2023-20 min readIntroduction
The Companies app is a valuable tool for organizing your organization’s business relationships when working with external partners, clients or suppliers. This guide will cover how to add, view and edit a company, as well as how to qualify a company as a vendor/customer and use the Frontline Features of companies.
Let’s get started
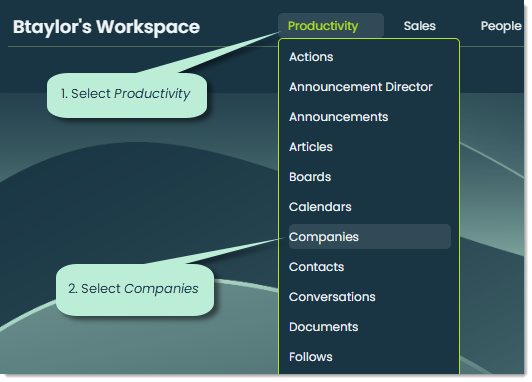
To open the Companies app, go to the Productivity category of the main navigation bar and select Companies.
When you open the app, you’ll see a list of all the companies that have been added to your organization’s database. The list is sorted by most-recently added companies.
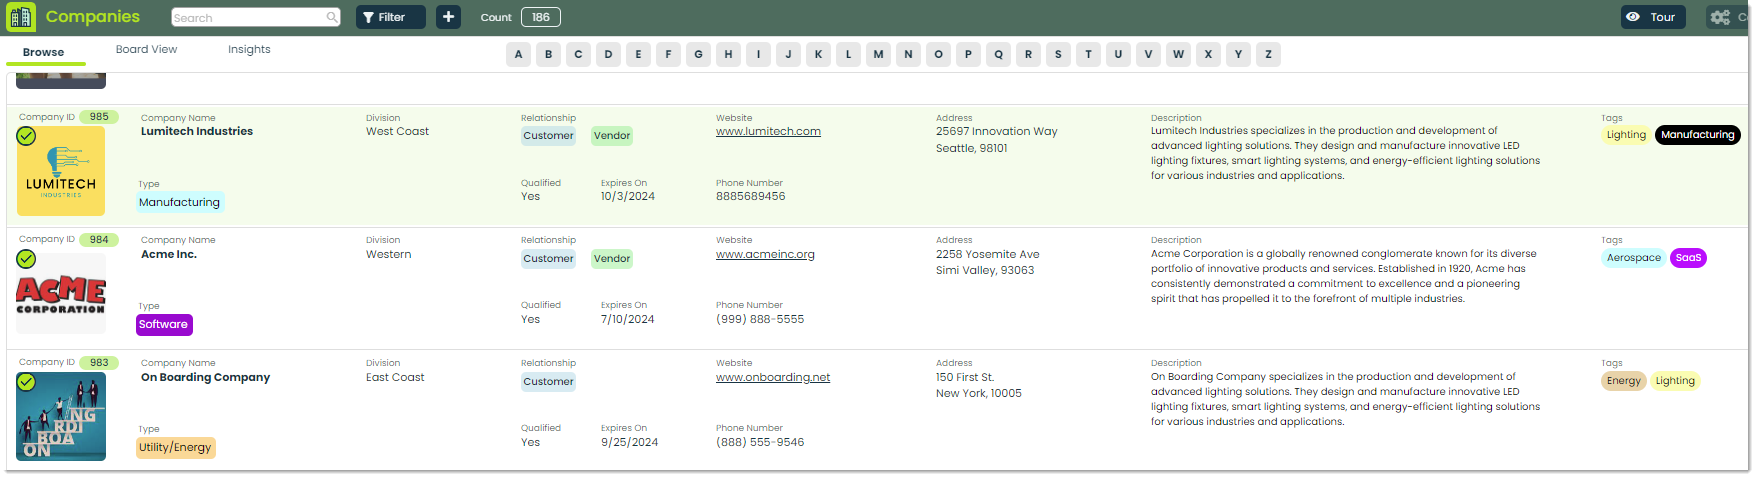
Let’s go over each tab:
1. Browse – This is the default tab when opening the app. It contains a list of all the companies that have been added to your organization’s database. This list is sorted by most-recently added companies.
2. Board view – This tab provides a Kanban visual of the same information from the Browse tab. Each list represents a different company type. This is a great way to visualize the different types of businesses that your organization has dealings with.

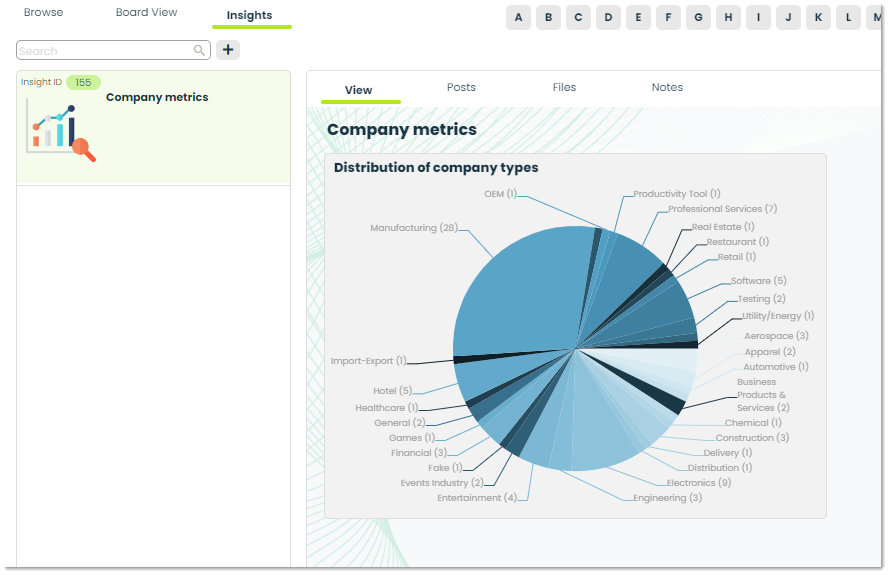
3. Insights – This tab is used to analyze company data. You can configure highly-customizable SQL queries for gaining valuable, measurable components of your companies such as revenue generated or retention rate of customer companies and supplier performance for vendor companies.
Finally, let’s go over a cool feature you can use to filter for companies by letter:

These are clickable buttons found at the top of the screen so that you can quickly pull up the company you’re looking for. For example, clicking on L will bring up all companies beginning with the letter L.
How to add a new company
To add a new company, click the + button at the top of the screen.

Doing so will open a popup for adding in all relevant company information. Let’s go over each step of the process, starting with Company Details.
1. Company Details
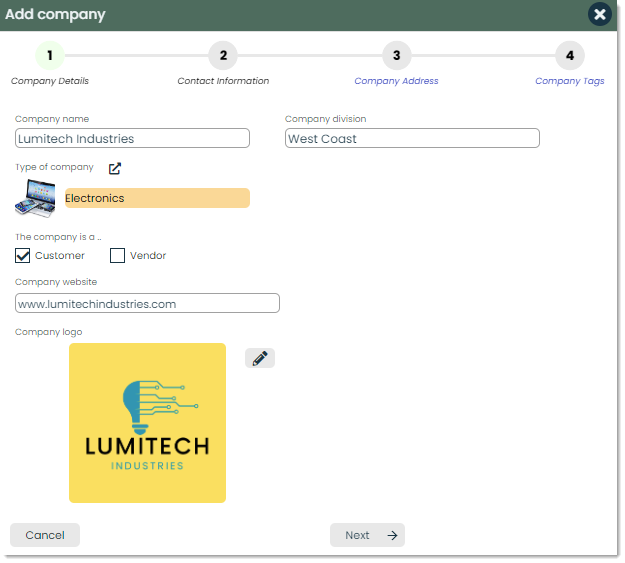
Company name – The name of the company goes here.

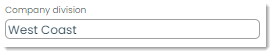
Company division – If the company belongs to a specific division, you can indicate that with a company division.
Type of company – A company can be categorized into a type. You can either make a selection from the existing types or add a new type.

Customer/Vendor – These checkboxes can be used to indicate whether the company in relation to your organization is a customer, vendor or both.

Company website – If the company has a website, you can indicate that here.

Company logo – For a better visual representation of the company, you can add in a logo from either your computer or the Appward file explorer.
![]()
2. Contact Information
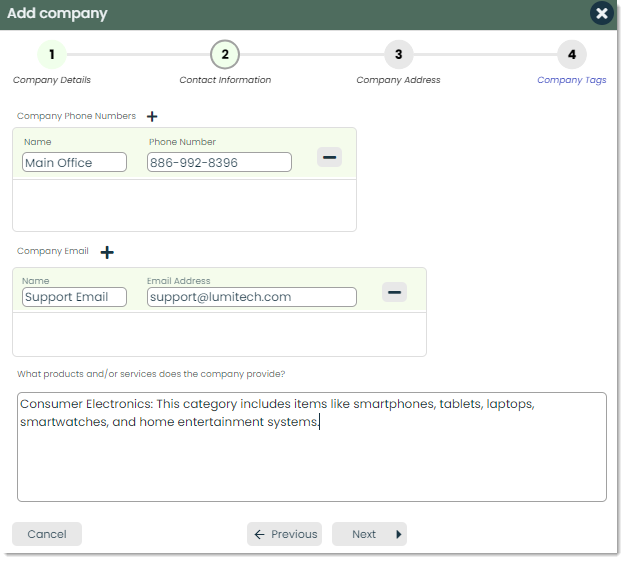
Company Phone Numbers – Phone numbers can be added to a company by inputting the name of the phone number (Main, Work, Mobile, etc.) and the number itself. You can add as many phone numbers as desired with the + button next to Company Phone Numbers or remove any by clicking the – button next to the number you want to delete.

Company Email – Emails can be added with the same process as adding in phone numbers. You can add as many emails as desired.

Products and/or services of company – For more context into the company, you can include the products and services that they provide with this section.

3. Company Address
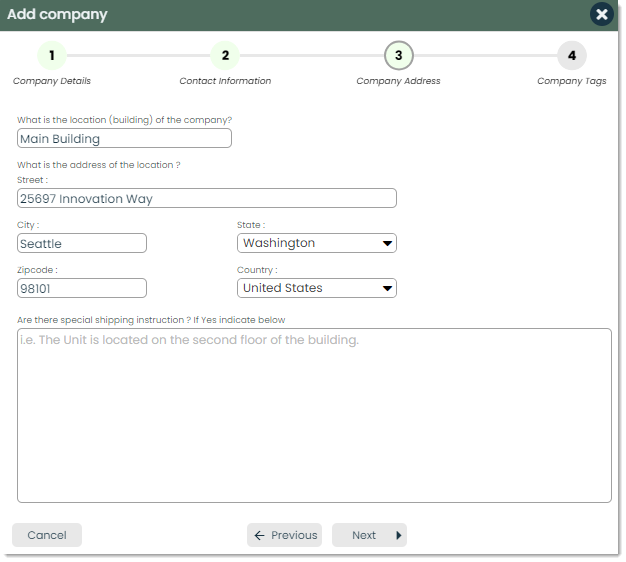
Location (building) of company – This is the name of the location such as Main Building or Second Office.

Address of location – Here is where you’d input the address of the location.

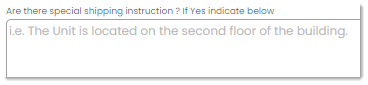
Special shipping instructions – If there are any special shipping instructions associated with this location, you can indicate that here.
4. Company Tags
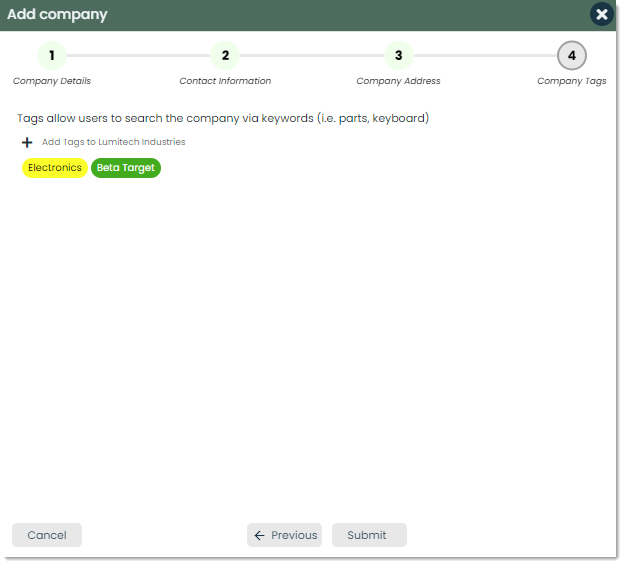
Add tags – You can specify company tags to categorize the company for better organization and searchability.
Click the Submit button at the bottom of the Add company popup to add the new company.
How to view and edit a company’s details
Once a company has been created, you can view its details by clicking on it from the Browse or Board View tabs. A flyout will appear where you’ll be able to modify the different fields of the company.
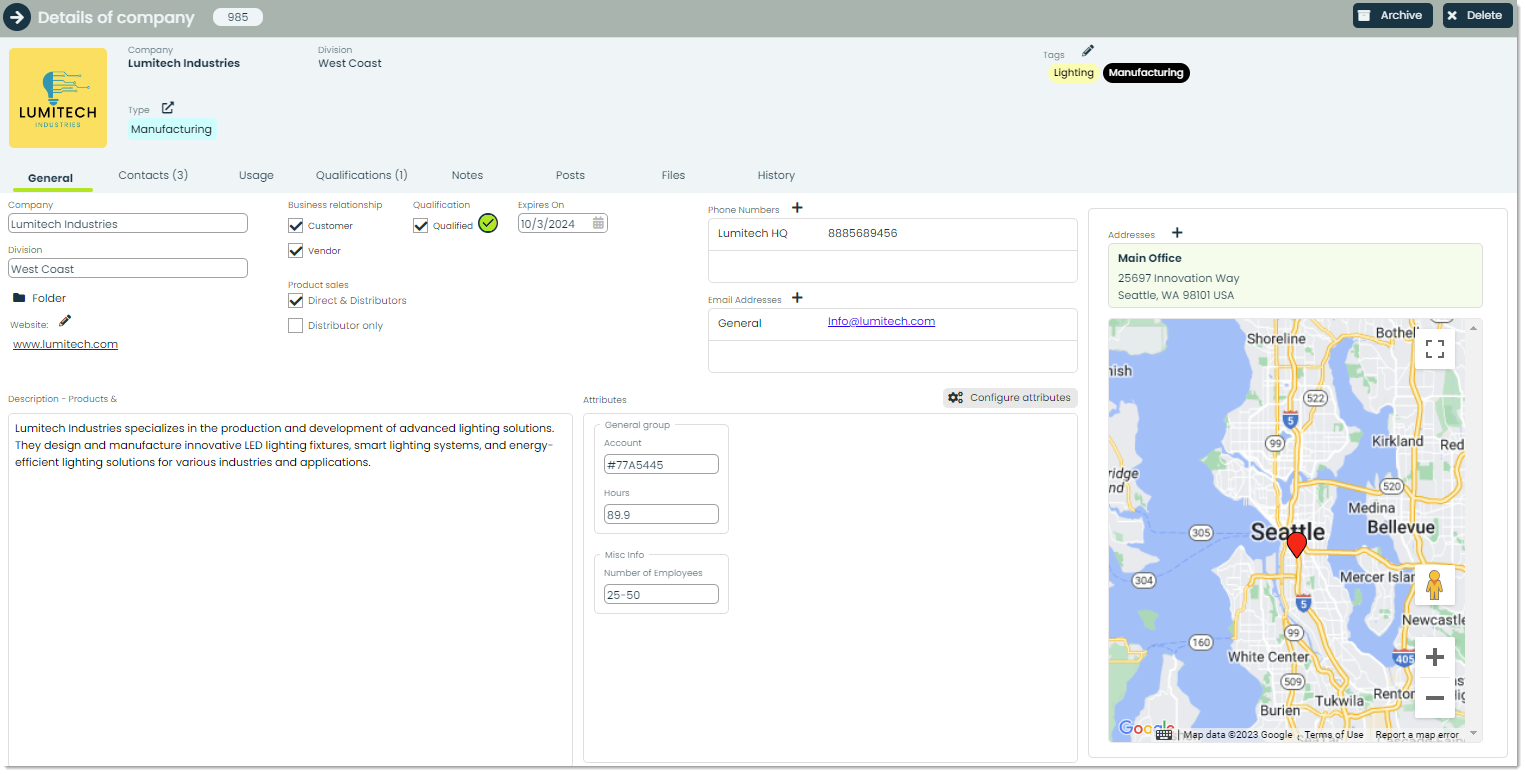
Let’s go over the additional fields of this detail page.
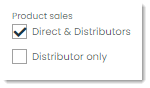
Product sales – Direct & Distributors implies that a company employs a mixed distribution strategy, combining direct sales channels with third-party distributors to reach different customer segments or markets. On the other hand, Distributor only means that the company relies exclusively on distributors to sell and distribute its products, without engaging in direct sales to end customers. The choice between these models depends on the company’s strategic goals, target market, and distribution capabilities.
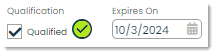
Qualification and Expiration – Depending on your relationship with the company, you could require a qualification process to work with them as a customer and/or vendor. You can indicate whether the company is qualified with the checkbox, as well as indicate how long that qualification is good for.
Attributes – If you want to add in a specific piece or pieces of information for a company but there isn’t a proper field to input that information, you can create your own fields with Attributes.

Click the Configure attributes button and you can create a group of fields by app, company type or by record.
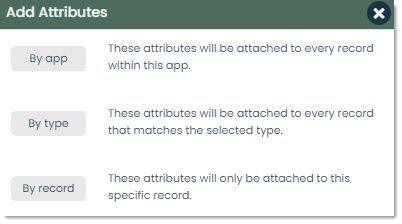
For more on adding attributes to a record, check out our article on Using Attributes.
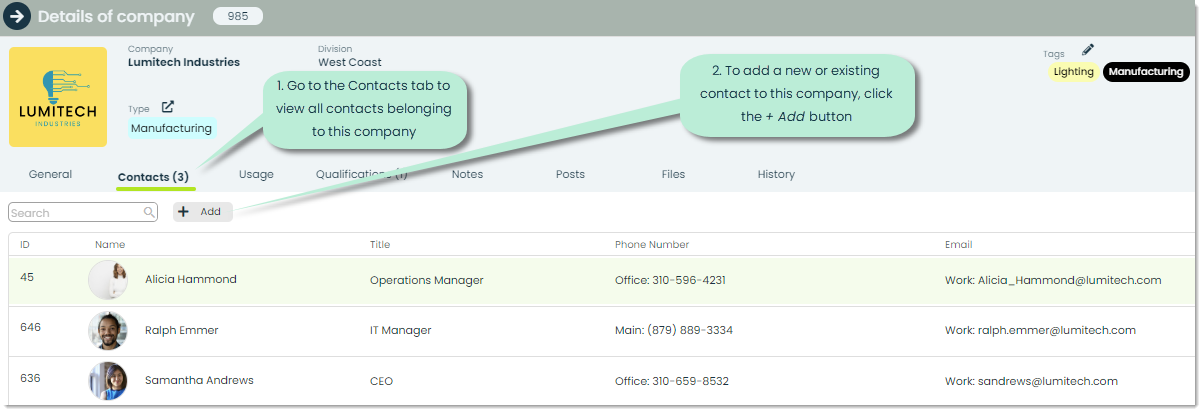
How to add contacts to a company
In the Contacts tab within any company’s details, you can view the contacts that belong to that company. Additionally, from this screen, you can add new or existing contacts to a company by clicking the + Add button.
When you click the add button, a popup will appear for adding the contact.
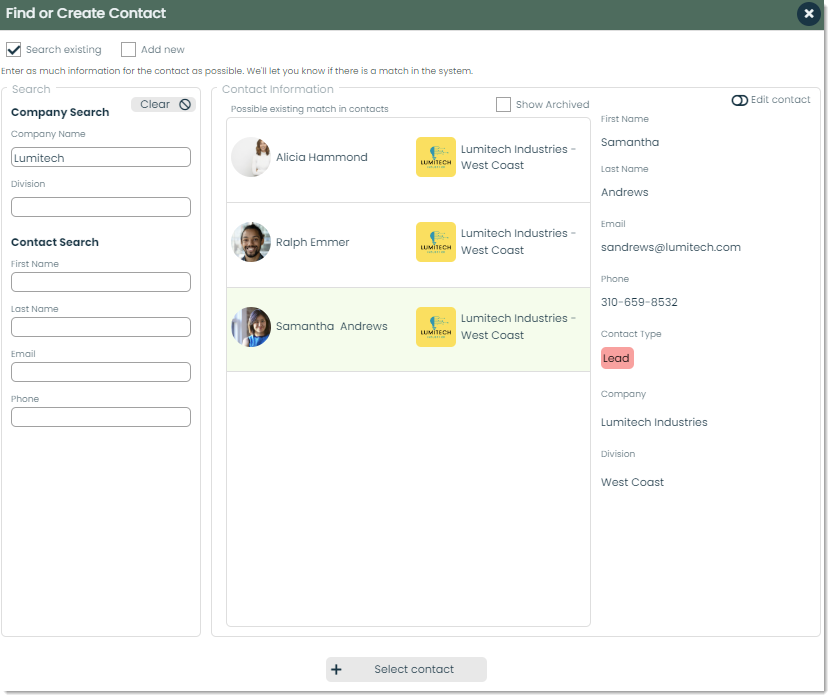
To search for existing contacts, make sure the box next to Search existing
at the top is checked and use the Search section on the left side to search by either company or contact information.

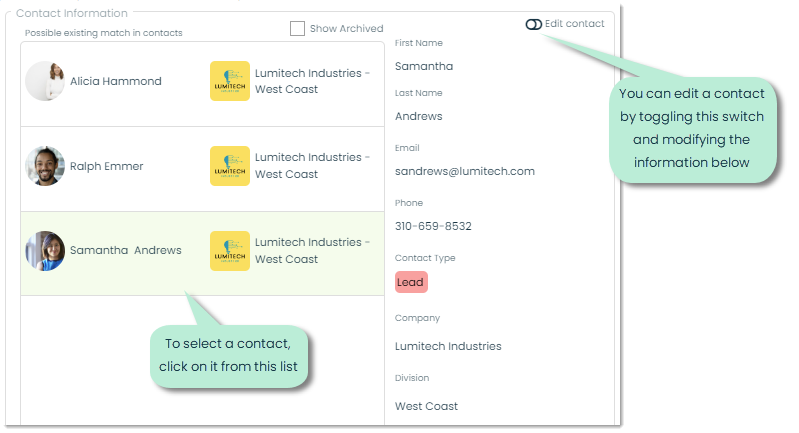
As you type and click out of the text fields, results will populate the Contact information section in the middle. You can choose to include archived records by checking the box next to Show Archived in the top right area. If you find the contact from the list, you can click on it and confirm that their information is correct on the right side of the screen as well as edit that contact’s information by toggling the switch next to Edit contact in the top right corner.
If the contact doesn’t exist, you can create it by checking the box next to Add new in the top-right portion of the screen.
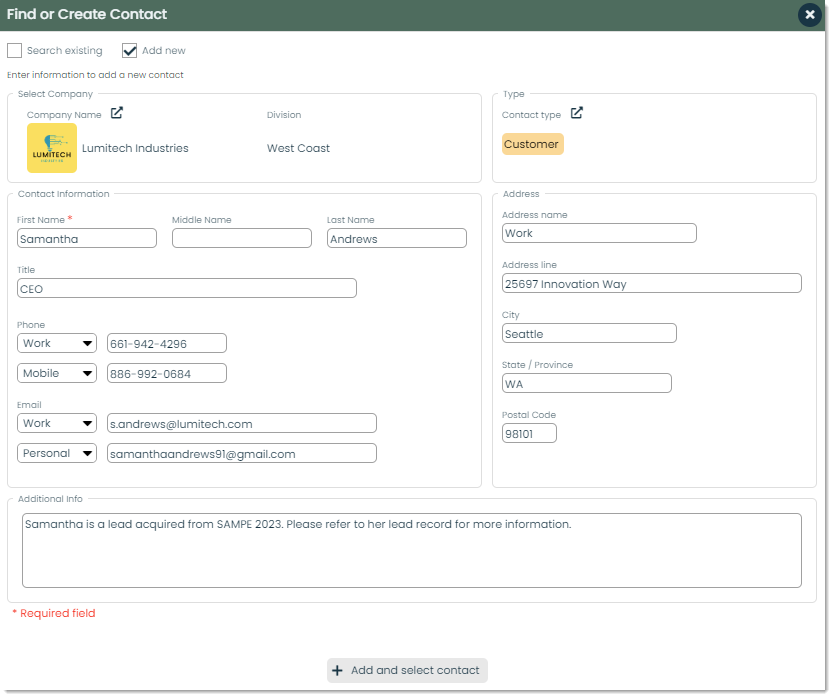
Once you’ve either found or created the contact you’d like to add, click Select at the bottom of the screen. That contact will now appear in the list of contacts for that company.
Warning: Adding a contact to a company means changing the company of that contact. Only perform this action if you wish to change the company which the contact record belongs to.
How to view the usage of this company in other apps
The Usage tab is used to display any projects, sales orders or parts that a company is linked to.

Here are the different sub-tabs of the Usage section:
- Projects – This list displays all projects from the Projects app for which this company is the customer.
- Orders – This list displays all sales orders from the Sales Orders app for which this company is the customer.
- Parts – This list displays all parts from the Parts app for which this company is the manufacturer. Optionally, you can add new parts from this tab by clicking the + Add button.
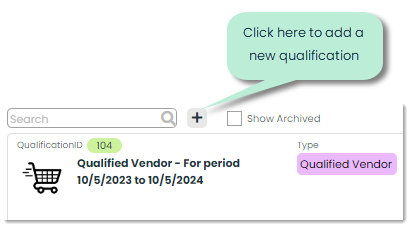
How to view and add qualifications to a company
Appward provides a Qualifications feature which is used in different applications to ensure that customers, employees, vendor companies and more are qualified to do the things you want them to do. In Companies, this is important for assessing which companies are qualified to be customers and/or vendors for your organization. To view the qualifications for any company, go into the company’s detail page and select the Qualifications tab.
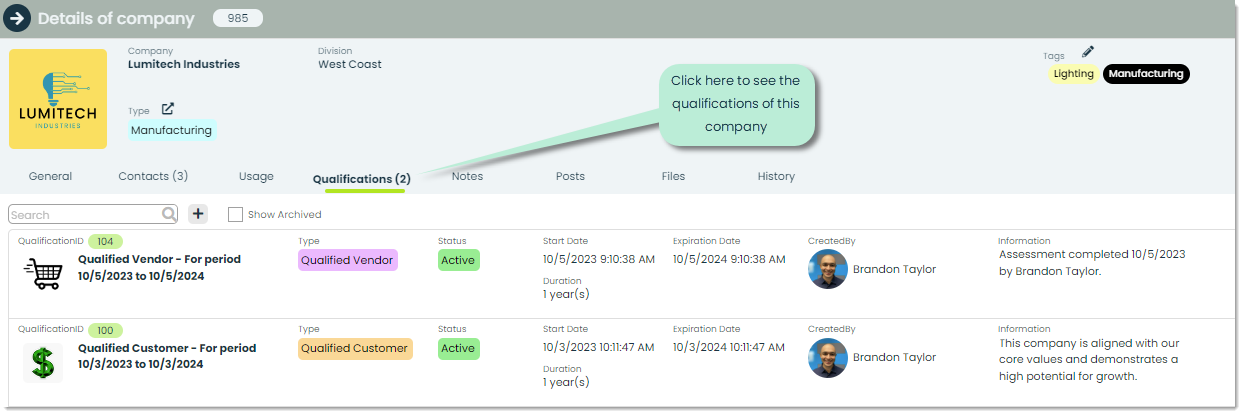
From here, you’ll be able to see all qualifications for that company. Let’s try adding a new qualification by clicking the + button.
This will open a popup for adding the details of the qualification. Let’s go through the different fields.

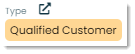
Type – Types are similar to company types in that they are singular, distinct categorizations of a record.
If you click the external link icon, you’ll see a popup for selecting and/or adding new qualification types. Qualification types are slightly different because they not only consist of the standard label and type image, but also an association to various qualification data. In addition to the title of the type, you can add duration of the type and a checklist for providing a standardized assessment for each qualification of that type. Then, whenever a user selects a specific type, the associated data will pre-populate the fields of the Add qualification screen to provide a standardized method of assigning qualifications.

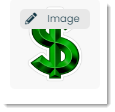
Image – You can assign an image to the qualification by clicking the square in the top-right corner and selecting the Image button. From here, you can select an image from your computer, the Appward cloud file explorer, Appward’s icon library or from pexels.com. If you don’t select an image here, the image will default to the type image.
Qualification Title – This field should convey essential information about the nature, level and specialization of the qualification. If using a qualification type, the title field will pre-populate with the type title followed by the type duration.

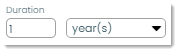
Duration – This field indicates how long the qualification is good for.
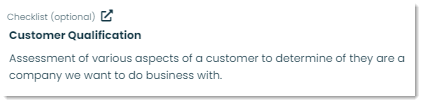
Checklist – Optionally, you can add a checklist to provide a standardized method of assessing whether a company is qualified or not.
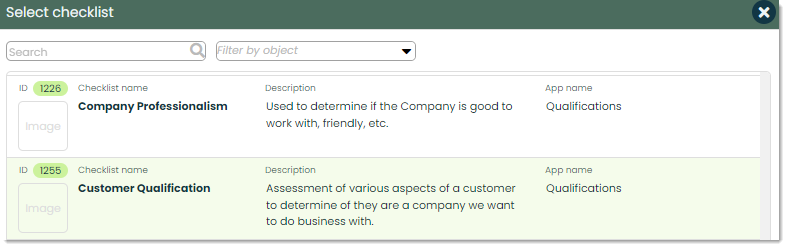
Clicking on the external link icon will open a selection of all of the checklists you’ve created.
For more on creating checklists, check out our article on Getting Started with Checklist Creator.
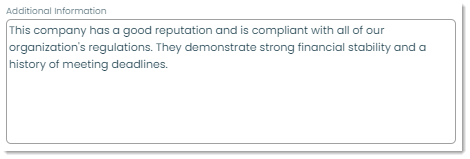
Additional Information – Additional information can be helpful in ensuring a clear and comprehensive understanding of the qualification. You can add assessment results, termination clauses or any other important details.
Once you’ve added in all the details of the qualification, click the Submit button at the bottom to create the qualification. From here, you’ll be able to see the details of the qualification which will default to a status of Pending. This will include any attached checklist. From here, you can start the qualifying process by clicking the Start button and start the checklist assessment by clicking Start checklist on the right side. Go through the prompts of the checklist and when complete, click Finish checklist at the bottom.
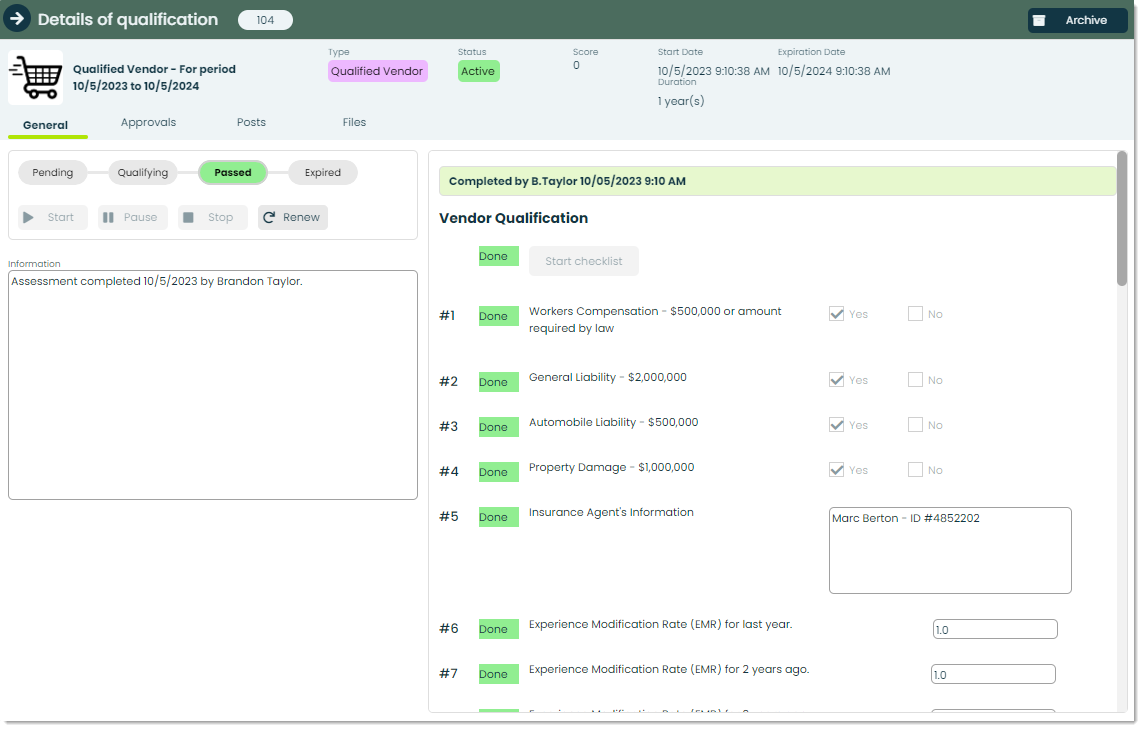
Based on the results of the checklist, you can choose to pass or fail the qualification. Additionally, in the Approvals tab, you can request specific parties such as management to approve the qualification. For more on the qualification process, check out our articles on Using Qualifications.
How to use the other Frontline Features of Companies
Each app has a set of Frontline Features which are tabs that provide powerful utility based on the app they are found in. In the case of Companies, these features can be found in the details page of any company. They are:
- Notes
- Posts
- Files
- History
Let’s briefly touch on each of these and how they are used in Companies.
Notes – Any bits or pieces of information that you want to jot down regarding a company can be input in the Notes tab. You can place your notes into folders for an organized hierarchy of information.

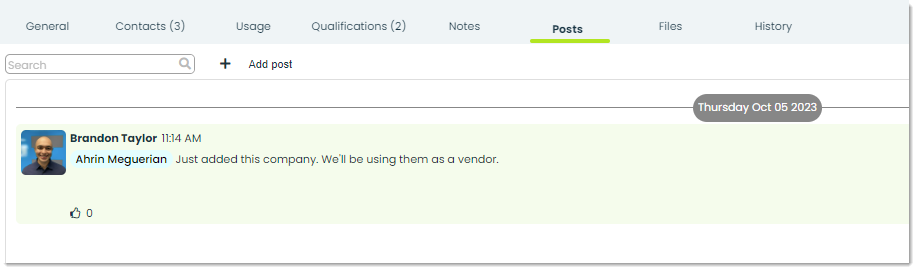
Posts – A post is a comment which can be replied and reacted to by other people in your organization. You can write a post with any questions or comments about a company as well as mention people or departments by using the @ symbol to notify the respective parties of the post.
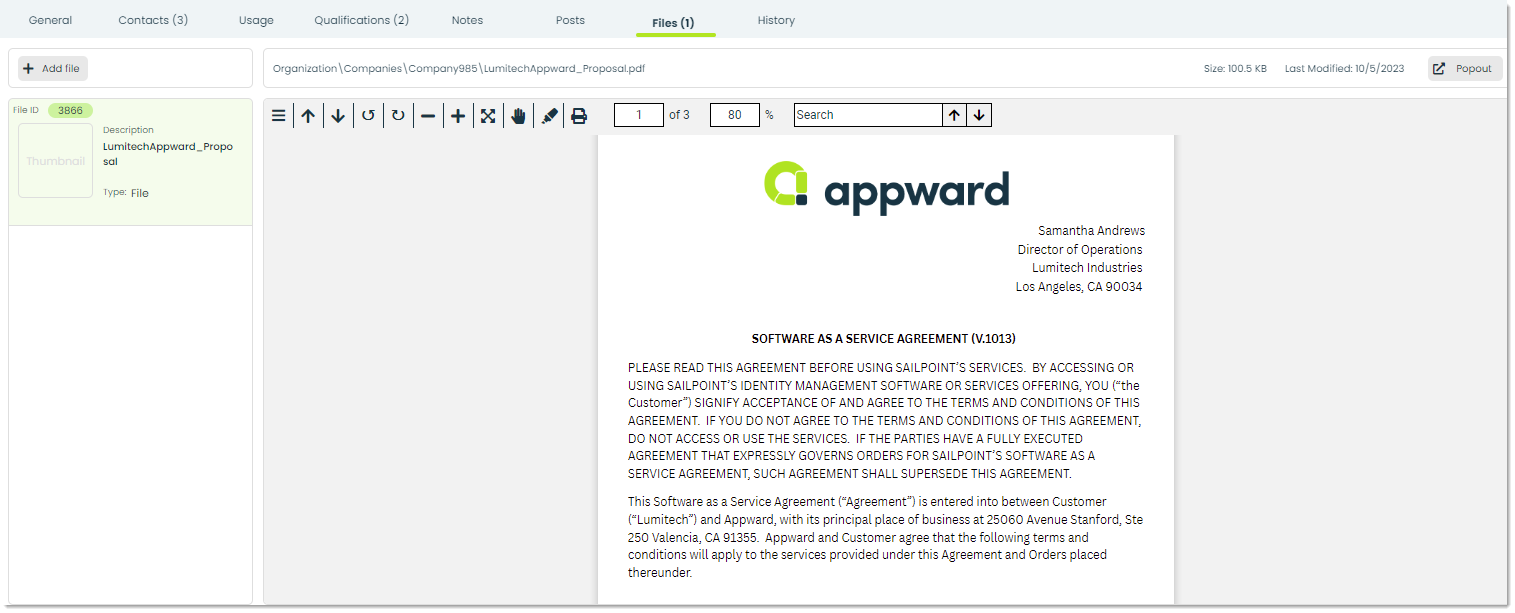
Files – Any important documents that you’d like to attach to a company record can be added in the Files tab. With this feature, you can add in a company’s important documents and view them with an embedded document viewer.
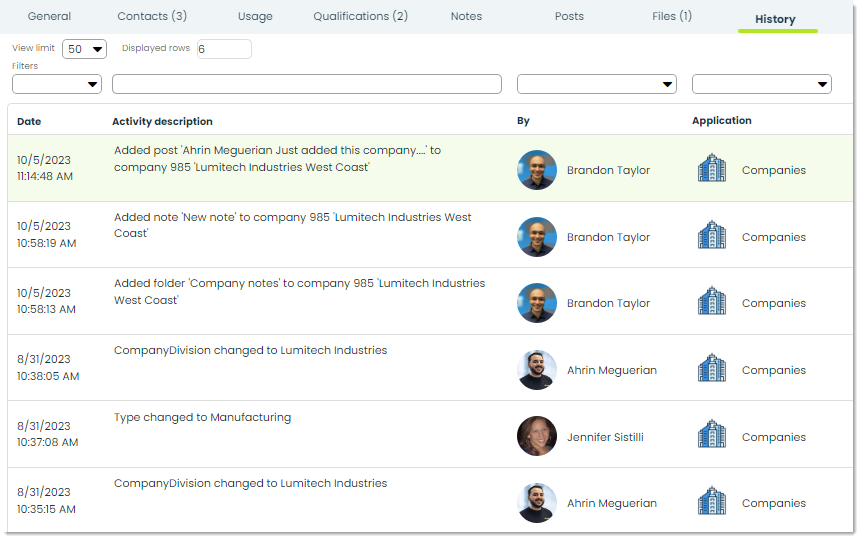
History – The History tab provides a details log of recent actions performed on a specific company record. This is useful for tracking who did what and when.
How to archive or delete a company
This section will cover two features that can be found in the top-right corner of the details page of all company records. Those are archiving and deleting.

Let’s go through these buttons and how they work.
Archive – Archiving is used to store records in a safe, accessible location other than the main list. It’s good for hiding records that don’t need to be seen.
Delete – To delete a company entirely, you can use this feature and the record will be removed.