Table of contents
Getting Started with Meetings
Tuesday September 26, 2023-20 min readIntroduction
Meetings is designed to help you efficiently arrange scheduled gatherings with well-defined details regarding topics, goals, and agendas, ensuring that attendees are well-prepared and in sync even before the meeting commences. This guide will help you get started with Meetings by going over how to schedule, manage, and document all the important details of your meetings.
Getting Started
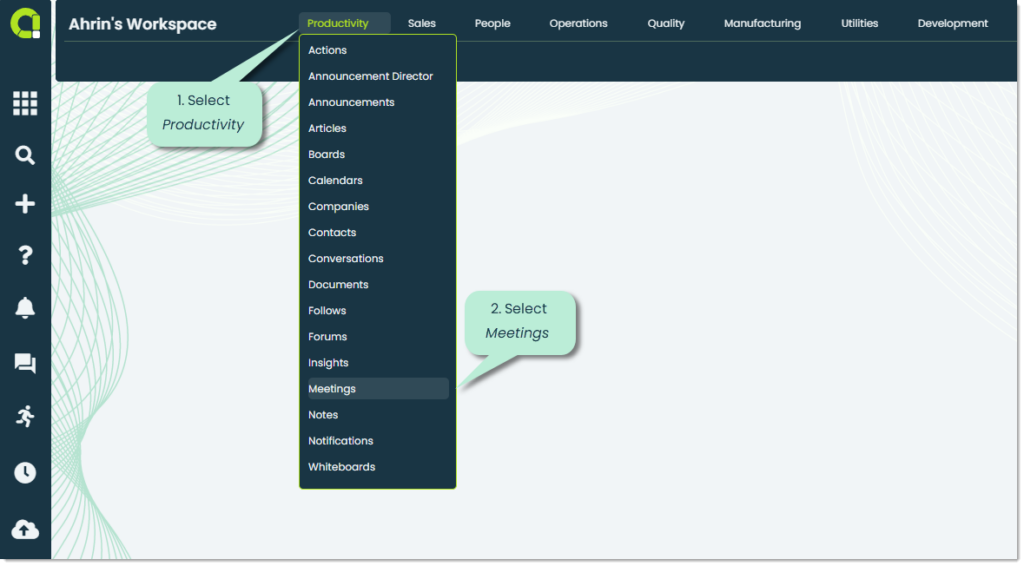
To open Meetings, go to the Productivity section of the main navigation bar and select Meetings.
When you launch the app, you’ll see a screen displaying all the meeting records from your organization. Let’s explore the features of each tab.
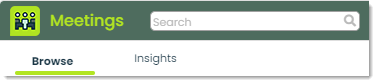
Browse – This is the default view when you first open the app. In this view, you can see all existing meetings within your organization.
Note: If your organization has never scheduled a meeting within Appward, then this screen will be blank.
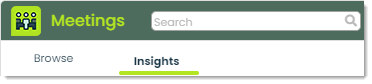
Insights – This tab is used to analyze collected data from your organization’s meetings. You can use Insights to learn about valuable information such as meeting length, topics, and participation. For more on Insights, please check out our Getting Started with Insights guide.
How to Schedule a Meeting
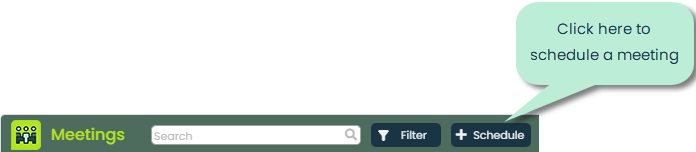
To schedule a meeting within your organization, simply click the +Schedule button located at the top of the application screen.
You will then be shown Schedule meeting, where you can add details about the meeting you are scheduling. Let’s go over the different fields available.
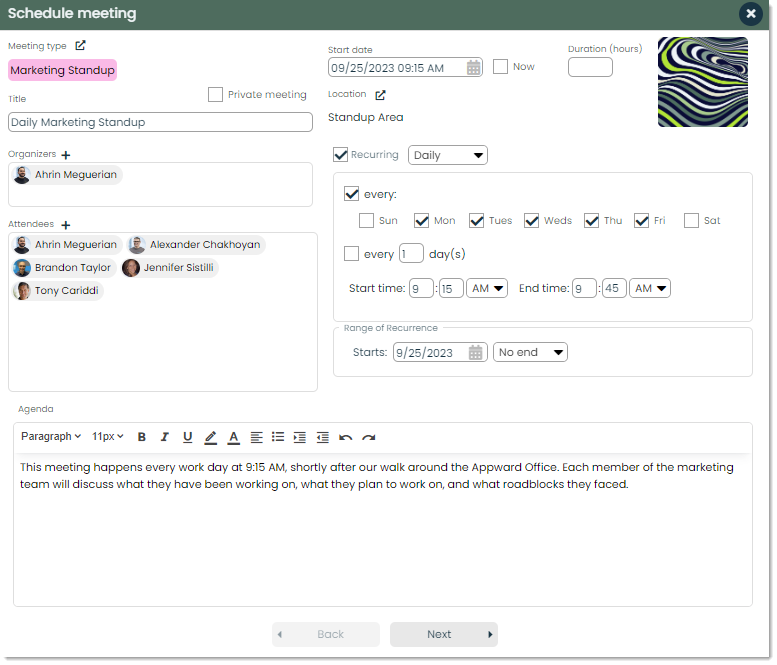
Meeting Type – You can categorize meetings by the Type you select. In Appward, Types are a helpful way to classify your Meetings, making it easier to sort, find, and get Insights from your data. For example, Types can be used within Meetings to distinguish between Marketing, Developer, or General meetings.
Title – This is the name of the meeting you are scheduling. You should aim for clear and concise meeting names to make them easily searchable and identifiable for participants.
Private Meeting – You can designate a meeting as private by selecting the checkbox Private Meeting. This setting will restrict access to the meeting details to only those members you grant permission to. Within Appward, members are individuals within your organization whom you authorize to have editing or viewing permissions for a record. You can leave the checkbox unchecked to keep the meeting as public, visible to everyone within your organization.

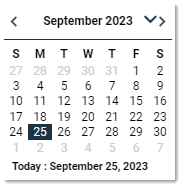
Start Date – In Start date you can define the specific date and time the meeting is scheduled to begin. You can do so by typing directly in the text box, or by using the built in calendar picker.
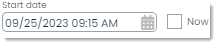
Selecting the calendar picker will open a screen displaying a calendar that reveals a visual representation of days and dates on a calendar. You can click on the day you wish to schedule your meeting for.
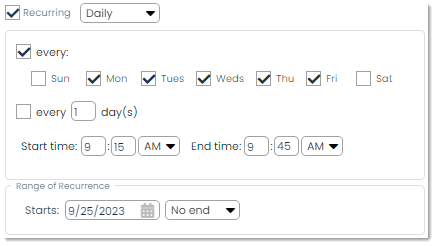
Recurrence – You can also set a meeting to be recurring. Recurring meetings are those that are planned to happen at regular intervals, like daily, weekly, or monthly. You can choose the specific interval and duration for the recurrence of your meeting by ticking the check boxes applicable to your scheduled meeting. To specify the duration for which a meeting will continue as a recurring event, you can make these adjustments within Range of Recurrence.
Location – The meeting’s location refers to the venue where the meeting is going to take place. These locations are imported directly from your organizations Location app within Appward. Providing a precise and clear meeting location is important for maintaining organization and making sure that participants are well-informed and on-time.

Duration -In Duration (hours) you can define the length of time that the meeting is scheduled for or expected to last by typing the desired duration in the text box. Defining the duration is a crucial part of planning and managing the the time of attendees effectively.

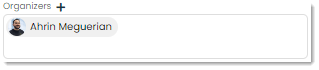
Organizers – Organizers, also known as meeting planners are the individuals responsible for planning, scheduling, and managing the functions of meetings from start to finish. You can designate organizers by clicking the + icon and selecting the appropriate members from your organization who will be responsible for ensuring the meeting runs smoothly.
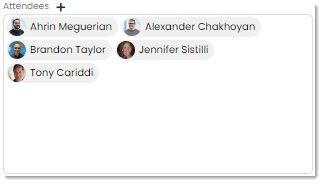
Attendees – To add attendees, click the + icon next to attendees. You can select the individuals who should be present at the meeting being scheduled.
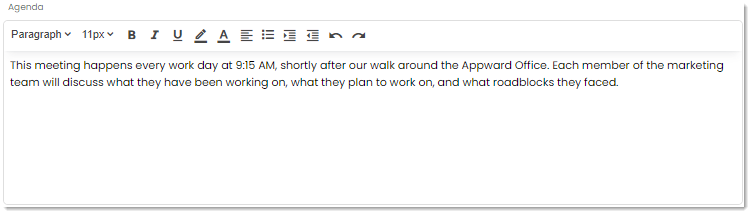
Agenda – A meeting agenda is a structured document that outlines the topics, issues, or tasks that will be discussed and addressed during a meeting. You can create an agenda to give attendees the opportunity to prepare for the meeting and actively be engaged.
Next – Once you’re prepared to schedule the meeting, simply click Next.

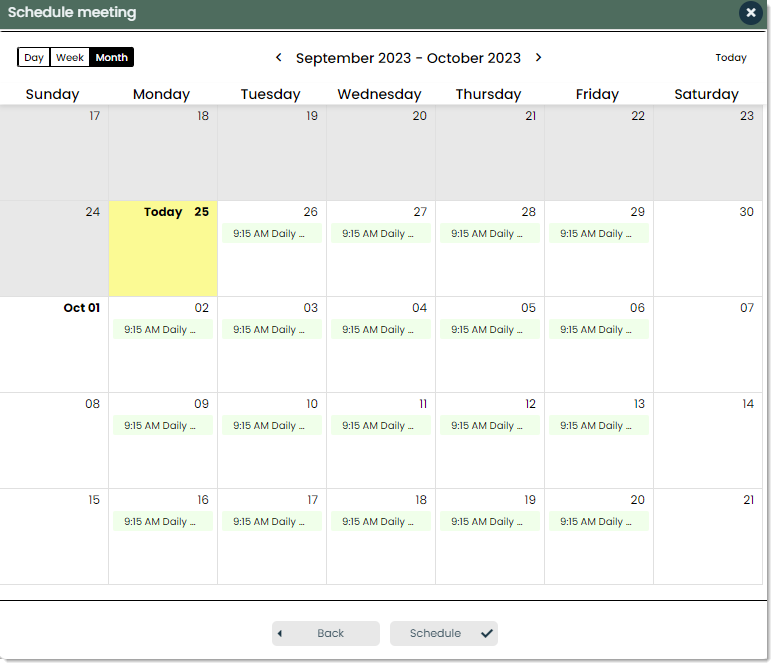
Calendar preview – Once you’ve verified your meeting information, you’ll be presented with a Calendar preview of your scheduled meetings. Upcoming meetings are displayed in a block on their corresponding day. You have the option to sort the view by day, week, or month, giving you the flexibility to decide what time range you would like to view.
How to View and Manage Meeting Details
To view meeting details, you can click on the row corresponding to the meeting you’d like to examine.
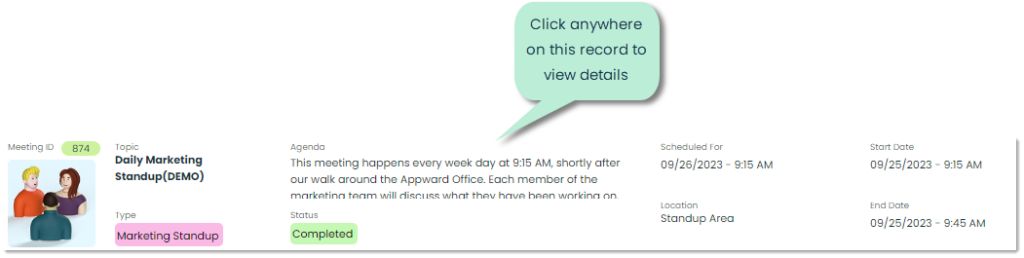
You will then be presented with a flyout showing you all the essential details about the meeting. There are some new fields in this view, let’s go over them.
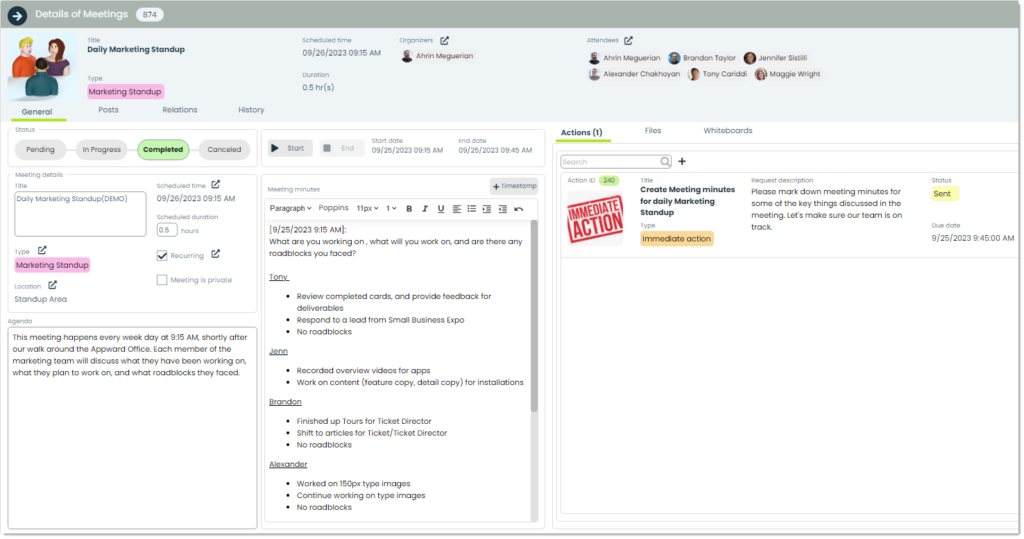
Status – Status refers to the stage that the meeting is in. You can use status to keep track of your meetings and indicate its progress in relation to its expected outcome.
- Pending: The meeting is currently waiting for approval from a decision-maker in your company.
- In Progress: The meeting is currently taking place, attendees are involved in discussion and actions.
- Completed: The meeting has concluded, and the scheduled agenda items have been discussed.
- Canceled: The meeting will no longer be happening, and will be removed from your calendar.

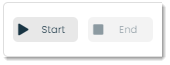
Timer – Keeping track of how long a meeting is taking is important. You can keep track of the length of a meeting by starting the timer at the start of a meeting, and ending it when necessary at the conclusion of a meeting.
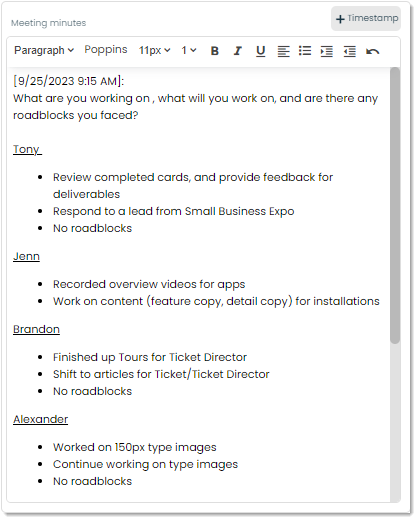
Meeting Minutes – Meeting minutes serve as a written record documenting discussions, decisions and significant moments within a meeting. You can use the +Timestamp button at the top of Meeting minutes to automatically insert the current time into the text box, and easily take not of when specific events occurred.
How to Add and View Actions by Meeting
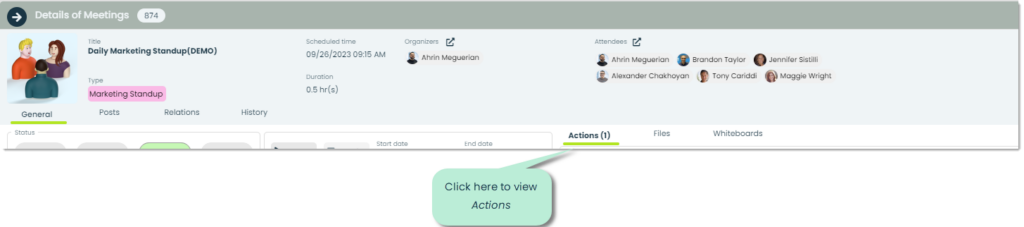
To add Actions, navigate to the Actions tab in the detail flyout of your scheduled meeting.
Actions – Actions refer to responsibilities or tasks assigned to an individual during the course of a meeting.
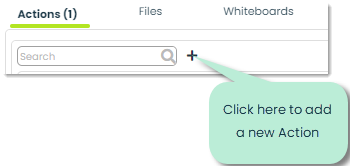
You can add a new Action by clicking the + icon at the top of Actions.
This will bring up the Add Action popup, where you can add all the necessary details for the Action you are creating. Let’s explore the customization options available within an action.
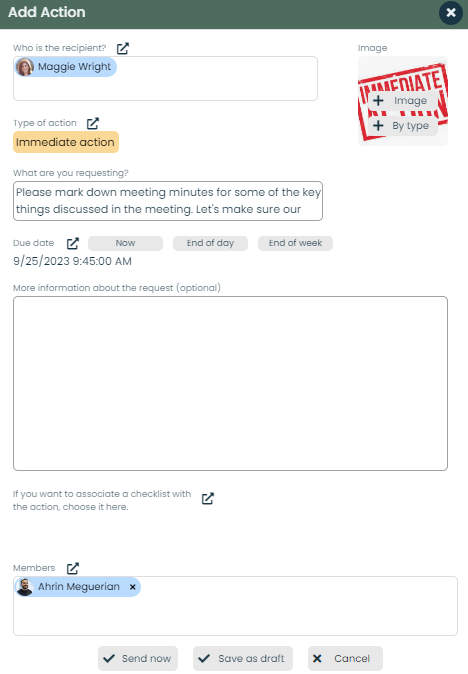
Request description – You can describe the action being assigned in Request description. Descriptions should be clear and concise to make sure all parties involved share a mutual understanding.
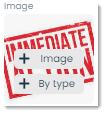
Image – You have the option to link an image to the action you’re in the process of creating. The image you choose can either be from your computer or directly linked to the action type.
Due date – This is where you can set the due date for the action you are creating. You can use the presets within Now, End of day, End of week, or set your own date with the picker next to the Due date caption.

Checklist – Checklists play an important role in ensuring all necessary tasks are completed during the course of an action. You can create checklists in Appward’s Checklist Creator app and directly assign them to an action within Meetings.

Members – Members are individuals whom you assign the ability to edit and view the action.
Finalize – Once you are ready to finalize what you do with your action, you can pick one of three options
- Send now – The action will be sent to the assigned parties upon pressing the Send now button.
- Save as draft – The action will be saved as an unpublished draft that can be accessed later. You can edit and submit this draft at a later time.
- Cancel – This will cancel the add process for the action.

Once you have created the action, you will see a list view of your organization’s actions associated with the meeting you are viewing. There are a few unfamiliar fields here, so let’s go over them.

Status – You can define the current progress of a meeting action within Status. Actions typically go through many phases from their creation to completion. Let’s go over the different stages you might see your created action in.
- Draft: The action has been created, but remains unassigned or unpublished for your organizations members to view.
- Sent: The action has been sent, and the designated individual has received a notifications informing them.
- Viewed: Assignee(s) of the meeting action have viewed and acknowledged the assignment.
- Active: Actions in the active state are currently in progress.
- Complete: Completed actions are finished and ready for closure.
- Closed: You can mark an action as closed when all required tasks have been accomplished, indicating it is no longer in progress.

Champions – In Appward, champions are described as individuals within your organization who take responsibility for driving a task or action to completion.
How to Add Files
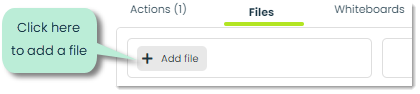
To add files, navigate to the Files tab.
Click the + Add file button to add a file to your action.
This will bring up a menu where you can select where you would like to add a file from. You can upload a file in five different ways.

Computer – Choose and upload files from your current computer. Files will be placed in app record’s folder.
Appward cloud – Gain access to Appward’s cloud file explorer and select files from your Organization, Personal, or Public folders in the cloud.
Appward documents – Pick a file that has been previously saved in Appward’s Document system through the Documents app.
Appward articles – Select an article that is located in Appward’s Article system via the Articles app.
External platform – Select a link from external platforms.
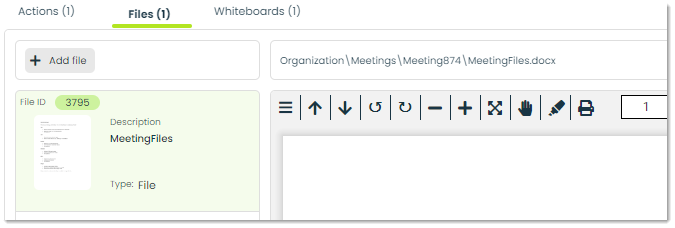
After you’ve added a file, you can view it in a list view within the Files tab.
How to Add Whiteboards
Using Whiteboards, you can generate, sketch, and engage in collaborative work on a digital canvas. You can use Whiteboards as a standalone app, or use it within many of the apps that have Whiteboards integrated throughout the Appward ecosystem.
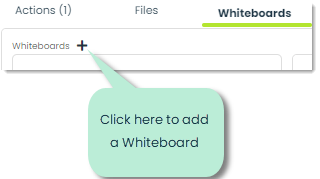
To add Whiteboards, navigate to the Whiteboards tab in the detail flyout of your scheduled meeting.
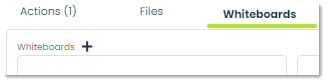
To add a Whiteboard, click the + icon next to the Whiteboards caption.
You will then be presented with the Add Whiteboard popup, where you can fill out the important details of the whiteboard you are adding.
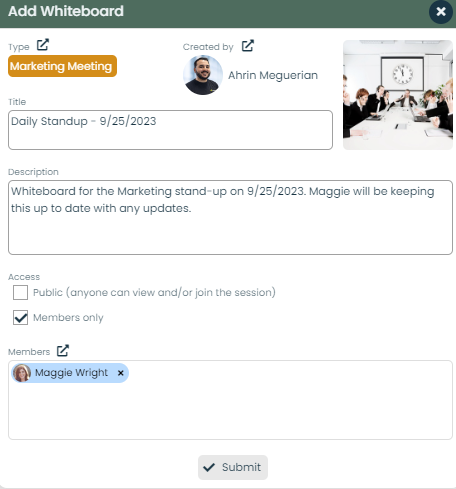
Let’s go over the newly introduced fields in this popup.
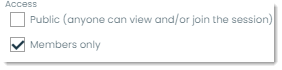
Access – Within Access, you can select the whiteboard’s access level. You have the choice to set it as public, enabling anyone in your organization to view and participate in the whiteboard session, or restrict access to members only, ensuring that only selected members can enter the whiteboard.
Created by – Under Created by, you can designate the creator of the whiteboard. By default, this field will automatically list you as the creator, but you have the flexibility to assign any member form your organization as the individual responsible for creating the whiteboard.

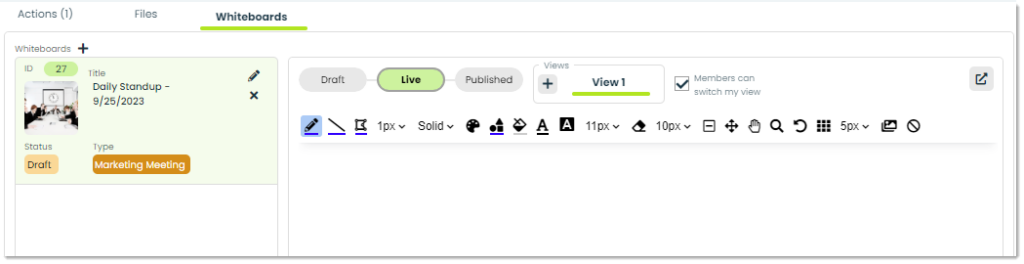
After you have created your whiteboard session, you can view it within the Whiteboards tab in the Meeting’s detail flyout.
Frontline Features of Meetings
At Appward, many apps have a set of components known as Frontline Features. You can access these features in any record of Positions.The Frontline Feature of Positions are Posts, Relations, and History.

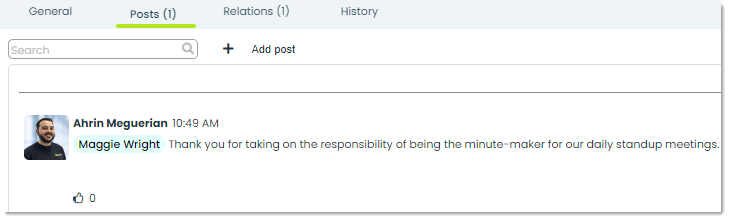
Posts – In Appward, a post is a comment that can be liked or replied to directly by other members of your organization. A common use of posts in Meetings is to send a quick message about an action related to an upcoming meeting.
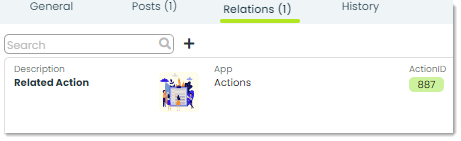
Relations – In Relations, you can include records from other apps within your organization that are relevant to the Meeting for which you’re creating a record.
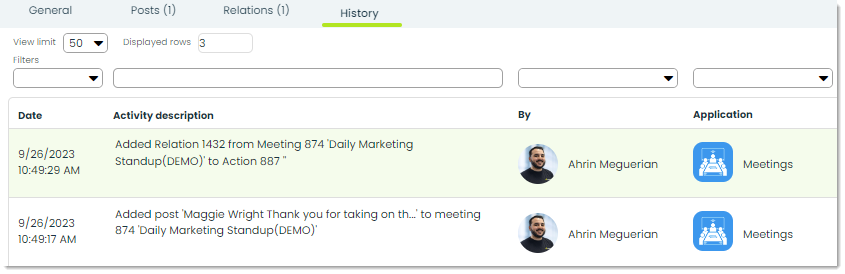
History – With History, you can access detailed information about the status changes of a Meeting, including the employee responsible for the update, the timestamp of the modification, the application, and a brief description of the activity performed.
Additional features of Meetings
Reminders – Reminders are a prevalent feature in many apps within Appward. They operate by automatically notifying users to review specific records at certain time intervals. When it comes to Meetings, reminders are highly valuable in reminding you of when you have a meeting to attend.

Archive – Archiving is a common feature within the majority of apps in Appward. Archive serves as an effective tool when you wish to remove a record from sight without permanently deleting it. Archived records are essentially concealed from the main screen but remain accessible through specific search filters.

Delete – To delete a meeting , you can press the Delete button. This action will transfer the record to the Deletions app, allowing you a window of up to five days to restore it if needed.