Table of contents
Getting Started with Reviews
Monday July 24, 2023-18 min readIntroduction
The Reviews app is designed to unify all steps of the performance review process for your employees. With Reviews, you can provide feedback on your employees’ overall performances and have them undergo standard evaluations to ensure they are performing well. This guide will cover how to add, view and edit a review, as well as how to conduct a review with some special features such as Checklists and Approvals.
Let’s get started
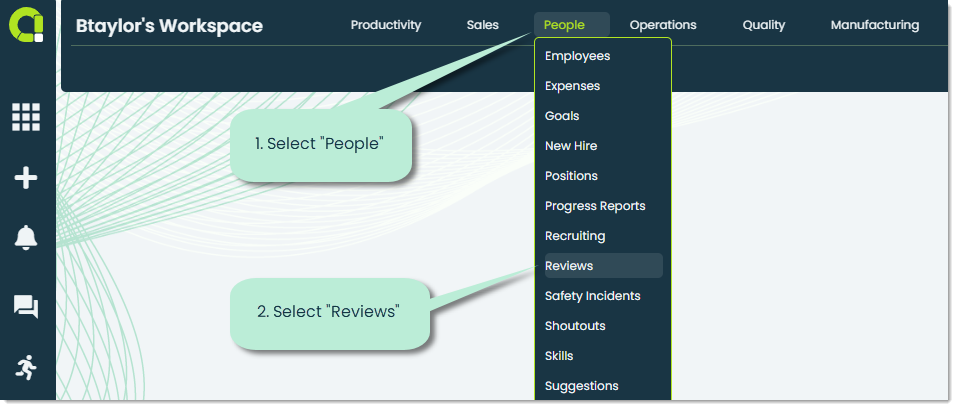
To open the Reviews app, go to the People category of the main navigation bar and select Reviews.
When you open the app, you’ll see a list of reviews linked to you. Here are the cases where you’ll be able to see a review:
- You are a reviewer. Reviewers are those that will provide their insight on your performance and give you a 1-10 score.
- You are a review member. Appward uses a member system which gives selected users access to specific data. In the case of Reviews, selected members are able to see all information for the reviews they are members of.
- You are a requested approver. Optionally, reviews can have Approvals which are judgment calls made by selected individuals. This could be for a raise, a promotion or some other situation where an approval is required. These “Approvers” are typically requested by someone (commonly the main reviewer) to give a rejection or approval to the reviewee based on all of the reviewer feedback.
- You are the reviewee and the review has been made available to you. Whether it’s points of improvement or what was discussed during the meeting, you can choose to share the review information with the reviewee once the review has concluded.
If no reviews are linked to you, this section will appear blank. Let’s go over the different tabs and the purpose each serves.
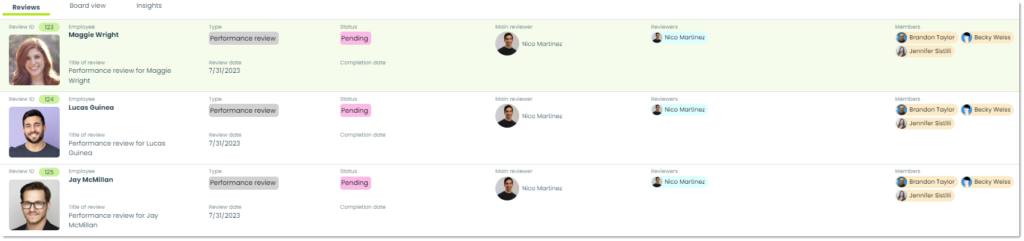
Reviews – This is the default tab whenever you open the Reviews app. It displays a list view of all reviews pertaining to you.
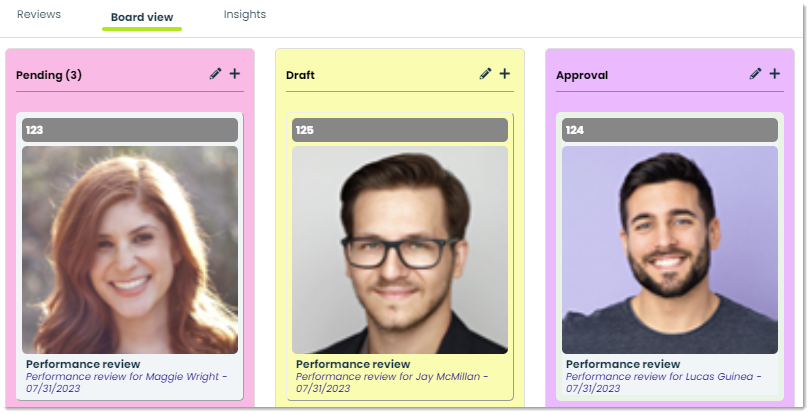
Board view – This is a Kanban visual of the reviews from the Browse tab which provides a helpful view of the review lifecycle.
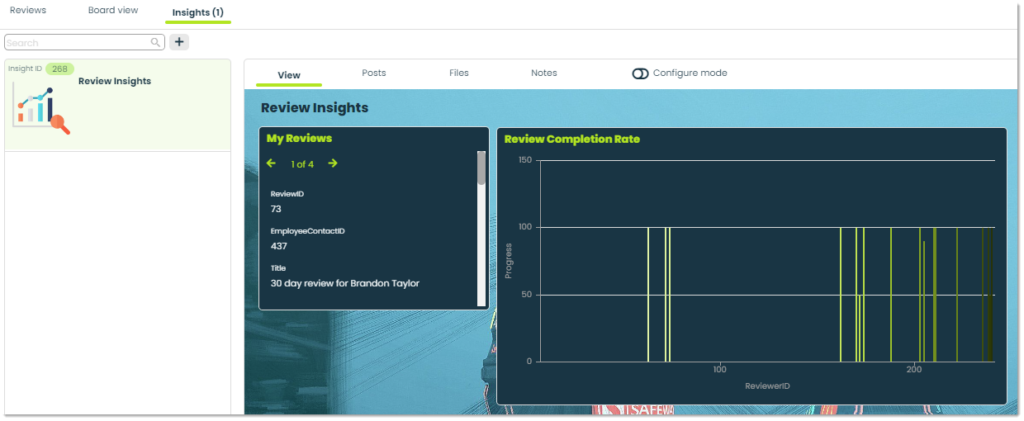
Insights – This tab is used to analyze review data. You can configure highly-customizable SQL queries for gaining valuable, measurable components of your performance reviews such as review completion rate, rating distributions, feedback trends, and whatever additional statistics you’d like to monitor. For more on Insights, check out the Getting Started with Insights guide.
How to add a new review
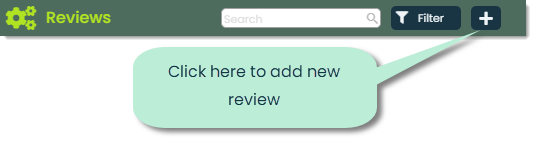
To add a new review, click the + button at the top of the app screen.
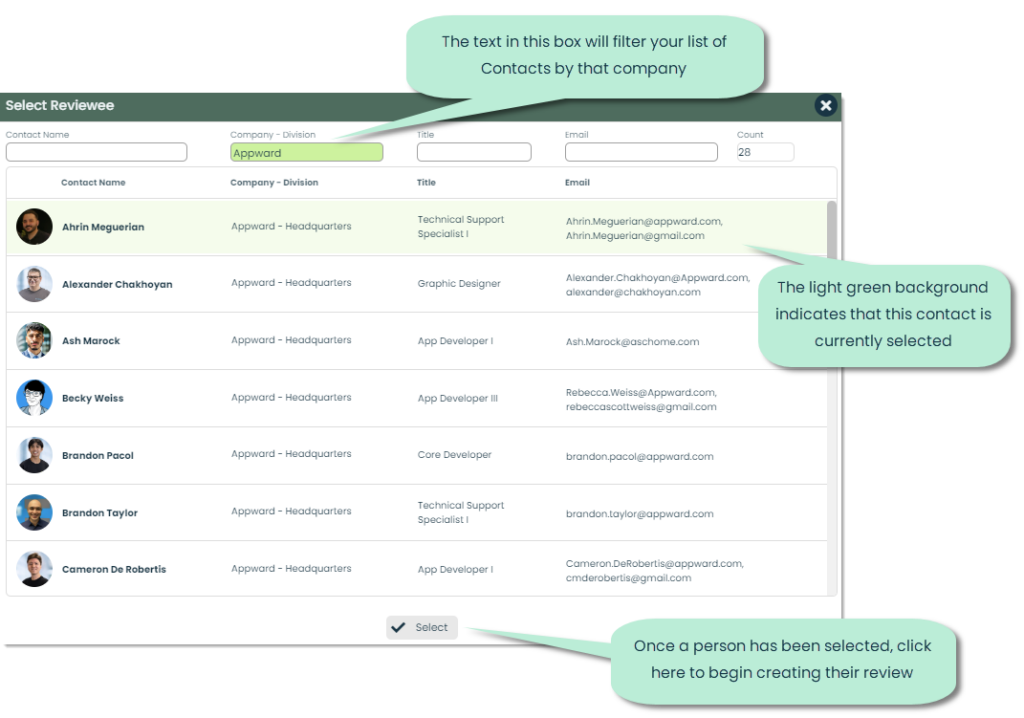
A window will appear with your company’s contacts by default. You can select from this pre-filtered list or from your full list of Contacts by removing the organization filter. Click on the person you’d like to create a review for, then click Select at the bottom of the screen.
Once you’ve selected the person you’d like to conduct the review for, a popup will appear for adding the general review information.

Let’s go over the different fields of the example above.
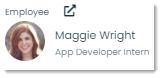
Employee – This is the person for which the review is being conducted. You can modify this selection by clicking the external link icon.
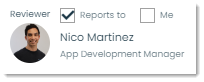
Reviewer – Reviews can have more than reviewer, but this field is meant to signify the main reviewer. This is typically the person who will manage the review processes and provide direction for all relevant parties. This field will default to the reviewee’s manager based on their position. You can click the square next to Me and this will change the main reviewer to you.
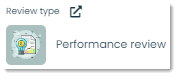
Review type – Reviews can be categorized into types defined by you, resulting in more organized and searchable records. For example, a type could be Performance review or Probationary review. When you create a type, you provide a name, image, forecolor and backcolor.
Title – This is the name of the review. Try to keep this meaningful and informative.

Checklist – Optionally, you can add a Checklist from the Checklist Creator app. The purpose of a Checklist in a review is to ensure that all relevant aspects of an employee’s performance are thoroughly and consistently evaluated. It helps the reviewer to stay organized, follow a structured approach, and cover essential areas during the review process. Additionally, it can promote fairness by ensuring that each employee is assessed using the same criteria.

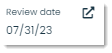
Review date – This indicates the date that the review will be or has been conducted on. This field will default to the present date, but you can change that by clicking the icon next to Review date.
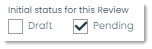
Initial status for this Review – This setting will determine if the review starts in a Draft or Pending state. Draft means that the review is only visible to the creator and members while Pending means that the review is only visible to the creator.
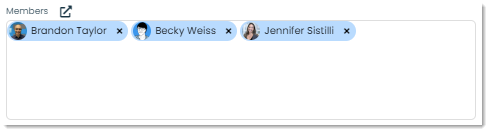
Members – You can add members to a review to give them access to what’s being said. This ensures that everyone who should know about an employee’s review will be able to see that information.
Once all the desired fields have been filled out, you can click Submit at the bottom and the new review will be created.
How to view or edit a review
Once a review has been created, you can view its details by clicking on it from the Reviews tab. A flyout will appear where you’ll be able to modify the different fields of the review.
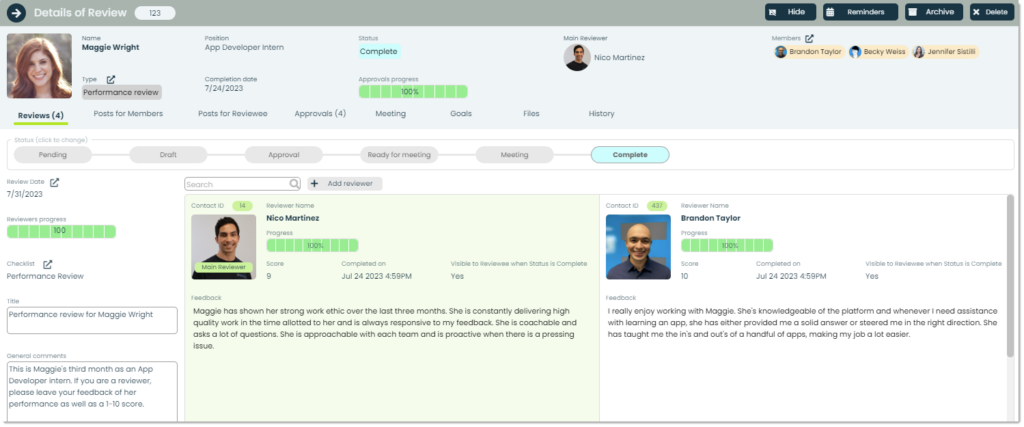
To make any edits to a review, you have to be a reviewer, member or approver of the review. You can edit the members of a review in the top-right corner of the review details where it says Members.

If you have this access, you can make changes to the review and Appward will auto-save any updates. Let’s go over the additional fields within the review details.
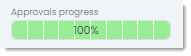
Approvals progress – The Approvals progress bar signifies the completion status of the Approvals from the Approvals tab. For example, if there are four Approvals but only two Approvers have submitted their Approvals, the progress bar would be 50%. Approvals will be covered in-depth in the How to add approvers and approve a request section.
Status bar – The status bar signifies the overall progress of the review.

Here are the different statuses and what they mean:
- Pending – The review is not active and is only visible to the creator
- Draft – The review is not active and is only visible to the creator and review members
- Approval – The reviewer or reviewers are waiting for the requested approvers to approve or reject the Approval request
- Ready for meeting – This status is for once all review information has been gathered and the proper parties are ready to meet with the reviewee
- Meeting – The meeting with the reviewee is taking place
- Complete – The proper parties have met with the reviewee and have conducted the review
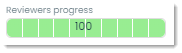
Reviewers progress – This is the combined progress of each reviewer in the reviewal process.
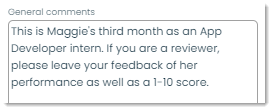
General comments – You can write general comments for the review to provide any additional information for members, reviewers and approvers.
Reviewers – These are people you can select to provide feedback on the reviewee’s performance. Any review members can add reviewers, and each reviewer can write their notes on the reviewee.
How to start a review and add reviewers
Now that we’ve covered how to add a review and the different fields we can modify, let’s go through a review!
The first thing you should do is make sure that your review is visible to all reviewers and members. To do this, make sure that the status bar is set to Draft.

Next, it’s time to receive input from the appropriate reviewers. These are typically people who work day-to-day with the reviewee and have a good idea of what their performance is like. You can add new reviewers by clicking Add reviewer and selecting the new reviewer(s) of choice.
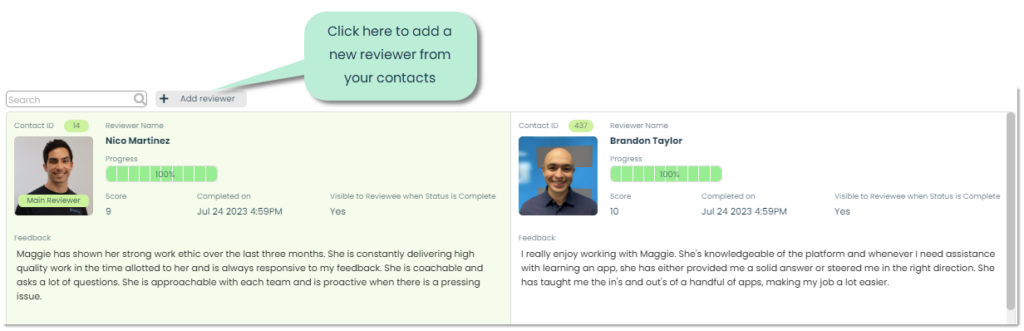
Once you’ve added all the appropriate reviewers, each of them should provide their evaluation of the reviewee with a 1-10 score and some descriptive feedback. If you are a reviewer, to add or edit a review response, go into the review’s details and click on your respective section. From here, a flyout will appear where a reviewer can fill out review information.
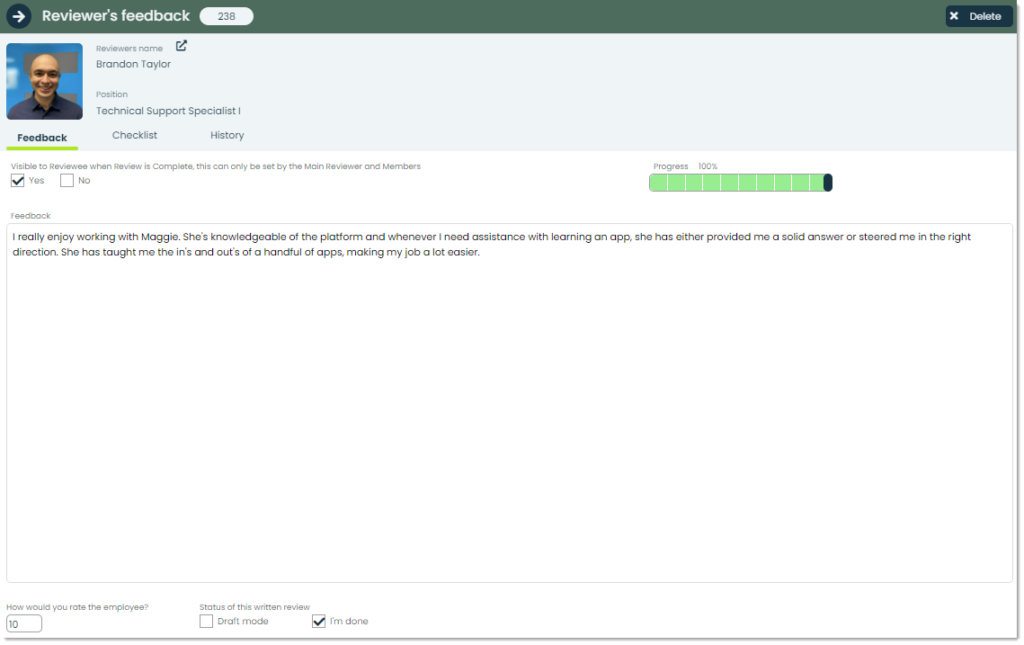
Let’s go over the various fields of this feedback flyout.
Visible to Reviewee when Review is Complete – With this setting, you can control whether the reviewee can see this particular review when the review is complete.

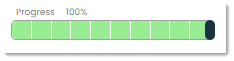
Progress – This bar represents the progress of the current review. It is controlled either manually by dragging the slider or automatically via a Checklist.
Checklists are a method of standardizing the processes of something. In this case, Checklists can be used to perform a consistent set of steps in the reviewal process. For example, you can prompt reviewers to answer a series of questions such as “On a scale of 1-10, how would you rate this employee’s ability to _” for a more standardized review approach. To add a checklist to a review, go to the Checklist tab and click Add checklist. For more on creating Checklists, check out Getting Started with Checklist Creator.

Feedback – This is the written critique that the reviewer provides of the reviewee. It should provide descriptive information of the reviewee’s performance such as good aspects and areas that need improvement.

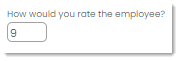
Employee rating – This is a 1-10 rating of the reviewee.
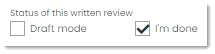
Status of this written review – This field represents the state of the current review. If the review is in Draft mode, this means that it is not yet complete. Once it has been completed, the reviewer should check I’m done.
How to add approvers and approve a request
An optional feature of the Reviews app is adding an Approver or group of Approvers to a review. Depending on the reason for the review, these people – usually upper management, make the final judgment call with an approval or rejection regarding some kind of request for the reviewee. A good example of this is a proposal for giving an employee a raise. The selected reviewers all agree that the reviewee is a great employee and has proven to be a valuable asset. At this point, each Approver is tasked with going through the reviewer feedback and deciding if they approve or deny the proposal of a raise. If the consensus is Approved, then it’s agreed that the reviewee is good for a raise. Let’s go over this approval process.
The first step is changing to the correct review status by clicking Approval on the status bar. This indicates that the review is in the Approval stage and is waiting until the designated Approvers make their decisions.

Once this is done, you can go to the Approvals tab and add Approvers by clicking + near the top. A screen will appear for adding Approval details.
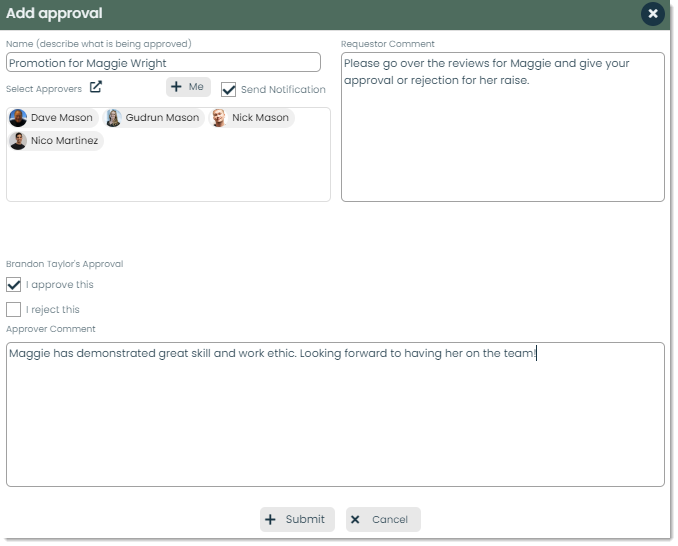
You can indicate the Approvers, the name of the Approval, a comment to go out to each selected Approver when requesting Approval, and your own Approval and comment for the reviewee. An Approval will be generated for each Approver added in this process. Each Approver will then be responsible for approving or denying the request.
How to conduct a meeting
Once the final decisions of the review are made (all reviewers have submitted their feedback and any approvers have submitted their approvals/denials of any requests), you are ready for your meeting with the reviewee! Click Ready for meeting from the review status bar to indicate that the meeting is ready to go.

At this point, you can schedule a time to meet with the reviewee. Right before the actual meeting takes place, click the Meeting button from the review status bar.

The next step is going to the Meeting tab and starting the meeting by clicking the Start button.
Here is where you would sit down with the reviewee and discuss their performance. Additionally, this is an opportunity to bring up future goals! These will be discussed in the next section.
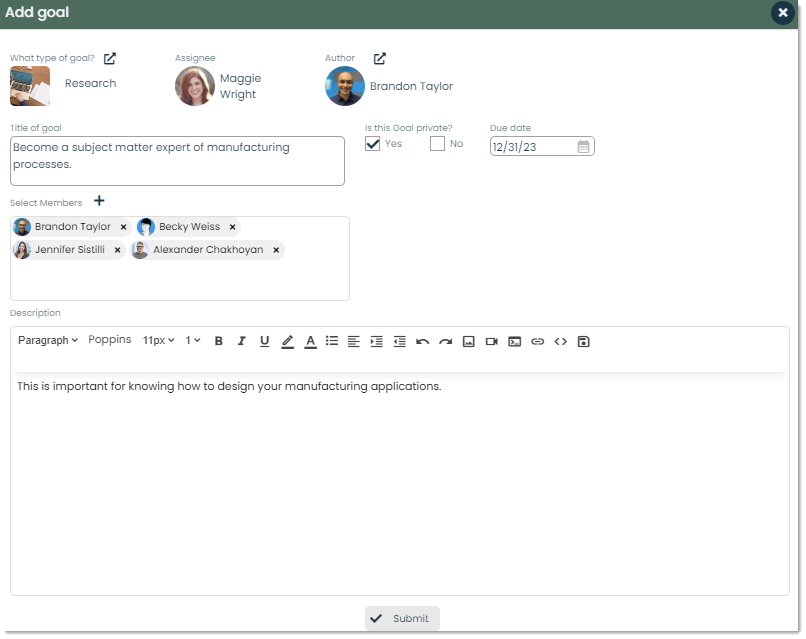
How to add goals and complete a review
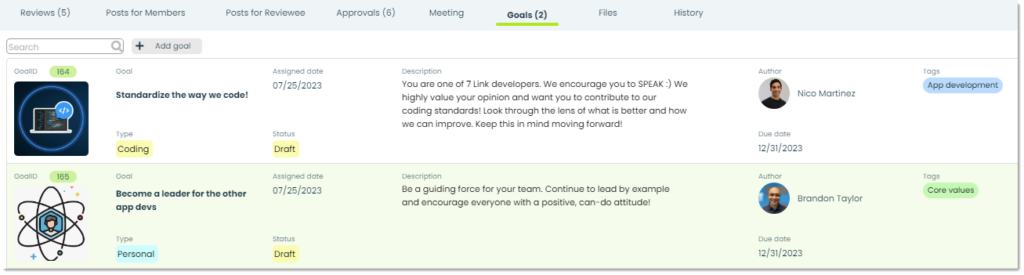
Goals is an app within Appward used to track and manage your team’s short and long-term objectives. After a performance review, it’s very common to have new tasks and responsibilities for a reviewee to look toward. For this reason, they are extremely relevant to the Reviews app and are baked into the Goals tab of each review’s details.
To add a new goal, go to the Goals tab and select Add goal. From here, you can add the goal’s details. When done, click Submit and the new goal will appear in the list under Goals.
For more on Goals, refer to the Getting Started with Goals guide.
How to use additional review features

In the top-right corner of each review’s details are four buttons: Hide, Reminders, Archive, and Delete. This section will go over what each button does.
Hide – To hide a review from your main list of reviews, use this button.
Reminders – Reminders are a tool found in many Appward apps to automatically notify users at specified intervals to check on something – a record, a post, etc. In the case of reviews, reminders are very useful for remembering to proceed with the various review processes. You can remind your reviewers, members and approvers to make sure the review is completed.
Archive – This feature is similar to Hide in that it can remove a review from the main list. Archiving is used to store records in a safe, accessible location other than the main list.
Delete – To delete a review entirely, you can use this feature and the record will be removed.