Table of contents
Getting Started with Contacts
Friday July 28, 2023-13 min readIntroduction
The Contacts app serves as your go-to hub for handling connections. It simplifies communication with everyone important to your network, whether they’re employees, sales leads, competitors, or anyone else you need to stay connected with. This guide will cover how to add, view and edit a contact, as well as how to use the Frontline Features of contacts and some additional options such as archiving and deleting records.
Let’s get started
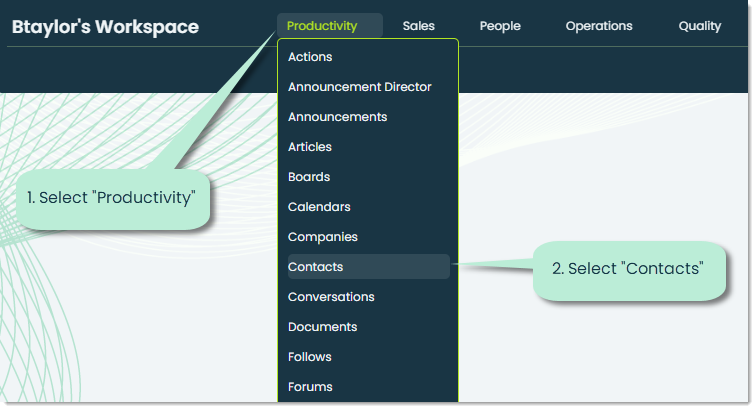
To open the Contacts app, go to the Productivity category of the main navigation bar and select Contacts.
When you open the app, you will see a screen that looks like this:
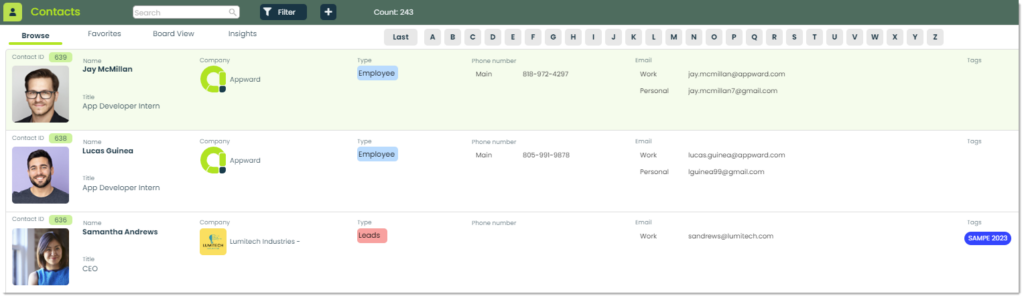
If no contacts have been added yet, this screen will appear blank. Let’s go over each tab.
Browse – This is the default tab whenever you open the Contacts app. It displays a list view of all contacts sorted by most recently created.
Favorites – You can “favorite” specific contacts to easily access them from this tab. All of your Favorites will show up here.
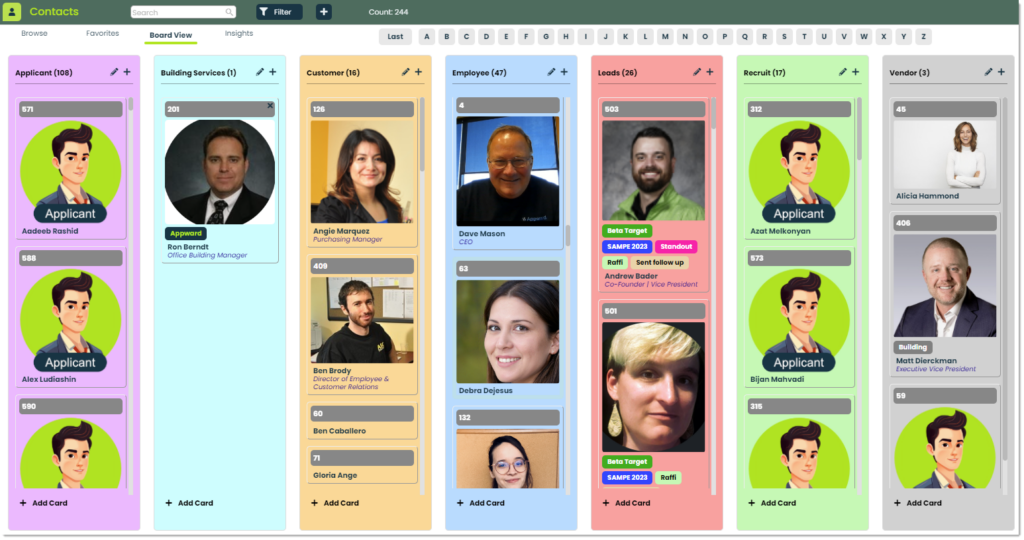
Board View – This is a Kanban visual of your contacts categorized by their type.
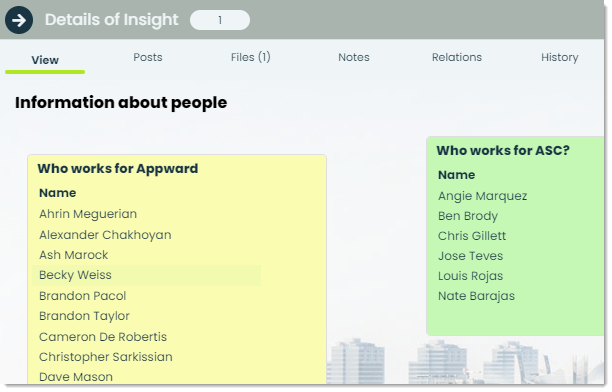
Insights – This tab is used to analyze data of your contacts. You can configure highly-customizable queries for gaining valuable, measurable components of your contact list such as age and location demographics, information by company, or any other data point you’d like. For more on Insights, refer to our Getting Started with Insights guide.
Finally, let’s go over a cool feature you can use to quickly search contacts by letter!

These are clickable buttons found at the top of the screen that can pull up contacts by letter. You can toggle between first and last name search by clicking First. In the picture, First indicates that we are searching by first name and the highlighted letter C is selected. Therefore, every contact whose first name starts with the letter C will appear in view alphabetically.
How to add a new contact
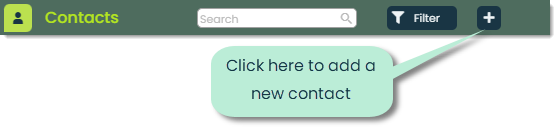
You can add new contacts by clicking the + button at the top of the app screen.
Doing so will bring up a screen for adding in new contact information. Let’s go over the different fields.
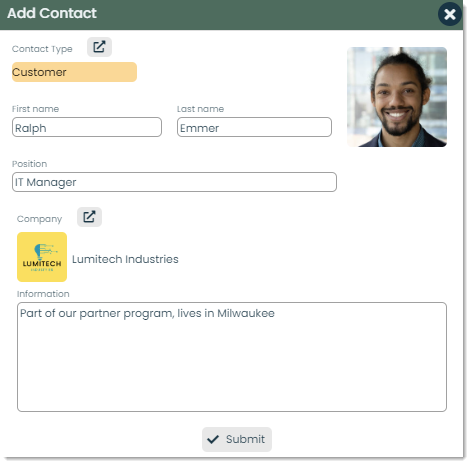
Contact type – You can categorize your contact by indicating a contact type. You can create your own types depending on the type of contact. For example, you could create a type called Employee which would pertain to someone that works at your company.

Name – This is the first and last name of the contact.

Profile image – You can link an image to the contact. It can come from your computer, the Appward cloud, or from pexels.com, an online image library.

Position – If applicable, this field is for inputting the contact’s position at their company.

Company – You can link a company to the contact by clicking the external link button. This will bring up a selection of companies from the Companies app. If you want to add a new company, you can do so by clicking Add Company from this selector window. For more on adding companies, check out the Getting Started with Companies guide.

Information – You can add any additional information about the contact here to give anyone reading this some context.
Once all of the desired information has been entered, click Submit to add the new contact.
How to view and edit a contact’s details
Once a contact has been created, you can view its details by clicking on it from the Browse, Favorites or Board View tab. A flyout will appear where you’ll be able to modify the different fields of the contact.
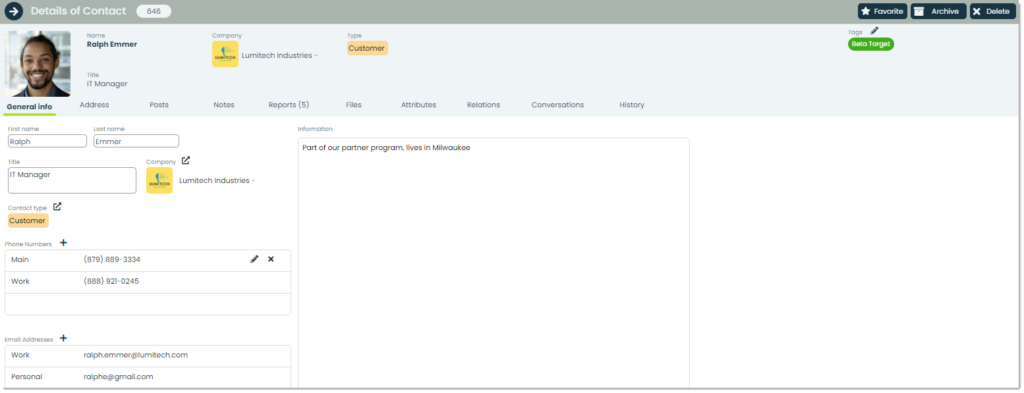
Let’s go over the additional fields within the contact details.
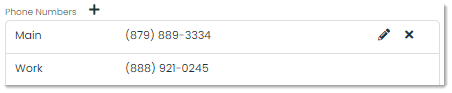
Phone Numbers – This field is used to add any phone numbers associated to the contact. You can give the number a name such as “Main” or “Work” followed by the actual number. To add a new number, click the + button next to Phone Numbers. You can modify or delete phone numbers by clicking on the pencil or x icon, respectively.
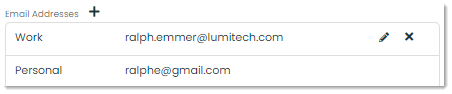
Email Addresses – Similar to phone numbers, this field is for adding any email addresses to a contact. You can give the email a name like “Work” or “Personal” followed by the email. To add a new email, click the + button next to Email Addresses. You can modify or delete phone emails by clicking on the pencil or x icon, respectively.
Tags – Tags are another method of categorizing records. They are keywords which are useful for searching and filtering for specific contacts as well as for tracking analytics in Insights.

How to add an address to a contact
To add an address to a contact, go to the Address tab of the contact’s details.
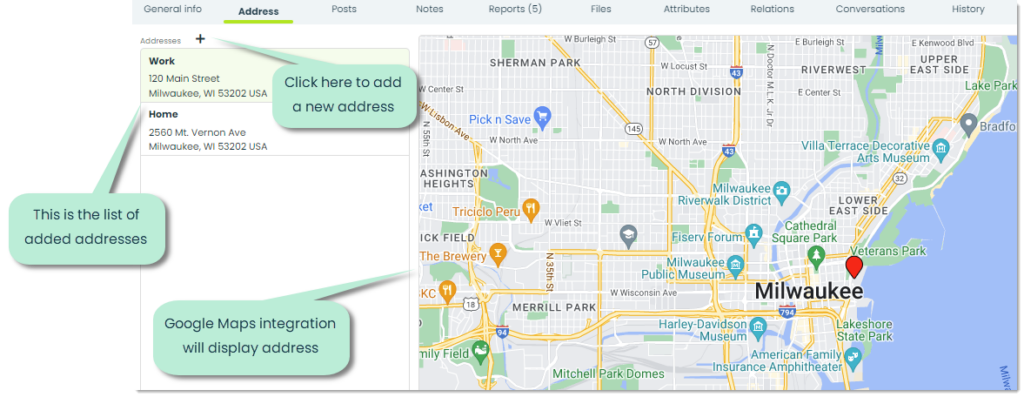
You can add as many addresses as you’d like. To add a new address, click the + button. This will bring up a screen for entering the address information.
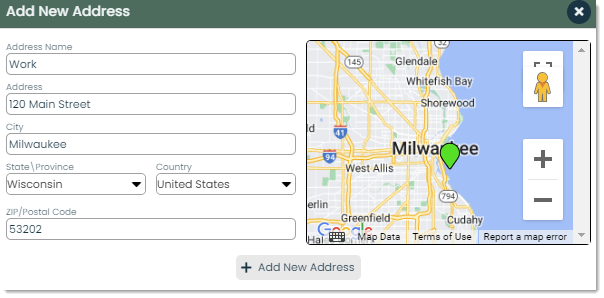
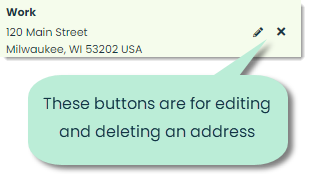
When you’ve entered all the desired address information, click Add New Address to add that address to the contact. If there are multiple addresses for a contact, you can click each address from the main list to view it on the map to the right. You can modify or delete any address by clicking the pencil or x icon, respectively.
How to use the Frontline Features of Contacts
Almost every Appward app has a set of components known as Frontline Features. These are found within each app record’s details via the tabs.

In the case of contacts, the Frontline Features would be:
- Posts
- Notes
- Reports
- Files
- Attributes
- Relations
- Conversations
- History
Let’s go through each of these features and how they apply to the contacts app.
Posts – A post is a written comment which can be replied and reacted to by other users to create a dialogue about a particular contact. You can write a Post with questions about a contact, additional information which may be useful to the reader or mention other employees to link them to the contact.

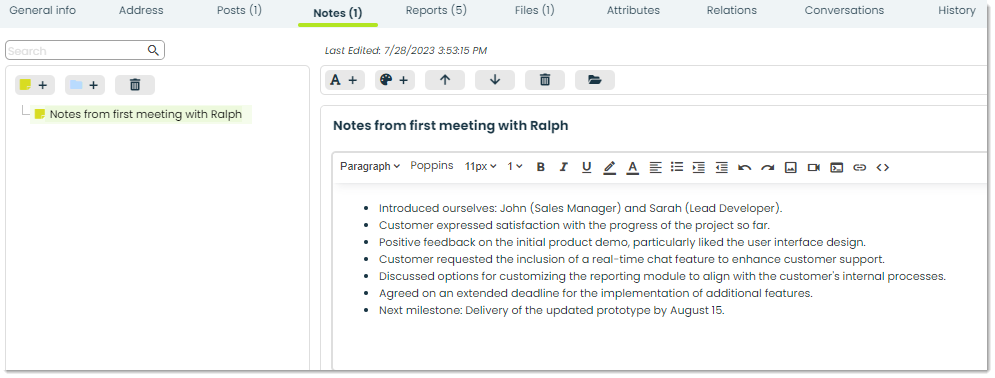
Notes – Notes are brief records of thoughts that aid in understanding a contact record. To view any notes associated with a contact, click the Notes tab.
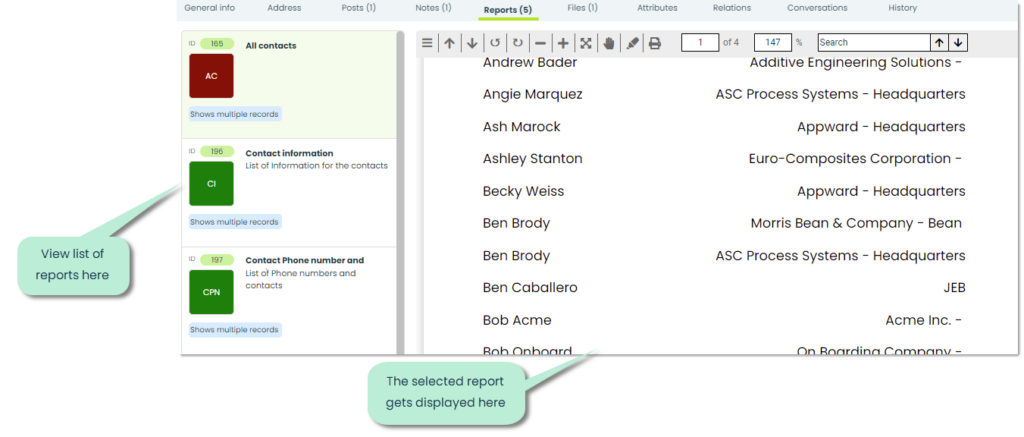
Reports – Reports are structured documents that present information, findings, or data in a clear and organized manner. In the case of contacts, they can be used to summarize a range of information such as a background check, future goals/developments, and any other organized information related to an employee. Any generated reports on a contact come from the Report Builder can be found in the Reports tab. For more information on building reports, check out our guide on Getting Started with Report Builder.
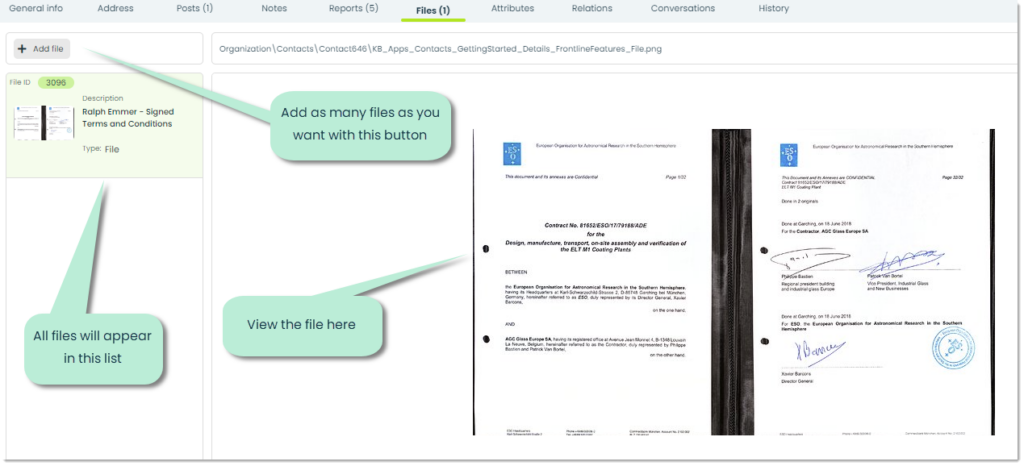
Files – A file is a document that can be selected from your computer or the Appward Cloud and attached to any contact. Files are commonly used to supplement a contact with information that might not have been addressed elsewhere. Files can include images, diagrams, videos, and any other important document that is linked to a contact.
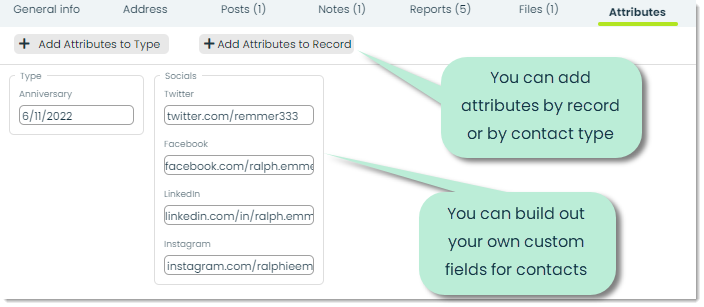
Attributes – For any relevant contact information that doesn’t fit in any other field of the contact details, you can create your own custom attributes for holding that data. For example, say you wanted to add a section for anniversary of working with a customer or their social media links. Because there is no field by default that can store this information, you can create your own attribute to hold this. For more information on creating custom attributes, read How to Create Custom Attributes.
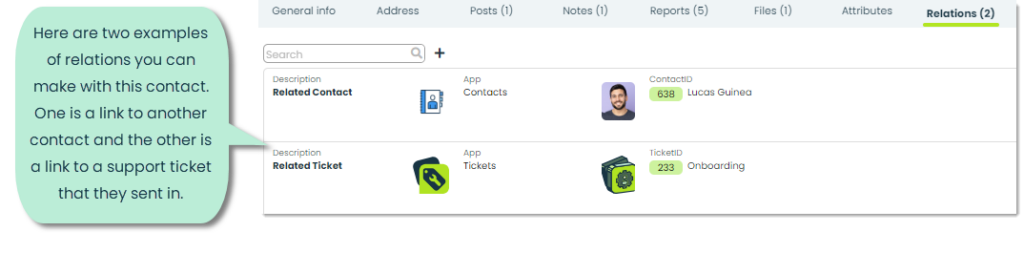
Relations – Relations are a way of forming links between records. Many software applications use relation mechanisms to connect information. Whenever you view a video on YouTube, for example, a list of related videos appears to quickly access similar content. With Appward, you can create relations between contacts and records of any type in order to form easily accessible connections. For Contacts, this is a great way to connect contacts with their information in different applications.
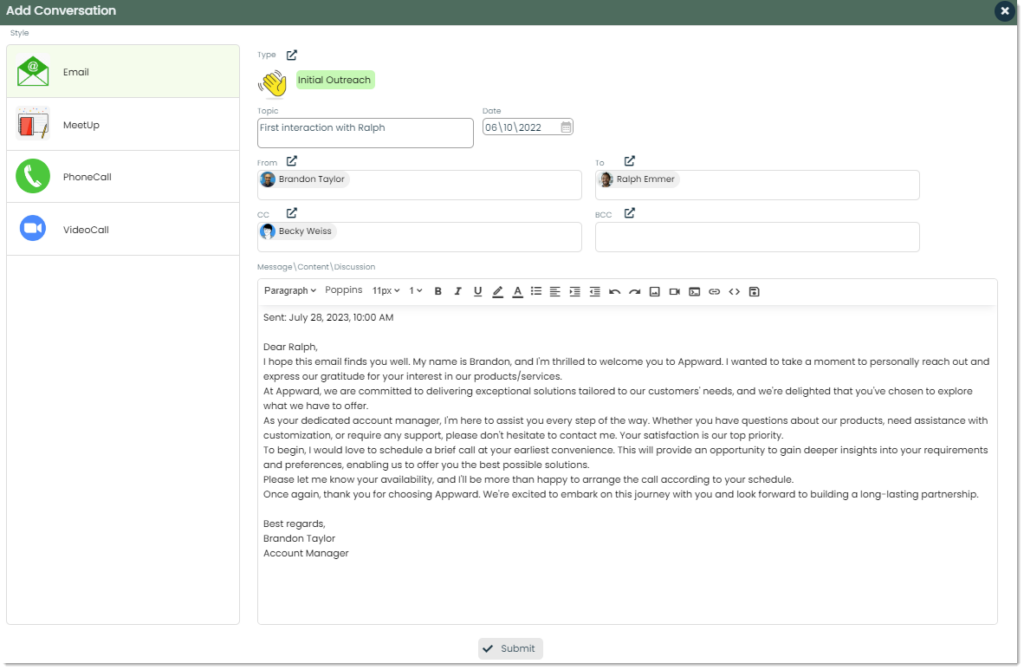
Conversations – Whether it’s an email, phone call, or text thread, you can track any recorded conversation with a contact in this tab.

To add a new conversation, click Add conversation and you can write out the content of the what was said.
History – You can keep track of any updates or changes made to a contact with the History tab. The type of change made, who made the change, and when the change was made are all documented here.
How to use additional contact features
Each contact’s details has a few additional features. These are Favorite, Archive, and Delete. Let’s go through what each feature does.

Favorite – You can “favorite” a contact and they will appear in your Favorites tab.
Archive – This feature hides and a contact from normal view. Archiving is used to store records in a safe, accessible location other than the main list. To view archived contacts, use the Filter button at the top of the main screen and make sure to include archived contacts.
Delete – To delete a contact entirely, you can use this feature and the record will be removed.