Table of contents
Getting Started with Recruiting
Tuesday May 23, 2023-24 min readIntroduction
Recruiting is an app designed to simplify your company’s hiring process and streamline candidate management with a centralized job-posting, applicant-tracking, and approval-processing solution. With Recruiting, you can track your company’s open roles and collaborate seamlessly with your colleagues throughout the hiring process. This user guide will get you started with the basics which range from creating job openings to adding applicants to processing approvals/rejections.
Getting Started
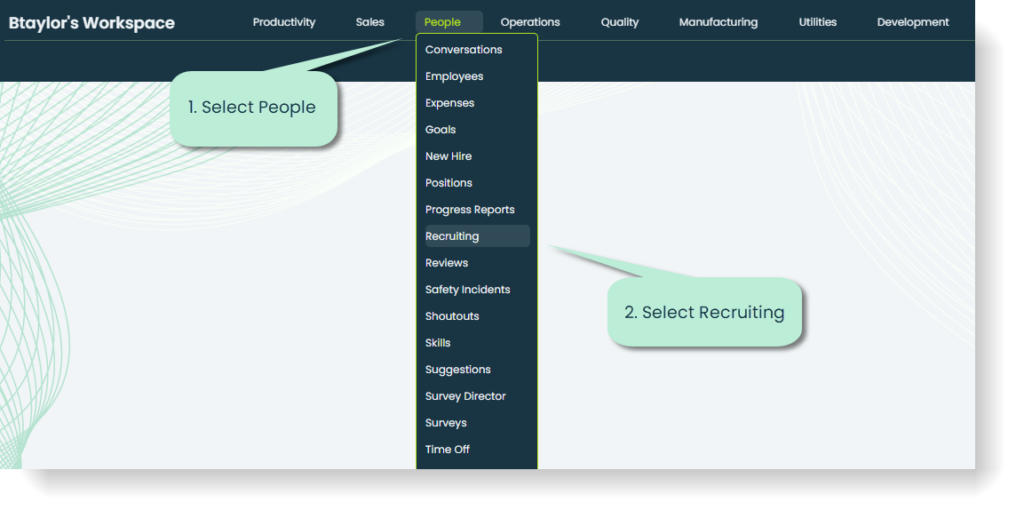
Open the Recruiting app by navigating to the “People” section and clicking Recruiting.
Once you’ve opened the app, you’ll see 2 tabs at the top of the screen: Openings and Insights.

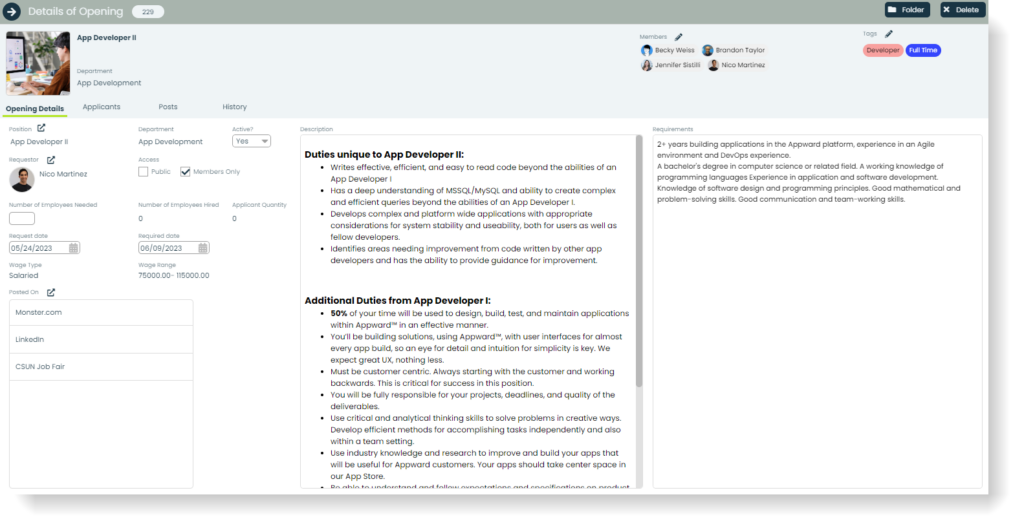
Openings: Provides a list view of active job openings that are either ‘Public’ or that you are a member of. Here, you can get a breakdown of each open position, its parent department, the number of employees needed/hired for that opening, the total number of applicants, a description of the role, and requirements/qualifications for the role.
Insights: Displays real-time analytics and configurable dashboards for information relevant to your recruiting processes. In the context of recruiting, this is a good place to view various hiring or applicant metrics to optimize for future openings.
Creating an opening
To create a job opening, follow these steps:
- Add the opening and enter General Information
- Customize the details of the opening
Step 1: Add the opening and enter General Information
The first step in creating an opening is adding it in the Openings tab. Go to that tab and click ‘+’ at the top of the screen. A popup will appear and you will be prompted to add in the following details:
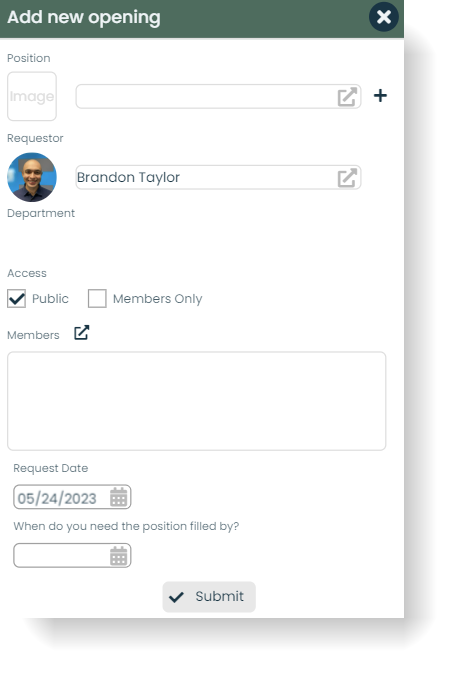
Position: The role or job title that there is an opening for. The selection of positions comes from the Positions app.
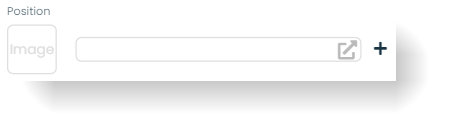
Note: When adding an opening, there is an option to add a new position in the Positions app if it doesn’t exist. This is because openings can ONLY be made for positions within the Positions app. Either select from existing positions or create the position at the time of adding the opening.
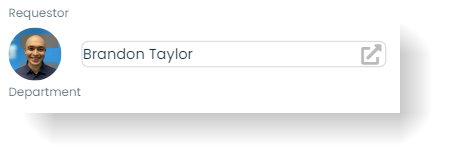
Requestor: The person making the formal request to fill the position. This can vary from head of the department of the open position or some type of manager responsible for hiring.
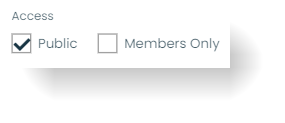
Access: Determines who has permission to view and participate in the hiring process for this role. Access can be granted to ‘Public’ (everyone in your organization) or ‘Members only’ (only the people you have selected as members of the posting).
Members: In the context of Recruiting, members are the colleagues of your team who will have access to all of the information regarding the hiring process. They can see interview notes, comments, resumes, and all other sensitive information of potential hires. Members a great way to collaborate with your colleagues on hiring the right candidate.

Note: Members and Approvers are NOT the same thing. Members do not have to necessarily be Approvers to access all the information for a job posting. Approvers, on the other hand, MUST be Members in order to participate in the approval process.
Request Date: This is the date that the request for a new hire is sent out. By default, Request Date will be the day that the opening is added.
Deadline: The date that you would like the position to be filled by. Setting a deadline helps to streamline the hiring process by requesting decisions in a timely fashion.

Step 2: Customize the details of the opening
Once you have entered in the general information, a flyout will appear with a few more customizable details:
Active Status: This determines whether an opening is currently active. This will default to “Yes” when the opening is created. Changing it to “No” will remove the opening from the main list of openings. Openings with an Active Status of “No” can be accessed with the Filter functionality by selecting “Show all openings”.
Number employees needed: In different cases, there will be a need for a variable number of employees for a position. This is where you would indicate that value.
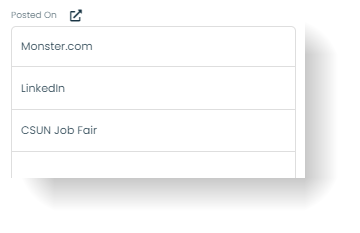
Posted on: This section is for tracking and managing the places that you have posted the job opening. This could be a social media outlet, a recruiting agency, a job fair, and/or other sources. You can choose from a list of sources and add your own.
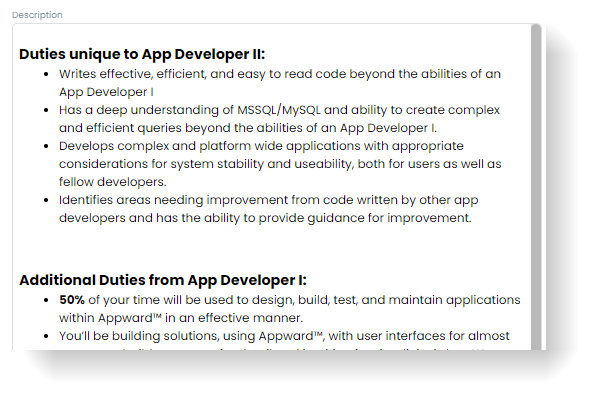
Description: This outlines the details of the job and provides essential information about the position to attract qualified individuals. Adjusting the description in the job opening will NOT modify the description of the position in Positions.
Requirements: Lists the necessary qualifications, skills, experience, and education required for the job. This section may include both mandatory (essential) and preferred (desirable) qualifications. Similar to Description, adjustments to this field will NOT affect the requirements for the position in Positions.

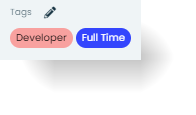
Tags: Tags are used throughout the Appward architecture to categorize records. These categories are useful for organizing your records into groups for searching and filtering purposes. In the context of Recruiting, they are used to categorize job openings.
Note: Department, Wage type, and Wage range are all determined by the respective position in Positions and can ONLY be modified by changing the position information.
Adding applicants to an opening
Once you have created an opening, you can add applicants to that opening. Follow these steps to add new applicants:
- Recruit the applicants
- Select the opening
- Go to the Applicants tab
- Add each applicant
- Insert additional applicant information
Step 1: Recruit the applicants
Before you can add any candidates to an opening, you need to do some of your own recruiting. Here are some of the best ways to recruit candidates:
- Job boards and online platforms: Utilize popular job boards and online platforms such as Indeed, Glassdoor, and CareerBuilder for finding potential candidates.
- Job fairs: Participate in job fairs organized by universities, colleges, or people within your industry. These events offer direct access to students, recent graduates, and professionals in your field who may be seeking jobs.
- Social media: Leverage social media platforms like LinkedIn, Facebook, Twitter, and Instagram to promote your job opening. Share engaging posts about the job, company culture, and employee testimonials to generate interest and reach a wider audience.
Step 2: Select the opening
Once you have gathered your applicants, it’s time to track them in Appward. From the Openings tab, click on the opening you recruited for. This will take you to the opening’s details.
Step 3: Go to the Applicants tab
Click on the Applicants tab. You’ll see a current list of applicants for the opening (new openings won’t have any applicants assigned to them).
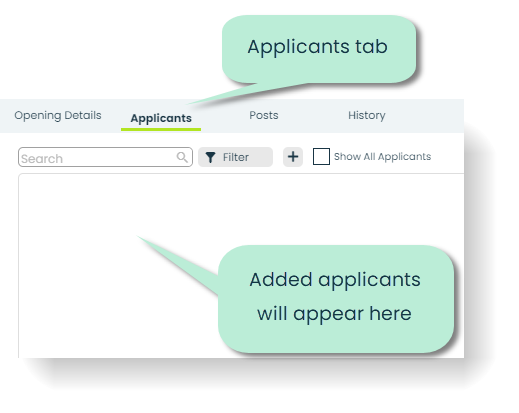
Step 4: Add each applicant
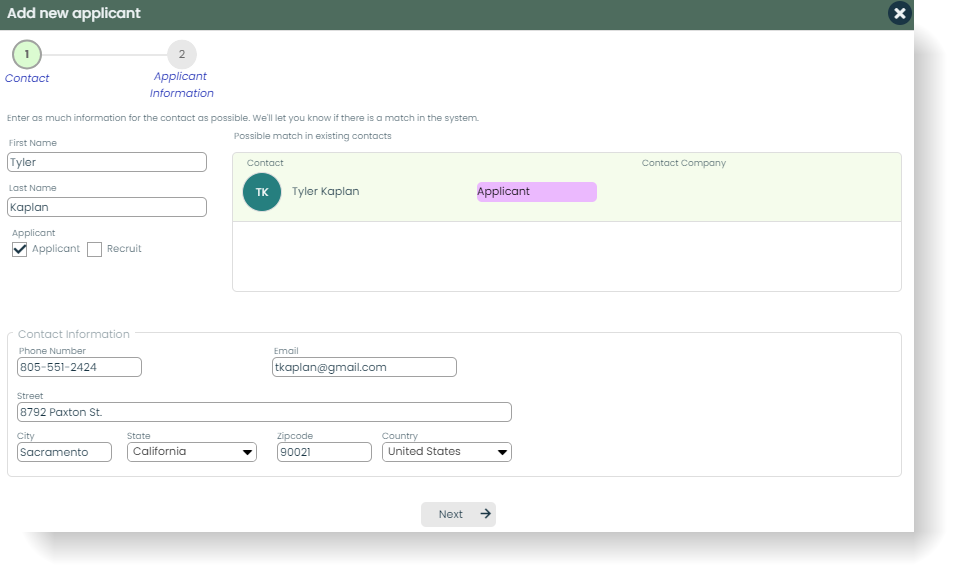
In the Applicants tab, click ‘+’ and a screen will appear for adding a new applicant.
First, enter the candidate’s contact information. This includes first name, last name, whether the candidate is an applicant or recruit, phone number, address, and email. If the candidate already exists in Contacts, double-clicking their record under “Possible matches in existing contacts” will populate all of the available information for that candidate. You may adjust these fields accordingly if there are any inconsistencies in data. Click ‘Next’ when this is filled out.
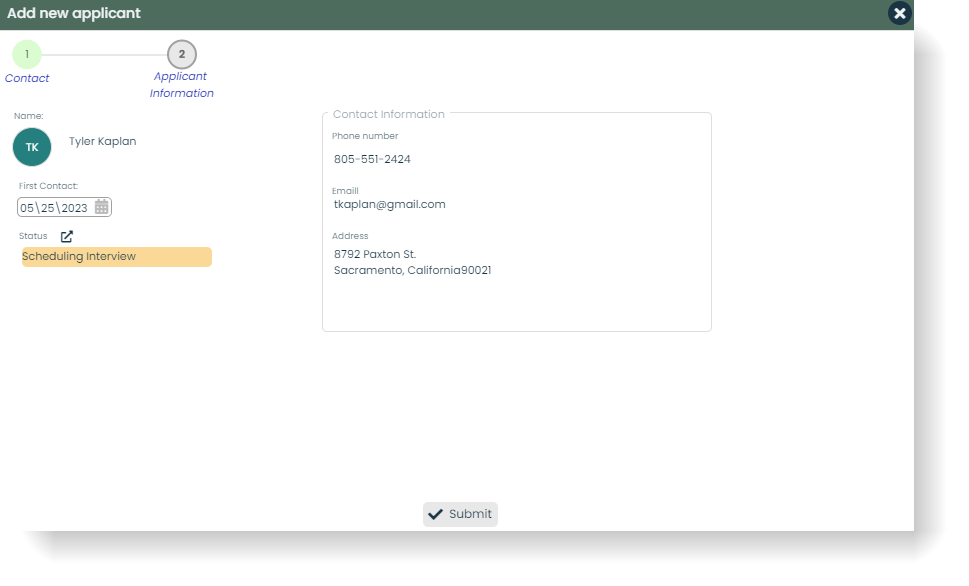
The second part is entering applicant information. This is where you will indicate your “First Contact” with the applicant as well as their current hiring status. Status is used to give context to the step of the process that the applicant is in, whether that is scheduling a first call or pending final approval. After applicant information has been added, click ‘Submit’ to add that candidate.
Step 5: Insert additional applicant information
After adding an applicant, that person will be added to the list of applicants for the opening. Additionally, a flyout will appear with the current details of that applicant. This is where you can add a lot more specific information about each candidate. Here are the customizable fields:
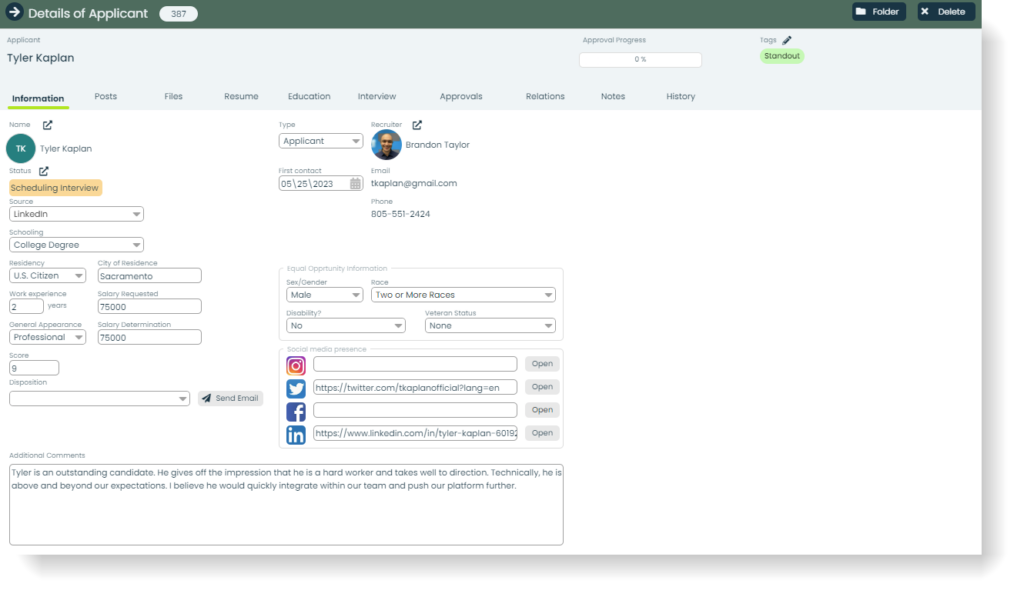
Status: Allows hiring managers and recruitment teams to track the progress of each candidate throughout the hiring process. It provides an overview of where each applicant stands in relation to the various stages, such as application received, resume reviewed, interview scheduled, reference check conducted, etc. This helps ensure that no candidate gets overlooked or lost in the process.

Source: Refers to the channel or method through which the applicant discovered and applied for the job opening. This can be used to provide insights into the most effective avenues for attracting talent and allows organizations to refine their recruitment efforts.

Schooling: The applicant’s educational background and qualifications. This provides insight into their level of education, academic achievements, and acquired knowledge. It helps employers assess whether the applicant possesses the necessary qualifications and skills required for the job.

Residency: The status of an individual who has been granted the right to live in a particular country or region. Residency typically involves meeting specific requirements, such as maintaining a certain length of stay, having a valid visa or permit, and adhering to the regulations and obligations set by the immigration authorities.

City of Residence: The city where the applicant is located. This can be a key factor for onsite work, especially in terms of commute, punctuality, and reliability.

Work Experience (in years): This can be indicative of the depth and breadth of skills acquired by a candidate over time. It suggests that they have had exposure to different situations, challenges, and projects, which can contribute to their proficiency in their field.
General Appearance: A candidate’s appearance can reflect their level of professionalism and how seriously they take the job opportunity. Employers often look for candidates who present themselves in a manner that aligns with the expectations of the workplace. A polished and well-groomed appearance can indicate that the candidate understands the importance of professionalism and is likely to represent the company well.
Score: A 1-10 point system which allows for a more standardized evaluation of applicants. By using a scoring system, employers can objectively compare candidates based on predetermined criteria and metrics.

Salary Requested/Determination: Knowing the salary expectations of candidates helps ensure that the employer’s budget aligns with the candidate’s salary requirements. It allows the hiring team to assess whether the candidate’s salary expectations are within the range the organization can offer for the specific position. This helps avoid wasting time on candidates whose salary expectations are significantly higher than what the organization can accommodate.
Disposition: Refers to the final outcome or decision made regarding a candidate after each stage of the hiring process. It represents the employer’s assessment or judgment of the candidate’s suitability for the position based on their qualifications, skills, experience, and performance during the recruitment process.
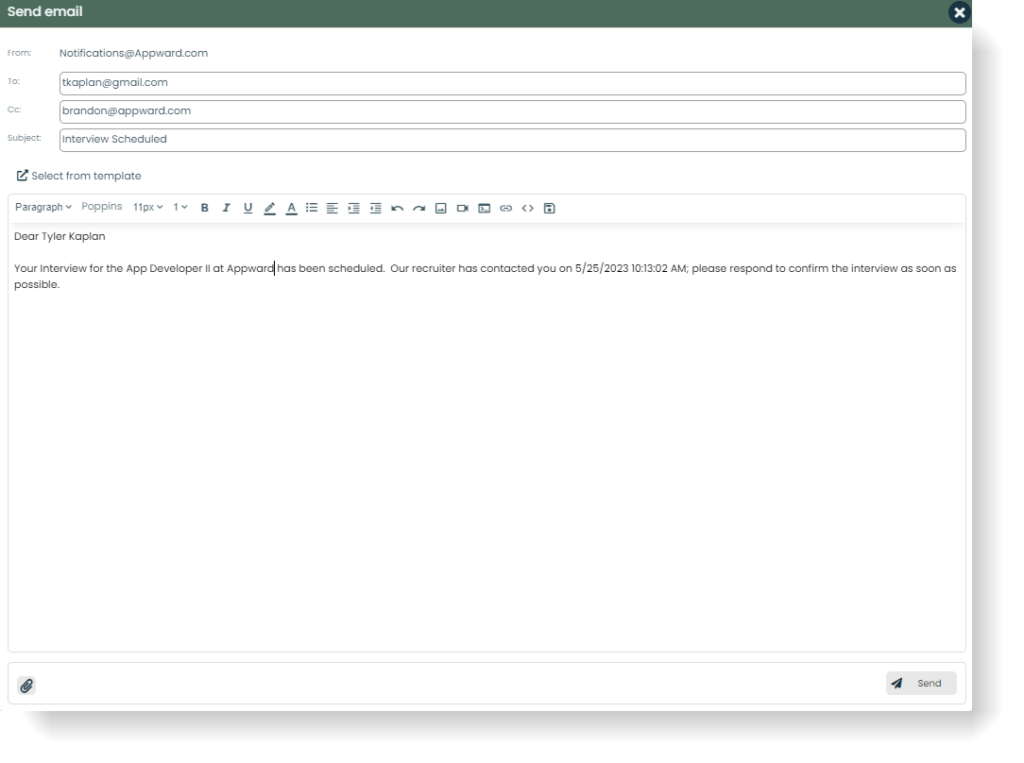
Send Email: There is a “Send Email” button next to the “Disposition” field which will allow you to send an email to the applicant at any point of the hiring process. This is useful for after a disposition has been made, or if you’d like to keep in touch with your candidate. You can select an email template (for example, a “Rejection” template for a denied applicant) or create your own custom email. Here is what the popup for sending an email looks like:
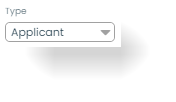
Type: A candidate can either be an applicant or recruit. An applicant is someone who has expressed interest by submitting an application, while a recruit is an individual who has been actively sought after by the employer or recruiter. The recruit may have already progressed further in the hiring process and received more attention from the hiring organization compared to the general pool of applicants.
Recruiter: Recruiters are the people responsible for sourcing and attracting qualified candidates. This field is used to determine the main recruiter for the given job opening.

First Contact: This is the date of the first interaction with the candidate. First contact is important for gauging the length of time that an applicant’s process takes, regardless of the outcome.

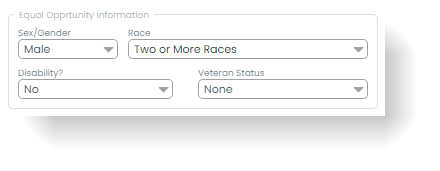
Equal Opportunity Information: Equal opportunity information refers to collecting and considering information related to an applicant’s demographic characteristics, such as race, gender, age, ethnicity, disability status, and other protected characteristics. This allows employers to monitor and promote diversity and inclusion within their workforce.
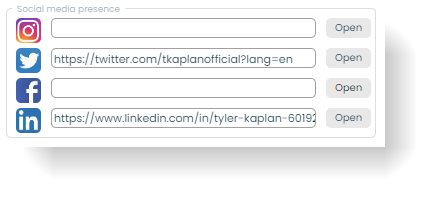
Social Media Presence: If applicable, you can enter links for the applicant’s Instagram, Twitter, Facebook, and/or LinkedIn accounts. Social media presence can provide employers additional insights into a candidate’s qualifications, cultural fit, professionalism, and personal branding. It complements traditional hiring methods and helps employers make informed decisions during the recruitment process.
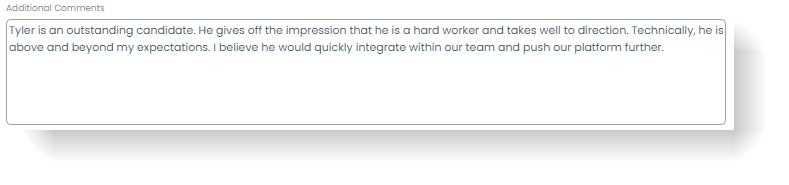
Additional Comments: Any additional comments that were not applicable to other fields can be placed here. This is useful for other members of the hiring process to have some additional context on the candidate.
Attaching documents to an applicant
After establishing baseline information about your candidate, you can upload important files such as a resume, cover letter, proof of education/work authorization, and any other important documentation.
Adding a resume
To add a resume, go to the Resume tab of a selected applicant.
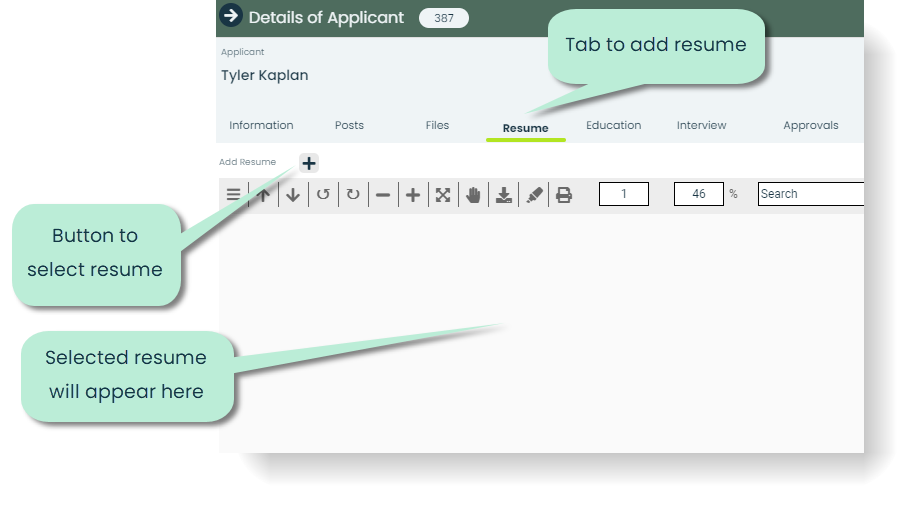
Click the ‘+’ next to Add Resume to select a file from either your computer or the Appward cloud. You can select a PDF, Word file, or Powerpoint as the format. Once you have selected the correct file, it will appear in the PDF viewer for any member of that job opening to view.
Adding education history
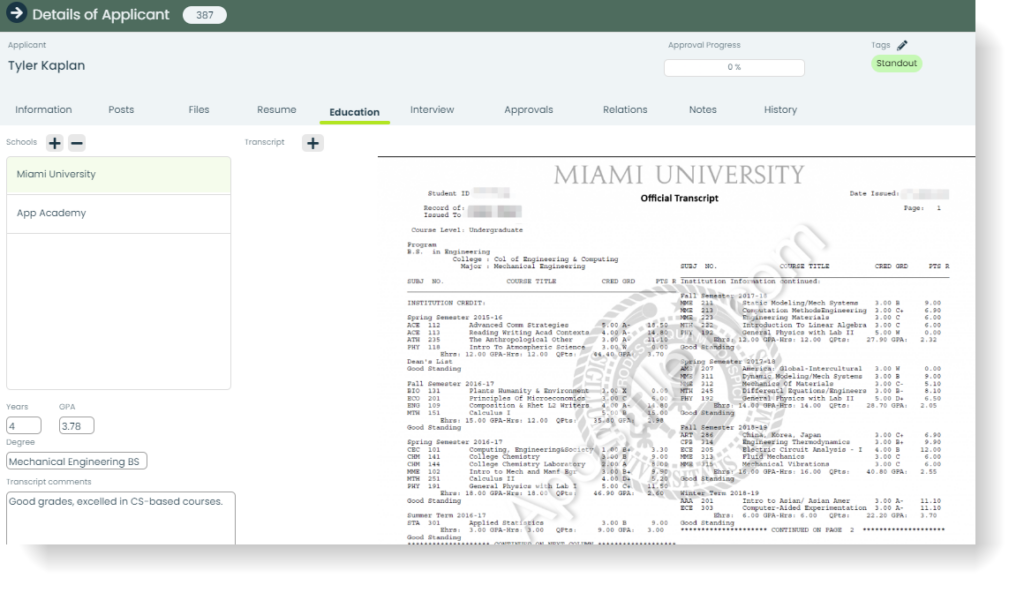
To add education history, go to the Education tab.

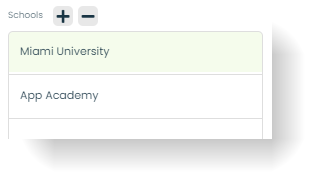
Add a school by clicking the ‘+’ next to “Schools”. From here, you can select a school from the list or add in a new school with the school name, state, and rating.
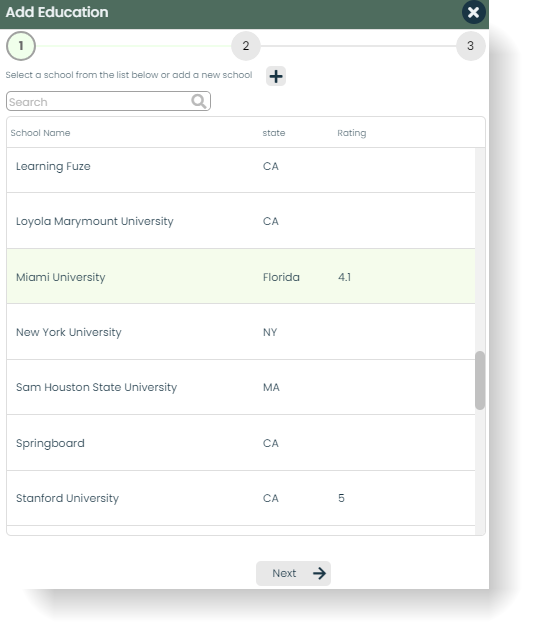
Once you have selected a school, click ‘Next’ to fill out the following questions based on information you have collected from the applicant.
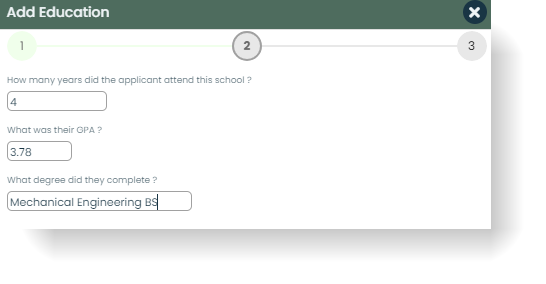
Click ‘Next’ one more time to add a transcript (if provided). Clicking ‘+’ will open up the same file selector popup for adding a resume. Select the transcript and click ‘Submit’ to add the school/education history to that applicant. The school should now appear under the list of schools, as well as the years attended, GPA, and a view of the transcript. You can add any additional comments regarding the transcripts under ‘Transcript comments’. Repeat this process for any other schools your candidate has attended. If a candidate has multiple school records, you can view each individual record by selecting it from their list of schools. To remove any school from a candidate’s list, click the ‘-‘ button and confirm by clicking ‘Yes’.
If you selected the wrong transcript for a school by mistake, you can select a new transcript for that school by clicking ‘+’ next to ‘Transcript’.
Adding interview details
For any of the interviews you have conducted, you can intuitively keep track of important details and files (video/audio recordings, screenshots, etc.) inside the ‘Interview’ tab of an applicant.
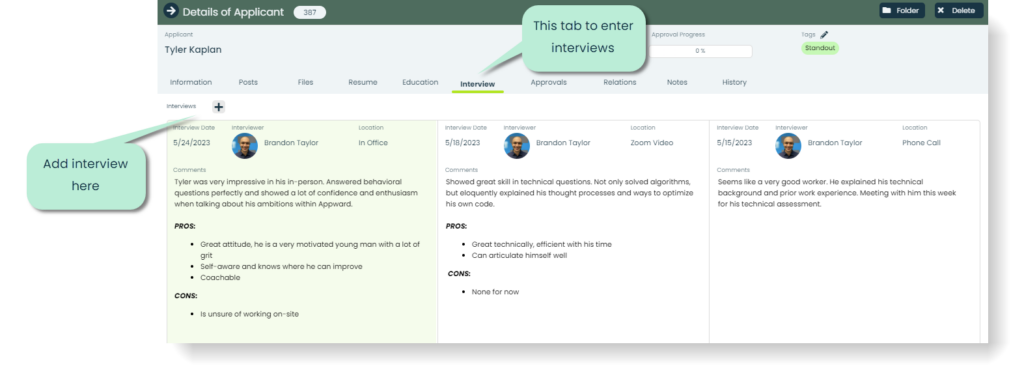
Here, you can log new interviews by clicking the ‘+’ button and adding in the interview date, location, interviewer, and optional comment for the interview.
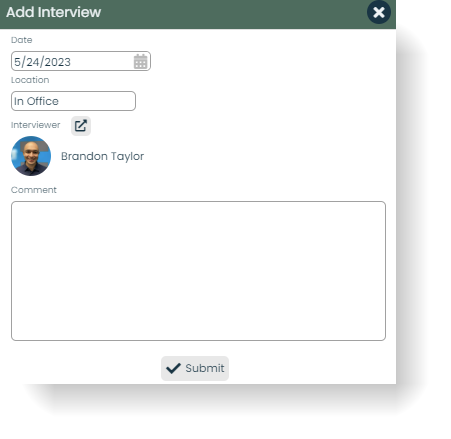
Once you have submitted the interview, you can select that interview to either modify the information you have logged or add in any files in the bottom section:
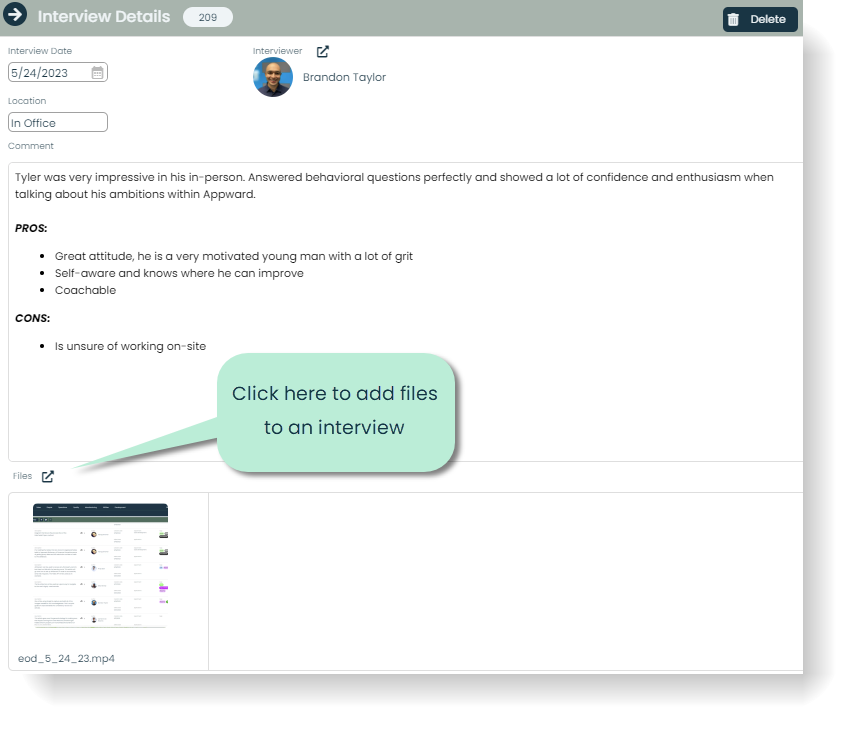
You can add as many interviews for a given candidate as necessary for you and your colleagues to catch up to speed on all of that candidate’s progress.
Approving/rejecting an applicant
Once you have conducted your interviews and collected all the necessary information for an applicant, it’s time for you and your team to deliberate. This will take place in the ‘Approvals’ tab of the applicant.
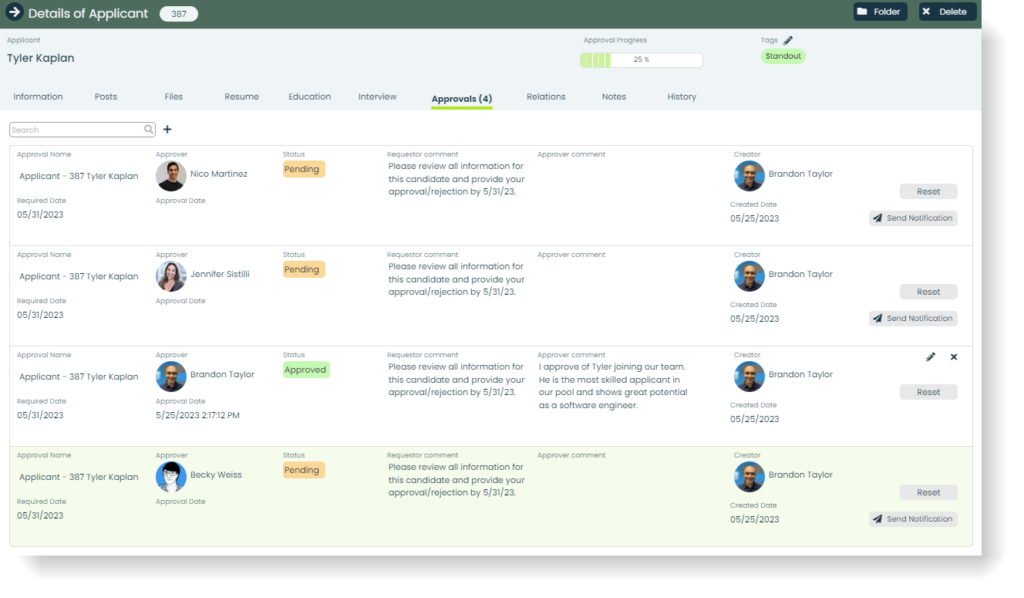
To start an approval process, click the ‘+’ button next to the search bar and a popup will appear to add an approval.
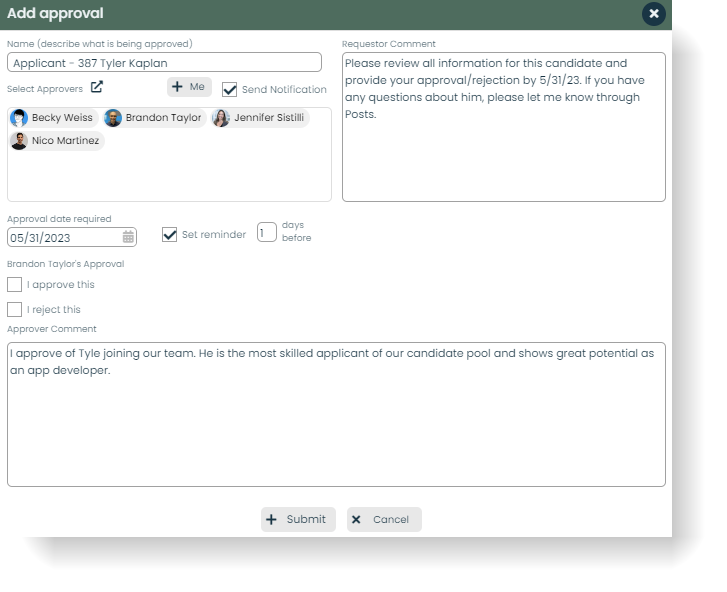
Here, you will provide:
Name: This will be pre-populated with the type of applicant (Applicant or Recruit), their name, and the applicant’s unique ID. You can edit this value to whatever suits your company’s workflow.

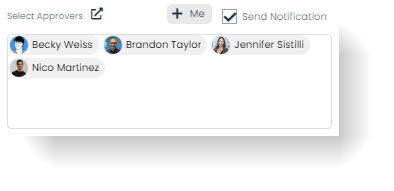
Approvers: The people who can either approve or reject an applicant. While approvals/rejections may not determine the final outcome of an applicant, they provide useful, clear-cut insight from your colleagues based on the information provided. The “Me” button will add you as an approver, and the “Send Notification” checkbox will send a notification to each approver at the time of adding the approval.
Approval date required: This is the last day to make your approval decision. “Set reminder” will send a notification to each approver at the designated number of days before in the “days before” field.

Requestor approval: This is the approval status of the person making the approval, which would be you.

Approver comment: A comment giving a brief explanation of your own approval decision.
Requestor comment: This is a comment for all other approvers regarding the approval process of the candidate. This could be some type of additional information, directions, or requests to the other approvers.

That concludes this Getting Started guide for Recruiting. With this newfound information, you and your team should be able to streamline your hiring processes and find the best possible people to add to your company.