Table of contents
Getting Started with Work Orders
Friday October 27, 2023-25 min readWhat is a work order?
In manufacturing, a work order is a document that serves as an instruction for the production or assembly of a specific product. It is an essential part of the manufacturing process, helping to ensure that production tasks are completed efficiently and accurately. Work orders are typically created by production or operations managers and include details about the product to be manufactured, the materials required, the steps involved in the production process, the workers assigned to complete the order and any other relevant information.
Here are some key components of a work order:
- Product information: This includes details about the product to be made such as its name, part number, description, associated project and quantity to be manufactured.
- Work instructions: These are detailed, step-by-step instructions that outline the manufacturing process including equipment to be used, assembly steps, quality control checks and safety guidelines.
- Bill of materials (BOM): This is a list of all the components and materials required to assemble the product, along with their quantities, specifications and any drawings if applicable.
- Labor estimates, assignments and allocations: This is information about the labor needed for the production process, including the projected cost and hours of work, names of workers or teams responsible for various tasks and actual time spent working.
- Production schedule: This is the timeline for completing the work order including start and end dates of the different tasks.
- Quality control measures: These are any specific quality control checks, inspections or tests that need to be conducted during or after production.
Work orders are like to-do lists for a manufacturing team. They help everyone involved, from the boss to the workers, by making sure tasks are organized, assigned and done on time. Good work orders encapsulate every step required to complete a project.
Introduction
Work Orders is an application for tracking and managing the work assignments within your organization. This guide will cover how to navigate the app and complete a work order from start to finish.
Let’s get started
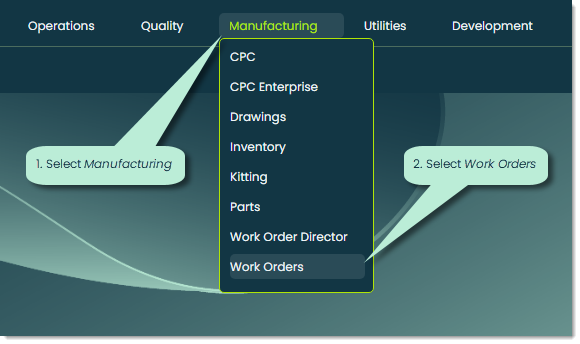
To open Work Orders, go to the Manufacturing category of the main navigation bar and select Work Orders.
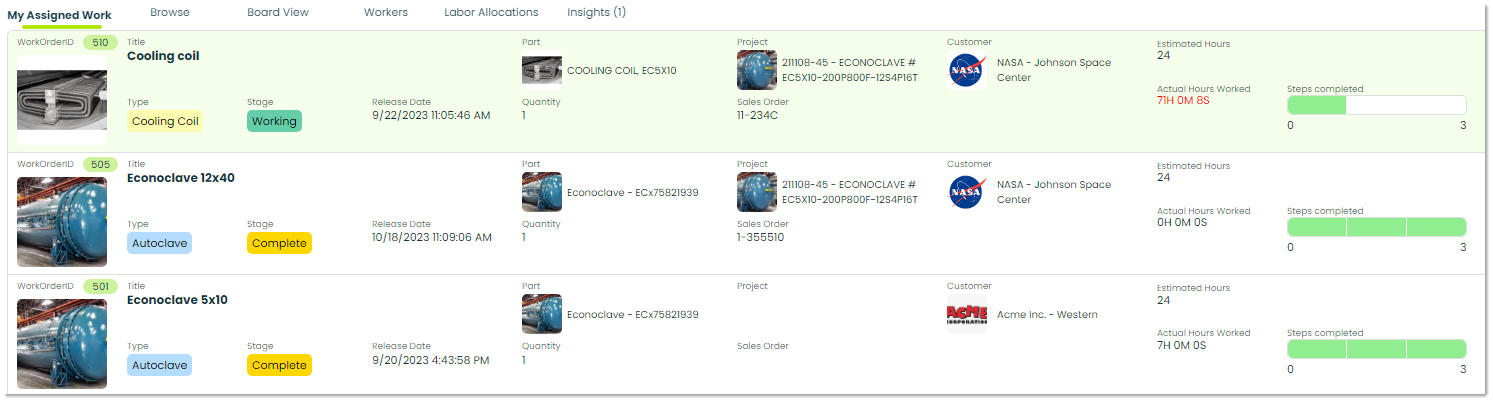
When you open the app, you’ll see a list of all of your organization’s existing work orders with earlier-stage work orders appearing first. From this view you can see what’s getting worked on, what stage it’s in, the project and customer that the part is for, the total time spent and the current number of steps completed.

Let’s go over each tab:
1. My Assigned Work – This tab lists all work orders that you have been assigned to. This is typically where you, as a worker, would go to into view the work tasks you need to complete. This tab displays all the same information as the Browse tab but filters it by the orders that belong to you.
2. Browse – This is the default tab when opening the app. It lists of all of your organization’s existing work orders with earlier-stage work orders appearing first.
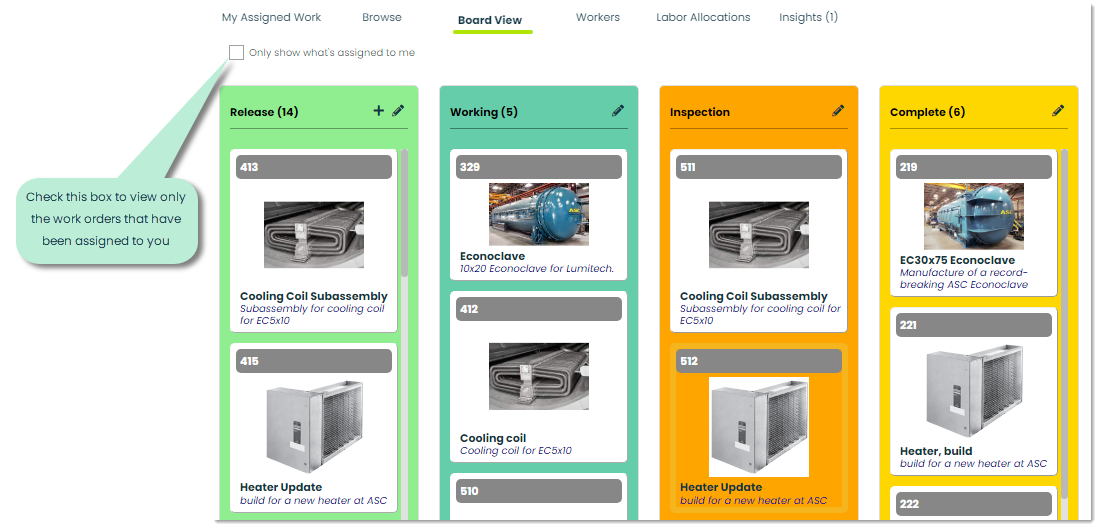
3. Board View – This tab shows a Kanban-style display of work orders group by their current stage. For example, all work orders in the Inspection stage will appear in the Inspection column with their own movable, editable cards. This provides a nice visualization of the work order life-cycle within your organization and gives you the option of changing the stage of a work order by dragging and dropping it into different columns. We’ll cover the different work order stages in a bit.
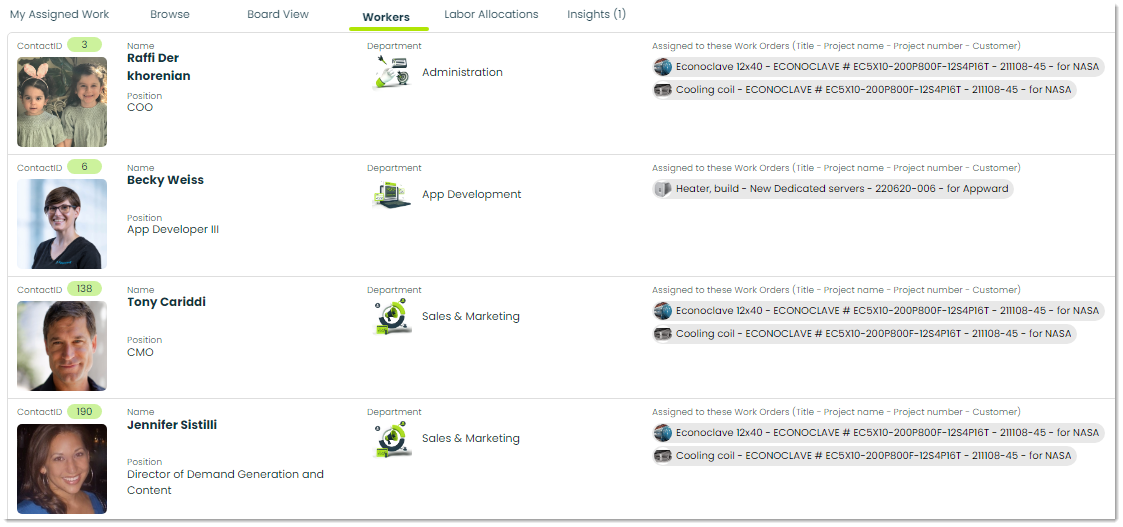
4. Workers – This tab displays every worker that is currently assigned to a work order, along with the work order or work orders that they are assigned to. By clicking on a worker, you can track their labor metrics which include labor allocations (their logged hours of completed work) and assignments (the work orders that they have been assigned to).
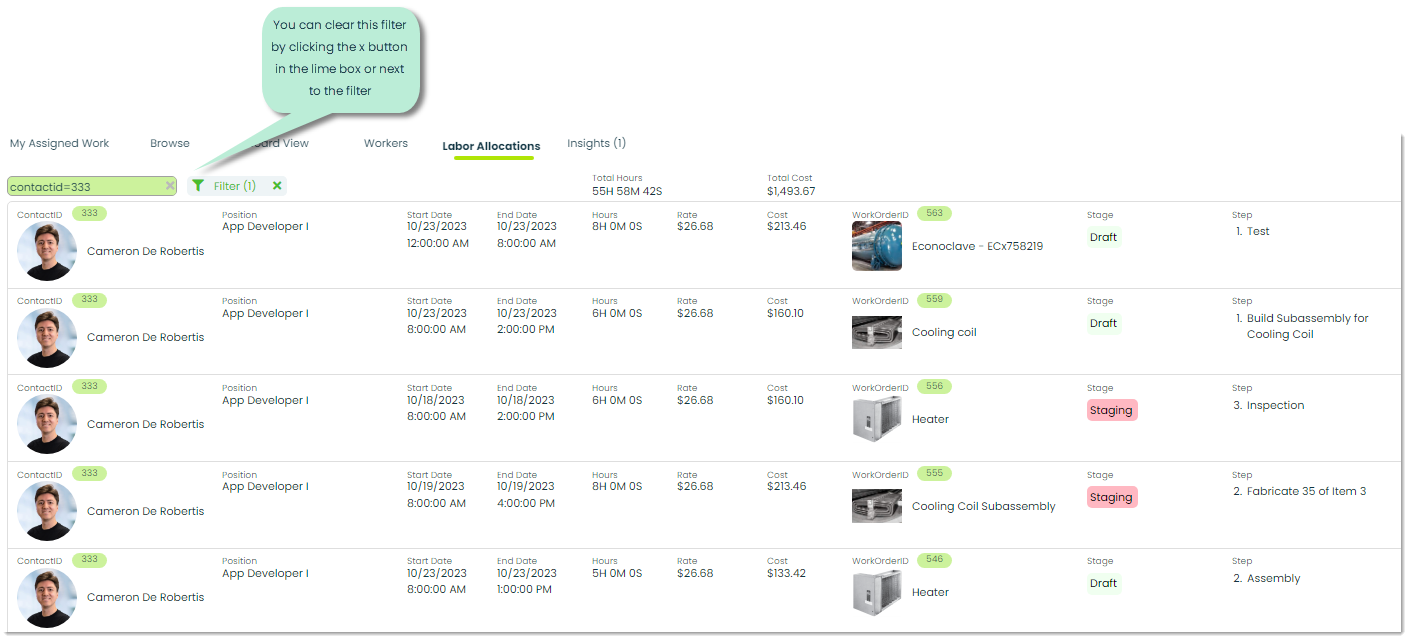
5. Labor Allocations – This tab provides a breakdown of the work actually done on work orders, including the hours worked, worker pay rates and the total cost of their labor. By default, this tab will display only your labor allocations, but you can clear the filter to see labor allocations from all workers.
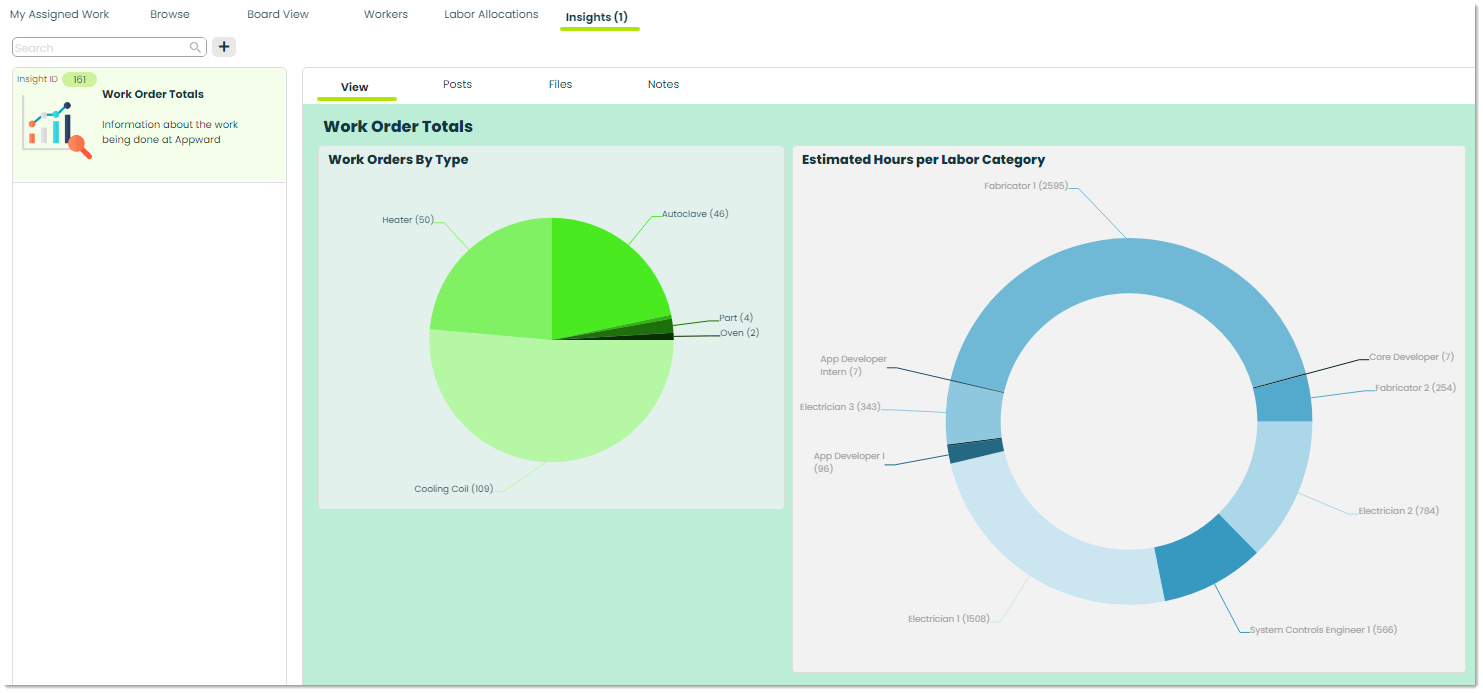
6. Insights – Insights for Work Orders provide a user-friendly way to examine work order data. You can create your own insights using custom SQL queries and present the information using charts or tables. Some useful insights for Work Orders might include information about work order status or average completion time by type of work order.
How to view the details of a work order
You can view the details of a work order by clicking on it in the My Assigned Work tab.
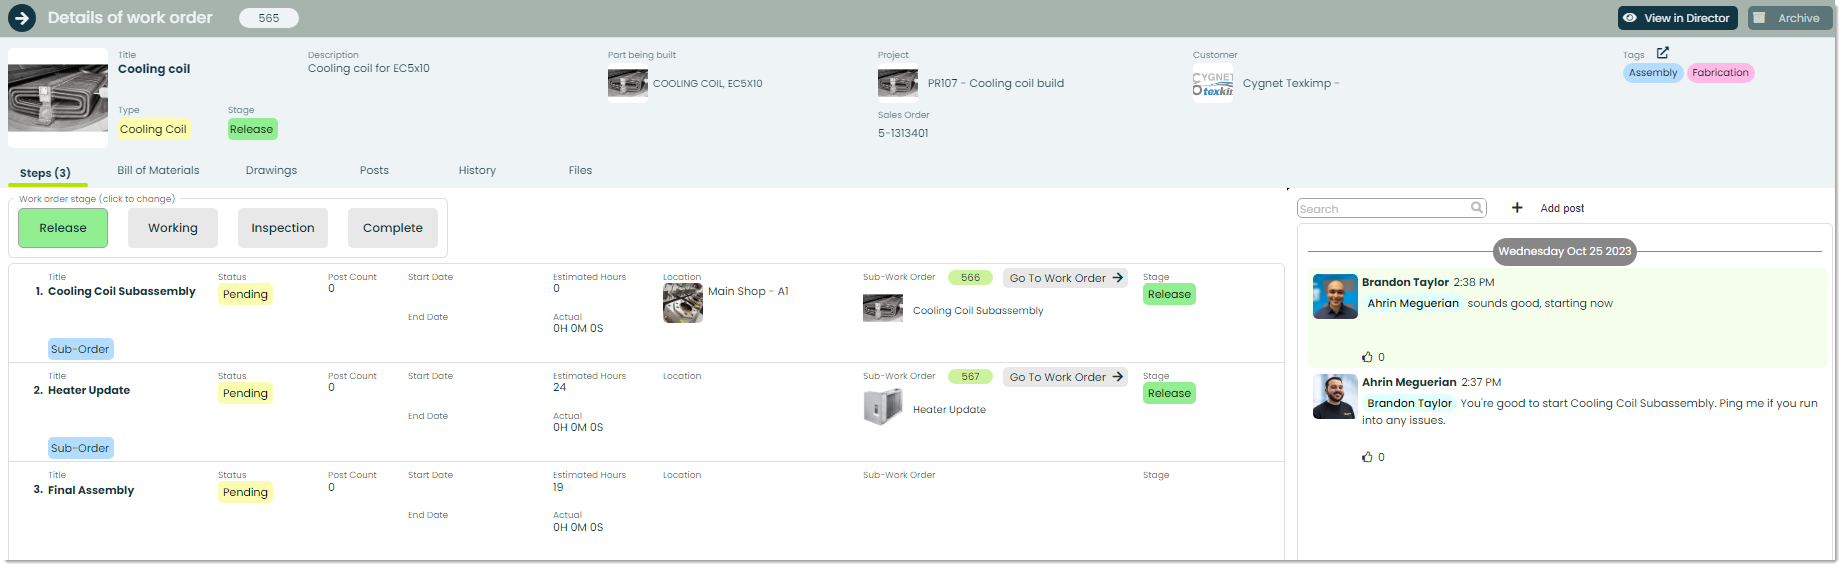
Before we get started on a work order, let’s go over the different fields of this Steps tab.
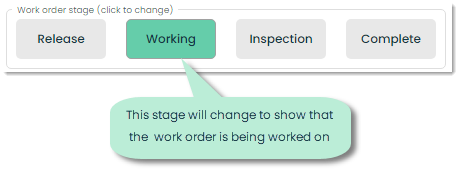
Work order stage – This is the specific phase or step within the process of managing and executing a work order. These stages help organize and track the progress of work orders, ensuring that tasks are carried out efficiently and according to a predefined sequence. You or a supervisor on a work order can click a stage to change the phase of the work order.

Here are the different stages and what they mean:
- Release – This means that the work order has been released to all assignees. This is the default stage for any newly-assigned work order.
- Working – The working stage is for when the actual labor starts.
- Inspection – After the work is completed, there is typically an inspection stage to ensure that the work meets the required quality standards and specifications. This may involve checks, tests or evaluations.
- Complete – In the final stage, the work order is marked as complete. This includes documenting the work done, confirming that it meets the requirements and closing out the order, often with the necessary approvals and signatures.
Steps – This section shows you all the steps of a work order, including time and labor estimates as well as how far along each one is. A step could be a regular step (no Sub-Order label) or a sub-work order meaning that the step itself is a work order with its own set of steps.

Let’s cover each field of the Steps section:
Title – This identifies the specific task or action to be performed as part of the work order as well as its step number. It provides a clear and concise label for that particular step to help in understanding what needs to be done.
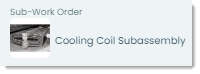
Sub-Order – When you see a step labeled as a Sub-Order, it means there are more tasks within that step. It’s a work order inside of a work order, and this label illustrates it consists of another set of tasks.

Status – The status of a work order step represents its current state or condition in the workflow. It indicates whether the step is pending, in progress, completed or has any other relevant status that helps in tracking and managing the progress of the task. The status provides an at-a-glance overview of where the step stands within the overall work order. We’ll cover how to change statuses once we look into the details of a step.

Post Count – This value keeps track of the number of posts within the step. A post is a comment which can be reacted and replied to by your team.

Start/End Date – These are the start and end dates of the work order step.

Estimated/Actual Hours – Estimated hours are how long your team thinks a task will take. Actual hours are how long it actually took to do the task.

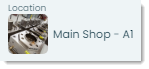
Location – This field identifies the specific place or area where the work is to be performed, providing clarity on the physical context or site for that particular step.
Sub-Work Order – If the step is a work order, this field will show the information of that work order including ID and part for the work order. There is also an option to go directly to the details of the sub-work order by clicking the Go To Work Order button.

Stage – For steps that are sub-work orders, this is the stage of that sub-work order.

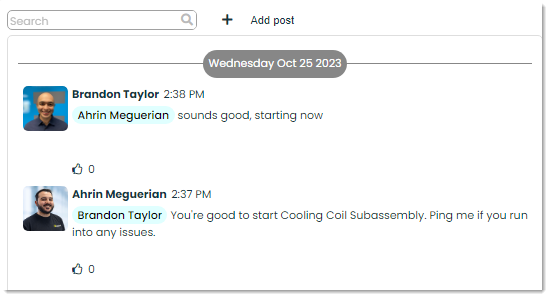
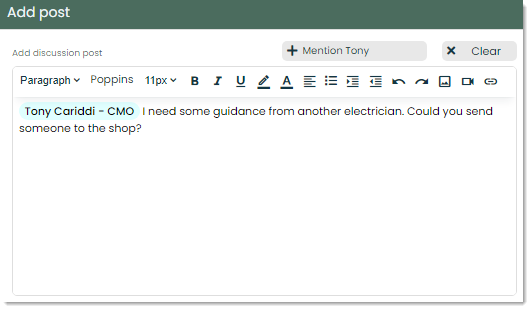
This final section of this tab is the Posts section. This is where you can add any questions or comments about a particular work order and coordinate with your team about who takes on what task. To add a new post, click the + Add post button next to the search bar.
How to view the bill of materials for a work order
As stated in the What is a work order? section, the bill of materials is a list of all the components and materials required to assemble the product or products of the work order, along with their quantities and specifications. This is where you can get an overview of the ingredients of the work order. To see this list of materials, go to the Bill of Materials tab in the work order details. You’ll find the total cost, individual item costs, the associated steps and the transactions for each item.

Before proceeding, let’s cover what process items, transactions and transaction groups are.
A process item is an item of a given quantity from your Parts app that can be involved in a project, work order, sales order, purchasing/receiving or shipping in some way. It is used to track the life cycle of said quantity of a given part that is ordered, received, put away, requested, pulled, used, packed, shipped and so on.
Transactions are a documented history of activities related to a particular process item. Each transaction tells you what the type of activity or transaction group is, the quantity of the process item involved (can be up to the same quantity as the quantity of the process item depending on the transaction group), when it happened and what object it is linked to (in this case, the transaction is linked to a work order step). It helps you keep track of recent actions on items and keeps everyone informed about what’s been done and what’s next. Items can have multiple transactions, and the list displays the latest ones first. In the example below, there’s just one transaction for adding a material to a work order step.
![]()
Transaction groups define the types of transactions executed. There are different transaction groups for different apps including Purchase Requests, Purchase Orders, Sales Orders, Shipping, Receiving and Inventory, so it’s an important concept to understand. Transaction names and their uses are as follows:
- Add – Used to create the quantity of the process item itself. This is the first transaction of all process items.
- Adjust – Used to modify the quantity of a process item.
- PurchaseRequest – Used when a process item is requested for purchase. Its quantity represents the amount of the process item requested. Attached to a Purchase Request.
- PurchasePending – Used when adding a process item to a Purchase Order. Its amount represents the amount of the process item to be purchased. Attached to a Purchase Order.
- Purchase – Used when a process item is purchased. Will replace the PurchasePending transaction when the purchase is confirmed.
- VendorShip – Used when a purchased process item has been shipped by the vendor.
- Receive – Used when a shipment containing that process item arrives from a vendor.
- PutAwayRequest – Used after a process item has been received and needs to be put into inventory.
- PutAway – Used when a process item is put into inventory.
- PullRequest – Used when a work order/project/sales order/shipment requests to pull a process item out of inventory.
- Pull – Used when a process item is pulled out of inventory.
- Use – Used when a process item is consumed in the building of another project.
- Build – Used when a process item is built.
- ReadyToShip – Used when a process item is ready to ship.
- ShippingPending – Used when a process item is added to a shipment, but has not actually been shipped.
- Pack – Used when a process item is packed into a shipment.
- Ship – Used when a process item is shipped.
Now that we have those concepts covered, let look at two buttons in this section that process transactions: Request Items and Mark as Used. Let’s go over these buttons and how to use them.

Request Items – When you receive a work order, you request either for the materials to be bought or to take them from your inventory. This helps keep things organized and ensures a systematic way of handling materials for work orders. The process of requesting is fully automatic, meaning that Appward will know whether you have the item in inventory or if a purchase request is required. By looking at the most recent transactions of each item, you can know if a request has already been made or if you still need to make one.
Mark as Used – When a material for a step is used in another part of the work order (for example, a smaller part is built which will later be used to build out the final product), you will be using that item when its build is complete. When this is the case, you should mark an item as used once the step that involves building it is complete.
Now let’s go about conducting one of those actions. Make your selection of items for the action you want to take. To select any item from this list, use the checkboxes on the left side:
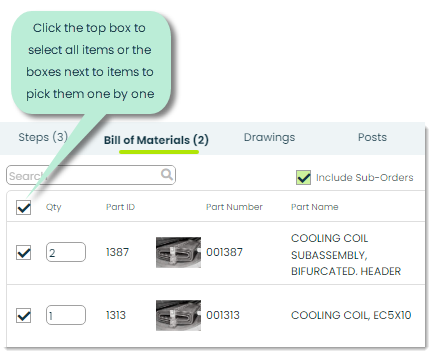
At this point, the Request Items and Mark as Used buttons should become clickable. Click the action that you want to take and a new transaction or transactions will appear for the selected items with the corresponding transaction groups, quantities, dates and linked objects.

Important note: Each work order’s Bill of Materials tab lists all the items from its steps. Because sub-work orders are ultimately work orders, this structure is the same for any sub-work order steps. So, sub-work order steps also have a combined list of their items from their steps in their Bill of Materials tab.
How to view the drawings for a work order
Drawings are detailed diagrams or illustrations that provide visual and dimensional information about a product, component or assembly. They often include specifications, measurements and other essential details necessary for understanding how to manufacture, assemble or inspect a particular item. Drawings can be crucial in the manufacturing and assembly processes as they serve as a reference for workers to ensure that they are producing or assembling a product correctly.
To view all the drawings you need for a work order (a combined list of all drawings from all steps), you can go to the Drawings tab when looking at the details of a work order.
Each Drawings tab shows a combined list of items from its steps, and the structure is the same for any sub-work order steps. So, sub-work order steps also have combined a list of drawings from their steps within their Drawings tab.
The general workflow of a work order
Now that we’ve covered all aspects of the tabs of a work order, let’s start working. Let’s assume we’re looking at a newly-released work order. Here’s the general workflow:
Once you and your team have gotten the green light to begin working, the person responsible for working on the first step should go into that step. If that step is a sub-work order, they should click Go To Work Order and repeat that process until they have reached a regular step.

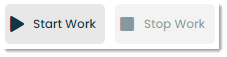
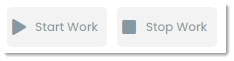
Once you have reached a regular step, go into its details by clicking on it and select the Start Work button to begin working.
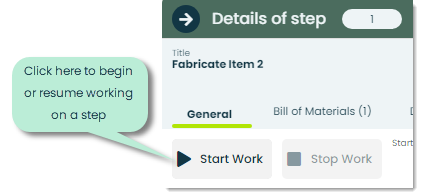
This will do three things:
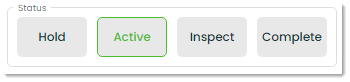
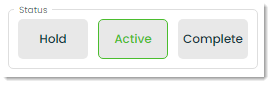
- Change the status of the step to Active
- Change the work order stage to Working.
- Create a labor allocation for you with the current date and time as the start time.

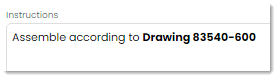
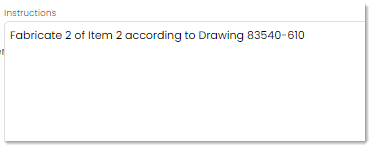
Follow any instructions from the Instructions section and any drawings from the Drawings tab to complete the step.
If you have any questions or comments for your team on anything regarding the work order, you can communicate that with the Get Help button.

When the step is complete, change the status of the step to either Inspect if their is an inspection attached or Complete if the step is fully complete. If a material or materials from the Bill of Materials tab was made, make sure to mark that material as used. Once all steps for a work order have been completed, the stage of that work order will change to Complete. At this point, you can notify your manager that the work order is done and that the product is ready. Congrats! You’ve just finished your first work order.
How to view and edit the details of a step
Let’s dive a little further into the anatomy of a step. Clicking on a step from a work order’s list of steps will bring up that step’s details. You will see a screen that looks like this:

Let’s go through the different fields of this page.
Start/Stop Work – The Start Work button starts the internal timer for a new labor allocation for this step. The Stop Work button ends the timer and fills out the end date for that labor allocation. The first time the Start Work is clicked for a step, the status of that step is changed from Pending to Active.
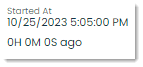
Started At – Any time you click the Start Work button, this value is updated to the current date and time.
Status – The status of a work order step represents its current state or condition in the workflow. It indicates whether the step is pending, in progress, completed or has any other relevant status that helps in tracking and managing the progress of the task. The status provides an at-a-glance overview of where the step stands within the overall work order.

Location – This field identifies the specific place or area where the work needs to be performed, providing clarity on the physical context or site for that particular step.
Required Asset – This field displays any required asset used in the process of completing this step.

Sub-Work Order – This section will always appear blank for regular steps as it is not a sub-work order.
Help Button – If you are struggling with any part of the work order step and need some assistance, you can click on this button to message a manager or superior.
Instructions – These are the instructions of this individual step. If you need any clarification on these instructions, you can use the Get Help button to write your inquiries.
Inspections – This field ensures that specific checks, tests or examinations are performed to verify that the task has been completed correctly and meets quality or safety standards. These inspections help confirm that the work done in that step is in compliance with relevant regulations, guidelines or company policies. Once work on a step is done, you would typically move the status of that step from Active to Inspect. This is when any linked inspections would be conducted. From more on Inspections, please refer to our guide on Getting Started with Inspections.
Handling a step as a work order
The details page for a step as a work order is mostly the same as a regular step, but there are a few differences:
1. The Start Work and Stop Work buttons are disabled – This is because labor does not get timed at the work order level, but instead at the step level. This ensures accurate timing of actual work done.
2. Labor allocations can’t be added from this step, just viewed – For steps as work orders, this section displays the combined labor allocations of every step of this sub-work order. Therefore, for the same reason you can’t start or stop work at the sub-work order level, you cannot add labor allocations.

3. There is no Inspection status at the sub-work order level – Inspections are typically done after individual steps are completed. For this reason, there is no Inspection status for sub-work order steps.
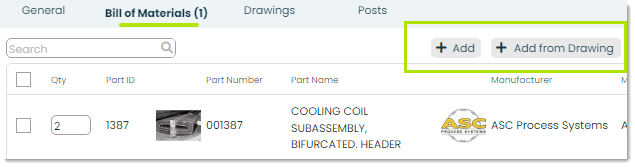
How to view or add the Bill of Materials and Drawings for individual steps
Similar to the Bill of Materials and Drawings tabs for work orders, individual steps have those same tabs. The difference is that individual steps are the most granular level of a work order and, therefore, contain ONLY the materials and drawings related to that step. More importantly, from these tabs you are able to add new items and drawings.