Table of contents
Getting Started with Certifications
Tuesday October 3, 2023-14 min readIntroduction
With Certifications, you can maintain up-to-date certifications for components and materials, to ensure compliance with industry standards and regulations. In this guide we’ll cover how to create, manage, and ensure timely updates of certifications across your organization.
Getting Started
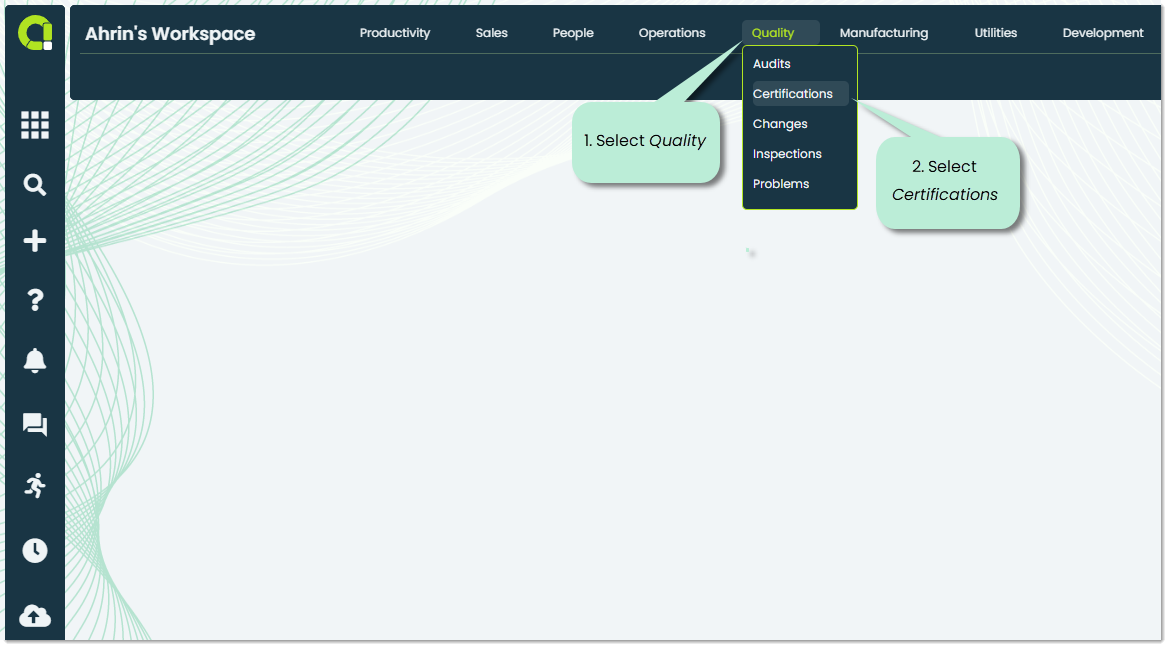
To open Certifications, head over to the Quality section in the main navigation bar and select Certifications.
When you first launch the app, you’ll see a screen displaying all the certifications for your organization. Let’s go over the features of each tab.
Note: If this is your organizations first time using Certifications, this screen will be blank.
Certifications – This is the default tab you’ll see when you first open the app. In Certifications, you’ll see all the Certified, Pending, Expired, or failed certifications from your organization. Certifications enable you to enhance transparency, validate qualifications, and ensure full organizational compliance.
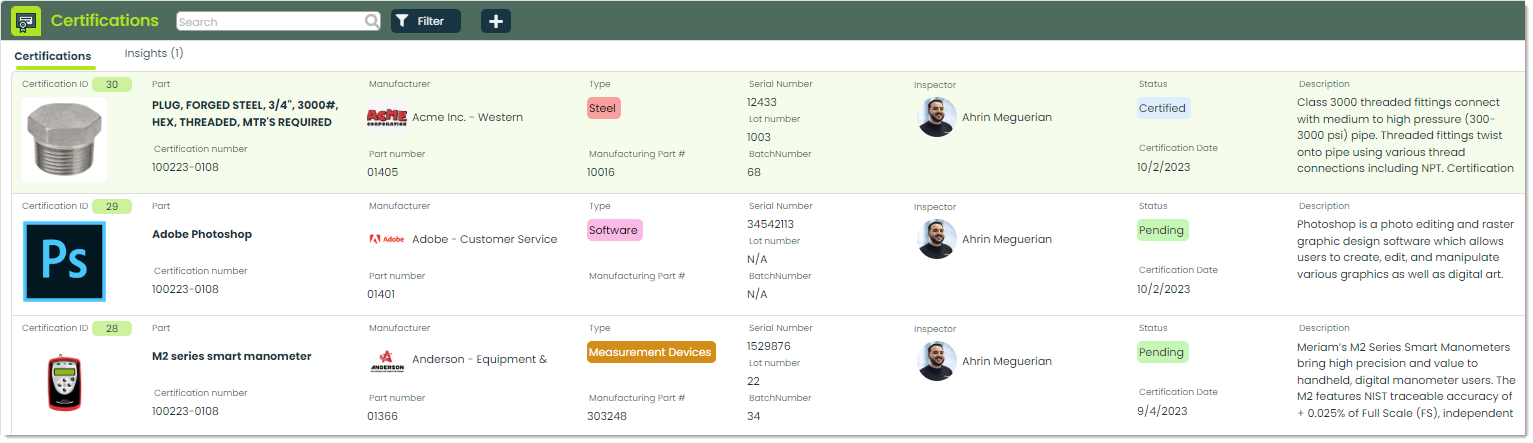
Insights – This tab is used to analyze collected data from your organization’s Certifications. Valuable information related to certifications status, conformance verification, and overall part details can be uncovered using insights. For more on Insights, please check out our Getting Started with Insights guide.
How to add a Certification
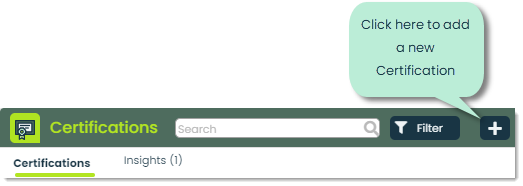
To add a new certification record for your organization, simply click on the + icon at the top of the app screen.
Next, you’ll be presented with the Add Certification popup, where you can add details about the Certification you are adding Let’s cover the fields available for you to populate.
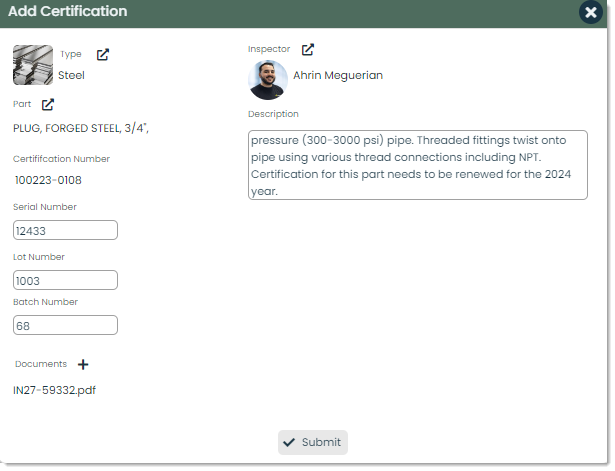
Type – Types are a way of classifying your organizations certifications into their own categories for better organization and search ability. You have the flexibility to establish and designate types that align with the specific needs of your business. For instance, you can establish a type like Steel to classify a range of manufacturing components that demand certification and are constructed from steel.

To select a type, you can click the picker icon next to the Type caption. You’ll be shown a popup, where you have the option of either adding a new type or selecting an existing one previously made by someone in your organization.
To add a new type, click the + icon in the Select a type picker.
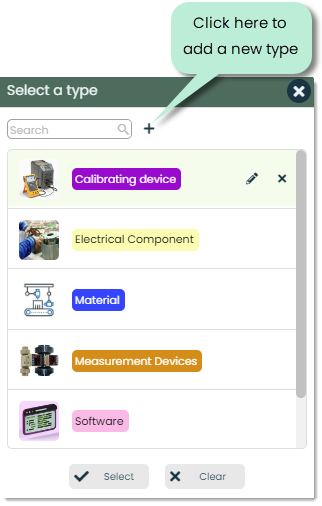
Note: If your organization has not created any Certification Types, the Select a type window will be empty.
Once you’ve selected to add a type, a screen will appear, offering you the choices to create a new type.

Name: It’s important to give your type a name that helps describe the certification you are adding.

Type Image: Throughout Appward, types are often associated with a Type Image. Type Images provide you with a visual representation of the Type and give you the power to display them within popups and screens in your apps. Images can be selected from your computer, the Appward cloud, or from pexels.com directly.
Update: Once your type options have been selected and you are ready to create your new type, press update. Your new type will now be available to be selected in the Select a Type popup.

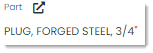
Part – The name given to a specific component within your organization. Part names should be clear and concise, and should generally follow industry standards so they can easily be identifiable by people from your organization who view them.
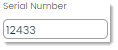
Serial Number – This field refers to the serial number that has been assigned to the component getting certified. Serial numbers are unique identifiers, so you will never have two repeated serial numbers in your organization.
Certification Number – Certification numbers can be thought of as serial numbers assigned to the specific certification rather than the part itself. Certification numbers are important for documenting and keeping track of the status of new, expired, and pending certifications.
Lot Number – Lot numbers are assigned during the manufacturing process and refer to the a group of products or components that share a common manufacturing history. Items with the same lot number are not necessarily produced in the same batch.
Batch Number – Batch numbers are associated with a group of components produced during the same manufacturing run.

Documents – You can click the + in the Documents caption to add a document from the Appward cloud or from your personal files.

Inspector – The inspector of a certification is the individual responsible for verifying compliance with established standards, regulations, or requirements. You can assign the person responsible by clicking the selector within Inspector and picking the person from a list of contacts.

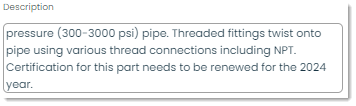
Description – In Description you can provide a description of the certification process to your liking. In the Description section, you have the flexibility to write a detailed explanation that outlines the certification process according to your specific needs. This section serves as an open canvas where you can provide information, context, and guidance regarding how the certification process works.
Submit – Once you have filled out all the details required by your organization within the certification record, you can press Submit to publish it to your organizations app.

How to view and manage a Certification
To view a certification within your organization, you can do so by clicking on the record of the certification you wish to view.

After, you’ll be presented with a screen where you can view all the necessary details of a certification record. There are some unfamiliar fields, let’s cover them.
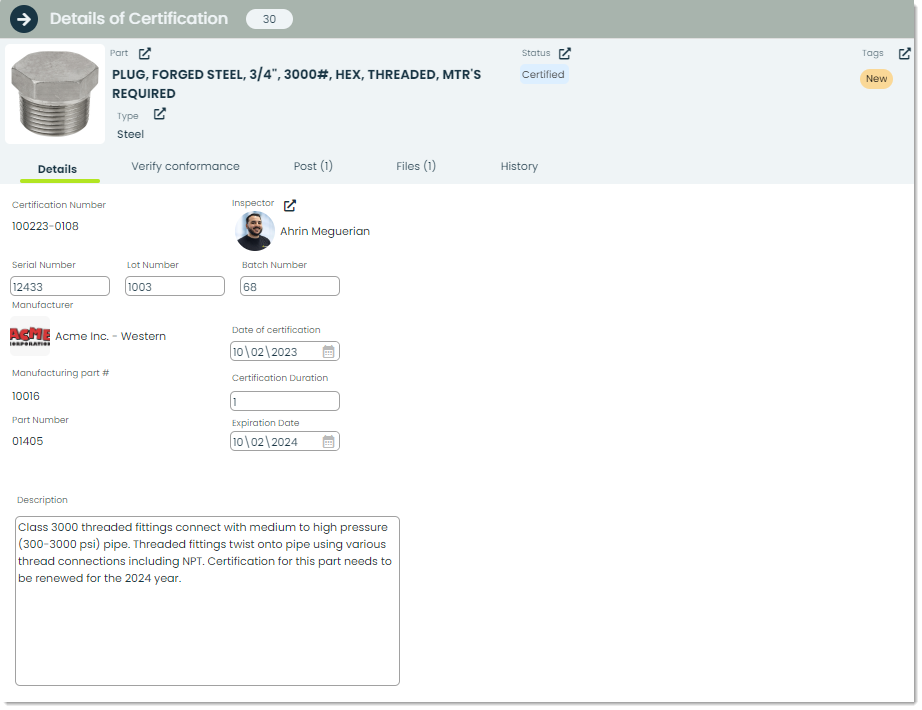
Date of Certification – This is the specific date on which a product or its certification was officially approved, verified, or granted. It marks the point in time when the product met all the necessary requirements, standards, or regulations to receive certification. The Date of Certification is a reference point for tracking the product’s compliance status and can be crucial for record-keeping and quality control.
Expiration Date – The Expiration Date is the date on which a product’s certification or approval is no longer considered valid or current. After this date, the product may no longer meet the required standards or may have undergone changes that affect its compliance. To maintain certification, the product may need to be reevaluated, retested, or re-certified before or on the Expiration Date.
Certification Duration – Certification Duration refers to the length of time for which a product’s certification remains in effect, starting from the Date of Certification and ending on the Expiration Date. It represents the validity period during which the product is considered compliant and can be marketed or used with confidence. Certification Duration can vary depending on the type of product, industry regulations, and certification policies. Renewal or re-certification may be necessary once the Certification Duration expires to ensure continued compliance.
Tags – Tags and Types are similar in that they both serve as keywords to classify and categorize certifications. However, there is a key difference between them. Types are singular categories that each certification falls into, whereas tags offer more flexibility as they allow multiple keywords to be associated with a single certification.

Verify conformance – While viewing the details of a certification, you have the option of viewing and verifying the conformance of the component or product. There are a few unfamiliar fields here, so let’s cover them.
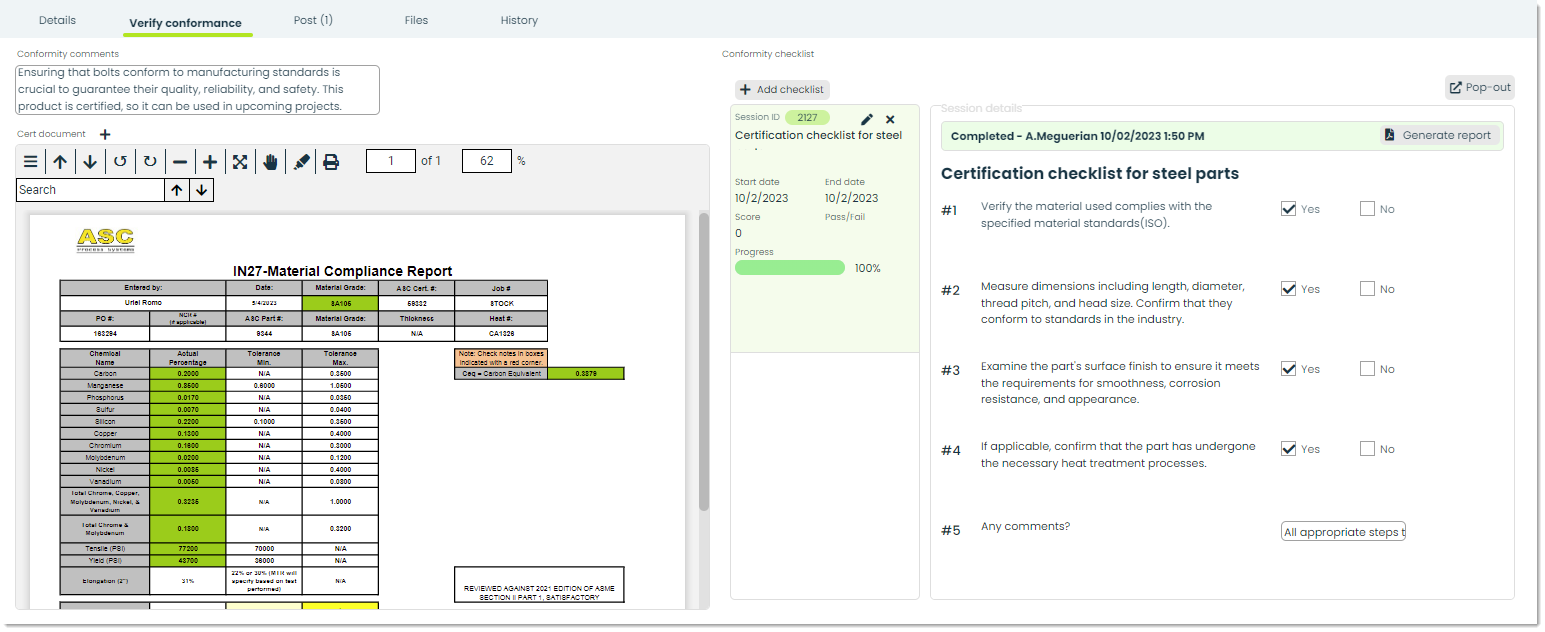
Conformity comments – This is where you can leave additional comments about the certification process. Simply type your entry into the text box and edit whenever you feel necessary.
Cert document – The Cert document section allows you to upload a document that provides detailed information about whether the product has obtained certification or not. It’s distinct from regular files because it pertains specifically to documents displaying certification details and not just any document related to the component getting certified.
Conformity checklist – You can import checklists that you’ve created in the Checklist Creator App directly into the Conformity checklist. Checklists can play an important role in ensuring a comprehensive and successful certification process. To add a checklist, simply click the Add checklist button and choose the relevant checklist from your organization’s options. For more information, you can check out the article Getting Started with Checklist Creator.
Frontline features of Certifications
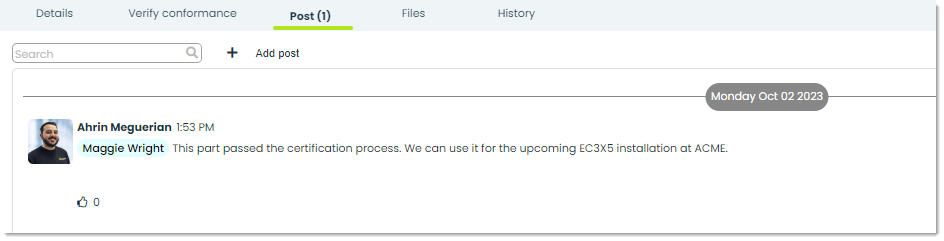
Posts – A post is a comment which can be replied and reacted to by other users in your organization. You can write a post to ask questions or remind a colleague about a revision that needs to be made to a document.
Files – Through the Files tab, you can attach essential documents to a certifications record. You can add files directly from your computer or from the Appward cloud. After adding a file, you can view it through an integrated document preview within the Files section. Individuals within your organization with access to the record can download the file to their personal computers.

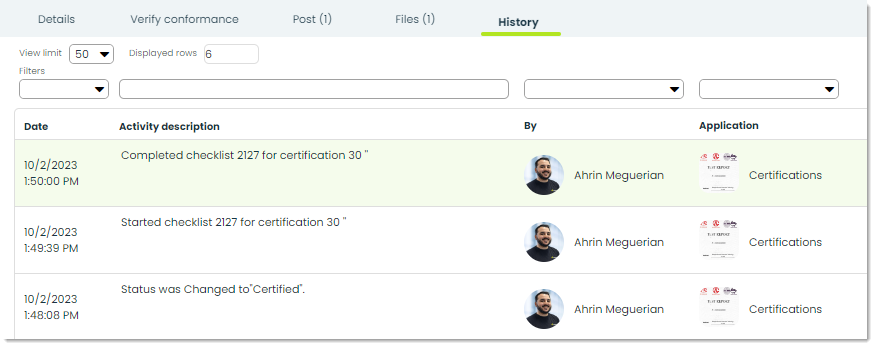
History – You can monitor changes and updates made to a Certification through the History tab. Within this tab you can track the changes made, date of change, and the individual responsible for making the change.
Additional features of Certifications
Copy – You can use Copy when in a certification record to make a copy of the record.

Delete – To delete a certification permanently, you can do so using the Delete button. These records will not be recoverable.

Tour – You can discover tours in most of the apps on Appward. These tours are created to provide you with an interactive, step-by-step guide for the application you are using. You can take advantage of tours as a user-friendly and effective onboarding solution.
