Table of contents
Getting Started with Inventory
Tuesday November 14, 2023-22 min readIntroduction
Appward’s Inventory app is a centralized interface for managing your inventory and providing up-to-date visibility of the products and components across your organization. Track any inventory, big or small, to ensure that you are always sitting at optimal stock levels. With this app, you’ll be ready to track everything coming in and out of your stock and make well-informed decisions for the future. The synergy of Parts and Inventory provides your organization with an optimal solution for efficient stock management.
Let’s get started
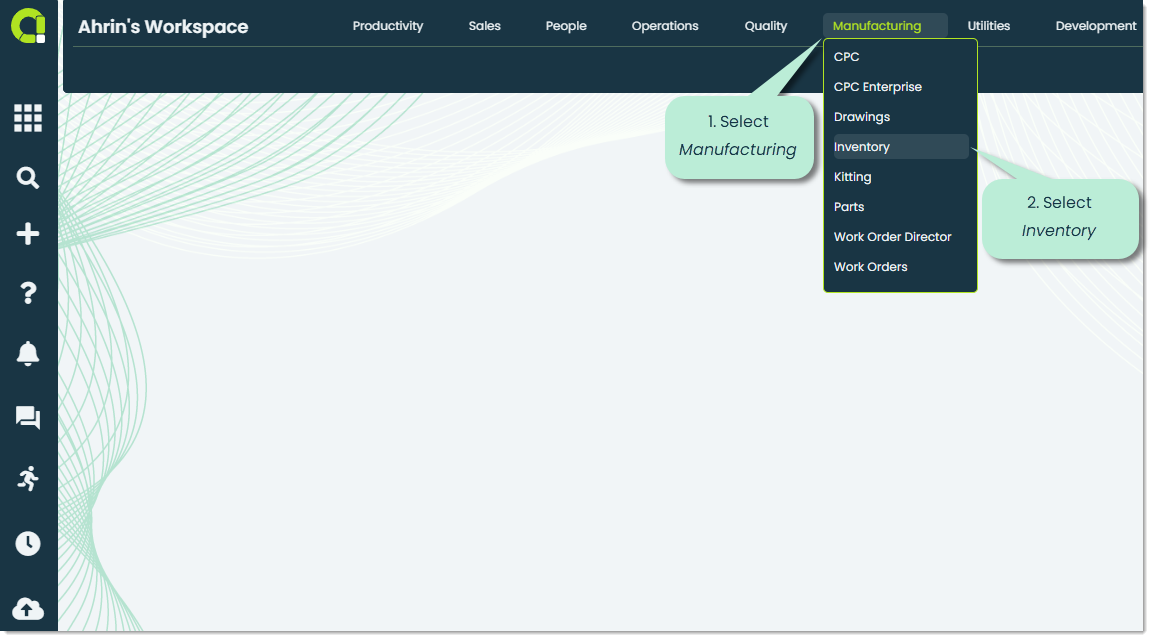
To open the Inventory app, navigate to the Manufacturing section of the main navigation bar and select Inventory.
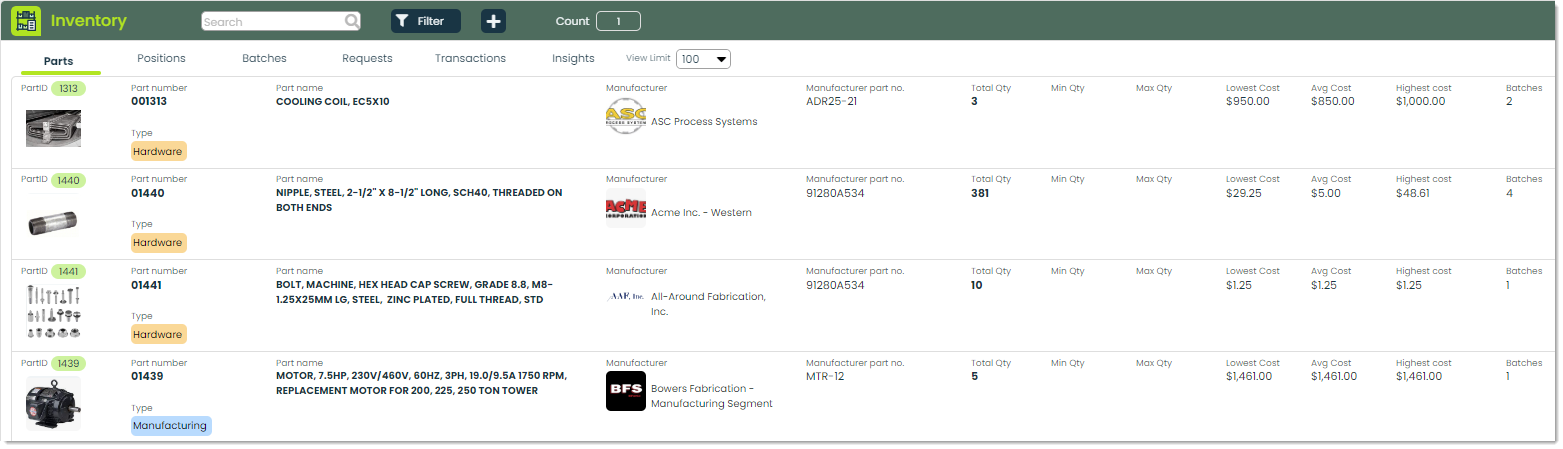
When you first open the app, you’ll be shown the Inventory tab, which contains a list view of all your organization’s parts. At the top of the app screen, you’ll see tabs. Let’s review what each one has to offer.
Note: If this is your organization’s first time using the Inventory app, this screen will be empty.
Parts – The Parts tab is where you can view all the parts available in your organization.
Positions – Positions are defined as specific locations or places where an organization stores its inventory items. Properly defining and managing inventory positions is necessary for efficient inventory management. You can view all the positions as well as which parts are stored in them within the Positions tab.

Batches – Within the Batches tab, you can view the specific batches associated with each item in your inventory. Batches are defined as a group of parts that are produced or purchased together as a set. This is helpful for when you buy a specific part at a wide range of prices. Having these groupings enable your business to track, manage, and account for your inventory. Associating items in batches easily allows you to trace their origin, monitor quality, and ensure consistency in pricing.

Requests – In the Requests tab you can create and view all your organization’s requests for item put aways and pulls. Put Aways are defined as the careful placement of received or picked up inventory items into their designated storage locations. Conversely, Pulls are items that you or a member of your organization has requested to be taken from inventory for a designated purpose.
Transactions – In the Transactions tab, you can view all the inventory transactions that have been made within your organization.
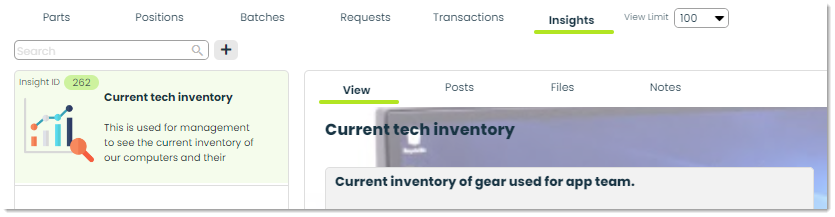
Insights – The Insights tab offers a data-driven perspective on your inventory. It can include analytics, reports, and visual representations of inventory-related trends and performance, helping you make informed decisions based on historical and real-time data.
How to add a part to inventory
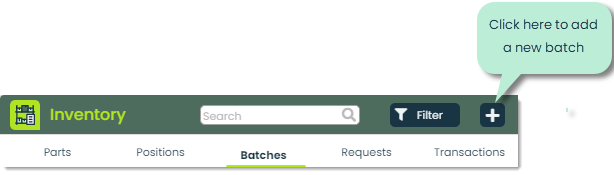
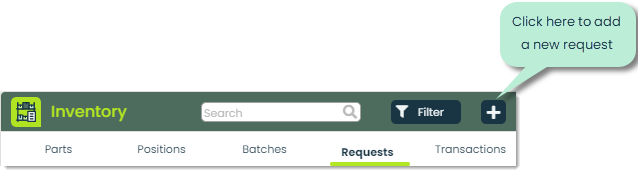
To add a part to inventory, press the + icon at the top of the screen.
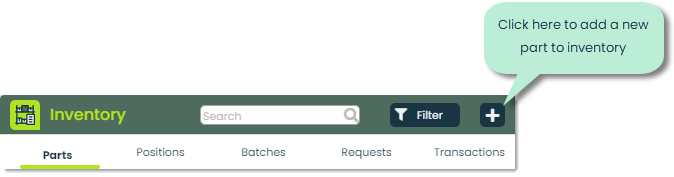
Next, you’ll encounter the Add new part to inventory popup, allowing you to choose a part and specify essential information about it.
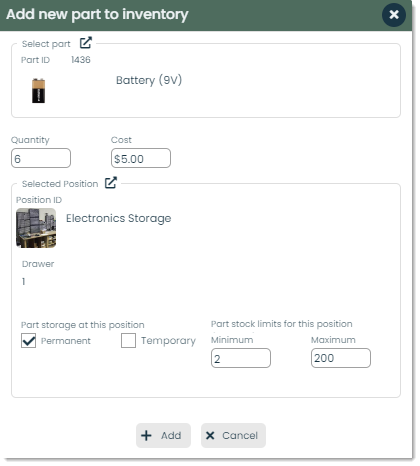
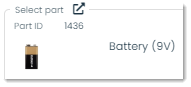
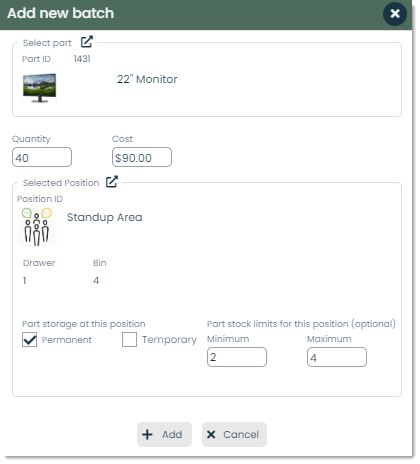
Select part – In Select part you can define the part you are adding into inventory by clicking on the external link icon and selecting it from a list of parts. The list of parts are directly imported from the Parts app within your organization. For more on Parts, please check out Getting Started with Parts.
Part ID: The PartID is a unique identifier assigned to a specific part within your inventory. This clear and organized labeling system is important for effectively monitoring and managing your organizations inventory.
Quantity – This is the total number of parts that you are going to be putting into inventory.

Cost – The price your organization purchased one unit of the part for.

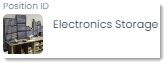
Position ID – Position ID is where you can view the specific name of the location of where the inventory item is located.
Drawer – Drawer refers to the specific drawer within a storage location. This is particularly useful when you have knowledge of the part’s location but lack precise details about its placement within that specific Position ID.

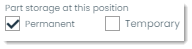
Storage position – Within this field, you can select if an item will be placed in a storage position permanently, or temporarily. Simply tick the checkbox to make your choice between Permanent and Temporary.
Permanent: The item will permanently be in a position. Any new inventory of the same item will be stored in the same position.
Temporary: The item will temporarily be stored in a position. The item’s position will be moved in the future.
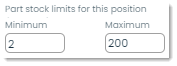
Stock limits – Stock limits are preset thresholds set by your organization, indicating the desired minimum and maximum quantities of items to be kept in inventory.
Minimum: The lowest allowable quantity of a particular item in stock, serving as a threshold to avoid low or depleted stock of an item.
Maximum: The highest acceptable quantity of a specific item in stock, acting as the ceiling to prevent overstocking and overcrowding of storage space.
How to view the details of a part in inventory
To view the details of a part in inventory, navigate to the Parts tab.
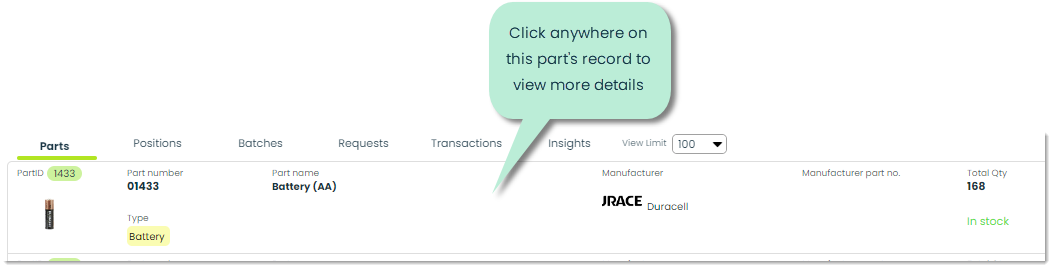
After clicking on the part you wish to view more about, you’ll be shown a details flyout giving you in depth information of the part and how it’s being used in inventory.
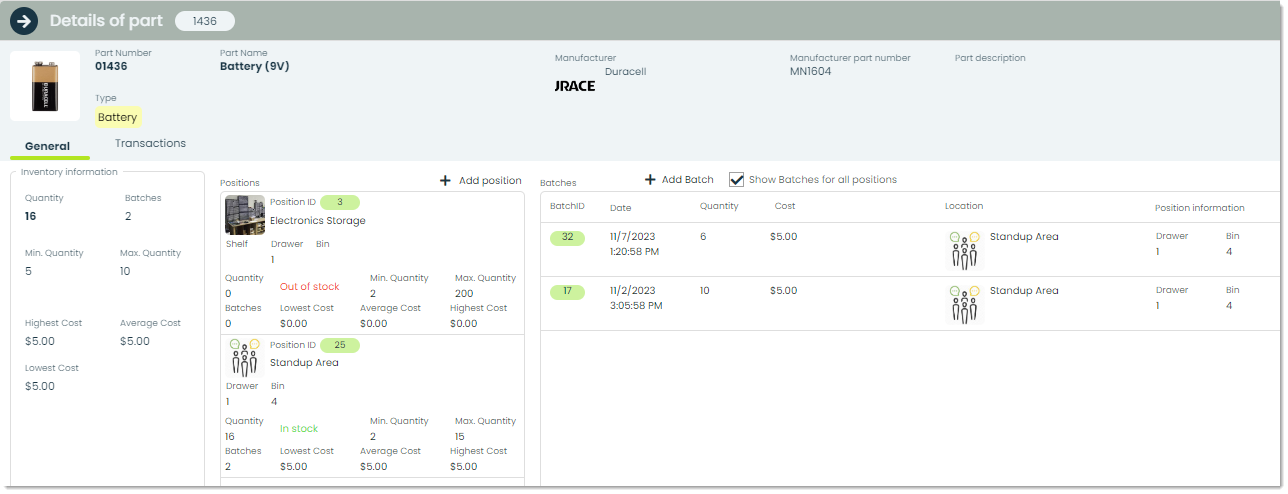
Now, let’s explore the fields that will be displayed to you.
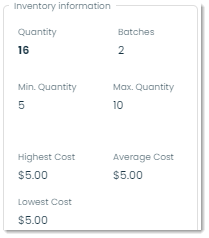
Quantity – The total number of units of a particular product or item present within your current inventory

Batches – The overall count of batches in your company’s inventory. Batches are groups of individual products of the same kind that were produced or acquired together. They can vary in size, ranging from a single item to as many as you need. Batching is useful for tracking and managing your inventory with precision.

Min Quantity – The minimum quantity of a specific item that must be maintained in inventory.

Max Quantity – The maximum quantity of a specific item that must be maintained in inventory.

Highest Cost – Highest Cost denotes the highest amount spent to obtain a unit or item in the inventory. It represents the maximum cost across all batches.

Average Cost – The average or typical amount spent on getting each item in inventory. This can also be considered as the middle cost.

Lowest Cost – The smallest amount spent to get one unit of the item in inventory. Think of this as the least expensive item from the least expensive batch purchased.

Viewing inventory by positions
To view the distribution of inventory parts by the position they are in, navigate to the Positions tab. Once in the Positions tab, you can view a comprehensive list of all existing positions within your organization.

You also have the ability to add a new position if you need to. To add a new position, click on the + icon at the top of the app screen.

This will bring up the Add position popup, where you can define the details of the new position you are adding. Let’s go over the unfamiliar fields.
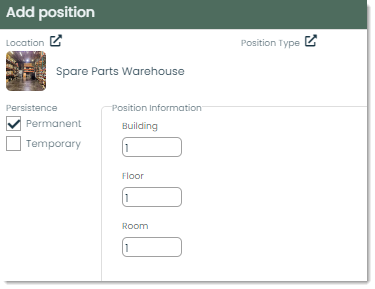
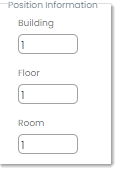
Position Information – In Position Information you can provide a more in depth explanation about where a specific item is located. This provides a clear hierarchy for locating a specific item in your organization’s inventory.
Building: The building or structure the item is located in.
Floor: The specific floor the item is located on.
Room: The specific room within the defined building that the item is in.
Position Type – You can categorize the positions you create by the type you assign to them. Types appear as labels with custom names, colors, and images that can be directly associated with records throughout all of Appward. Types provide you with a way to organize your data in a fully flexible, customized way to suit your business. As an example, a position such as a large warehouse might be categorized by the type “Large Storage”. For more information on Types, please check out our article Using Types.

How to view and manage batches
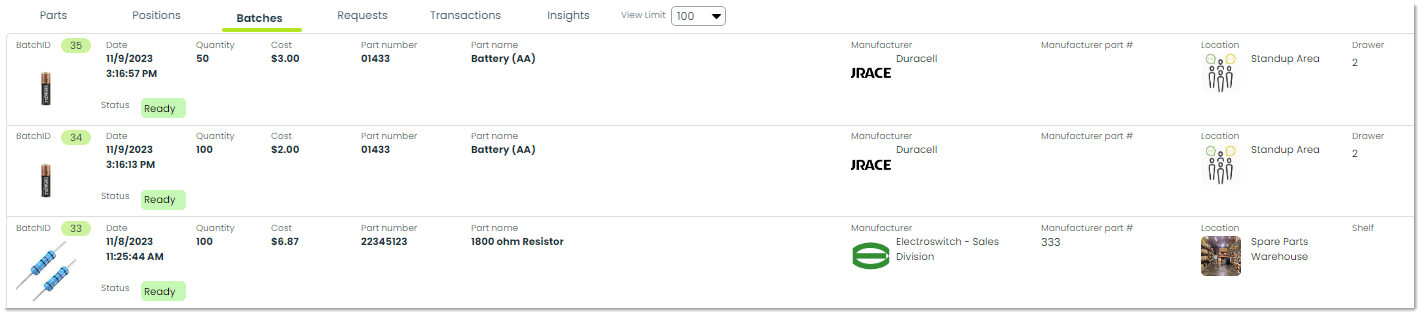
In the Batches tab, you can see the different groups of items in your inventory. Batches are defined as a group of parts that are produced or purchased together as a set. This helps a lot when you get the same part at different prices. Grouping them this way helps your business keep track, organize, and manage the inventory. Connecting items to batches makes it easy to find where they came from, check their quality, and make sure the prices stay consistent. The idea is to finish using one batch entirely before starting with the next batch of the same part.
To view the details of a batch, navigate to the Batches tab within the header of the app.

Once in Batches, you can view a list of all existing batches in your organization’s inventory.
You also have the option of adding an entirely new batch to your organization’s inventory. You can do so by clicking the + icon, at the top of the app screen while viewing the Batches tab.
The Add new batch popup will appear, where you can input the information that defines your new batch.
How to manage requests
Requests in an inventory system are formal demands for specific items, originating from various sources within an organization. These requests prompt the system to check current inventory, validate against available stock, and initiate actions like restocking or item transfers. They are vital for maintaining smooth operations, ensuring timely availability of needed items, and efficient resource management.

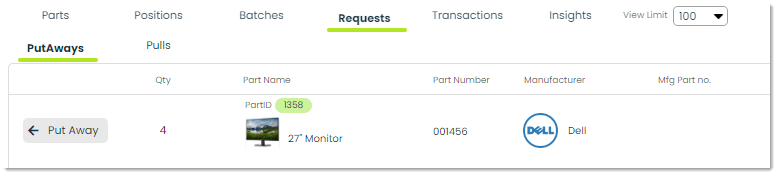
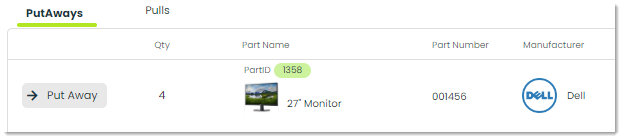
Once you are in the Requests tab, you can see a list of all requests made within your organization. These requests are divided into the categories Put Aways and Pulls.
Put Aways – Put Aways refer to the process of placing received items into their designated storage locations within a warehouse or storage facility. After receiving items from suppliers, items are put away on factors such as type, demand , and storage capacity. To put away an item press the Put Away button.
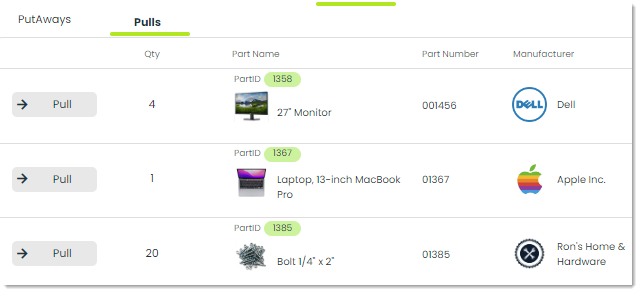
Pulls – On the other hand, Pulls refer to the items that need to be pulled from inventory to fulfill customer orders or internal requests. As an order is placed, a required item from the earliest batch will be selected and pulled to fulfill the order. To pull an item, press the Pull button.
How to view transactions
To view transactions, visit the Transactions tab at the top of the app screen.
Once in the tab, you’ll see a comprehensive list of the inventory transactions that have occurred within your organization.
To view the details of a transaction, simply click on the row of the record you wish to view.
After clicking on a record, you’ll be shown a details flyout highlighting important information related to a transaction. Let’s go over the unfamiliar fields.
Transaction type – As previously mentioned in this guide, types play a huge role in organizing and keeping track of your data. In Transaction type, you can view the type of the transaction that occurred on the item.
Date – You can view the exact time, date and month the transaction took place in the Date field.
Created by – Created by displays the individual in your organization who was responsible for creating the transaction record.
App – Transactions can occur throughout many different apps within Appward. If the transaction on the item occurred within the Inventory app, you will see the app name Inventory within the App field.
Part Number – This is a unique identification number designated by your organization for a specific part.
Manufacturer Part Number – The Manufacturer Part Number (MPN) is a unique code assigned by the manufacturer to identify a specific part. This serves as the best way for a manufacturer to keep track of and manage the part in their inventory.
Part Manufacturer – The Part Manufacturer is the company or entity that has manufactured the part.
Frontline features of Inventory
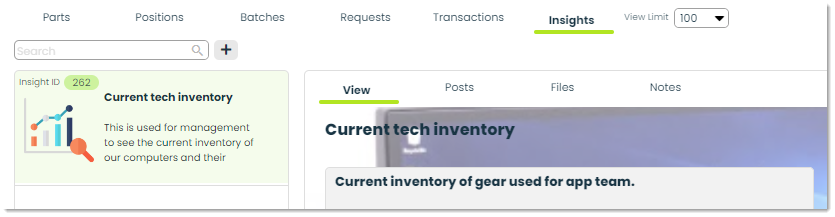
Insights – This tab is used to analyze collected data from your organization’s inventory. Gain valuable insights into stock levels, usage, and pinpoint the most pulled items. For more on Insights, please check out our Getting Started with Insights guide.
Posts – A post is a comment which can be replied and reacted to by other users in your organization. You can use a post to inquire, discuss, or communicate with a colleague regarding the current stock of an item in inventory.

Files – Through the Files tab, you can attach essential documents to an inventory item. You have to option to add files directly from your computer or from the Appward Cloud. After adding a file, you can view it through an integrated document preview within the Files tab.

Notes – Within the Notes tab you can write and store written records that help capture and convey your thoughts. You’ll be able to stay organized, provide better context to discussions, and improve communication between you and your team.

Additional features of Inventory
Help – Look for the help button in the majority of apps on Appward. It offers tours and valuable information created to assist you in navigating through the app. These tours serve as interactive step-by-step guides tailored for the application you’re using. Utilizing tours can enhance your onboarding experience, providing a user-friendly and effective solution.

Archive – Archiving is a common feature within the majority of apps in Appward. Archive serves as an effective tool when you wish to remove a survey record from sight without permanently deleting it. Archived records are essentially concealed from the main screen but remain accessible through specific search filters.

Delete – To delete an inventory record permanently, you can do so using the Delete button. These records will not be recoverable.
