Table of contents
Getting Started with Positions
Monday September 25, 2023-14 min readIntroduction
Positions offers a comprehensive job management solution that helps you manage job descriptions, roles, departmental objectives, and training prerequisites all in one place. Leveraging positions with your organizational framework can pave the way for your business’s success. This guide will teach you how to add, manage, and utilize the Positions app to improve your organization.
Let’s get started
To open the Positions app, go to the Operations category of the main navigation bar and select Positions.

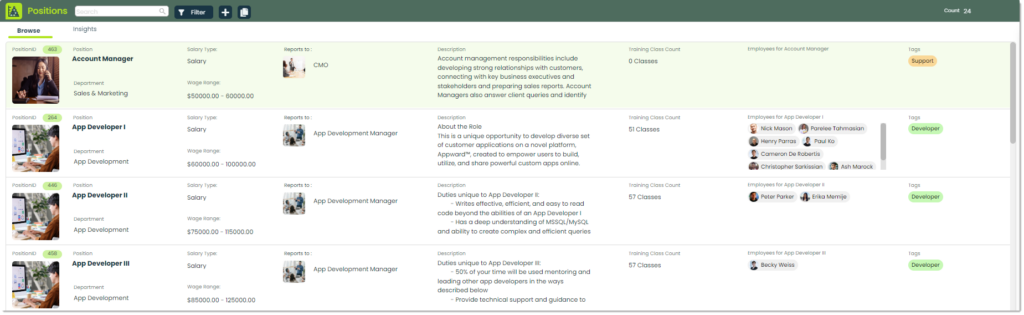
When you open the app, you will see a screen showing you the existing positions within your organization. Let’s go over what each tab has to offer.
Note: If your organization has never created any positions, then this screen will be blank.
Browse – This is the default tab you are presented with when you launch the Positions app. It showcases a list view of positions within your organization, arranged in alphabetical order.
Insights – The Insights tab serves as a data analysis tool for your positions.With Insights, you can configure database queries that enable you to acquire and analyze valuable information regarding position compensation, departmental details, and employee counts.
How to add a Position
To add a new position to your organization, you can do so by clicking the + button at the top of the app screen.

You will then be shown a popup where you can input details for a new position. Let’s cover what each of the fields has to offer.
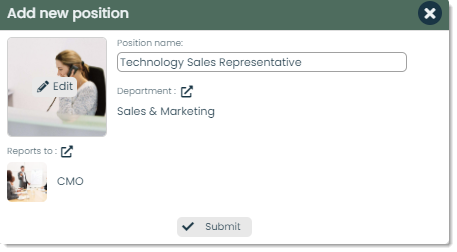
Image – You can choose to associate an image with a job description. This feature allows you to provide a visual representation of a job’s responsibilities, making making it easier to quickly identify positions at a glance.

Position name – This field refers to the title of the specific position within your organization. Position name typically provides the reader with a descriptive yet short title highlighting the responsibilities and level of the position. With distinct position names you can easily distinguish positions from one another and improve job postings, organizational charts, and the overall role structure within your organization.

Reports to – You can specify who the individual in Position name will be reporting to while holding that position. Therefore, having a suitable organizational structure is crucial for effective workflow management and the overall success of your organization.

Department – In Appward, Departments can be created and managed within the Departments App and are available for use throughout all other apps. Departments give you the ability to define specialized divisions within your organization that are responsible for specific tasks, functions, or areas of expertise. An example of distinct departments within an organization could be “Sales & Marketing” and “App Developer” each with its own responsibilities.

How to view position details
After creating a position , you can access its details by clicking on a record within the Browse tab.

You will then be shown a flyout, showing all the essential details related to the position record.
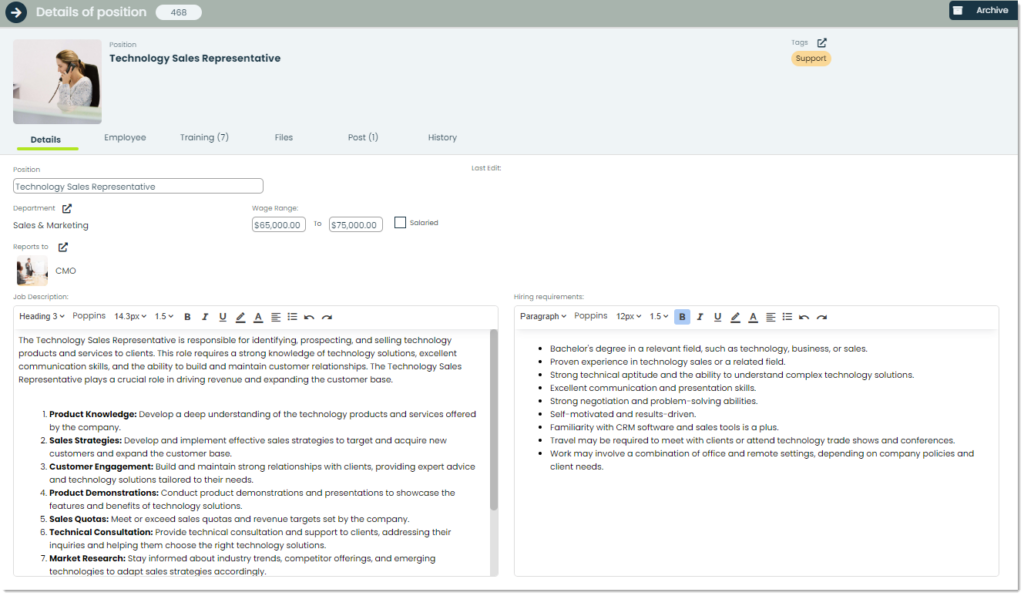
Let’s review the additional fields within the selected Position’s details.
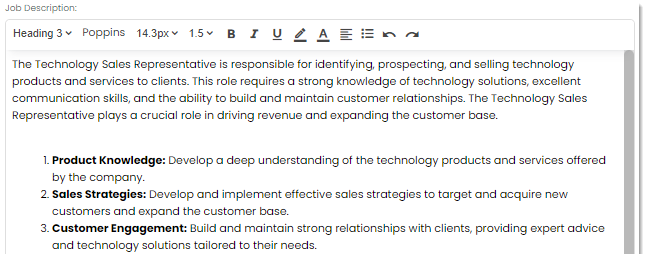
Job Description – In Job Description you can outline the specific responsibilities, duties, and expectations associated with a particular job or position within your organization. It acts as a detailed overview of what the job entails, including details about the companies culture and values. Utilizing job descriptions can improve your recruitment and hiring process by ensuring that prospective candidates have a thorough understanding of the position they are applying for.
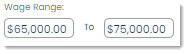
Wage Range – Wage Range refers to the range of pay your organization is willing to offer for a specific job position. You can define the designated compensation for a position by filling in the text boxes within the Wage Range field.
Salaried – Salaried workers earn the same amount of pay each month, regardless of the number of hours worked. You can identify whether a position within your organization has a salary-based wage by ticking the checkbox in the Salaried field.

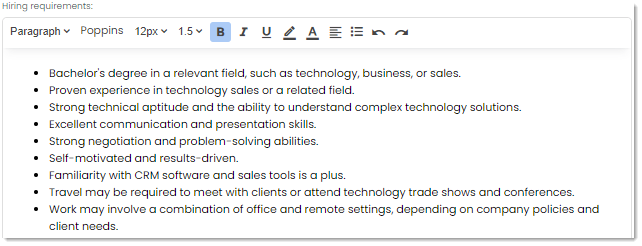
Hiring requirements – Hiring requirements refer to the specific skills, educations, and other experience that an organization establishes as prerequisites for individuals seeking employment in a particular job or role. You can establish your organization’s specific requirements by entering the necessary information into the HTML editor available in the Hiring Requirements section.
Tags – Tags are key terms used to group and organize positions into different categories. As an example, a Technical Support position can have the tag “Support”.

Viewing employees by Position
You can view employees that currently hold a specific position by navigating to the desired record and clicking on the Employee tab.
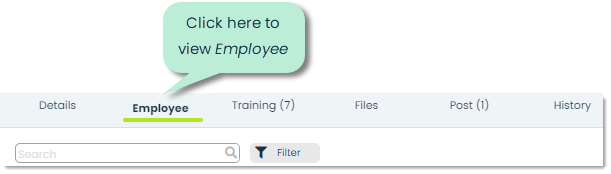
After visiting Employee, you will be shown a list view of Employees within your organization who currently hold the position of the record you are viewing.
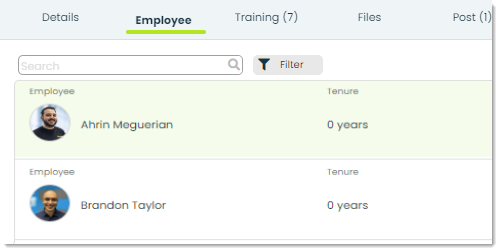
In this view, there are a few extra fields; let’s take a closer look at them.
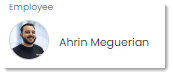
Employee – The Employee field shows the name and picture of the employee currently holding the position. Employee information is directly pulled from the Contacts and Employees app.
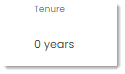
Tenure – In Appward, Tenure refers to the length of time an employee has been continuously employed by an organization. You can use this field to view the time(in years) an employee has occupied that particular position within your organization.
How to assign training to Positions
You can view employees that currently hold a specific position by navigating to the desired record and clicking on the Employee tab.
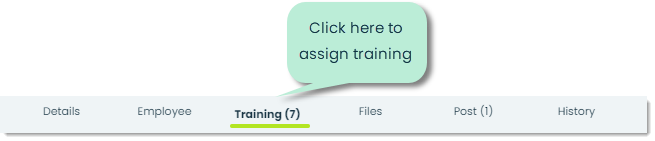
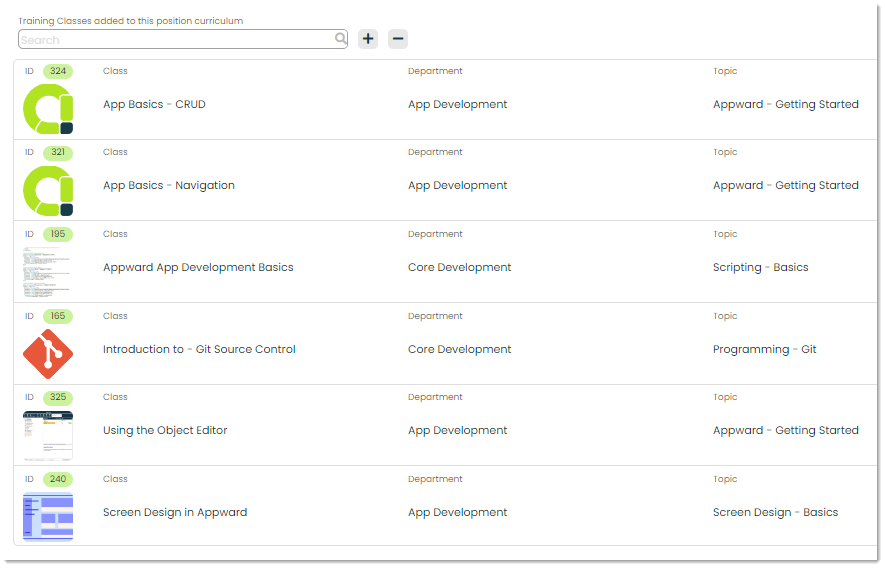
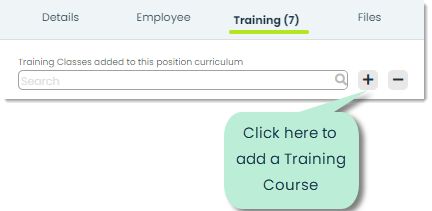
After accessing Training, you will see a list of training classes designated for the position you are currently viewing.
Training courses originate from the Training Director app and are imported into many of the other apps in the Appward ecosystem. You can add training courses to positions, by clicking on the + at the top of the popup.
Following that, you’ll be shown the Add classes to curriculum popup, where you can allocate the required training courses to the specified position.
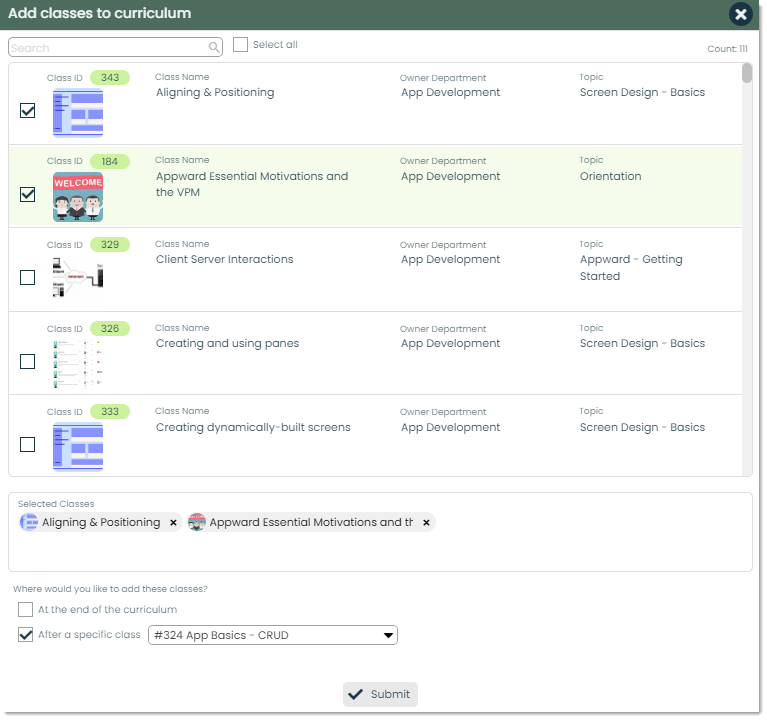
Let’s look at the different fields within Add classes to curriculum
Class ID – This field displays the ClassID of the training class. ClassID is the unique verification number that represents the location of the training class within the data table it is pulled form.
Class Name – Class Name is a short yet descriptive title that identifies the particular training course or program.
Owner Department – You can determine the department the Training class originated from within the Owner Department field. As an example, if a course was made specifically for App Developers, it is most probably “Owned” by the App Development department.
Topic – Topic refers to the subject that the course is designed to cover and teach. Topics of a course can very widely depending on an organizations needs and objectives. Properly defining the topic of a training course is important for organization and improving the overall experience.
Selected Classes – You can view the selected classic within the Selected Classes field. This field serves as an aid for easily selecting the classes you wish to add to a position’s training curriculum.

Class location – Within this field, you have the capability to define the sequence and location at which you wish to incorporate the class into the Position’s curriculum. You have the flexibility to choose whether the course(s) should be positioned at the conclusion or if you want to designate a training class it should precede.

Submit – When you have finished making your selections and are ready to finalize adding classes to the Positions training curriculum, you can press Submit.

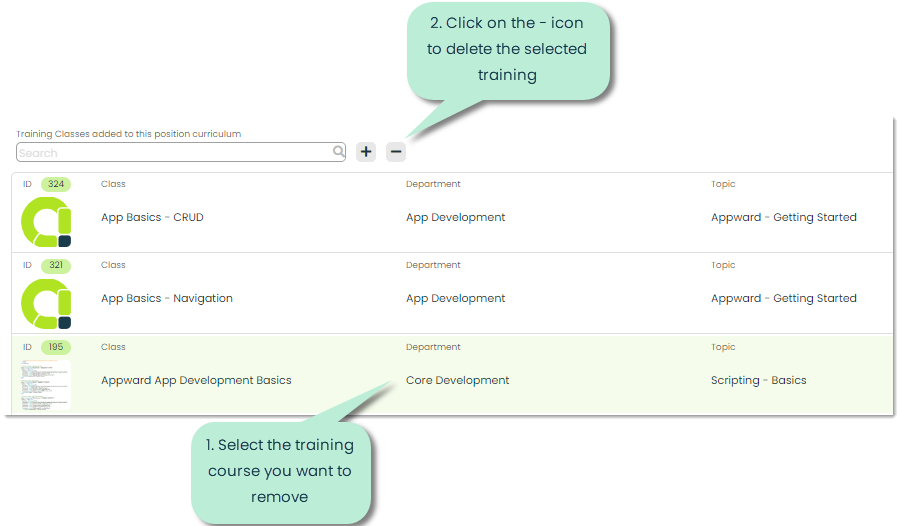
How to remove training from Positions
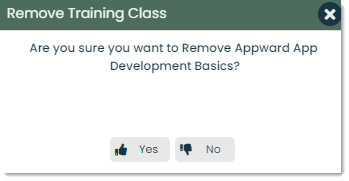
To remove training courses from the curriculum you can do so by clicking on the – icon while having the course you wish to remove selected.
Before removal of the training course occurs, you will be prompted by a popup to make sure you are making the correct choice. If you wish to proceed with the removal, you can click Yes.
Frontline features of Positions
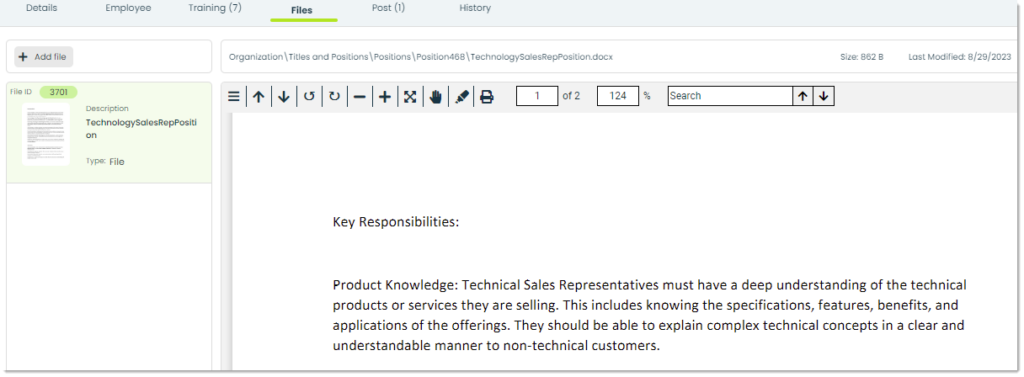
At Appward, many apps have a set of components known as Frontline Features. You can access these features in any record of Positions.The Frontline Feature of Positions are Files , Posts, and History.

Files – Files are documents that can be uploaded from your computer or the Appward Cloud and then linked to any Positions record. These files can be associated with any specific Position record. The utilization of files serves as a powerful means to associate a record with more context or to provide a hiring manager with extra resources and documentation relating to a particular position.
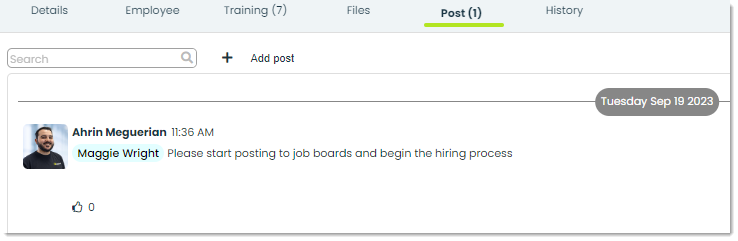
Post – A post is a comment which can be replied and reacted to by other users in your organization. You can utilize posts within Positions to discuss potential changes to position requirements or ask questions about a detail in a record.
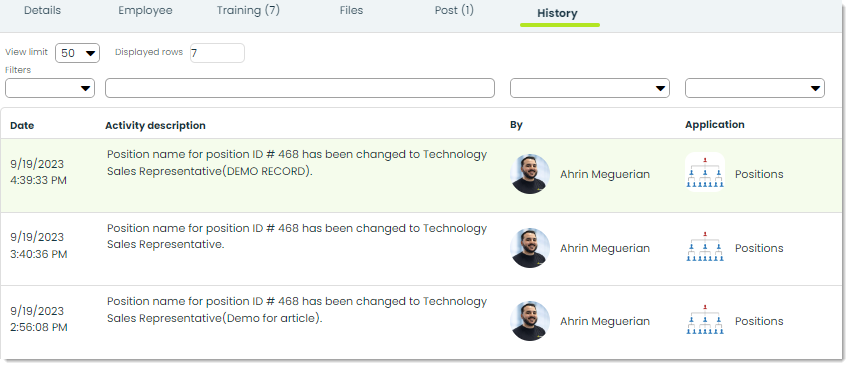
History – You can keep track of and view any modifications made to a Positions record by accessing History. Details such as date, description, application and the name of the individual making the change can be found here.