Table of contents
Getting Started with Inspections
Thursday October 26, 2023-22 min readIntroduction
Using a systematic approach to review operations is the initial step in setting quality, efficiency, and safety standards. With the Inspections app, you can create checklists, reference specs, log issues, and generate reports for quality, compliance, and improvement. Unlike manual methods, Inspections offer centralized and traceable assessments organization-wide.
Let’s get started
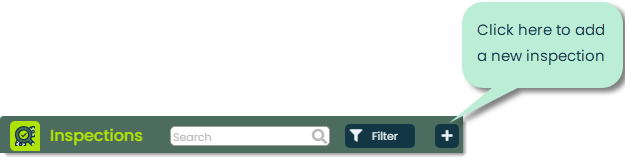
To open the Inspections app, head over to the Quality section in the main navigation bar and select Inspections.
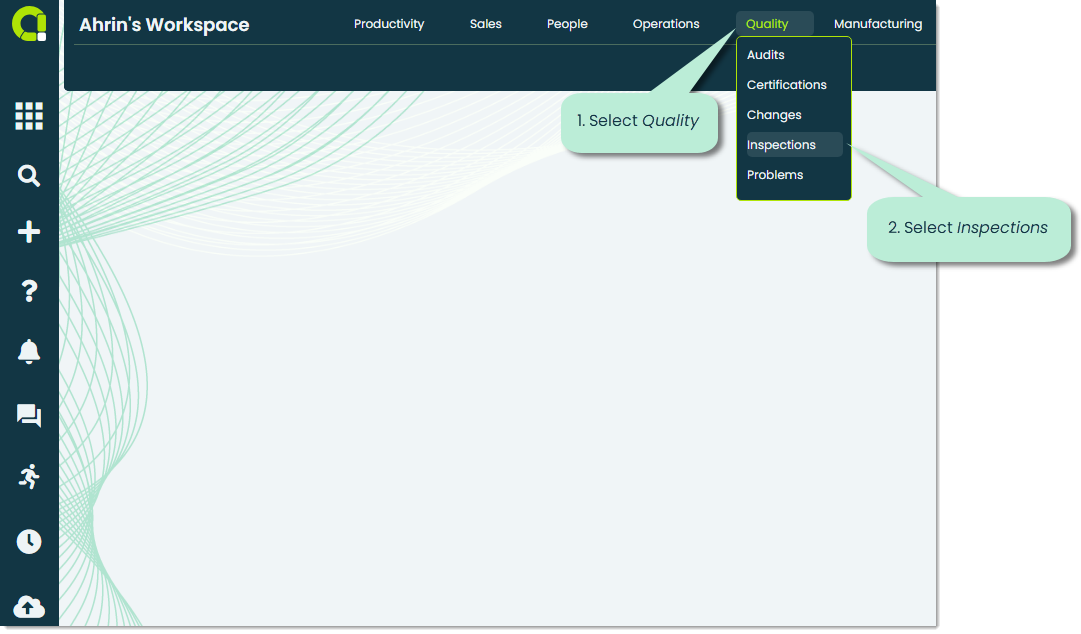
When you first launch the app, you’ll be shown the Inspections tab, where you can view the public inspection records within your organization.
Note: If this is your organization’s first time using the app, there will be no records to view.
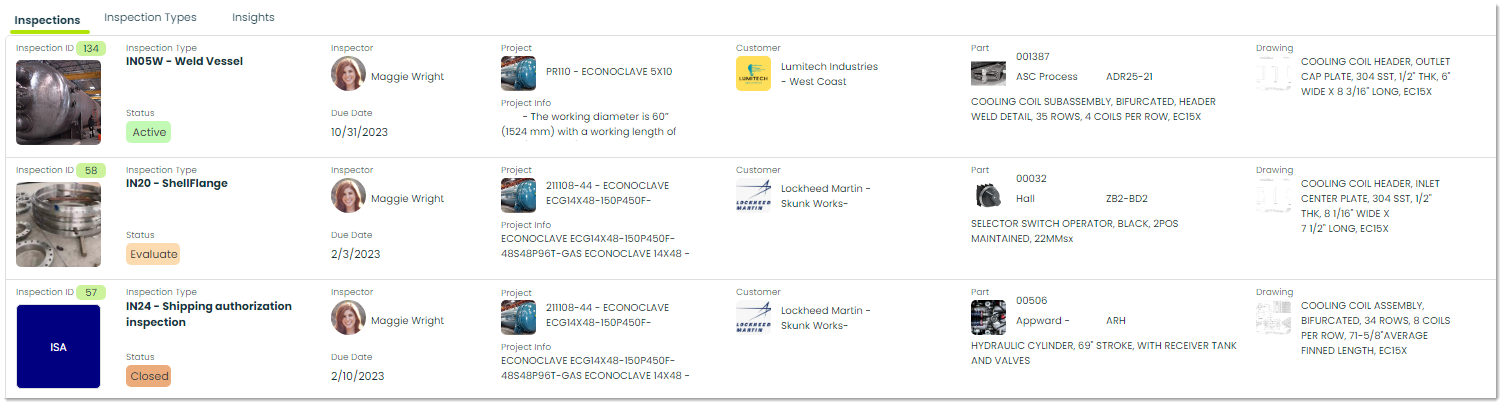
At the top of the app screen, you’ll be shown three tabs. Let’s go over what you can do with each tab.
Inspections – Inspections refer to the process of checking products at different stages in order to make sure they are of good quality and follow the necessary standards. The process includes doing tests to find and fix any problems, ensuring that the final product that is produced is of high quality.
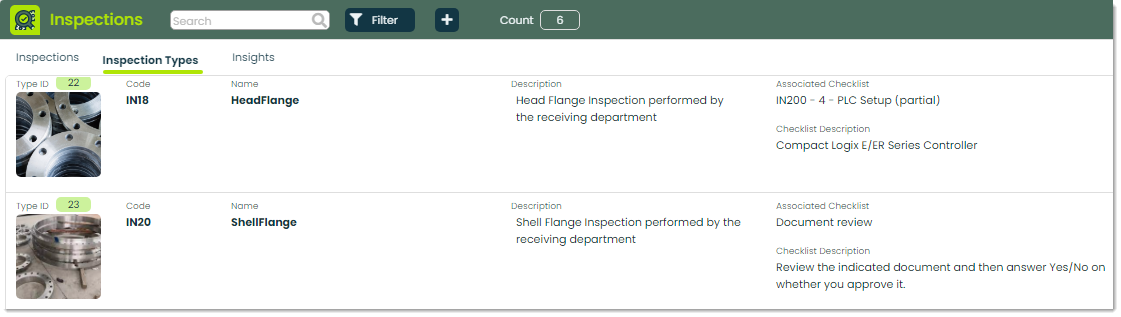
Inspection Types – When it comes to inspections, you can classify them based on the specific type you choose. These types, visually represented as labels with custom names, colors, and images, can be applied to inspection records within Appward. Types offer a highly adaptable and personalized approach to organizing your inspection data according to your business needs. For example, if you’re conducting an inspection on an Econoclave, you can assign the inspection type “Econoclave” to it. To learn more about how to use types, please refer to our article Using Types.
Insights – This tab is used to analyze data from your organization’s inspections. With Insights, you can discover and utilize valuable information pertaining to inspection types, status, and standards. For more on Insights, please check out our Getting Started with Insights guide.
How to add an inspection record
To add a new inspection to your organization, you can click the + icon at the top of the app.
Next, you can input the details of your inspection within the Add new inspection popup. Let’s review the fields where you can enter necessary information.
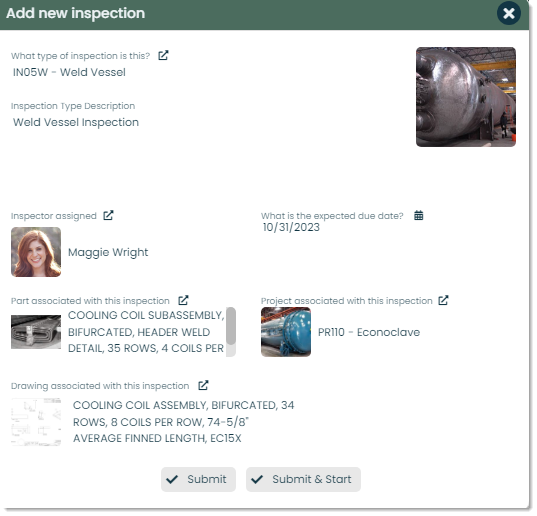
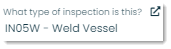
Inspection Type – When it comes to inspections, you can classify them based on the specific type you choose. These types, visually represented as labels with custom names, colors, and images, can be applied to inspection records within Appward. Types offer a highly adaptable and personalized approach to organizing your inspection data according to your business needs. For example, if you’re conducting an inspection of a weld vessel on an Econoclave, you can assign the inspection type “Weld Vessel” to it. To learn more about how to use types, please refer to our article Using Types.
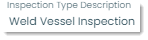
Inspection Type Description – This field provides the viewer with a description of the inspection type. The inspection type description is pre-filled and determined during the creation of the inspection type, then auto imported when you select a type.
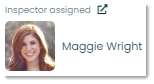
Inspector assigned – The Inspector assigned is responsible for conducting the inspection of the products or components specified. This person has the responsibility of identifying and addressing any defects or issues that may arise, and are responsible for verifying that the final products conform to regulations and standards. As the record creator or someone with access to an inspection record within your organization, you have the authority to designate and modify inspectors as necessary to meet your requirements.
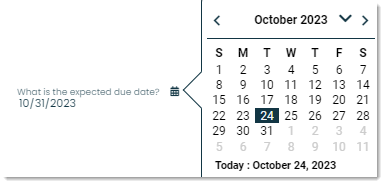
Expected due date – You can define the anticipated date by which a particular inspection s scheduled to be completed within the Expected due date field. To select the expected due date, you can press the calendar icon to bring up a calendar with selectable dates. Once you select a date, it will populate the field.
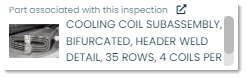
Associated part – In Associated part, you can define a specific component or item that is linked to the inspection being conducted. You can select the part with the picker in the Part associated with this inspection field. This picker will bring up a list of available parts you can choose from, directly imported from your organization’s Parts app.
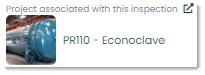
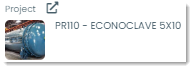
Associated project – You can associate a specific project from your organization’s Projects app within the Project associated with this inspection field. Simply click on the picker icon to bring up a list directly imported from the Projects app.
Submit – When you are ready to submit your inspection, you can press Submit to generate a record.

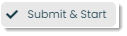
Submit & Start – You also have the option to Submit & Start, which will create and start the progress of the inspection in one click.
How to view and manage an inspection
To view the details of an inspection, click on the record you wish to view in the Inspections tab.

After you click on the record you wish to view, you will be presented with a details flyout, showcasing all the important details of your organization’s inspection. Let’s go over the fields in this view and how you can use them to effectively manage your organization’s inspections.

During the course of inspections, tracking the progress and managing what stage your inspections are in is crucial.
Status – This is the status your inspection is currently in. Having a clear, easy to read label allows you and your team members easily grasp where the inspection is in its lifecycle.

Progress bar – This is where you can view and edit the current step your inspection is in. These stages help organize and track and track the progress of inspections, ensuring that tasks are carried out efficiently and according to your companies established standards.
Pending: During the “Pending” stage of an inspection, the required processes are awaiting initiation or being scheduled but not yet started. This stage often involves important tasks such as scheduling, resource allocation, and documentation to ensure that all necessary prerequisites are in place before the inspection starts.
Active: The active phase indicates that the inspection is currently in progress. This stage involves the on-site physical inspection, and inspectors are actively conducting assessments, making observations, and gathering data as needed.
Evaluate: After an inspection has been conducted, the Evaluate stage will begin. After the evaluation has been completed, you can compare results to your organization’s established standards.
Closed: The inspection has been closed, signifying that the inspection results have been processed and ready to be closed. In this stage, any necessary corrective actions or follow-up activities take place if required, depending on the evaluation results. The inspection is considered to be completed and archived, meaning that all relevant parties have been notified of the outcome.

Progress control – The ability to manage the status of your inspection is an important element in monitoring its progress and ensuring operational efficiency. You can oversee the inspection status with the following buttons:
Start: You can press the start button to mark the beginning of the inspection process. This is the part in which your team may begin physically inspecting parts, collecting data, and creating documentation.
Pause: To pause the inspection, you can press the Pause button. You may need this for various reasons, such as addressing safety concerns, or taking a break from a long inspection.
Stop: You can stop the inspection in its tracks with the Stop button. This means that the inspection will be stopped, either temporarily or for good, depending on your organization’s needs.
Reopen: You can start up an inspection again after it has been stopped by using the Reopen button. This stage ensures that the inspection can be picked up from where you left off.
Reset: To start fresh with the same inspection record, you can press Reopen. You can use this when you need to reinitiate an inspection from the beginning, but don’t require creating an entirely new record with new fields.

Start date – This field provides the inspection’s start date.

End date – Here, you’ll find the conclusion date of the inspection.

Closed date – This field designates the date on which the inspection was officially closed.

Due date – This field indicates the deadline or target date for the inspection.

Within the details flyout, you can view and edit the part that is part of the inspection. To edit, simply click the picker icon within the Part field and select the part you need from your organization’s list of parts.
Part – This is the name of the part being inspected during this specific inspection. You can eliminate potential confusion by defining a specific part and displaying detailed information about the part in question. The part displayed here can be chosen directly from your organization’s Parts app by selecting the picker and choosing from a list of available parts.
Part #: This field displays the number of the part within your organization.
Mfg #: This field displays the Manufacturers number of the part.
Image: This field displays an image of the part, providing clarity on how it looks.
Part Name: This field provides the full name of the referenced part.
Note: Part details such as name, number, image, and manufactured company are defined within the Parts app. For more on Parts, please check out our Getting Started with Parts guide.

You can also view and edit the project this inspection is associated with. Projects are directly selected from your organization’s Projects app, and are associated with a Customer (Company).
Project – The Project field displays the project that is associated with the part and inspection. By displaying the project, it enables better coordination, tracking, and accountability. You can select from a list of projects within your organization by selecting the picker within the Project field. Having this direct connection between project and inspection ensures that inspection tasks are aligned with the project’s goals and objectives as a whole. For more on Projects, please check out Getting Started with Projects.
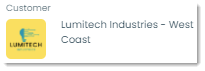
Customer – The Customer field is directly linked to Project. During the creation of a project, you define a Customer which is selected from a list of company contacts in your organization. That contact is displayed here. If you need to change the customer information, you can make changes within the Projects app.
Having a designated evaluator is important during the course of an inspection. You can view and edit Evaluators within the Evaluator field.
Evaluator – The Evaluator of an inspection is responsible for assessing and determining compliance with your companies established standards and requirements during the inspection process. Evaluators can also be responsible for identifying issues, areas of improvement, and providing assessments of item being inspected.
Name: This field displays the name of the contact you select as the evaluator.
Clear(x): To clear the Evaluator fields, you can press the X icon.
Notify: Once you have chosen an evaluator for your inspection, you can inform them by using the Notify button. This will send a direct notification to the contact’s workspace, allowing them to instantly access and review the inspection by clicking on the notification.

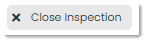
Close Inspection – When all the necessary steps of your organization’s inspection have been completed, you can close out the record by pressing Close Inspection. This will change the status of the inspection to “Closed”.
Within the General tab in the inspection’s details flyout, you’ll notice three additional tabs pertaining to the specific record labeled as Checklist, Evaluation, and Disposition.
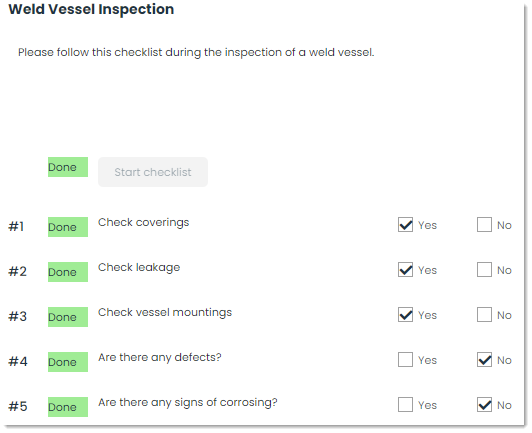
Checklist – In Checklist, you can associate a checklist directly imported from the Checklist Creator app within your organization. For more on checklists, please take a look at Getting Started with Checklist Creator. Each checklist session in an inspection contains different fields, let’s go over them.
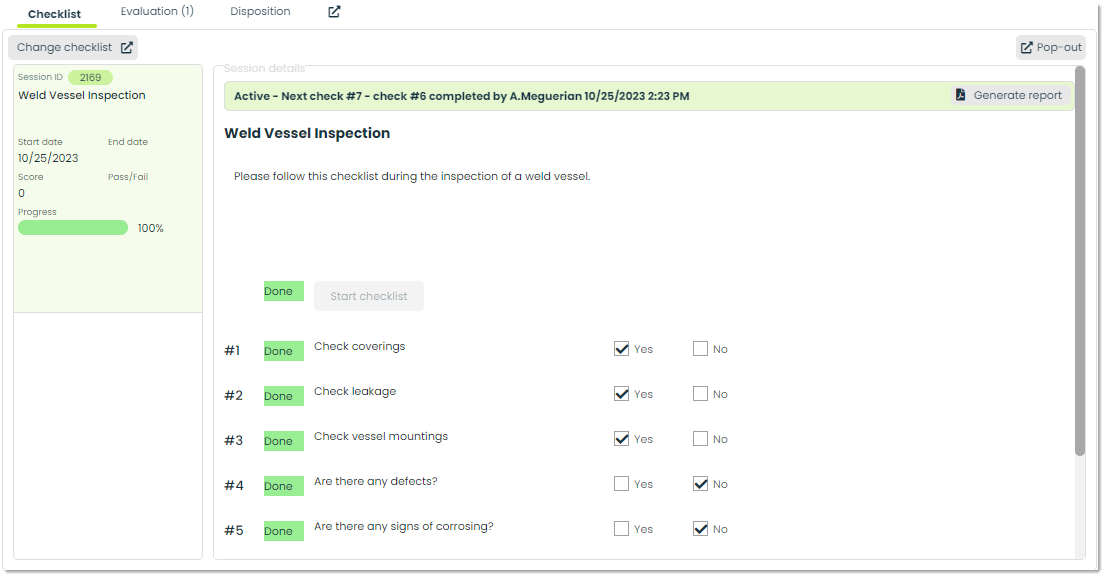
Change checklist – You can change the checklist associated with the inspection being viewed by pressing the Change Checklist button. This button will bring up a list of available checklists that members of your organization have created within the Checklist Creator app.
Session ID – When you link a checklist to a record in Appward, a new checklist session is created. These checklist sessions can be considered as unique instances of the original checklist, each with its own specific purpose and application
Progress – The Progress field provides a visual representation in the form of a progress bar that directly corresponds to the checklist’s completion. For instance , if your associated checklist is made up of two steps, and you have completed one step, then the progress bar will indicate 50% completion.
Session Details – Within the Session Details section, you can view important information and actions related to the current checklist session.
Current step: This field provides a concise overview of the current checklist’s status, offering key information such as its status, the upcoming step, and a timestamp with the evaluator’s name, indicating the most recent action performed on it.

Generate report: You can utilize the Generate report button to generate a printable PDF of the current checklist.
Checklist: Within this field, you have access to essential information including the checklist’s title, description, and individual checks or items. This section is interactive and allows you to actively perform the required checks within the checklist, enabling you to provide responses for each item as you progress through the inspection.
Pop out: You can open the checklist in its own individual window with the Pop-out button. This is especially useful if you wish to focus on the checklist independently in a standalone view.

The second tab within the General tab we’ll cover is the Evaluation tab. Let’s go over the unfamiliar fields within this tab.
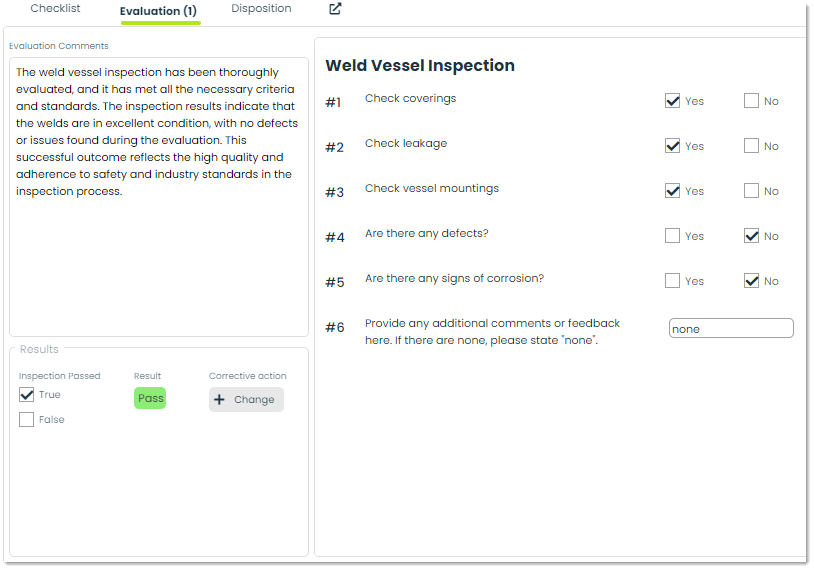
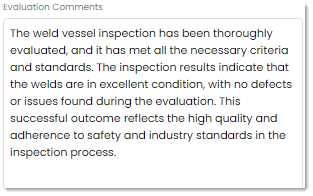
Evaluation Comments – As an evaluator, you can express comments and concerns within the Evaluation Comments section. Evaluator comments can include constructive feedback, compliments, suggestions for improvement, and reasoning for the outcome of the inspection.
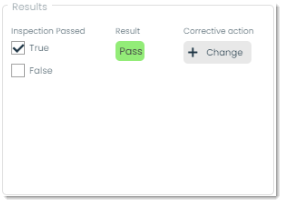
Results – In Results, you can define what the overall result of the inspection was.
Inspection Passed: This field is where you can define if the inspection passed or not by ticking the True or False checkboxes.
Result: In Result, you can see the outcome of the inspection, either denoted as a green label marked as “Pass” or a red label marked as “Failed”.
Corrective action: In Corrective action you can press the + Change button to suggest a change that should occur following the inspection results. Changes For more information on how Changes work, please check out Getting Started with Changes.
Frontline features of Inspections
Timelog – During the course of an inspection, you and your team members have the capability to record the time dedicated to each task, ensuring precise time management.
Start: To start a running timer and track your progress down to the hours, minutes, and seconds, you can press the Start button.
Pause: Pause allows you to temporarily stop the timer, ensuring an accurate representation of time spent even if interruptions take place.
Stop: You can Stop the timer when you feel a task is complete. This action will close end the timer for that specific task. The next time you start the timer for a different task, it will create a new entry in the Timelog tab.
Duration: This is the total time it took the contact to complete the task described, from start to finish.
Description: In this field you can provide a description of the task you are timing, for accurate record keeping.

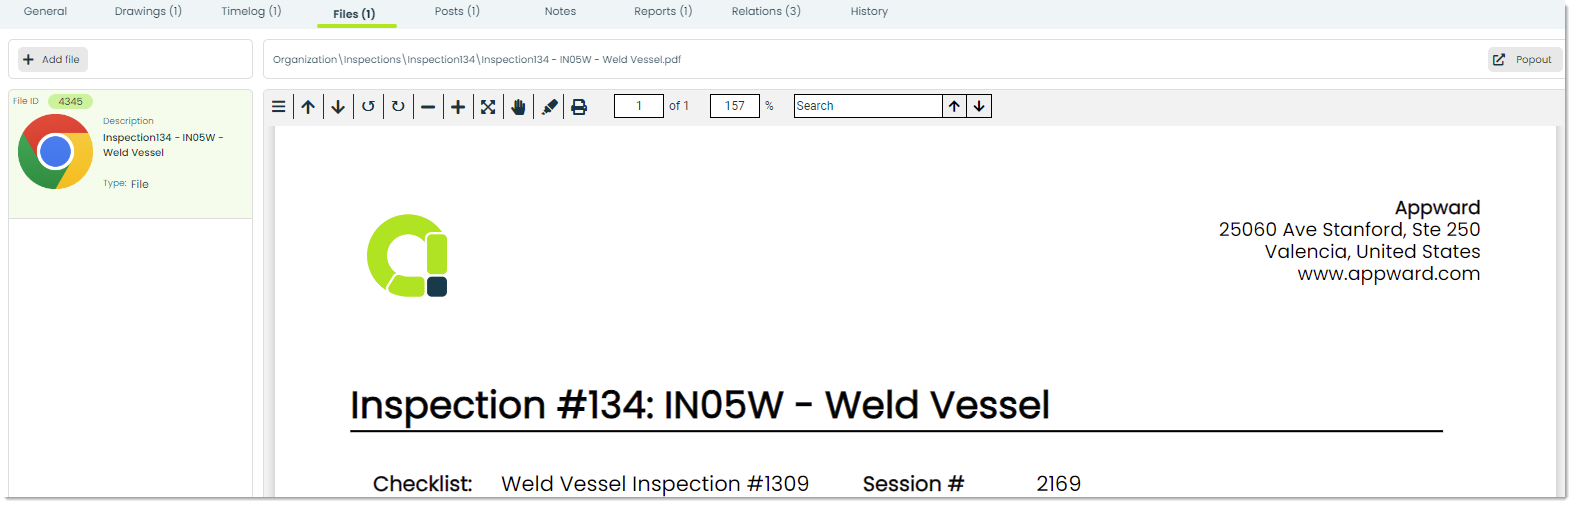
Files – Through the Files tab, you can attach essential documents to an inspection record. You can add files directly from your computer or from the Appward cloud. After adding a file, you can view it through an integrated document preview on the right side of the Files section. Individuals within your organization with access to the record can view and download the file to their personal computers.
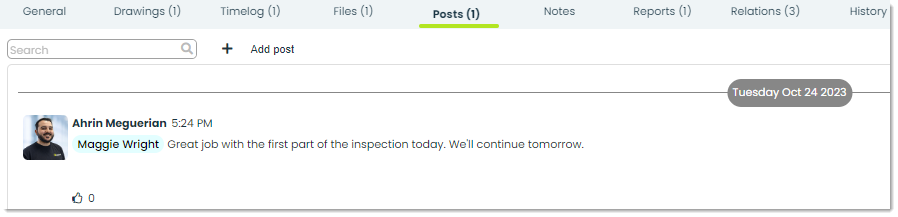
Posts – A post is a comment which can be replied and reacted to by other users in your organization. For instance, you can use a post to have a discussion about the ongoing status of an inspection or to quickly communicate a comment about a task to a team member.
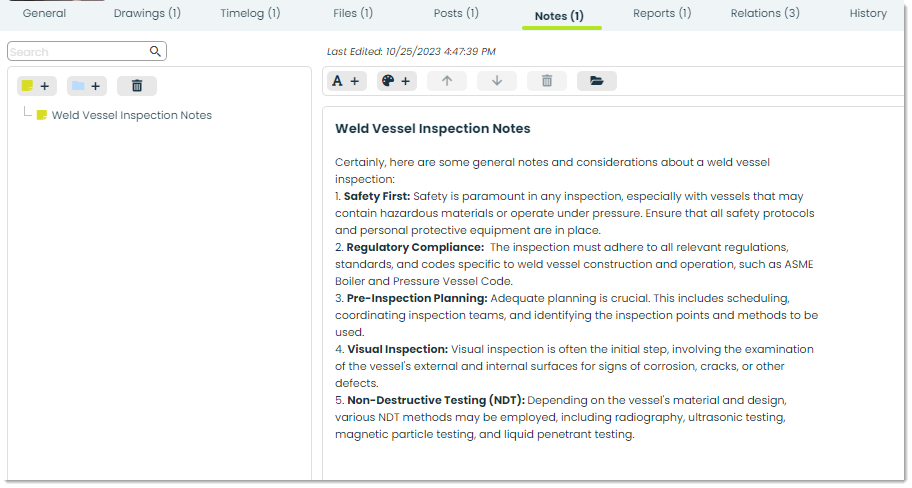
Notes – Within the Notes tab you can write and store written records that help capture and convey your thoughts. You’ll be able to stay organized, provide better context to inspections, and improve communication between you and your team.
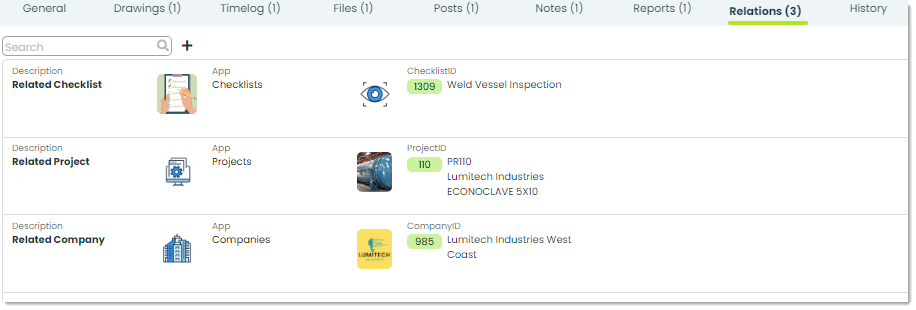
Relations – Relations are a great option when looking to link two different records together. As an example, linking an existing ticket that is directly related to a project is an ideal way to use relations. This allows for records from both the Tickets app and Projects to be in the same, centralized location.
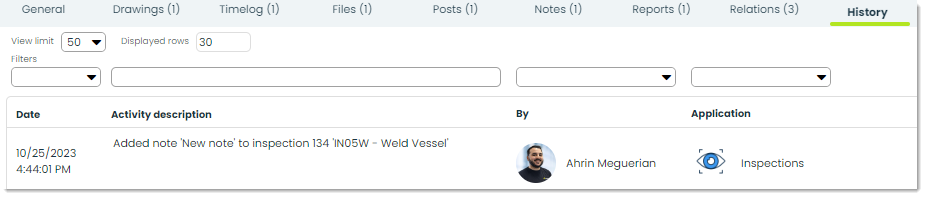
History – In History, you can view an activity log related to the inspection record you are viewing. You will see a list displaying the change date, activity description, change author, and the application in which it was made.
How to archive or delete an inspection
Archive – Archiving is a prevalent functionality found in most of the apps within Appward. It provides a useful tool for temporarily hiding a record without permanently deleting it. Archived records are essentially hidden from the main screen, but can still be accessed using specific search filters.
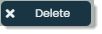
Delete – To permanently remove an inspection record, simply click the Delete button. An additional confirmation popup will appear to verify your choice, but please be certain, as this action is irreversible.