Table of contents
Getting Started with Survey Director
Thursday October 19, 2023-20 min readIntroduction
The Survey Director app, paired with Surveys, empowers you to gather feedback efficiently, equipping you with necessary insights for making well-informed, data-driven decisions. Engaging with both your employees and customers constitutes an important aspect of understanding and improving your business. In this guide, we’ll cover the process of creating, deploying, and managing surveys.
Getting Started
To open Survey Director, go to the Operations section of the main navigation bar and select locations.
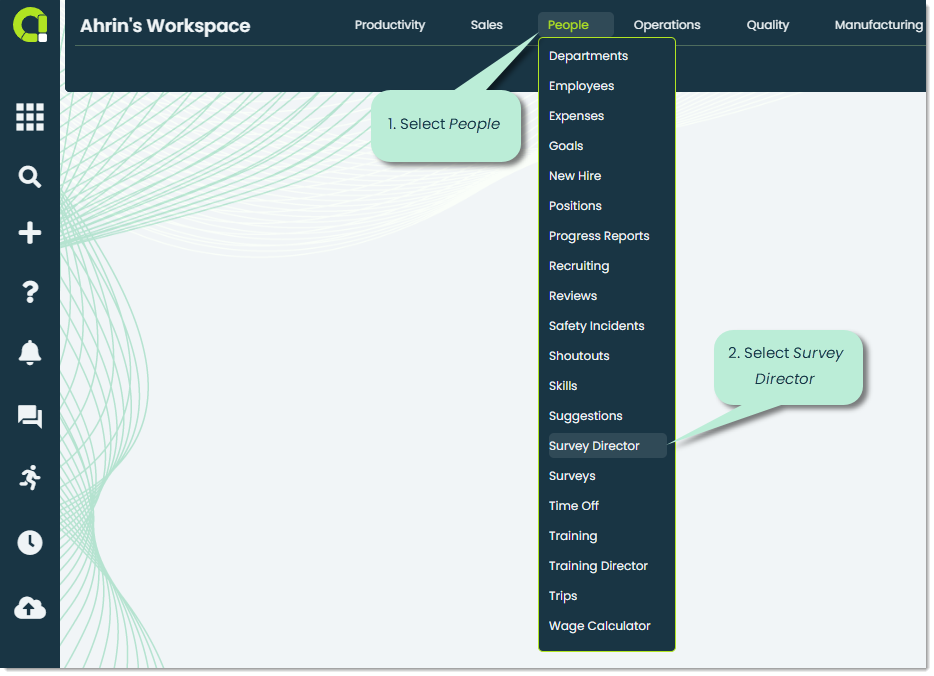
When the app launches, you’ll be shown the Surveys tab, showing you the surveys you have either created or responded to. Let’s go over the available tabs and features within each tab.
Note: If this is the first time your organization has launched Survey Director, this tab will be empty.
Surveys – This tab serves as the primary tab within the Survey Director app, and will be the default tab that opens up when you launch the app. Surveys enable you to collect valuable insights, gain a deep understanding of your intended audience, and make well-informed decisions grounded in the data you acquire.

Sessions – Sessions are like individual copies of a survey. For example, when a member of your organization makes a survey, each instance of its use is considered a new session. Even though it’s the same survey, each Session is a separate record. You can view all existing sessions in your organization within this tab.

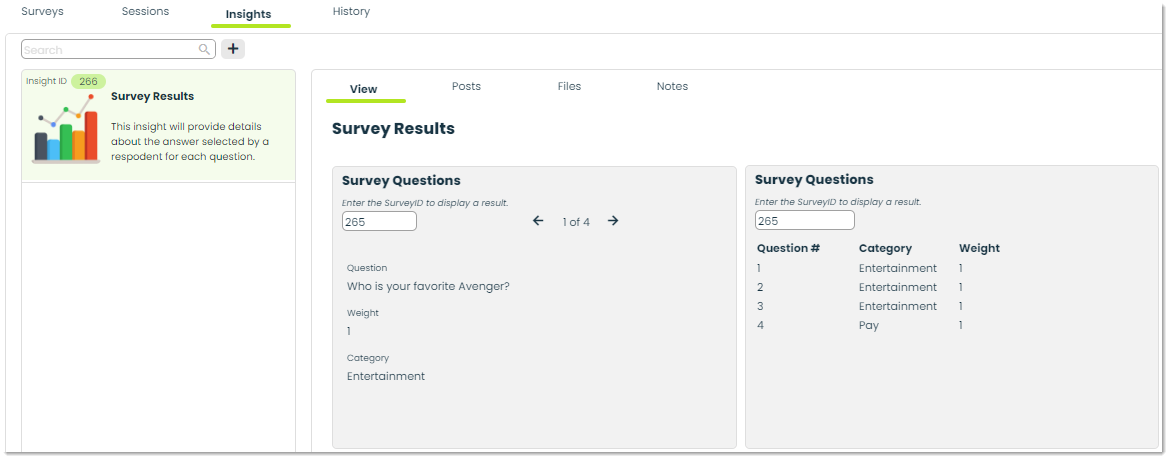
Insights – This tab is used to analyze collected data from your organization’s surveys. With insights, you can uncover valuable information related to surveys such as answer distribution, response rate, and the effectiveness of surveys. For more on Insights, please check out Getting Started with Insights.
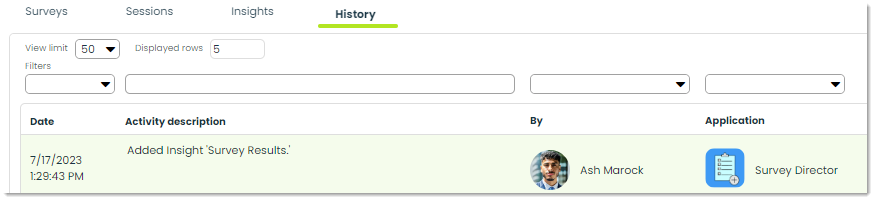
History – In History, you can access information about the status changes of Surveys. You can view details such as the employee who made the change, the timestamp of the modification, the application name, and a brief description of the activity performed.
How to create and add questions to a survey
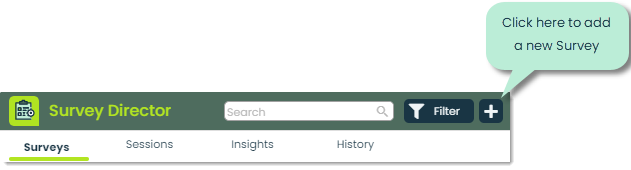
To create a survey, press the + icon at the top of the app screen while in the Surveys tab.
Next, you’ll see the Add Survey popup, where you can begin setting up the structure for your survey. Let’s cover what’s available within this popup.
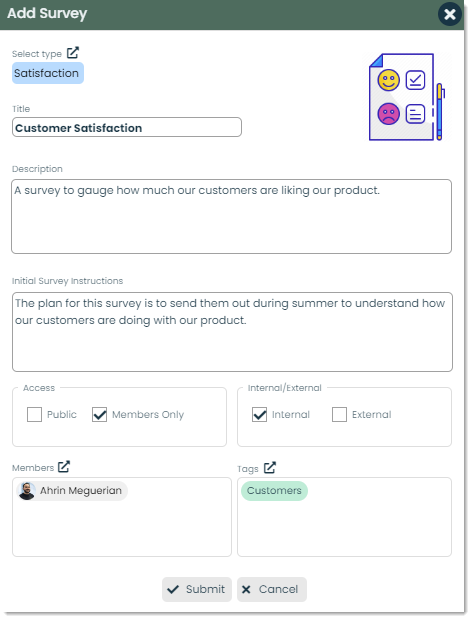
Type – You can categorize the survey you are creating by the Type you select. Visually, a type is a label with a custom name, color, and image that can be assigned to a survey record. Types not only provide your organization with a way to organize your data, but a flexible, customizable system that suits the needs of your business. For example, if the survey you are creating is a “Customer Satisfaction Survey” you might consider using the type Satisfaction. For more on Types, please check out Using Types.

Image – You can link an image to each type. When you choose a type for your survey, the record image will automatically use the type image. If you prefer, you can customize this.
Title – Here, you can define the title of the survey you are creating. Survey titles are important for identifying the topic of the survey at first glance for both the target audience and the survey creator.

Description – You can describe the survey being created in Description. Descriptions can be descriptive or brief, but they should convey what the reason for the survey is to the audience.
Initial Survey Instructions – In Initial Survey Instructions, plans such as how to deploy the survey, or additional steps can be mentioned.
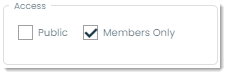
Access – Records within Survey Director can have different levels of Access. You can select Public to make the survey accessible by everyone in your organization, or Members Only to have a member-only level of access.
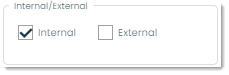
Internal/External – In Internal/External you can specify if your survey is going to be used internally, or externally. Internal means that it is meant for people within your organization, and external means that it will involve participants from external organizations.
Members – In Appward, Members play an important role, as they allow you to provide specific individuals from your organization access to particular records. Records in Survey Director can be defined as public or member’s only.

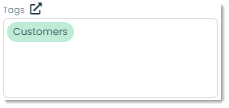
Tags – Tags and Types are similar in that they both serve as keywords to classify and categorize problems. However, there is a key difference between them. Types are singular categories that each problem falls into, whereas tags offer more flexibility as they allow multiple keywords to be associated with a single problem. As an example, you can use a type such as Customers to classify the survey as one that will be sent to customers. For more on tags, please check out Using Tags.
Submit/Cancel – You can press Submit to finalize the initial step of creating your survey, or Cancel to stop the creation process.

After submitting the structure for your survey, you will be prompted with a screen asking you if you would like to add questions.
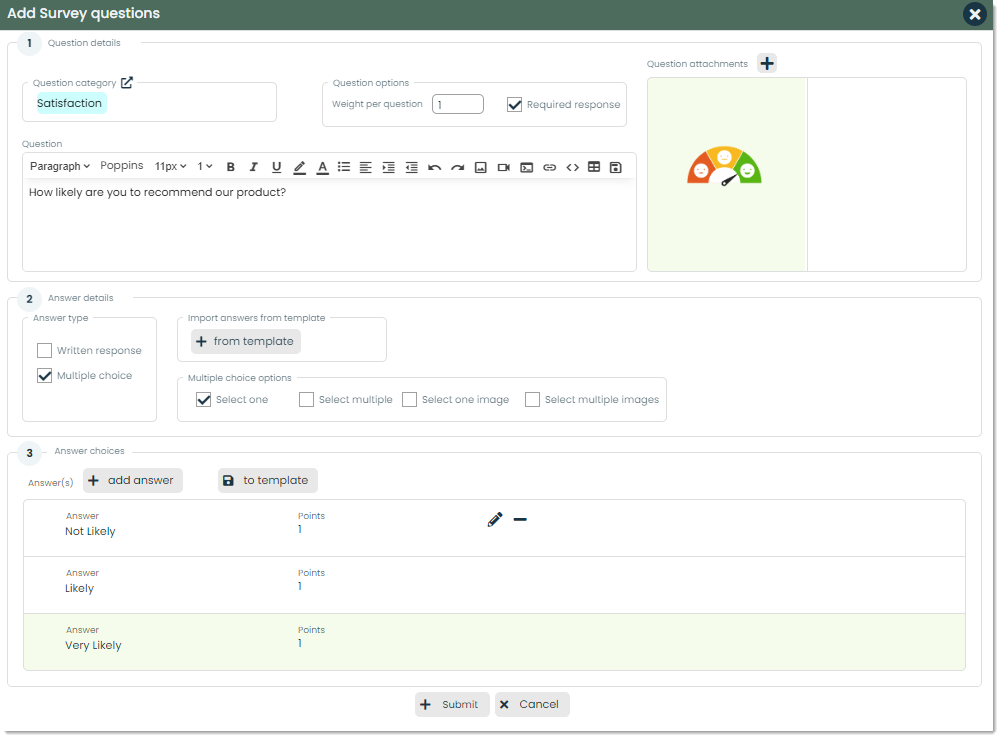
Question Category – You can define the category of a specific question within a survey by selecting it in the Question category field.

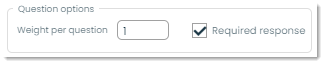
Question Options – In this field, you can define the weight and response criteria for each question. Checking the Required response checkbox enforces the survey taker to respond before proceeding to the next question. You can assign a weight to the question by inputting your desired value in the text box within the Weight per question field.
Question Attachments – If you require any attachments for each question, you can add them by pressing the + button within the Question attachments field.
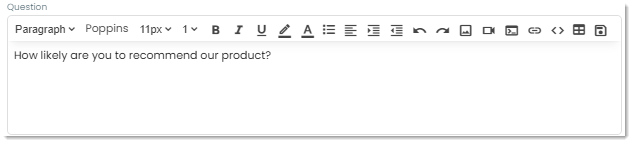
Question –In the Question field, you can both frame the subject and provide essential details for your survey inquiry. This is where you shape the heart of your question to suit your research requirements.
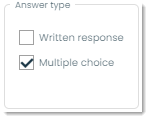
Answer Type – Your survey questions have the option of requiring a written response, or prompting respondents to make a choice within a checkbox.
Multiple Choice Options – If your question requires a multiple choice answer, you can define what the required parameters are within the Multiple Choice Options field.
Select one: You must pick one option from the available answers.
Select multiple: You have the option to select multiple choices from the provided answers.
Select one image: You are required to pick one image from the provided answers.
Select multiple images: You can choose multiple images from the provided answers.

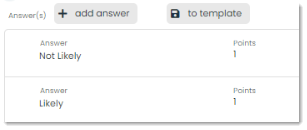
Answer Choices – Within this field, you have the ability to see both the available answer options and the corresponding point values to them. Additionally, you can choose to either create a new answer or save the current answer set as a template for future reference.
Add answer: You can add an answer by pressing the + add answer button.
Save to template: Save the current configuration as a template, to use for future surveys.
After you have submitted the questions and available answers for your survey, you can view and manage its details within the Surveys tab.
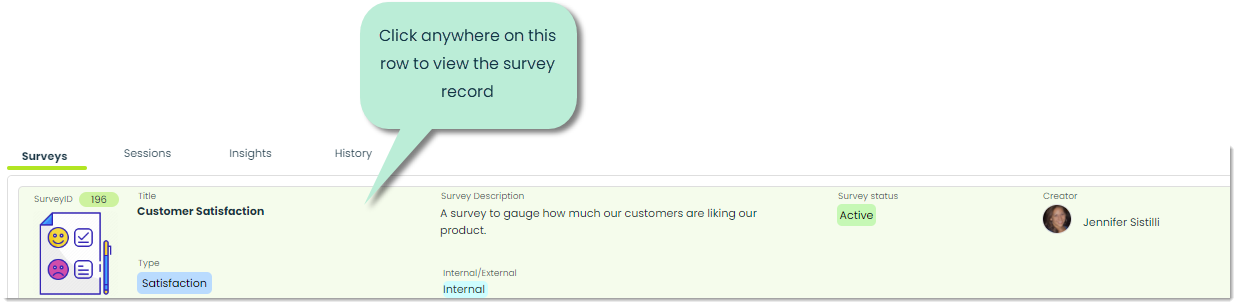
You will then be shown a flyout, presenting you all the details of the survey. Let’s go over the unfamiliar fields.
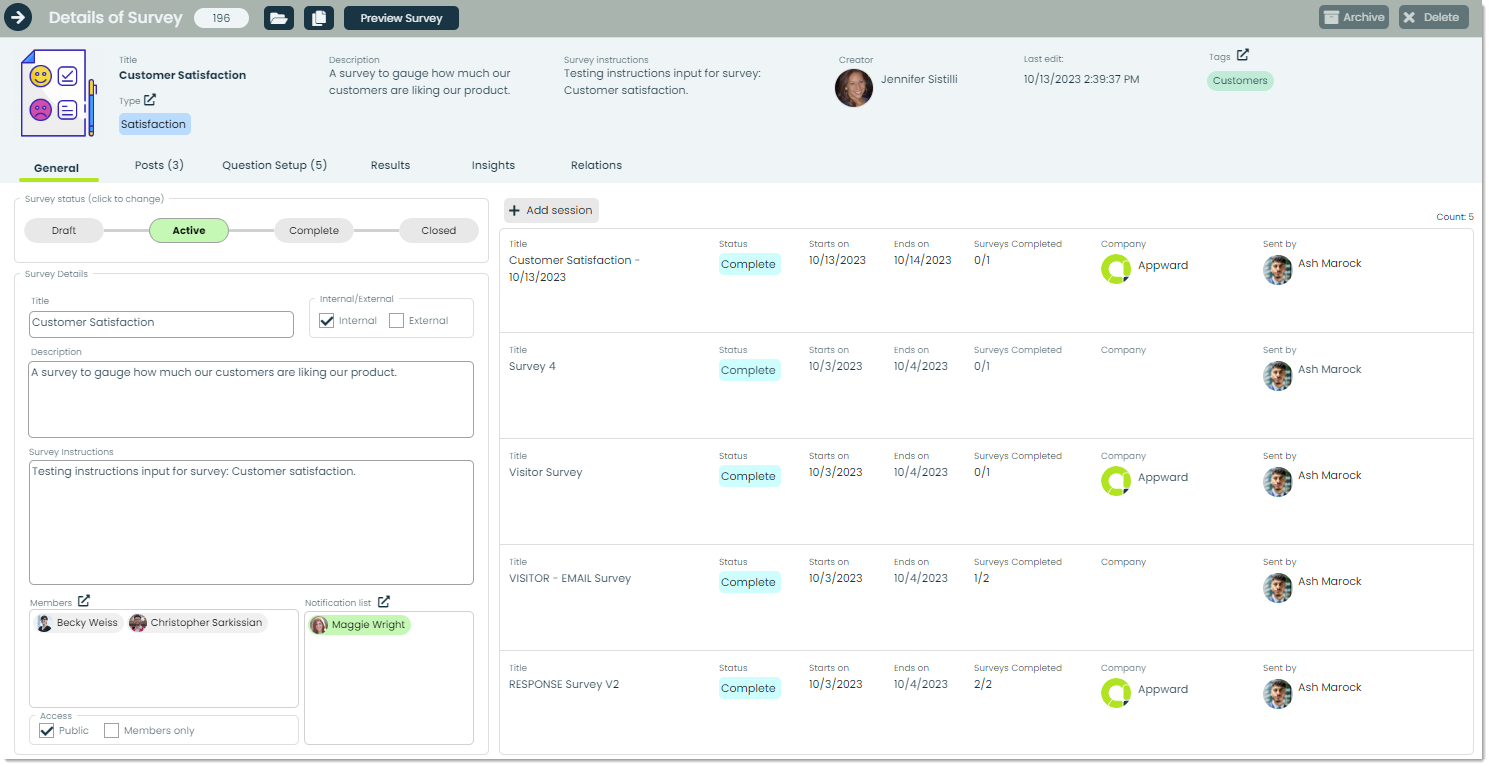
Survey status – The status of a survey is defined by four different stages. Let’s cover what each of these stages mean.
Draft: The survey is currently under development and not yet ready for distribution.
Active: The survey is currently in active operation.
Complete: The survey has been completed, no more sessions are going to be rolled out.
Closed: The survey has been closed, meaning it is no longer in use, and will be archived.

Notification list – You can create a list of contacts within your organization who will receive notifications that are triggered when a survey is submitted.

How to add a survey session
You can create a new session by pressing the + add session button.
This action will launch a screen where you can select and input the necessary details to initiate a fresh batch of surveys, all based on the existing survey. Multiple sessions of the same survey can be running at the same time, allowing you to use the same survey for multiple purposes. When creating a session of a survey, you have the flexibility to define various options for conducting the survey precisely according to your requirements. Let’s cover some of the available features.
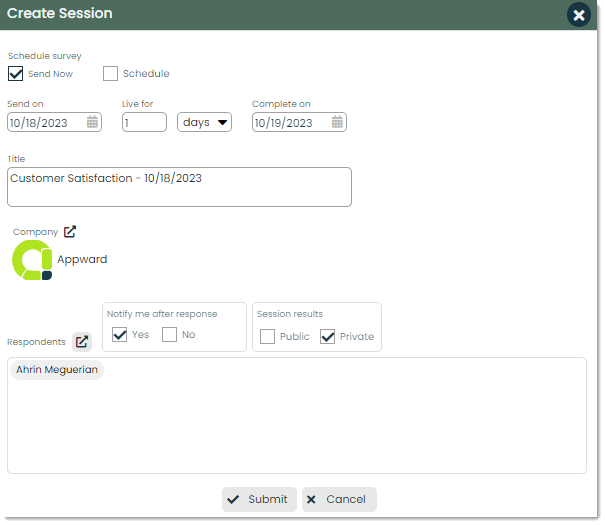
Schedule survey – Survey sessions can have their own scheduled times to be sent out.
Send now: You can select send now to have the survey immediately be sent out to the appropriate parties involved upon submission.
Schedule: If you wish to send a survey at a later time, you can schedule it for a specific day.
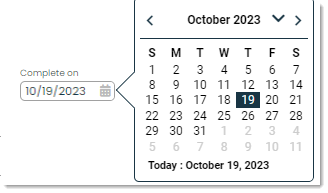
Send on – Opting for the Schedule feature allows you to choose the date for sending. You can either manually input the date in the MM/DD/YYYY format or utilize the calendar picker within the Send on field for a visual date selection. The calendar picker is used in many apps throughout Appward and provides users with an easy way to select the date they are looking for.
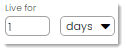
Live for – In the Live for field, you can set the duration during which the survey session will remain open for responses. Specify the survey’s lifespan by entering a numerical value and selecting the desired unit, which can be days, weeks, or months.
Complete on – In Complete on you can indicate the date the survey session will come to a close.

Title – This field will initially contain an auto-generated title in the format of “Original Title – Date”, however you have the freedom to customize it to your requirements.

Company – You can add a company to a record within the Company field. For more on Companies, please check out How to Add a Company to a Record.
Respondents –Within Respondents, you have the ability to specify who will directly receive the survey.
Notify me – As the creator of the survey session you have the ability to request to be notified after a respondent has completed the survey. You can simply do so by checking Yes or No in the Notify me after response field.
Session results – After a session has closed out, results will be shown for each session within the details flyout of the corresponding survey. You can decide if these results should be private or be available to everyone in your organization.
Viewing the results of a survey
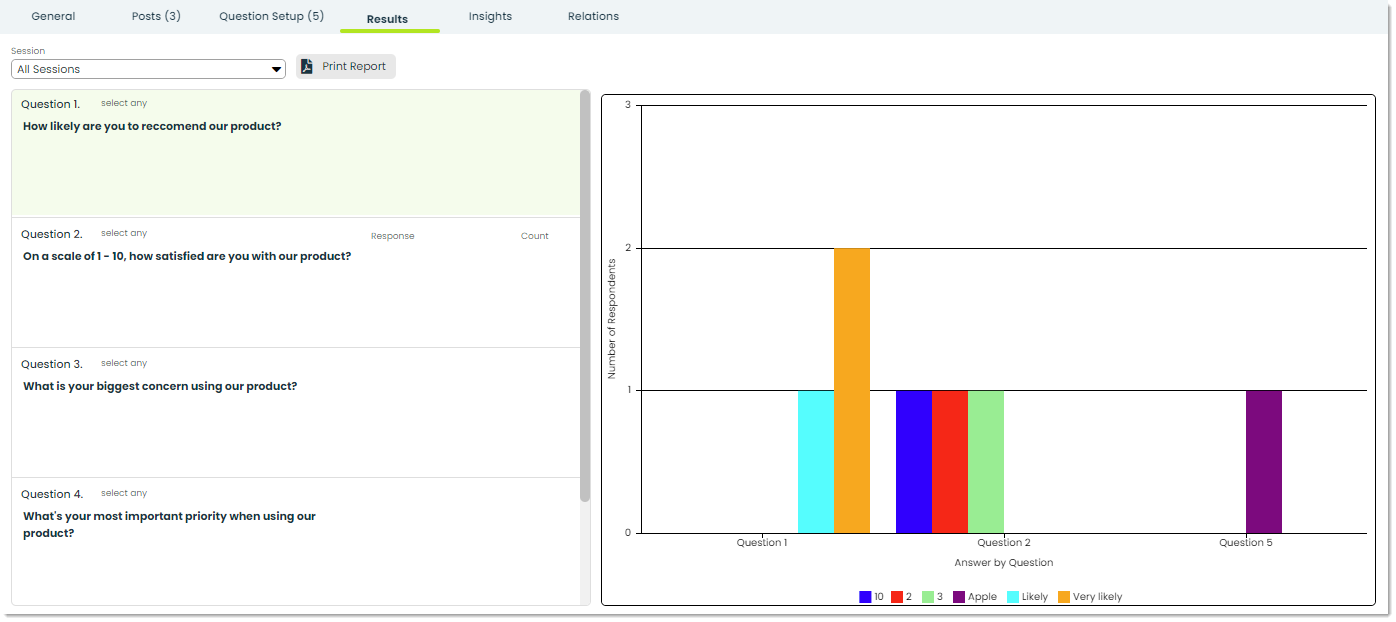
To view survey results, navigate to the Results tab within the details flyout of a survey.

Next, you’ll see the outcomes of the survey you’re looking at. These results bring together all the responses from various sessions, acting as a central place to find all the answers for this survey. The respondent answers are displayed in an easy-to-read bar graph.
Frontline features of Survey Director
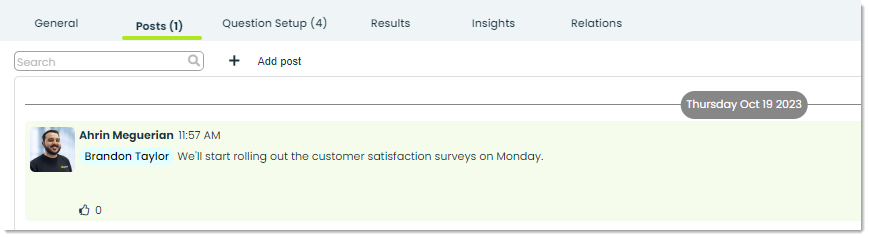
Posts – A post is a comment which can be replied and reacted to by other users in your organization. You can use a post to inquire, discuss, or communicate with a colleague regarding the launch date of a survey.
Insights – This tab is used to analyze collected data from your organization’s surveys. Gain valuable insights into survey response rates, track unique session data, and pinpoint the questions that posed the greatest challenges for participants. For more on Insights, please check out our Getting Started with Insights guide.

Within the Insights tab, you can create posts, attach files, and create notes.
Files – Through the Files tab, you can attach essential documents to a survey session. You have to option to add files directly from your computer or from the Appward Cloud. After adding a file, you can view it through an integrated document preview within the Files tab.

Notes – Within the Notes tab you can write and store written records that help capture and convey your thoughts. You’ll be able to stay organized, provide better context to survey sessions, and improve communication between you and your team.

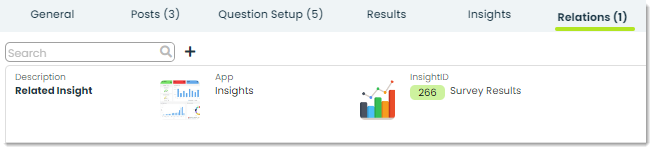
Relations – You can include related records from other apps within your organization in the Relations tab of a survey.
Additional features of Survey Director
Tour – You can discover tours in most of the apps on Appward. These tours are created to provide you with an interactive, step-by-step guide for the application you are using. You can take advantage of tours as a user-friendly and effective onboarding solution.

Archive – Archiving is a common feature within the majority of apps in Appward. Archive serves as an effective tool when you wish to remove a survey record from sight without permanently deleting it. Archived records are essentially concealed from the main screen but remain accessible through specific search filters.

Delete – To delete a survey permanently, you can do so using the Delete button. These records will not be recoverable.
